

This guide will demonstrate how to install FileZilla on Fedora Linux using the command-line terminal with either DNF package manager or Flatpak with the Flathub repository.
FileZilla is a robust and reliable FTP, FTPS, and SFTP client that offers a multitude of features to streamline file transfers between your local machine and a remote server. Renowned for its user-friendly interface and versatile capabilities, FileZilla facilitates efficient file management and navigation, making it an indispensable tool for developers, system administrators, and casual users alike. With support for various protocols and encryption types, it ensures secure and flexible file operations. Here are some key highlights:
- Multi-platform Support: FileZilla is compatible with numerous operating systems, ensuring a broad user base.
- User-friendly Interface: Its intuitive design allows for easy navigation and file management.
- Support for Various Protocols: Including FTP, FTPS, and SFTP, catering to diverse connectivity needs.
- Drag and Drop Functionality: Simplifies the process of transferring files.
- Remote File Editing: Offers the convenience of modifying files directly on the server.
- Transfer Queue: Enables the scheduling and management of file transfers.
- Directory Comparison: Allows users to compare local and remote directories effortlessly.
- Bookmarks Feature: Facilitates quick access to frequently used files or folders.
As we delve into the technicalities of installing FileZilla, these features underline the software’s capabilities and the benefits it brings to your workflow.
Now, let’s move on to the step-by-step installation process.
Install FileZilla on Fedora Linux via DNF
Update Fedora Before FileZilla Installation
Before installing FileZilla, updating your Fedora system to ensure that all existing packages are current is crucial. This step helps prevent potential conflicts during the installation process.
To update your system, open a terminal and execute the following command:
sudo dnf upgrade --refreshThis command will refresh your system’s metadata and upgrade all installed packages to their latest versions.
Step 2: Install FileZilla via DNF Command on Fedora
Once your Fedora system is updated, you can install FileZilla using the default Fedora appstream repository. Although this method is the easiest, the version of FileZilla available in the repository might lag behind the most recent release, which may include new features and bug fixes.
To install FileZilla from the Fedora repository, execute the following command in the terminal:
sudo dnf install filezillaIf you prefer to have the latest version of FileZilla, you can opt for the Flatpak method, which is discussed later in this article. The Flatpak method offers greater flexibility and ensures you always have access to the most recent features and bug fixes.
Install FileZilla on Fedora Linux via Flatpak and Flathub
This section will explain how to install FileZilla on your Fedora system using Flatpak and Flathub. This method ensures that you always have the most up-to-date version of FileZilla, which may include new features and bug fixes. While Fedora and similar distributions often focus on providing the latest packages, Flatpak and Flathub can still benefit some users who prefer staying on the cutting edge.
Enable Flathub for FileZilla Installation
Before installing FileZilla, you must enable Flatpak and Flathub on your Fedora system. Flatpak is a universal package management system that works across multiple Linux distributions, while Flathub is a popular repository for Flatpak applications.
To enable Flatpak and add the Flathub repository, open a terminal and run the following command:
flatpak remote-add --if-not-exists flathub https://flathub.org/repo/flathub.flatpakrepoThis command will check if Flathub has already been added to your system; if not, it will add the repository.
Install FileZilla via Flatpak Command
With Flatpak and Flathub enabled, you can now proceed to install FileZilla using the following command:
flatpak install flathub org.filezillaproject.Filezilla -yThis command will download and install the latest version of FileZilla available on Flathub.
Troubleshooting FileZilla Flatpak Installation
Occasionally, you may encounter an error during the Flatpak installation process. One common error is:
"error: Unable to load summary from remote flathub: Can't fetch summary from disabled remote 'flathub,"
To resolve this issue, you need to enable the Flathub remote. Run the following command in the terminal:
flatpak remote-modify --enable flathubAfter executing this command, try the installation process again.
Launching FileZilla on Fedora
After successfully installing FileZilla on your Fedora system, you will want to launch the application to use its features.
CLI Commands to Launch FileZilla
If you prefer using the terminal, you can launch FileZilla by simply typing the following command:
filezillaThis command will start the FileZilla FTP client, and you can begin using it for your file transfer needs.
For those who installed FileZilla using Flatpak, you can launch the application from the terminal by running the following:
flatpak run org.filezillaproject.FilezillaHowever, remember that using the terminal to launch FileZilla may not be the most convenient method for desktop users.
GUI Method to Launch FileZilla
For a more user-friendly approach, you can launch FileZilla directly from your desktop environment. To do this, follow these steps:
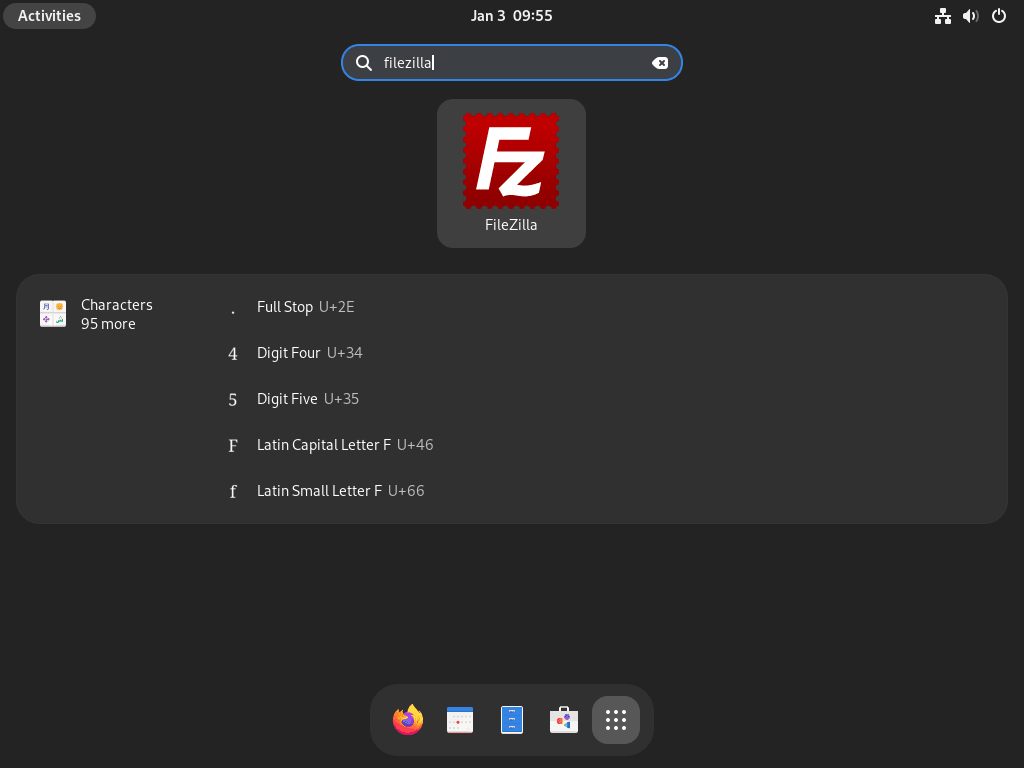
- Click on Activities in the top-left corner of your screen.
- Select Show Applications (represented by a grid of dots) at the bottom of the sidebar that appears.
- Search for “FileZilla” in the search bar or locate the FileZilla icon in the list of applications.
- Click on the FileZilla icon to launch the application.
First-Time Tips for FileZilla on Fedora
Having successfully installed FileZilla on Fedora, it’s time to explore some essential tips to maximize your experience with this powerful FTP client. These suggestions are tailored to enhance your productivity and streamline your workflow on a Linux-based system.
General Tips for FileZilla on Fedora
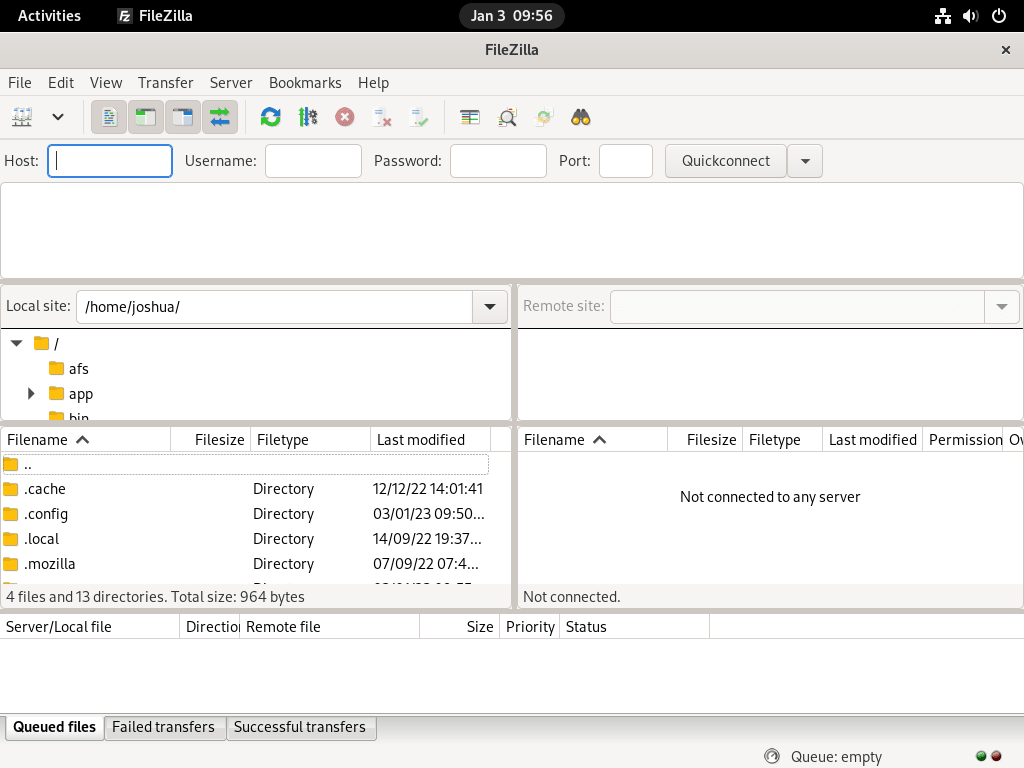
- Understand the Interface: Familiarize yourself with the main areas: the site manager, local and remote directory trees, and the transfer queue.
- Use the Site Manager: Store and organize your server connections for quick access. It’s a secure way to manage multiple connections.
- Configure the Default Local Directory: Set a default local directory in FileZilla to speed up your workflow, avoiding the need to navigate from the root every time.
- Monitor Your Transfers: Keep an eye on the transfer queue to track the progress and status of your uploads and downloads.
Customization Tips
- Adjust the Concurrent Transfer Settings: Customize the number of simultaneous transfers under Edit > Settings to optimize speed based on your connection.
- Change the Layout: Modify the interface layout via View > Layout Configuration for a workspace that suits your preferences.
- File Editing: Set up your preferred text editor in FileZilla for quick editing of files directly on the server.
- Manage Timeout Settings: Adjust the timeout settings to prevent disconnections during idle periods, especially useful for large file transfers.
Keyboard Shortcuts
- Ctrl+S: Quickly connect to your selected server from the Site Manager.
- Ctrl+T: Open a new tab for a new connection, enabling you to manage multiple sessions.
- F5: Refresh the contents of the current directory, keeping you up to date with the latest changes.
- Ctrl+D: Disconnect from the current server, ensuring a clean session end.
Security Tips
- Use Secure Protocols: Always opt for SFTP or FTPS connections for encrypted data transfer, enhancing your data security.
- Manage Passwords Carefully: Use strong, unique passwords for each server connection and consider using a password manager.
- Regularly Check Permissions: Regularly review file and directory permissions to avoid unauthorized access or modifications.
- Enable Logging: Keep a log of your FileZilla activities for security audits and troubleshooting.
Performance Optimization
- Limit Simultaneous Transfers: Adjust the number of simultaneous transfers to avoid overwhelming your network connection.
- Use File Filters: Utilize FileZilla’s file filtering features to exclude unnecessary files or directories from transfers, boosting efficiency.
- Configure Transfer Speed Limits: Set speed limits to avoid using all available bandwidth and to maintain network performance for other applications.
- Optimize Directory Listing Filters: Customize directory listing filters to speed up navigation by excluding irrelevant files or directories.
Integrating these tips into your routine, you’ll harness the full potential of FileZilla on Fedora, ensuring a smoother and more efficient file transfer experience.
Managing FileZilla on Fedora
Update FileZilla
Although updates should appear as notifications, it is always a good idea to check for updates manually using the command line terminal. This practice is essential for Fedora systems, given the frequent updates.
DNF Update Method for FileZilla
To check for updates using the DNF package manager, execute the following command:
sudo dnf update --freshThis command ensures you receive the latest updates for all installed packages, including FileZilla.
Flatpak Update Method for FileZilla
If you have installed FileZilla using Flatpak, use the following command to check for updates:
flatpak updateThis command will update all Flatpak applications, including FileZilla, to their latest versions.
Remove FileZilla
If you no longer need FileZilla on your system, you can remove it using one of the following commands, depending on your original installation method.
DNF Removal Method for FileZilla
When installed via DNF, FileZilla adds several dependencies to your system. To remove FileZilla and its dependencies, use the autoremove command to keep your system clean and uncluttered:
sudo dnf remove filezillaFlatpak Removal Method for FileZilla
To remove FileZilla installed with Flatpak, along with its associated data, execute the following command:
flatpak remove --delete-data org.filezillaproject.Filezilla -yThis command ensures that FileZilla and its related data are entirely removed from your Fedora Linux system.
Closing Thoughts
Throughout this guide, we’ve walked you through the process of installing FileZilla on Fedora Linux and provided some practical tips to get you started efficiently. By now, you should be comfortable navigating FileZilla’s interface, customizing settings to your liking, and utilizing keyboard shortcuts to enhance your productivity. Remember, keeping your software up-to-date and maintaining secure practices are key to a smooth and safe file transfer experience. Dive in, start transferring your files with ease, and see how FileZilla can streamline your workflow on Fedora. Happy file transferring!