This guide will demonstrate how to install ImageMagick on Fedora Linux using the command-line terminal with either the DNF package manager or by downloading and compiling the source for the latest or custom version of ImageMagick to suit your requirements.
ImageMagick is a powerful, feature-rich software suite designed for image editing, conversion, and creation. It supports a vast array of image formats, offering flexibility for various image processing tasks. ImageMagick is renowned for its versatility, enabling users to manipulate images in countless ways directly from the command line, which is particularly beneficial for batch processing or integrating into scripts.
Key highlights of ImageMagick include:
- Robust Format Support: Handles over 200 image formats, allowing for conversion and processing without the need for additional software.
- Batch Processing: Automate tasks across multiple files, enhancing productivity and consistency.
- Extensive Editing Capabilities: Resize, rotate, crop, and alter images with precision and ease.
- Color Management: Comprehensive color management with ICC color profiles to ensure color accuracy across various devices.
- Performance: Optimized for speed, ImageMagick utilizes multi-threading and hardware acceleration where possible.
- Scriptable: Integrate with shell scripts or other programming languages for automated workflows.
- Security: Configurable to restrict certain operations, helping mitigate potential security risks.
- Community Support: Backed by a strong community, providing extensive documentation and forums for troubleshooting.
Understanding these features sets the stage for effectively harnessing ImageMagick’s capabilities in your Fedora Linux environment.
Now, let’s delve into the technical steps to install ImageMagick on your Fedora Linux system.
Install ImageMagick on Fedora via DNF
Update Fedora Before ImageMagick Installation
Before installing ImageMagick, it is recommended to ensure your system is up-to-date to prevent any potential issues. This can be done by running a system upgrade check to update all packages to their latest versions.
sudo dnf upgrade --refreshInstall ImageMagick via DNF Command
The DNF package manager is the default package manager for Fedora systems. To install ImageMagick using DNF, use the following terminal command.
sudo dnf install ImageMagickConfirm ImageMagick Installation via DNF
This command will install the latest version of ImageMagick and its dependencies on your system. Once the installation is complete, you can verify the installation by running the command.
convert --versionThis command will display the ImageMagick version currently installed on your system.
Install ImageMagick on Fedora via source
Another way to install ImageMagick on a Fedora system is to build it from the source. This method allows you to install a specific version of ImageMagick or customize the build options. To install ImageMagick from the source, follow these steps.
Install Initial Packages For ImageMagick Installation
First, install the following dependencies:
sudo dnf install gcc clang makeDownload ImageMagick Archive
Download the latest version of ImageMagick from the official GitHub. You need to go to GitHub to grab the link; the below command is just an example.
wget https://github.com/ImageMagick/ImageMagick/archive/refs/tags/x.x.x-x.tar.gzExtract ImageMagick Archive
Extract the downloaded archive using the command:
tar xvzf <imagemagick archive>.tar.gzChange to the extracted directory using the command:
cd ImageMagick-*.*Configure, Build, and Install ImageMagick Binary on Fedora
Configure the build using the command.
./configureBuild and install ImageMagick using the command.
make
sudo make install
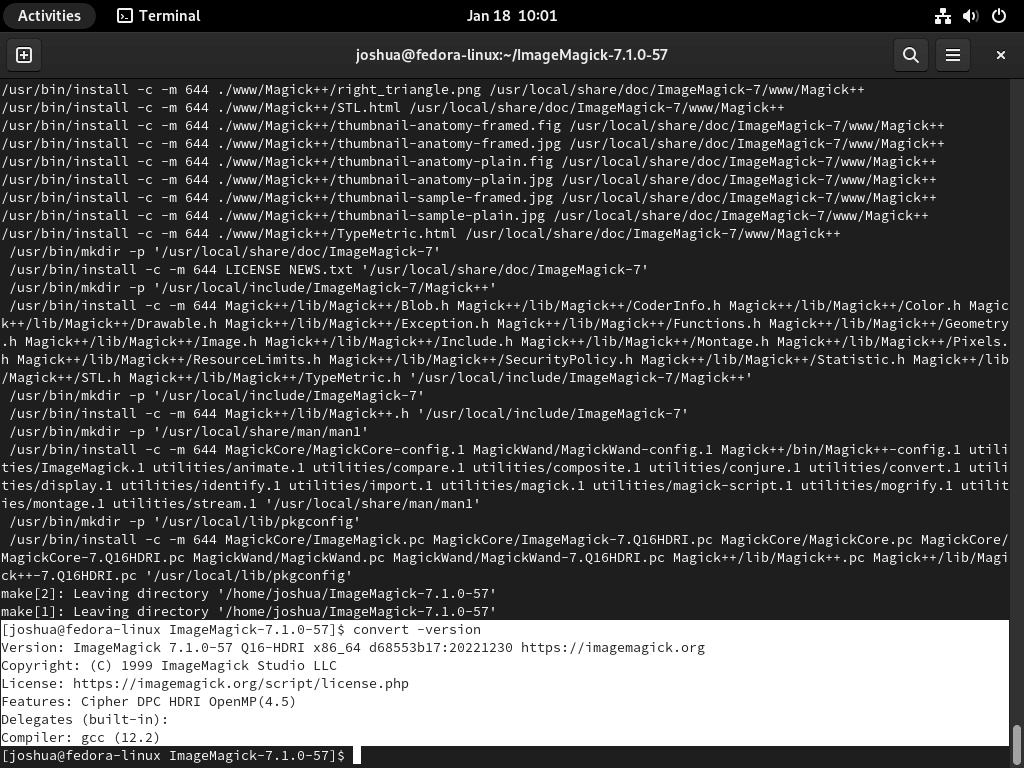
Once the installation is complete, you can verify the installation by running the command.
convert -versionImageMagick Terminal Commands with Fedora
Below is a table of commands and tools that ImageMagick can use.
| Command | Definition |
|---|---|
convert | The central command for image conversion and manipulation |
mogrify | A command for modifying images in place without creating a new copy |
identify | A command for displaying information about an image, such as format, dimensions, and color depth |
composite | A command for combining two images into a single image |
montage | A command for creating a composite image by arranging multiple images in a grid |
animate | A command for creating an animation from a sequence of images |
compare | A command for comparing two images and highlighting differences between them |
conjure | A command for executing scripts written in the Magick Scripting Language (MSL) |
stream | A command for converting between image formats while streaming |
display | A command for displaying images on the screen |
import | A command for capturing screenshots |
mogrify | A command for modifying images in place without creating a new copy |
magick | A command for executing scripts written in the Magick Scripting Language (MSL) |
magick-script | A command for running scripts written in the Magick Scripting Language (MSL) |
magick-script-command | A command for executing commands written in the Magick Scripting Language (MSL) |
These are some of the basic commands offered by ImageMagick. You can use many more commands to perform more advanced manipulation, but the above commands are a good starting point for exploring the functionality of ImageMagick.
Conclusion
We’ve walked through the steps to install ImageMagick on Fedora Linux, showcasing how this powerful tool can elevate your image processing tasks. Remember, whether you’re tweaking photos, converting formats, or automating editing workflows, ImageMagick is your go-to solution. Keep experimenting with its features to truly harness its potential. Don’t hesitate to dive into the community forums if you hit a snag or need some inspiration. Happy image manipulating!


