Newer laptops, WiFi chipsets, GPUs, and storage controllers sometimes need a newer Ubuntu LTS kernel before the hardware behaves properly. If you need to install the HWE kernel on Ubuntu, use the metapackage that matches your LTS release: Ubuntu 26.04 LTS (Resolute Raccoon), Ubuntu 24.04 LTS (Noble Numbat), or Ubuntu 22.04 LTS (Jammy Jellyfish). The important catch is that Ubuntu 26.04 currently uses the 7.0 GA kernel family, so its HWE metapackage is future-facing rather than a newer-kernel upgrade today.
Confirm your current kernel first, then install the release-specific HWE metapackage where it applies. The same workflow explains the Ubuntu Server with HWE option and includes a rollback path if the newer stack causes boot, driver, or module problems.
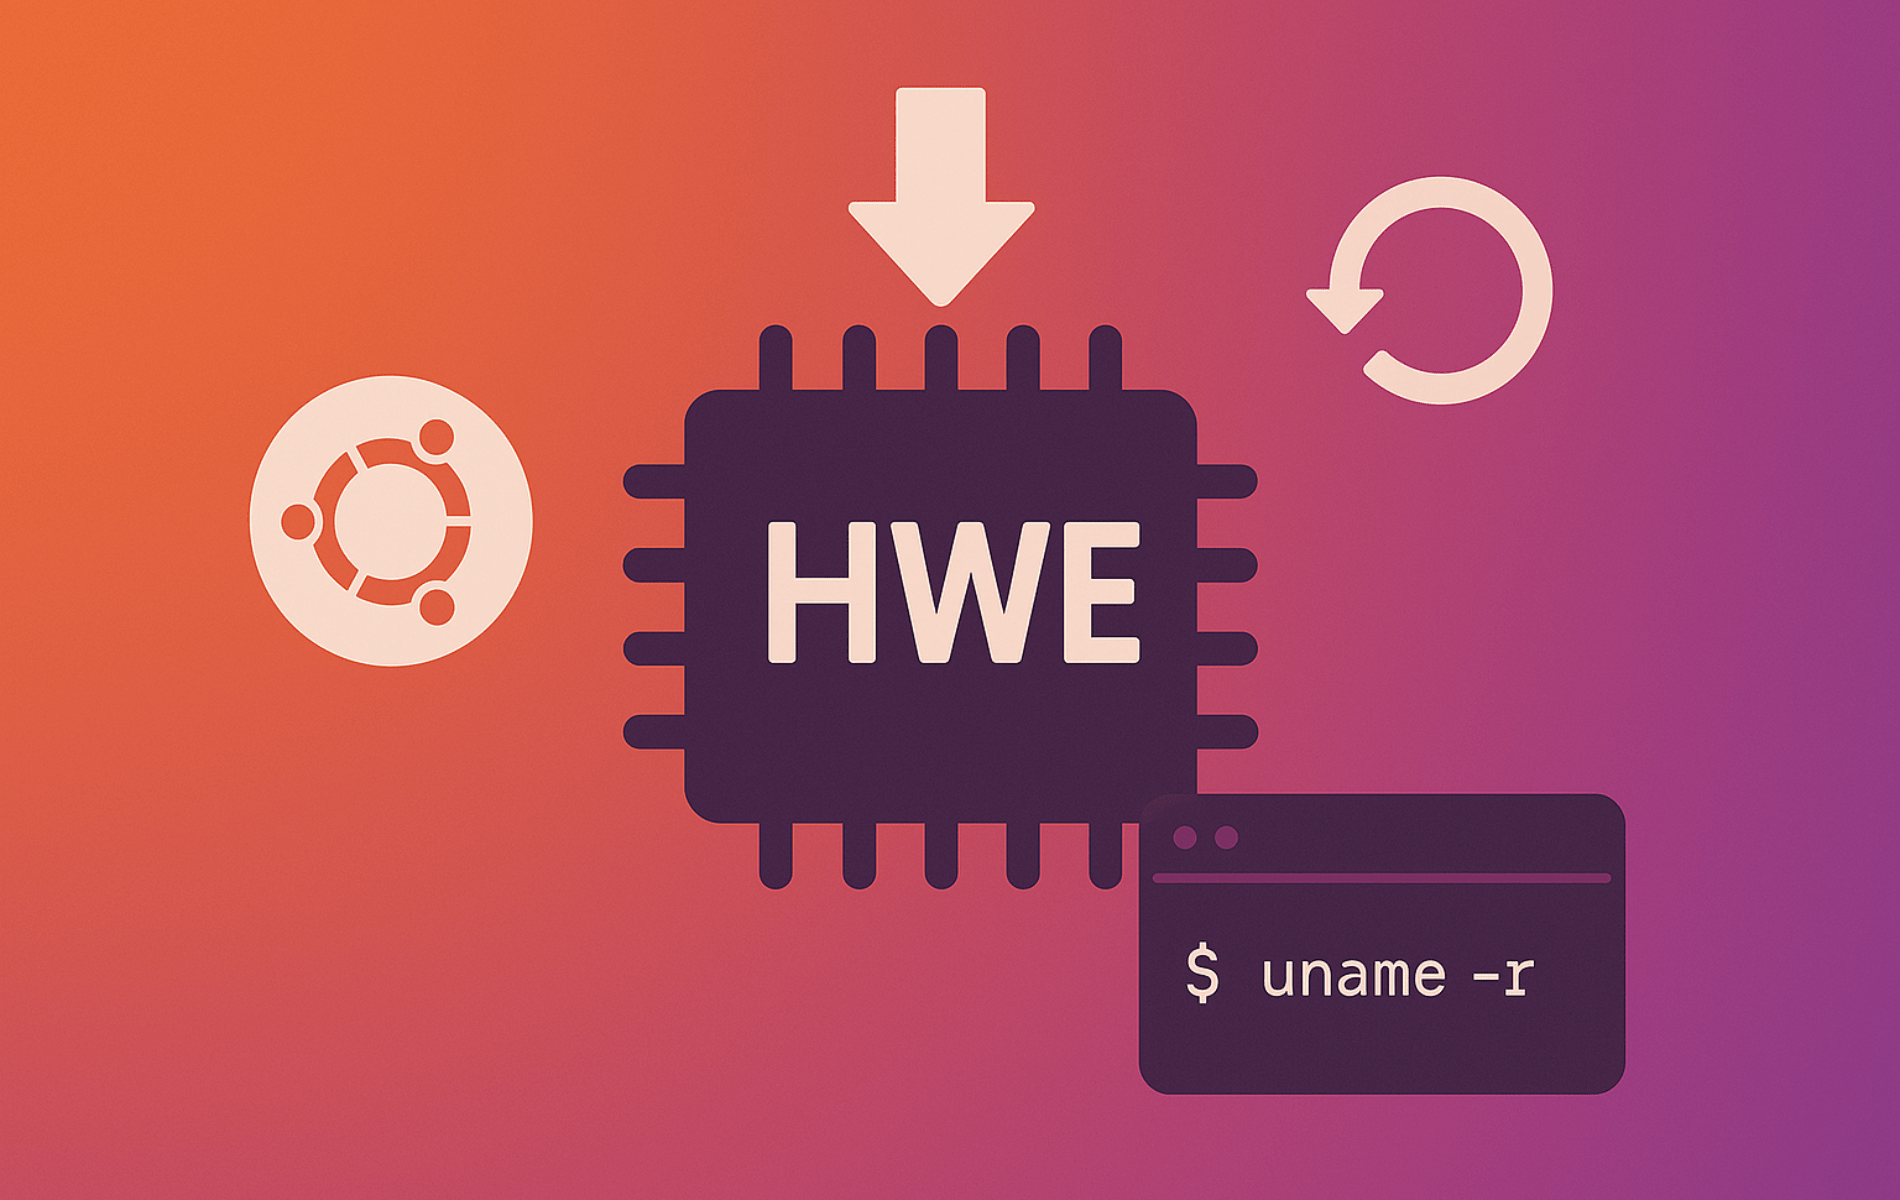
Install HWE Kernel on Ubuntu
Start by matching your Ubuntu release to the kernel track. Ubuntu’s kernel lifecycle and enablement stack page lists current HWE commands for 24.04, 22.04, and older LTS releases, while Ubuntu package metadata also provides a 26.04 HWE metapackage that currently resolves to the same 7.0 kernel branch as GA.
| Ubuntu Release | Current HWE Status | Recommended Action |
|---|---|---|
| Ubuntu 26.04 LTS (Resolute Raccoon) | linux-generic-hwe-26.04 exists, but currently resolves to the same 7.0 kernel branch as linux-generic. | Install the 26.04 HWE metapackage only if you want the future HWE tracking package in place. It does not provide a newer kernel branch yet. |
| Ubuntu 24.04 LTS (Noble Numbat) | Supports the rolling HWE stack through linux-generic-hwe-24.04, currently on the 6.17-family HWE branch. | Install HWE when a server, older install, or hardware workflow needs the rolling kernel track. |
| Ubuntu 22.04 LTS (Jammy Jellyfish) | Supports the rolling HWE stack through linux-generic-hwe-22.04. | Install HWE when you need the newer 6.8-family kernel track instead of the 5.15 GA kernel. |
HWE package names are tied to the LTS release, not to the point release. For example, Ubuntu 26.04 systems use
linux-generic-hwe-26.04, and Ubuntu 24.04.3 or 24.04.4 systems still uselinux-generic-hwe-24.04. APT updates the kernel branch behind each metapackage as Ubuntu rolls the HWE stack forward.
Check Your Current Ubuntu Release and Kernel
Confirm the release first so you do not install the wrong HWE metapackage:
lsb_release -ds
uname -r
The Ubuntu release tells you which package name applies. The kernel version tells you whether the system already runs the GA track or a newer HWE branch.
Update Ubuntu Package Metadata
Refresh APT metadata before installing a kernel metapackage:
sudo apt updateInstall HWE Kernel for Ubuntu 26.04
Ubuntu 26.04 currently tracks the 7.0 kernel family through both the GA and HWE metapackages. Installing the HWE metapackage is optional today, but it gives the system the release-specific HWE tracking package for future 26.04 enablement updates:
sudo apt install --install-recommends linux-generic-hwe-26.04If APT reports that linux-generic-hwe-26.04 is already the newest version, nothing else changes. Reboot only when APT installs or upgrades kernel packages.
Install HWE Kernel for Ubuntu 24.04
Ubuntu 24.04’s GA track is the 6.8 kernel family, while the HWE metapackage follows newer kernels as they become available through the rolling HWE model:
sudo apt install --install-recommends linux-generic-hwe-24.04Install HWE Kernel for Ubuntu 22.04
Ubuntu 22.04’s GA track is the 5.15 kernel family. Install the HWE metapackage when you need the newer kernel and driver stack from later Ubuntu LTS enablement updates:
sudo apt install --install-recommends linux-generic-hwe-22.04The --install-recommends option follows Canonical’s HWE command and keeps the full kernel image, headers, and recommended kernel-tool packages aligned with the metapackage, including on systems where APT recommendations were disabled.
Reboot and Verify the HWE Kernel
Kernel packages install beside the currently running kernel. If APT installed or upgraded a kernel, reboot before checking whether Ubuntu selected the HWE kernel:
sudo rebootAfter the system restarts, check the active kernel again:
uname -r- Ubuntu 26.04 HWE currently reports the same 7.0-family generic kernel as the GA track.
- Ubuntu 24.04 HWE should report a newer generic kernel than the 6.8 GA series once the HWE branch is active.
- Ubuntu 22.04 HWE should report a 6.8-family generic kernel instead of the 5.15 GA series.
If DKMS-based drivers such as NVIDIA, VirtualBox, or ZFS fail after the reboot, confirm the matching headers are installed. The install Linux kernel headers on Ubuntu guide covers manual header repair when the metapackage path is not enough.
Understand GA, HWE, and Ubuntu Server with HWE
The GA kernel is the kernel family an Ubuntu LTS release launched with. The HWE stack is a rolling LTS enablement path that backports newer kernel and hardware-support updates from later Ubuntu releases into an existing LTS installation.
On Ubuntu 24.04 and 22.04, desktop installs often track HWE by default because desktop hardware compatibility changes quickly. Ubuntu Server installs normally stay on the GA kernel unless you select the installer entry labeled Ubuntu Server with HWE kernel or install the HWE metapackage afterward.
On Ubuntu 26.04, linux-generic-hwe-26.04 currently tracks the same 7.0 kernel family as the GA metapackage. It is still useful as the release-specific HWE tracking package once Canonical rolls the 26.04 enablement stack forward.
HWE Kernel vs Other Ubuntu Kernel Options
Ubuntu offers several kernel paths, but they do not carry the same support model. HWE is still an Ubuntu-managed kernel stack, while third-party performance kernels trade some distribution testing for faster upstream movement or desktop-focused tuning.
| Kernel Option | Primary Focus | Best For | Trade-offs |
|---|---|---|---|
| HWE Kernel | Ubuntu-managed hardware enablement for LTS releases | Servers or desktops on older LTS releases that need newer hardware support without a full release upgrade | More kernel movement than GA, but still Ubuntu-managed |
| Install Zabbly Kernel on Ubuntu | Mainline upstream tracking with minimal patches | Kernel testing, upstream feature checks, and newer hardware experiments | Faster update cadence and less Ubuntu-specific testing |
| Install XanMod Kernel on Ubuntu | Performance optimization and gaming | Gaming rigs, multimedia workstations, and performance-focused desktops | Custom patches can conflict with some hardware or Secure Boot expectations |
| Install Liquorix Kernel on Ubuntu | Desktop responsiveness and low latency | Audio production, interactive desktop workloads, and latency-sensitive systems | Desktop-focused tuning rather than conservative server behavior |
When to Use the HWE Kernel
HWE is useful when the GA kernel is too old for your hardware or driver stack, but it is not a universal upgrade requirement. Use it for a concrete hardware, graphics, module, or platform reason.
Scenarios Where HWE Makes Sense
- New hardware support: Recent GPUs, WiFi 6E or WiFi 7 chipsets, newer storage controllers, and latest-generation laptop platforms can need drivers missing from an older GA kernel.
- Gaming and graphics performance: Kernel-side GPU fixes often pair well with upgrade Mesa drivers on Ubuntu when AMD or Intel graphics need newer Vulkan, Wayland, or frame-pacing fixes.
- Server hardware enablement: Newer NICs, RAID controllers, NVMe devices, or virtualization hosts may need a newer kernel while keeping the same Ubuntu LTS userspace.
- Development machines: Kernel API testing, container runtime changes, filesystem improvements, and module builds can require a newer supported kernel branch.
- Network performance tuning: A newer kernel may expose network stack improvements, and high-latency systems can also benefit when you enable BBR on Ubuntu.
When to Stay With the GA Kernel
- Ubuntu 26.04 systems: The release is already on the 7.0 kernel family, so the current HWE metapackage is a future tracking choice rather than an immediate hardware-support upgrade.
- Production servers with stable hardware: Mission-critical systems often value fewer kernel-family changes over newer hardware support.
- Older hardware that already works: HWE adds little value when the GA kernel supports every device cleanly.
- Compliance or change-control environments: Some systems need a predictable kernel family for audits, certifications, or vendor support matrices.
Revert From HWE Kernel to GA Kernel
Rollback is only relevant when you want to stop tracking an HWE metapackage. On Ubuntu 26.04, this does not change the kernel branch today, but the command path is useful if you installed linux-generic-hwe-26.04 and later decide to return to the plain GA metapackage.
Install the GA Metapackage and Remove HWE Tracking
Install the GA metapackage first so Ubuntu keeps the standard kernel and headers on the system:
sudo apt install linux-genericThen remove the HWE tracking packages. On Ubuntu 26.04, run:
sudo apt remove linux-generic-hwe-26.04 linux-image-generic-hwe-26.04 linux-headers-generic-hwe-26.04On Ubuntu 24.04, remove the matching 24.04 HWE tracking packages instead:
sudo apt remove linux-generic-hwe-24.04 linux-image-generic-hwe-24.04 linux-headers-generic-hwe-24.04On Ubuntu 22.04, remove the matching 22.04 HWE tracking packages:
sudo apt remove linux-generic-hwe-22.04 linux-image-generic-hwe-22.04 linux-headers-generic-hwe-22.04Removing the metapackages changes future kernel tracking. It does not always delete every installed HWE image immediately, so reboot before verifying the active kernel:
sudo rebootVerify the GA Kernel
After the reboot, check the running kernel:
uname -r- Ubuntu 26.04 GA systems should remain on a 7.0-family generic kernel until a later 26.04 HWE branch exists.
- Ubuntu 24.04 GA systems should return a 6.8-family generic kernel.
- Ubuntu 22.04 GA systems should return a 5.15-family generic kernel.
If uname -r still reports the HWE branch after reboot, the old HWE image may still be first in GRUB. Use Advanced options for Ubuntu to boot the GA kernel once, then continue cleanup only after the system is running the kernel you want to keep.
Review Old HWE Kernel Cleanup
Preview automatic cleanup before removing old kernel packages. Reused systems can have unrelated stale packages, so review the list before confirming anything:
sudo apt autoremove --dry-runIf the preview only lists old HWE kernel images, headers, or modules you no longer need, run the real cleanup:
sudo apt autoremove --purgeTroubleshoot HWE Kernel Issues
HWE Package Not Found
If APT cannot find the HWE package, re-check the release and package name first:
lsb_release -rs- Ubuntu 26.04 uses
linux-generic-hwe-26.04, but it currently tracks the same 7.0 kernel family as GA. - Ubuntu 24.04 uses
linux-generic-hwe-24.04. - Ubuntu 22.04 uses
linux-generic-hwe-22.04. - Ubuntu 20.04 and older releases have moved past normal standard support; use Ubuntu’s archived HWE documentation if you still maintain those systems.
HWE Kernel Does Not Boot
If the system fails to boot after installing HWE, open the GRUB menu, choose Advanced options for Ubuntu, and boot the previous working kernel. Once the system starts, use the rollback commands to remove the HWE metapackages and restore the GA kernel track.
Hardware Stops Working After HWE
Firmware gaps can appear after a kernel change. Check the kernel log for firmware load errors:
sudo dmesg | grep -i firmwareIf the output names a missing firmware file, reinstall the Ubuntu firmware package and reboot:
sudo apt install --reinstall linux-firmware
sudo reboot
Kernel Headers Do Not Match
Driver modules can fail when the running kernel and installed headers do not match. Check the active kernel and its header package:
uname -r
dpkg -l "linux-headers-$(uname -r)"
If the header package is missing, reinstall the HWE metapackage for your release, reboot, and check again. This matters most for DKMS drivers such as NVIDIA, VirtualBox, ZFS, and other out-of-tree modules.
GRUB Still Boots the Older Kernel
If the HWE packages install but Ubuntu still boots the older kernel, list installed kernel images and regenerate GRUB’s menu:
dpkg --list | grep linux-image
sudo update-grub
Reboot again and re-check uname -r. If the old kernel remains first in the boot menu, use GRUB’s advanced options to select the HWE entry once, then decide whether HWE is worth keeping on that machine.
Conclusion
Ubuntu now tracks the right HWE path for its release: 26.04 can install the future-facing linux-generic-hwe-26.04 metapackage while it still matches the 7.0 GA branch, and 24.04 or 22.04 can use their HWE metapackages for newer rolling kernel branches. Keep the system current with Ubuntu command-line package updates, and configure unattended upgrades on Ubuntu when you want security updates applied automatically.

Formatting tips for your comment
You can use basic HTML to format your comment. Useful tags currently allowed in published comments:
<code>command</code>command<strong>bold</strong><em>italic</em><a href="https://example.com">link</a><blockquote>quote</blockquote>