This guide will delve into the installation of XanMod Kernel on Ubuntu 24.04, 22.04, or 20.04, guiding you through using the command-line terminal and XanMod’s official APT repository for the latest versions. Additionally, it will explain how to utilize the XanMod script to determine your CPU’s compatibility and select the appropriate XanMod Kernel package.
The XanMod Kernel is a performance-driven, customizable Linux kernel, particularly beneficial for users of Ubuntu looking to enhance their system’s capabilities. Its key features relevant to the Ubuntu installation include:
- Optimized Core and Process Scheduling: Tailored for heavy workloads with advanced load balancing, caching, and a virtual memory manager.
- High I/O Throughput: Utilizes full multi-core block layer runqueue requests for faster data processing.
- Real-Time Linux Kernel: Available in PREEMPT_RT build, ideal for time-sensitive applications.
- AMD’s P-state CPPC Driver: Specifically optimized for Zen2/3/4 processors.
- Intel SMT Task Migration: Redesigned for more efficient scheduling.
- Futex Waitv and WAIT_MULTIPLE: Enhances gaming performance, supporting Wine / Proton Fsync.
- Cloudflare’s TCP Collapse Processing: Ensures swift and reliable data transmission.
- Google’s Multigenerational LRU Framework: Implements efficient memory management.
- BBRv3 TCP Congestion Control: Ensures stable and efficient network performance.
- Netfilter Enhancements: Includes improved packet processing features.
- WineSync Driver: Provides kernel-level support for Wine, enhancing compatibility.
- PCIe ACS Override: Enables bypassing of IOMMU group restrictions.
- Additional CPU Options: Incorporates Graysky’s GCC and Clang enhancements for better CPU performance.
- Android Binder IPC Driver: Boosts Android emulation, which is particularly beneficial for Waydroid users.
With these features, XanMod Kernel transforms an Ubuntu system into a powerhouse optimized for diverse and demanding workloads. Let’s begin the journey towards a more powerful and efficient Ubuntu system with XanMod Kernel.
Import XanMod APT Repository on Ubuntu
Note: The XanMod Kernel supports only the x86_64 processor architecture. Additionally, it does not support secure boot, so you must disable this feature on your system before proceeding with the installation.
Update Ubuntu Before XanMod Installation
To start, it’s essential to update your system. This step ensures that all packages are current, minimizing potential conflicts during the XanMod Kernel installation.
Run the following command in your terminal:
sudo apt updateAfter updating the package list, proceed to upgrade any packages that are out-of-date:
sudo apt upgradeInstall Required Packages For XanMod Installation
Next, install the necessary software packages. These packages are crucial for the successful installation of the XanMod Kernel.
Execute this command:
sudo apt install dirmngr lsb-release ca-certificates software-properties-common apt-transport-https dkms curl -yAdd XanMod GPG Key and APT Repository
Now, add the XanMod GPG key to your system. This key verifies the authenticity of the XanMod packages. Use the following command to import the key:
curl -fSsL https://dl.xanmod.org/gpg.key | sudo gpg --dearmor | sudo tee /usr/share/keyrings/xanmod.gpg > /dev/nullAfter importing the GPG key, add the XanMod repository to your system. This repository contains the XanMod Kernel packages. Run the command below:
echo 'deb [signed-by=/usr/share/keyrings/xanmod.gpg] http://deb.xanmod.org releases main' | sudo tee /etc/apt/sources.list.d/xanmod-kernel.listTo confirm the successful addition of the repository, use the grep command:
grep xanmod /etc/apt/sources.list.d/xanmod-kernel.listYou should see the following output, confirming the repository’s addition:
deb [signed-by=/usr/share/keyrings/xanmod.gpg] http://deb.xanmod.org releases mainRefresh APT Cache After XanMod Import
Finally, refresh your APT package index to include the newly added XanMod repository. This step ensures your system recognizes the new source for package installation.
Update your APT cache with this command:
sudo apt updateInstall XanMod Kernel on Ubuntu
Download XanMod Kernel Check Script
To ensure compatibility with your CPU, start by downloading the XanMod Kernel Check Script. This script identifies the appropriate XanMod Kernel package for your system.
First, download the script and adjust its permissions:
wget https://dl.xanmod.org/check_x86-64_psabi.sh
chmod +x check_x86-64_psabi.sh
The necessity of this step arises because the XanMod Kernel is divided into versions like linux-xanmod-x64v1, linux-xanmod-x64v1, 2, 3, 4, and so on, tailored to different CPU capabilities.
Execute the script to determine the suitable version:
./check_x86-64_psabi.shThe output will indicate the supported x86-64 version, for example:
CPU suports x86-64-v2Your output may vary, indicating x86-64-v1, v3, or v4, depending on your CPU.
Install XanMod Kernel via APT Command
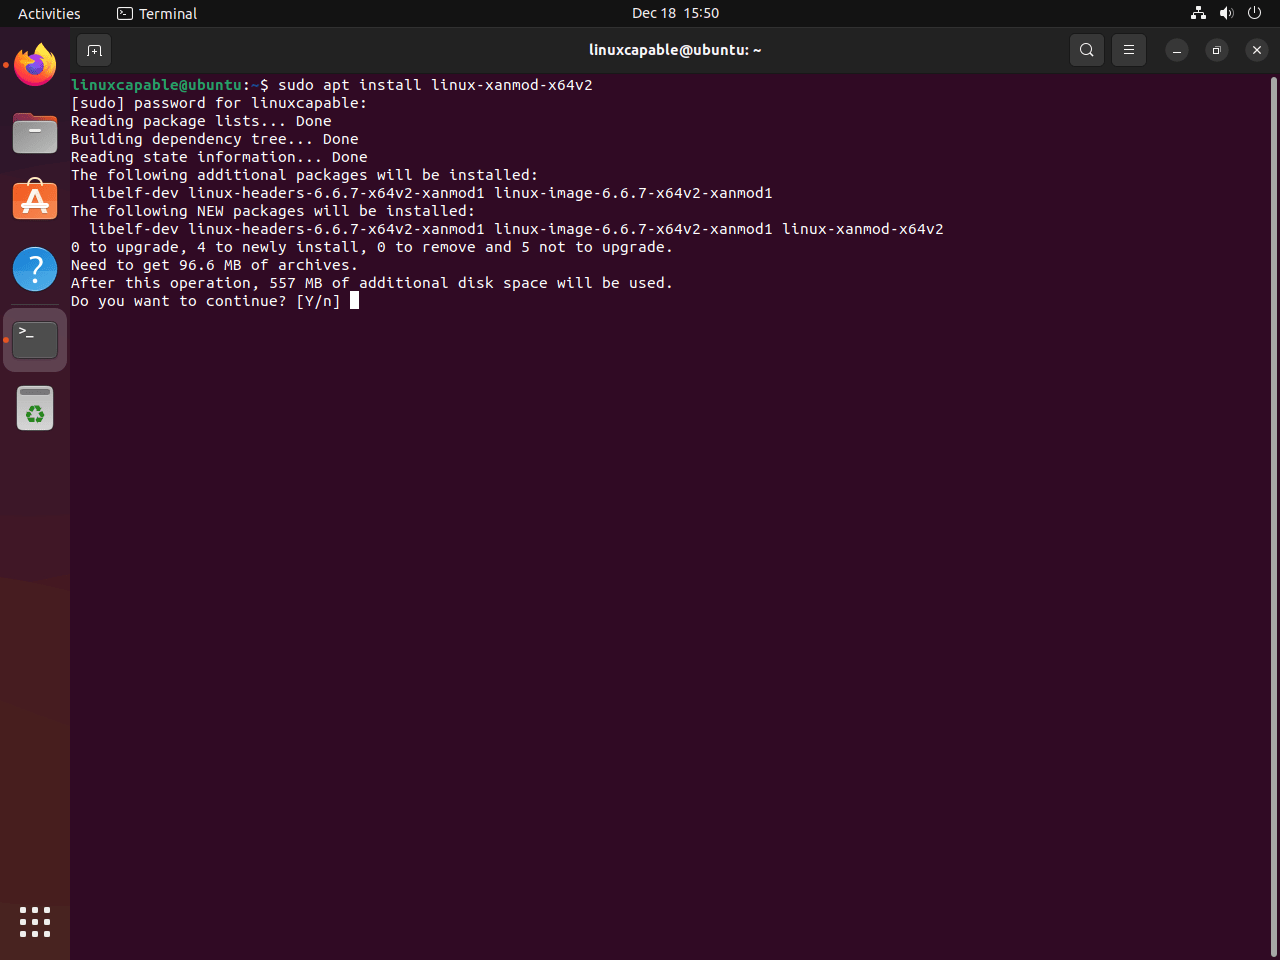
With the appropriate version identified, install the XanMod Kernel. For instance, if your CPU supports x86-64-v2, use:
sudo apt install linux-xanmod-x64v2Adjust the command according to your CPU version (
v1,v3, orv4) which you would know from running the XanMod script earlier.
For a detailed breakdown of each kernel version and its compatibility, refer to the XanMod Kernel’s website.
Here’s a quick XanMod Versions overview:
- MAIN Versions:
linux-xanmod-x64v1: Compatible with older CPUs, including AMD K8-family and Intel Pentium 4 / Xeon (Nocona).linux-xanmod-x64v2: Suitable for slightly newer CPUs, such as AMD Family 10h (Barcelona) and Intel Core 2 variants.linux-xanmod-x64v3: Optimized for modern CPUs like AMD Family 17h (Zen) and Intel 6th Gen Core (Skylake).linux-xanmod-x64v4: Designed for the latest CPU generations, including AMD Family 19h (Zen4) and Intel Xeon / 10th Gen Core (Ice Lake).
- EDGE Versions:
linux-xanmod-edge-x64v2: Tailored for CPUs like AMD Family 16h (Jaguar) and Intel 2nd Gen Core (Sandybridge).linux-xanmod-edge-x64v3: Best for CPUs including AMD Family 17h (Zen+) and Intel 7th Gen Core (Kaby Lake).linux-xanmod-edge-x64v4: Ideal for the most advanced CPUs such as Intel 11th Gen (Rocket Lake) and AMD Family 19h (Zen3).
- LTS Versions:
linux-xanmod-lts-x64v1: Supports older, long-term stable CPUs, like Intel Core 2 and AMD K10-family.linux-xanmod-lts-x64v2: Compatible with a range of CPUs including Intel 3rd Gen Core (Ivybridge) and AMD Family 15h (Steamroller).linux-xanmod-lts-x64v3: Suitable for more recent CPUs, such as Intel 10th Gen Core (Comet Lake) and AMD Family 17h (Zen2).linux-xanmod-lts-x64v4: Designed for the newest CPUs offering long-term stability, including Intel 13th Gen (Raptor Lake) and AMD Family 19h (Zen3).
- RT Versions:
linux-xanmod-rt-x64v2: Real-time version for CPUs like Intel 1st Gen Core (Nehalem) and AMD Family 15h (Bulldozer).linux-xanmod-rt-x64v3: Real-time version optimized for newer CPUs, including Intel 8/9th Gen Core (Coffee Lake) and AMD Family 17h (Zen+).linux-xanmod-rt-x64v4: The most advanced real-time version for CPUs such as Intel Xeon (Cooper Lake) and AMD Family 19h (Zen4).
Each of these versions is tailored to specific CPU generations and types, ensuring optimized performance and compatibility. Selecting the correct version for your CPU architecture is crucial for achieving the best results with the XanMod Kernel.
Reboot Ubuntu System After XanMod Kernel Installation
To finalize the installation, reboot your Ubuntu system. This step activates the newly installed XanMod Kernel:
rebootAfter rebooting, your system will be running the selected XanMod Kernel version, offering enhanced performance tailored to your CPU’s capabilities.
Verify XanMod Kernel Installation on Ubuntu
Checking the Installed Kernel Version
To confirm the installation of the XanMod Kernel on your system, it’s essential to check the current kernel version. You can accomplish this through the terminal using the cat command:
cat /proc/versionThis command will display the details contained in the /proc/version file, which includes information about the running kernel. As an alternative, the uname -r command offers a more succinct output, specifically showing the kernel release information:
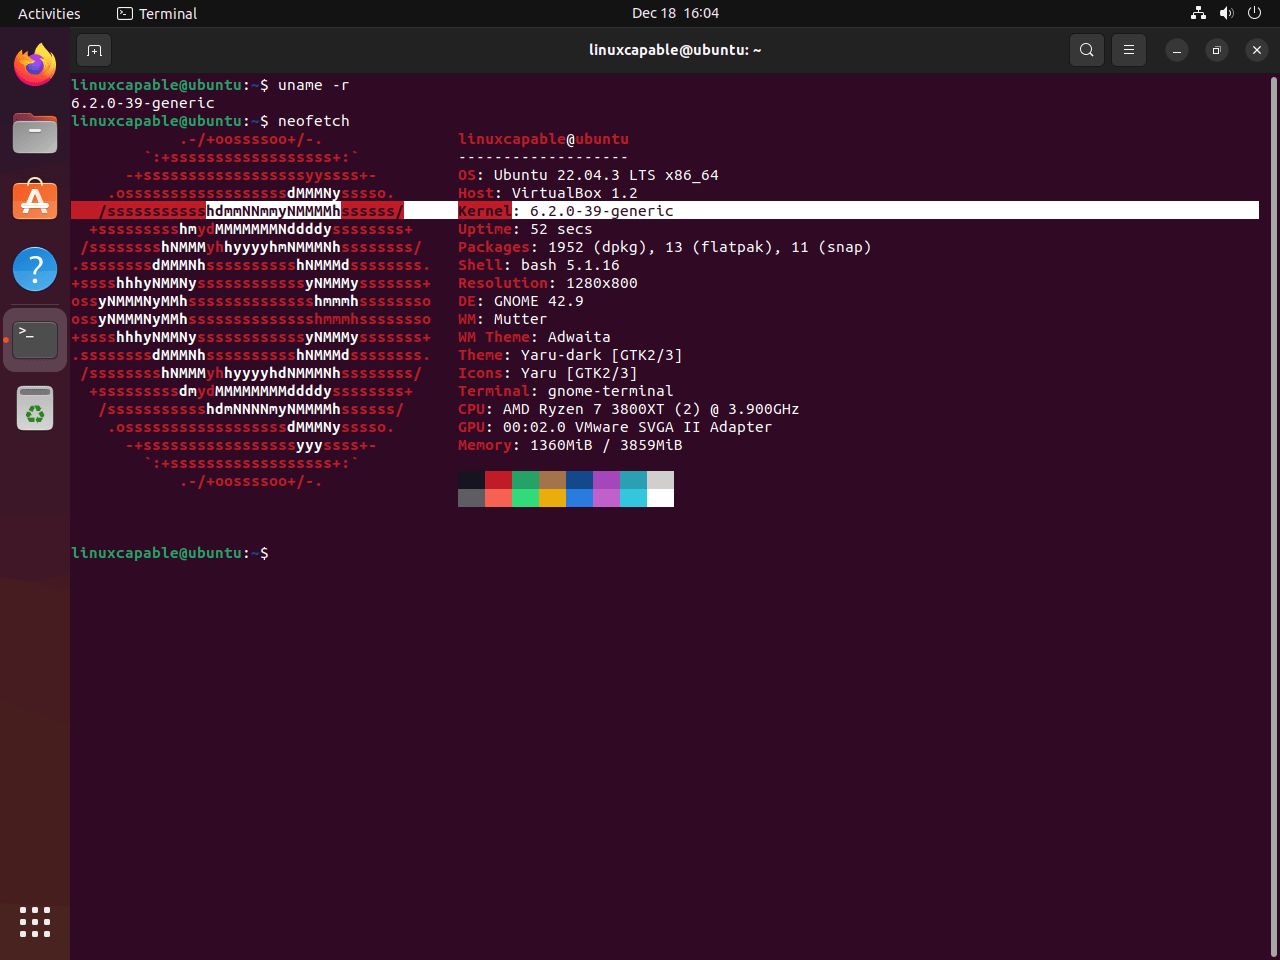
uname -rEnhancing System Information Display with Neofetch
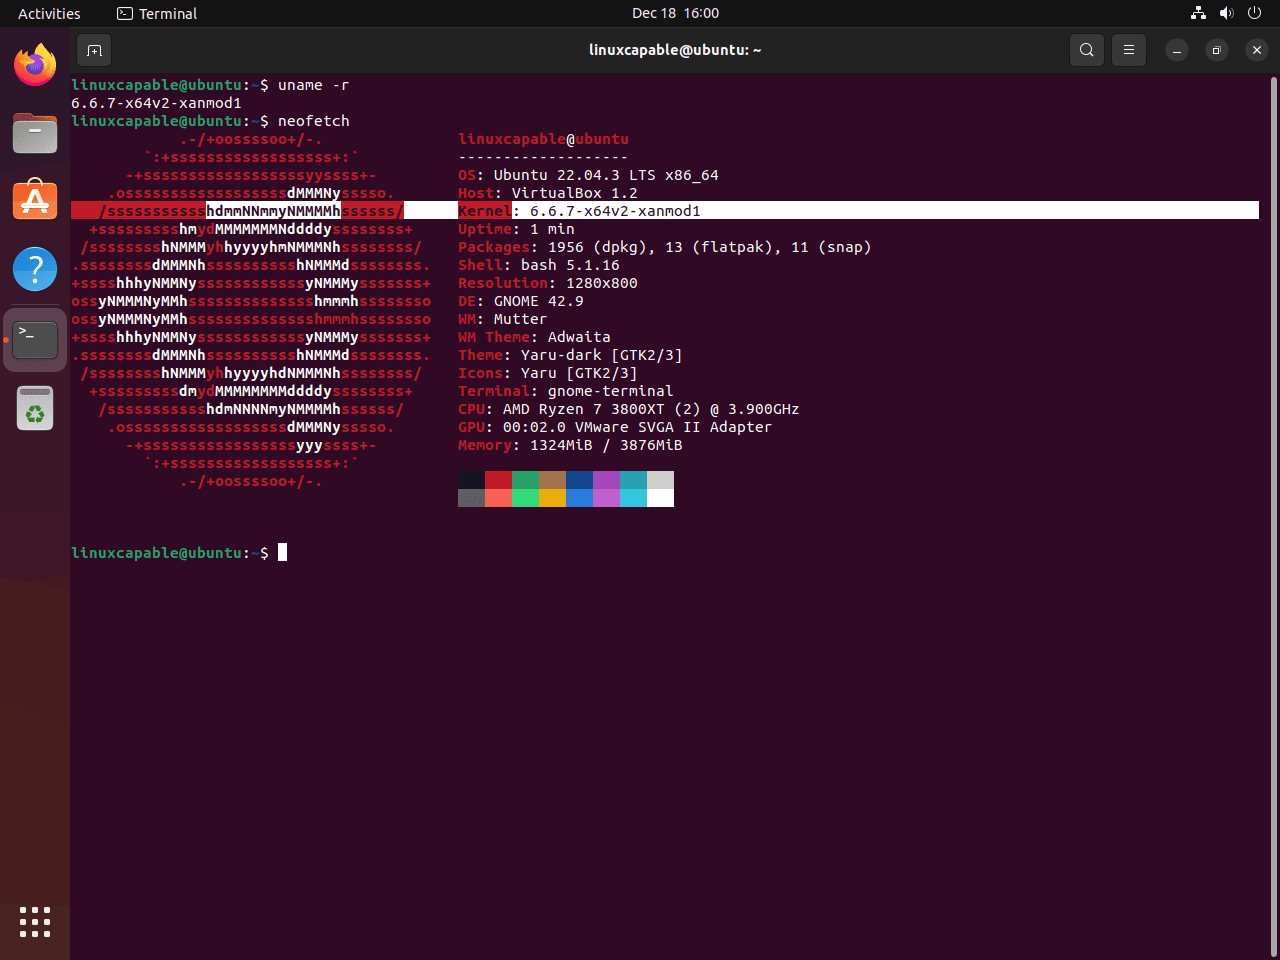
For a broader overview of your system that includes the kernel version, installing Neofetch is a beneficial step. Neofetch is a command-line tool that elegantly presents extensive system information.
First, install Neofetch using the command:
sudo apt install neofetch -yThe -y flag here auto-confirms the installation, making the process quicker and smoother. After installation, execute Neofetch to view your system specifications:
neofetchRunning this command will reveal a detailed summary of your system’s specifications, encompassing the kernel version, hardware details, and the operating system information.
Install Intel or AMD Official Microcodes on Ubuntu
Installing Intel Microcode
Updating the microcode for users with Intel processors is crucial for system stability and security. Microcode updates can address CPU bugs and enhance performance. Ubuntu facilitates this update process through its package management system.
To install the latest Intel microcode, use the following command:
sudo apt install intel-microcode iucode-toolThis command installs intel-microcode, which contains the latest microcode binaries from Intel, and iucode-tool, a utility for manipulating microcode updates.
Installing AMD Microcode
Updating the microcode for systems with AMD processors is similarly important for maintaining CPU performance and security. Ubuntu provides a straightforward method to install these updates.
Execute the following command to install the AMD microcode:
sudo apt install amd64-microcodeThis command installs amd64-microcode, which is the package containing microcode updates specifically for AMD CPUs.
Managing XanMod Kernel on Ubuntu
Update XanMod Kernel
Regular updates are essential to maintain the performance and security of the XanMod Kernel. If you’ve installed XanMod using APT, as outlined in previous tutorials, updating it is straightforward.
Start by checking for available updates:
sudo apt updateIf updates are available, upgrade your system with:
sudo apt upgradeThese commands will ensure your XanMod Kernel stays current with the latest enhancements and security patches.
Remove XanMod Kernel
Before removing XanMod, deleting the repository you added earlier is crucial. This step prevents your system from receiving future updates for XanMod.
Remove the repository using:
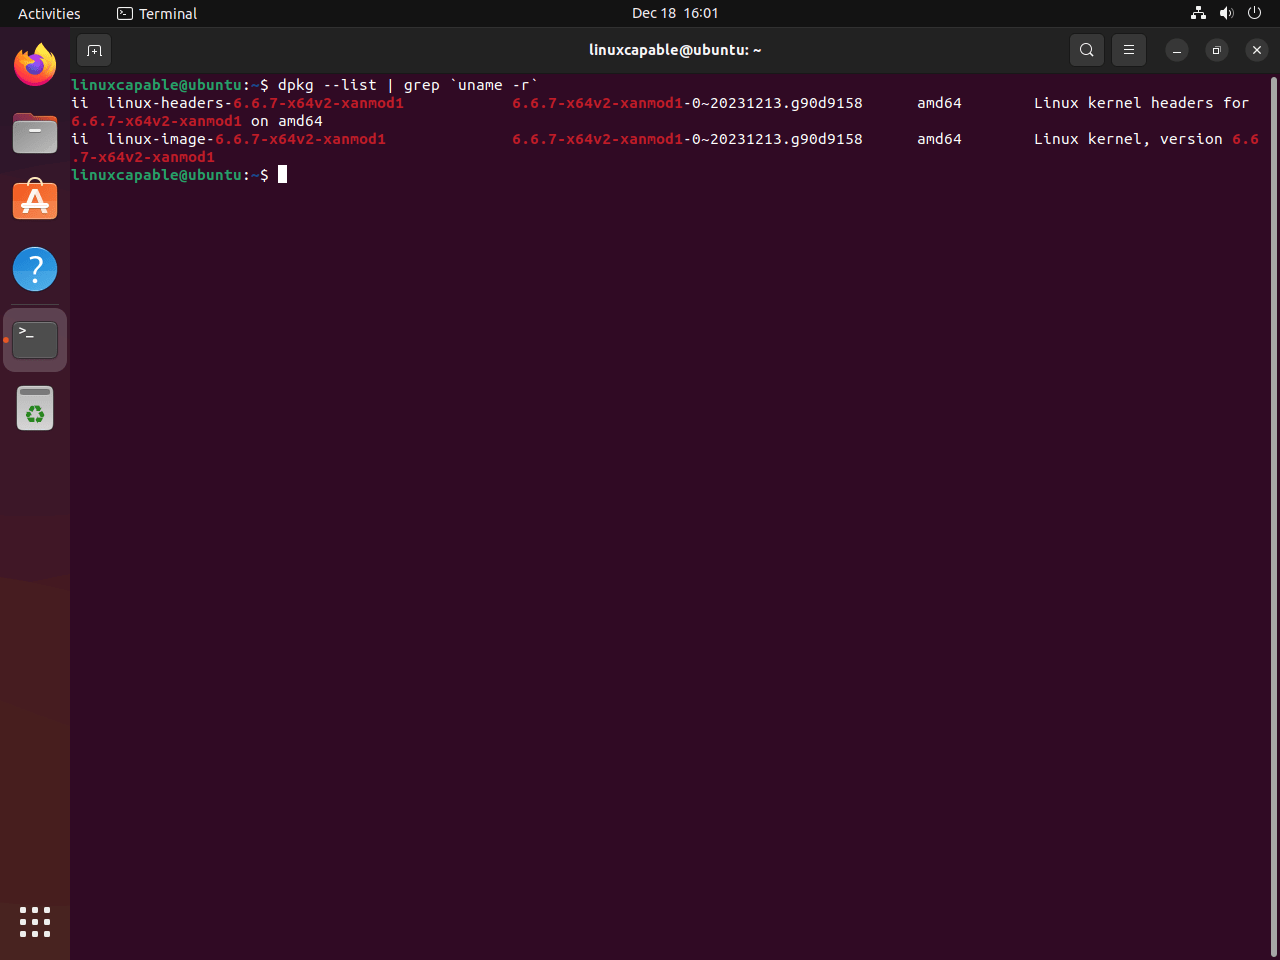
sudo rm /etc/apt/sources.list.d/xanmod-kernel.listNext, identify the specific XanMod kernel packages installed on your system. You can find the exact names of the XanMod Linux image and header packages with the following:
dpkg --list | grep `uname -r`This command filters the installed packages to show only those related to the currently running XanMod Kernel version. To remove all components of the XanMod Kernel, execute:
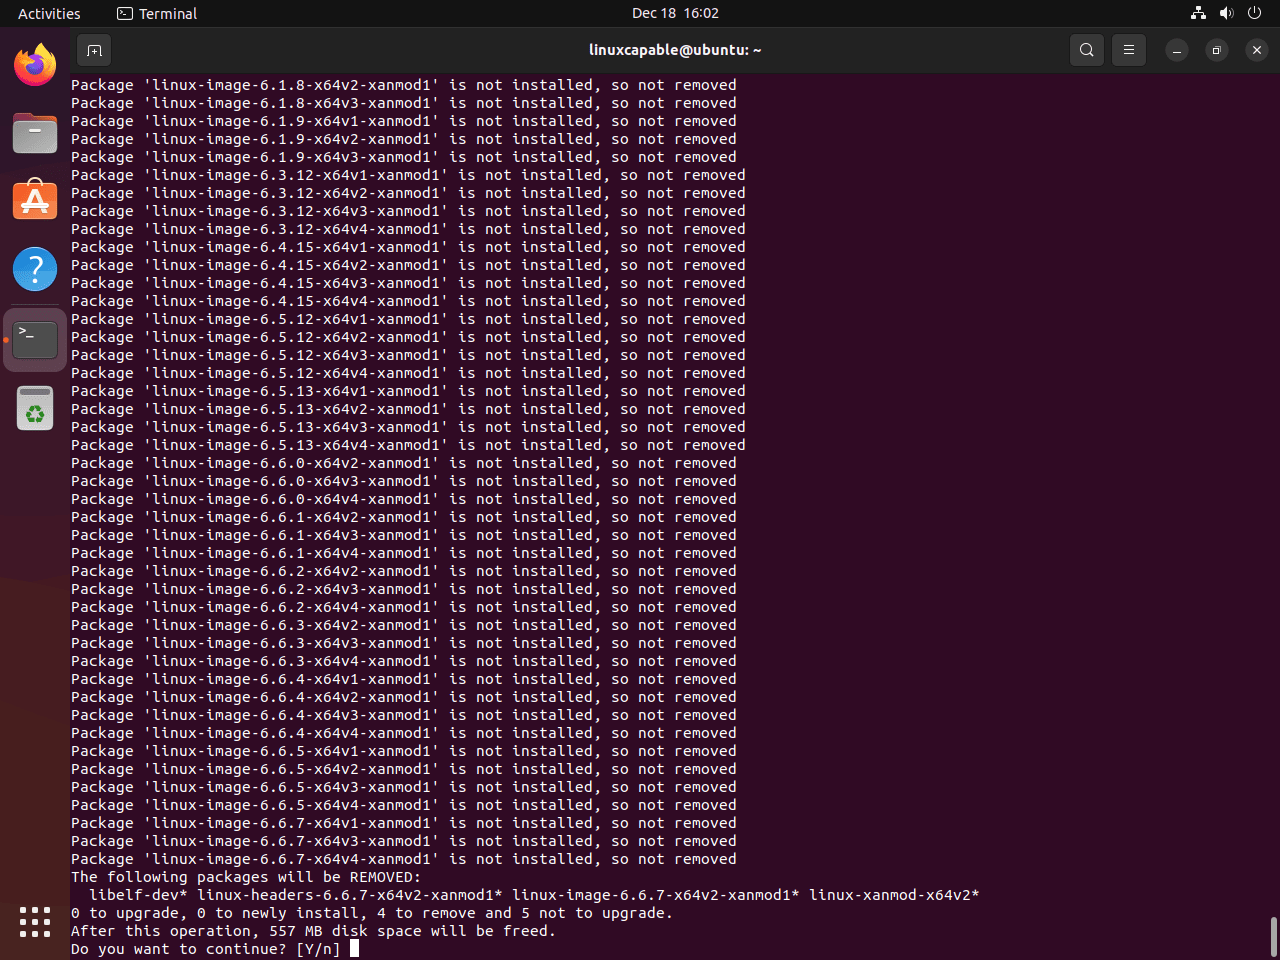
sudo apt autoremove linux-image-*.*.*-xanmod* linux-headers-*.*.*-xanmod* --purgeFinally, reboot your computer to complete the removal process:
rebootUpon restarting, verify that your system has reverted to the standard Ubuntu kernel:
uname -rConclusion
That wraps up our journey with the XanMod Kernel on Ubuntu 22.04 or 20.04. We’ve gone through the essentials, from installing and updating this performance-boosting kernel to removing it if needed. Remember, keeping your kernel updated is key for the best experience. And hey, if you ever decide to switch back to the standard Ubuntu kernel, it’s just a few commands away.


