Eclipse IDE is a formidable open-source tool in integrated development environments, offering extensive support for many programming languages. The following guide will demonstrate how to install Eclipse IDE on Fedora Linux. First, we will delve into some of the features.
Key Features of Eclipse IDE:
- Multi-Language Support: Eclipse IDE caters to a wide array of programming languages, including but not limited to Java, C++, and Python, making it a versatile choice for developers.
- User-Friendly Interface: The platform boasts a customizable and intuitive interface, complete with various perspectives, views, and toolbars to enhance productivity.
- Advanced Code Editing: Users benefit from syntax highlighting, code folding, and intelligent code completion, all designed to facilitate efficient code writing and editing.
- Powerful Debugging Tools: Eclipse IDE provides advanced debugging capabilities, including breakpoints, variable inspection, and stack trace analysis, ensuring thorough issue resolution.
- Integrated Version Control: The IDE supports popular version control systems like Git, SVN, and CVS, streamlining project management and collaboration.
- Extensive Plugin Ecosystem: With over 1000 plugins and extensions available, developers can tailor their environment to meet specific needs.
- Refactoring Tools: The platform includes powerful tools for code simplification and optimization, enhancing overall code quality.
- Build Tools Integration: Eclipse IDE integrates seamlessly with popular build tools such as Ant, Maven, and Gradle, simplifying the build and deployment processes.
- Cross-Platform Compatibility: The IDE is available on Linux, Windows, and macOS, ensuring a consistent development experience regardless of the operating system.
- Support for Various Project Types: Eclipse IDE supports various project types, including web, desktop, and mobile applications, and provides plugins and frameworks for platforms like Android and iOS.
- Active Community and Resources: Developers have access to a wealth of resources, including documentation, tutorials, and support forums, all backed by an active and supportive community.
With these features in mind, we are now ready to delve into the installation process of Eclipse IDE on Fedora Linux, ensuring you have all the necessary tools and knowledge to optimize your development workflow.
Install Eclipse IDE on Fedora via COPR
Step 1: Update Fedora Packages Before Eclipse IDE Installation
First, run a quick update to ensure all your system packages are up-to-date before installing the Eclipse IDE.
sudo dnf upgrade --refreshStep 2: Install Eclipse IDE via DNF Command and Eclipse COPR
To install Eclipse IDE on Fedora Linux using the DNF package manager, you can use the “dusansimic/eclipse” COPR repository. To enable the “dusansimic/eclipse” COPR repository, run the following command in the terminal:
sudo dnf copr enable dusansimic/eclipseExample output when imported successfully:
Repository successfully enabled.To begin the installation process, run the following command:
sudo dnf install eclipseIf you prefer Flatpak, follow the installation method outlined below.
Install Eclipse IDE on Fedora via Flatpak and Flathub
The following method involves using Flatpak to install Eclipse IDE. Flatpak is available on many Linux distributions, including RHEL downstream distributions like AlmaLinux, CentOS, Rocky Linux, and even Linux Mint.
Step 1: Enable Flathub for Eclipse IDE Installation
By default, Flatpak should be enabled, but you may need to enable the Flathub repository using the following command:
sudo flatpak remote-add --if-not-exists flathub https://flathub.org/repo/flathub.flatpakrepoStep 2: Install Eclipse IDE via Flatpak Command
To start the installation process using Flatpak, enter the following command:
flatpak install flathub org.eclipse.JavaEclipse IDE Flatpak Troubleshoot
Encountering the error message below is a common issue when attempting to install a Flatpak from Flathub on Fedora:
"error: Unable to load summary from remote flathub: Can't fetch summary from disabled remote 'flathub,"The following error message is a common issue that users may encounter when trying to install a Flatpak from Flathub on Fedora:
sudo flatpak remote-modify --enable flathubLaunch Eclipse IDE on Fedora
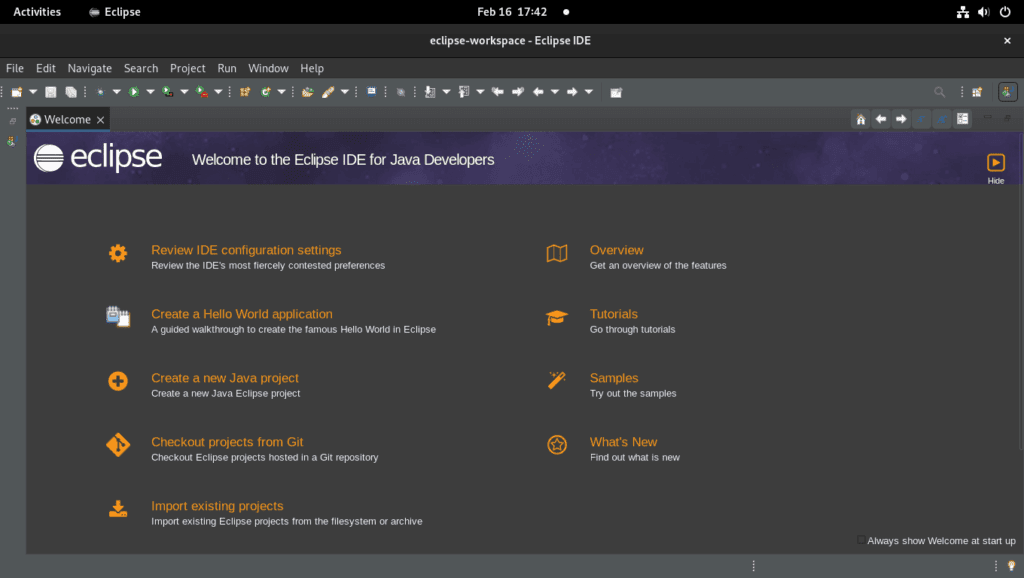
Once the installation is complete, you can run Eclipse IDE in a few different ways.
CLI Commands to Launch Eclipse
Firstly, you can use the following command in the terminal:
eclipseIf you installed Eclipse IDE using Flatpak, you could use the following command to run it:
flatpak run org.eclipse.JavaGUI Method to Launch Eclipse
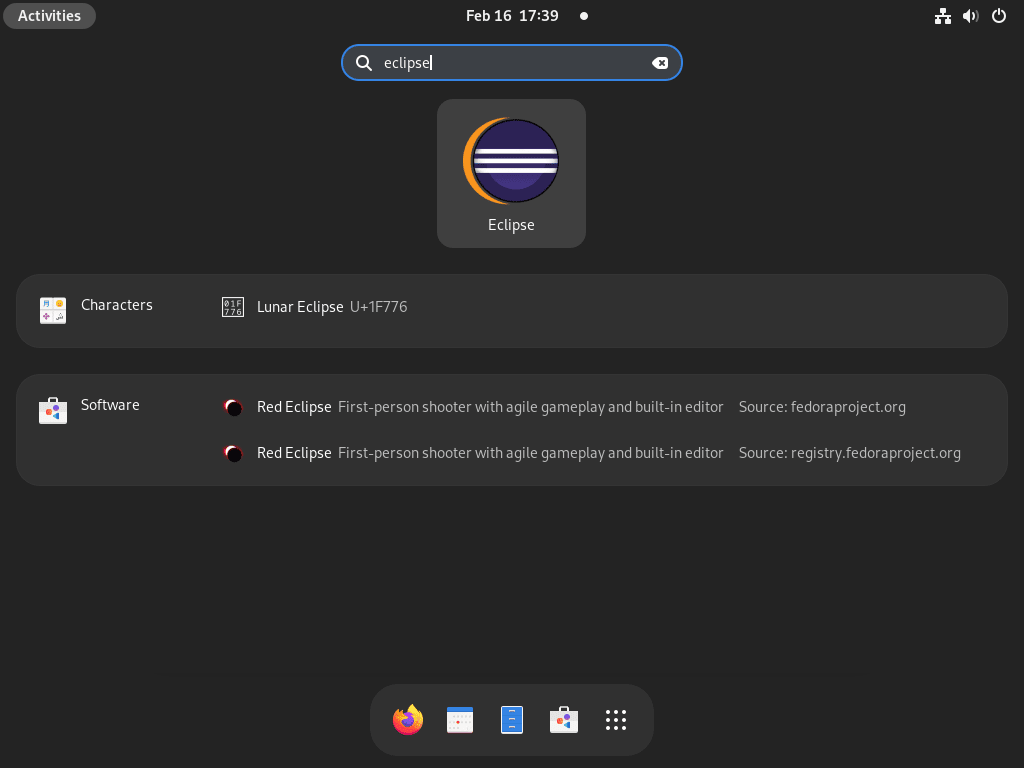
However, running Eclipse IDE from the terminal may not be the most practical solution. Instead, you can launch it from your desktop by following these steps:
Activities > Show Applications > Eclipse
First-Time Tips with Eclipse IDE on Fedora
Now that you’ve successfully installed Eclipse IDE on Fedora, it’s time to delve into some initial steps to make the most out of your development environment. This section will provide insights into general tips, customizations, and other pointers to enhance your workflow, all tailored for Linux-based setups.
General Eclipse IDE Tips with Fedora
- Workspace Selection:
- Upon launching, Eclipse prompts for a workspace location. This is where all your projects and files reside. Ensure to choose a location that’s easily accessible and well-organized.
- Perspective Management:
- Eclipse provides different perspectives (sets of windows/views) for different tasks. Familiarize yourself with the Java, Debug, and Git perspectives. Switch between them using the icons in the top-right corner or by going to
Window>Perspective.
- Eclipse provides different perspectives (sets of windows/views) for different tasks. Familiarize yourself with the Java, Debug, and Git perspectives. Switch between them using the icons in the top-right corner or by going to
- Automatic Updates:
- While Eclipse checks for updates automatically, it’s advisable to manually check from time to time via
Help>Check for Updates.
- While Eclipse checks for updates automatically, it’s advisable to manually check from time to time via
- Shortcut Keys:
- Familiarize yourself with essential shortcut keys to enhance productivity. For instance,
Ctrl + Spacefor content assist,Ctrl + Sto save, andF11to debug.
- Familiarize yourself with essential shortcut keys to enhance productivity. For instance,
Note: Customize shortcut keys via Window > Preferences > General > Keys.
Eclipse IDE Customizations with Fedora
- Theme Customization:
- Adjust the look and feel of Eclipse according to your preference via
Window>Preferences>General>Appearance.
- Adjust the look and feel of Eclipse according to your preference via
- Code Formatter:
- Tailor the code formatting settings to your liking or team standards via
Window>Preferences>Java>Code Style>Formatter.
- Tailor the code formatting settings to your liking or team standards via
- File Associations:
- Modify file associations and editors for different file types via
Window>Preferences>General>Editors>File Associations.
- Modify file associations and editors for different file types via
- Code Templates:
- Utilize code templates for common code snippets via
Window>Preferences>Java>Editor>Templates.
- Utilize code templates for common code snippets via
Other Eclipse IDE Tips with Fedora
- Installing Additional Plugins:
- Expand Eclipse’s functionality through plugins. Go to
Help>Eclipse Marketplaceto browse and install plugins.
- Expand Eclipse’s functionality through plugins. Go to
- Version Control:
- Leverage version control systems like Git via the
EGitplugin pre-installed in Eclipse. Access Git features via the Git perspective or theTeamcontext menu in the Project Explorer.
- Leverage version control systems like Git via the
- Error Highlighting:
- Use Eclipse’s real-time error highlighting and correction suggestions to catch issues early in the development process.
- Console View:
- Keep an eye on the Console view for system output, errors, and other messages generated by your application.
This section sets a foundation for exploring Eclipse IDE on Fedora. By tuning the environment to your liking and understanding the basic functionalities, you’re well on your way to a streamlined development experience.
Additional Eclipse IDE Commands with Fedora
Remove (Uninstall) Eclipse IDE From Fedora
To remove Eclipse IDE from your system, you can follow these steps:
DNF Removal Process For Eclipse IDE:
If you installed Eclipse IDE using the DNF package manager, run the following command in your terminal:
sudo dnf remove eclipseIf you enabled the “dusansimic/eclipse” COPR repository, disable it using the following command:
sudo dnf copr disable dusansimic/eclipseFlatpak Removal Process For Eclipse IDE:
If you installed Eclipse IDE using Flatpak, run the following command to uninstall it:
flatpak uninstall --delete-data org.eclipse.JavaConclusion
This guide discussed two methods for installing Eclipse IDE on Fedora Linux: using the DNF package manager to enable the “dusansimic/eclipse” COPR repository and using Flatpak to install Eclipse IDE. We also provided tips for customizing the IDE and uninstalling Eclipse IDE from your system.
Overall, Eclipse IDE is an excellent choice for developers looking for a robust, versatile, open-source development environment. Eclipse IDE can streamline your development process and take your coding skills to the next level.


