Fedora does not ship Microsoft’s Visual Studio Code package in its default repositories, so the usual dnf search route stops short unless you add an upstream source. The practical choice is between Microsoft’s RPM repository, which gives you the official DNF-managed package, and Flathub, which wraps the stable build as an unofficial Flatpak.
The Microsoft repository is the cleaner path if you want the official package and DNF-managed updates. Flathub still works when you prefer Flatpak, and the Fedora-specific snags mostly come down to Flatpak scope, SELinux, and Wayland.
Install Visual Studio Code on Fedora
On Fedora, the DNF package names are code for the stable build and code-insiders for the preview build. If you try dnf install vscode, DNF will not find the package because vscode is not the package name.
| Method | Channel | Builds | Updates | Best For | Trade-offs |
|---|---|---|---|---|---|
| DNF package | Microsoft RPM repository | Stable + Insiders | Handled through DNF | Most Fedora users who want the official package and DNF-managed updates | Adds a third-party Microsoft repository and signing key |
| Flatpak | Flathub | Stable only | Handled through Flatpak | Users who prefer Flathub packaging and do not need the Insiders build | Unofficial extra-data Flatpak with broad permissions and Flatpak-specific terminal or SDK handling |
For most Fedora systems, use the Microsoft repository. The Flathub package is an unofficial extra-data Flatpak, Microsoft does not support that packaging directly, and the app page only publishes the stable build.
Treat the standalone RPM download from Microsoft’s Linux setup page as a one-off or offline path. For a normal Fedora desktop, the repository method is easier to maintain because DNF owns future updates.
If you want the open-source build without Microsoft telemetry, install VSCodium on Fedora instead.
Install Visual Studio Code from the Microsoft RPM Repository
This method installs the official Microsoft package and keeps updates inside your normal DNF workflow.
sudo dnf upgrade --refreshThese commands use
sudofor root privileges. If your account is not in the sudoers file yet, follow the guide on how to add a user to sudoers on Fedora.
Import the Microsoft signing key, then write the repository file. The printf and tee pattern keeps each repository line explicit while still writing the file with root privileges.
sudo rpm --import https://packages.microsoft.com/keys/microsoft.asc
printf '%s\n' \
'[code]' \
'name=Visual Studio Code' \
'baseurl=https://packages.microsoft.com/yumrepos/vscode' \
'enabled=1' \
'autorefresh=1' \
'type=rpm-md' \
'gpgcheck=1' \
'gpgkey=https://packages.microsoft.com/keys/microsoft.asc' | sudo tee /etc/yum.repos.d/vscode.repo > /dev/null
After the repository is in place, verify that Fedora can see both packages from the code repository:
dnf repoquery --available --arch="$(uname -m)" --latest-limit=1 --queryformat '%{name} %{evr} %{arch} %{repoid}\n' code code-insiders | grep ' code$'Install the Visual Studio Code Stable Build
The stable build is the right choice for most development machines.
sudo dnf install codeInstall the Visual Studio Code Insiders Build
Use Insiders when you want preview features before they reach the stable channel.
sudo dnf install code-insidersTo verify the stable build, print the installed version. If you installed Insiders instead, run code-insiders --version.
code --versionThe Microsoft release-signing key used by this repository has fingerprint
BC52 8686 B50D 79E3 39D3 721C EB3E 94AD BE12 29CF. If DNF prompts you to confirm a key, compare the fingerprint before accepting it.
Install Visual Studio Code from Flathub
This method installs the stable-only Flathub package. Its manifest uses extra-data to download Microsoft’s Linux package into the Flatpak during installation, so treat it as Flathub packaging rather than an upstream Microsoft Flatpak. Fedora Workstation already includes Flatpak, but Flathub is opt-in, and the command adds it as a system remote so the package is available to every user.
sudo flatpak remote-add --if-not-exists flathub https://dl.flathub.org/repo/flathub.flatpakrepoUsing sudo keeps the remote and app install in system scope. If you deliberately want a per-user install, use --user consistently for the remote, install, update, and removal commands.
sudo flatpak install flathub com.visualstudio.codeBefore choosing the Flatpak for daily development, review the Flathub Visual Studio Code usage notes for host command access, integrated terminal profiles, and SDK extensions. Those caveats do not apply to the Microsoft RPM package in the same way.
Verify that the Flatpak package is installed from Flathub. The filtered fields should show the app ID, stable branch, version, Flathub origin, and system installation scope:
flatpak info --system com.visualstudio.code | grep -E '^[[:space:]]*(ID|Ref|Arch|Branch|Version|Origin|Installation|Runtime):'Flathub packages the proprietary Microsoft build into a Flatpak. The Flathub app page currently marks the listing as unverified, potentially unsafe, and unsupported by Microsoft, and its metadata shows broad host filesystem and device permissions. Use the Microsoft repository if you want the official upstream package path.
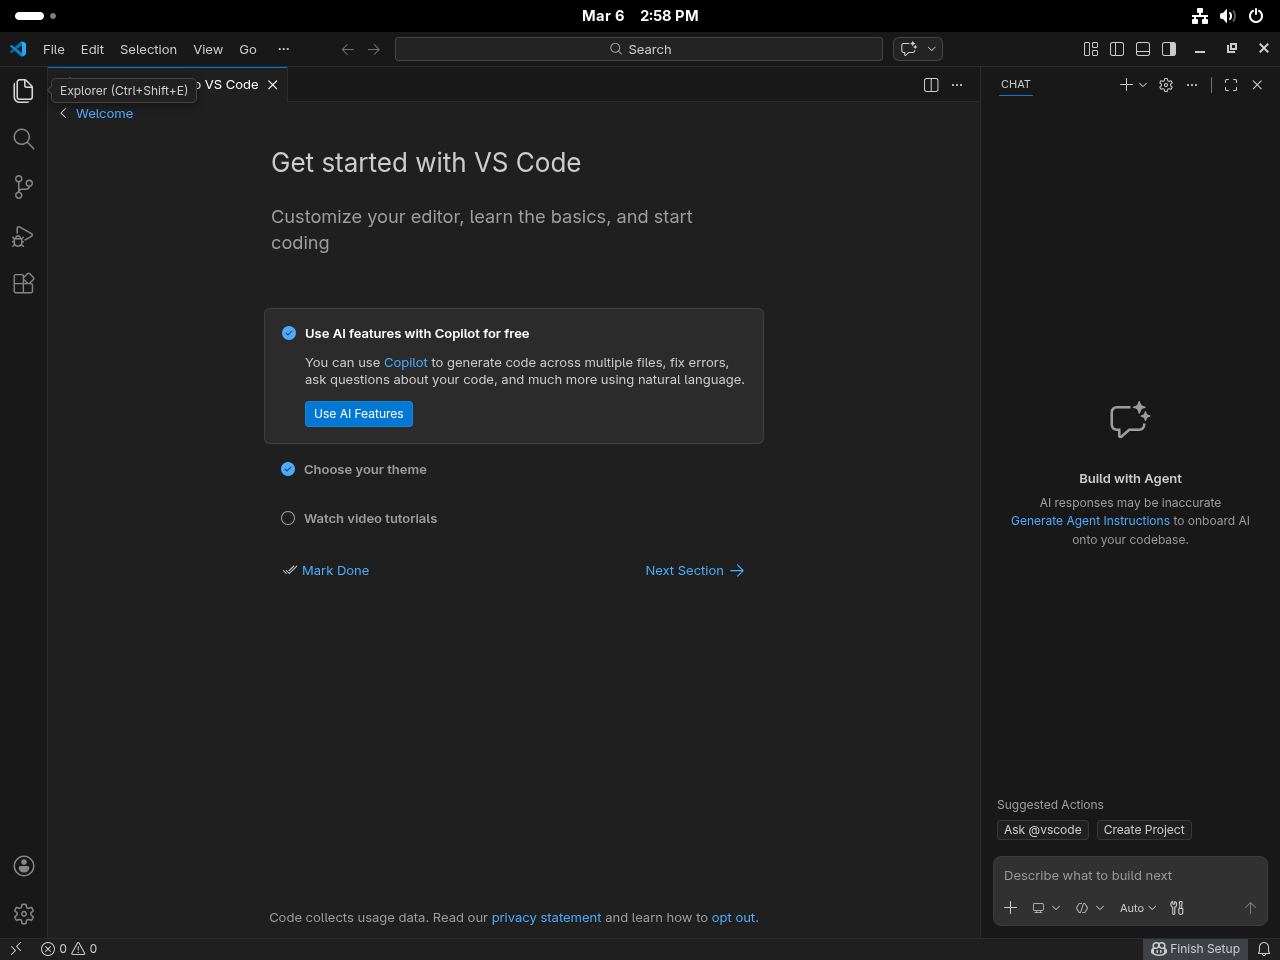
Launch Visual Studio Code on Fedora
Once the package is installed, start the matching launcher for the method you chose.
Launch Visual Studio Code from a Terminal
Use the command that matches your installed build:
codecode-insidersflatpak run com.visualstudio.codeYou can open a project directly with
code /path/to/projector launch the current working directory withcode ..
Launch Visual Studio Code from Activities
Fedora GNOME does not assign a default terminal shortcut, so the simplest desktop path is to launch VS Code from Activities.
- Open Activities.
- Type Visual Studio Code in the search field.
- Press Enter or select the icon to launch it.
Troubleshoot Visual Studio Code on Fedora
These fixes cover the Fedora-specific issues readers are most likely to hit after the install finishes.
Fix Flathub Remote Ambiguity for Visual Studio Code
If your system has both user and system Flathub remotes, Flatpak can stop and ask which one to use instead of continuing the install.
error: No remote chosen to resolve 'flathub' which exists in multiple installations
Remote 'flathub' found in multiple installations:

   1) system
   2) user

Which do you want to use (0 to abort)? [0-2]: 0
Check the remote scopes first:
flatpak remotes --columns=name,optionsRelevant output can show both remotes when the same name exists in system and user scope:
flathub system
flathub user
For a system-wide Flathub setup, repeat the remote add and install commands with sudo:
sudo flatpak remote-add --if-not-exists flathub https://dl.flathub.org/repo/flathub.flatpakrepo
sudo flatpak install flathub com.visualstudio.code
Handle Visual Studio Code Dev Container Permission Errors on Fedora
Fedora enables SELinux by default, and SELinux can block a VS Code Dev Containers workspace bind mount when the mounted project directory is not labeled for container access.
Treat this as a container-engine mount issue rather than a VS Code package issue. Apply the appropriate SELinux relabel option to the volume definition that mounts the project, then rebuild the dev container. Use uppercase :Z for a private one-container workspace and lowercase :z only when multiple containers must share the same files.
Avoid relabeling broad paths such as $HOME or system directories. Keep the mount source limited to the project directory so the label change stays contained.
Handle Visual Studio Code Input Method Issues on Fedora Wayland
Current Electron builds auto-detect Wayland sessions, so avoid older persistent workarounds that export ELECTRON_OZONE_PLATFORM_HINT in shell profiles.
If VS Code input methods such as fcitx5 or ibus still misbehave, update VS Code and the input method packages first. For a one-launch comparison, start VS Code with the X11 backend and confirm whether the problem is tied to Wayland before changing desktop launchers or shell profiles:
code --ozone-platform=x11Remove the flag after troubleshooting unless your setup clearly needs the XWayland fallback.
Update or Remove Visual Studio Code on Fedora
After the first install, updates and removal stay with the package manager that owns the package.
Update Visual Studio Code on Fedora
The Microsoft repository updates through DNF, while the Flathub package updates through Flatpak at the same scope used for installation when Flathub publishes a refreshed build.
sudo dnf upgrade --refreshsudo flatpak update com.visualstudio.codeRemove Visual Studio Code on Fedora
Remove the package that matches your install method, then delete the repository or user data only if you no longer need it.
Remove the Visual Studio Code RPM Package
Use the command that matches the build you installed.
For the stable build:
sudo dnf remove codeFor the Insiders build:
sudo dnf remove code-insidersRemove the repository file only when you are done with both Visual Studio Code channels:
sudo rm -f /etc/yum.repos.d/vscode.repoConfirm that the repository file is gone and the repository is no longer enabled:
test ! -e /etc/yum.repos.d/vscode.repo && echo "Repository file removed"
dnf repo list --enabled | grep -E '^code[[:space:]]' || echo "Repository is not enabled"
Repository file removed Repository is not enabled
The imported Microsoft signing key can be shared by other Microsoft RPM repositories, so leave it unless you have confirmed no Microsoft repositories remain.
Verify that neither RPM package remains installed:
rpm -q code code-insiderspackage code is not installed package code-insiders is not installed
Remove the Visual Studio Code Flatpak Package
If you installed the Flathub package system-wide, remove it with sudo as well.
sudo flatpak uninstall com.visualstudio.codeThen confirm that the Flatpak app no longer appears in the system application list:
flatpak list --system --app --columns=application | grep -Fx com.visualstudio.code || echo "NOT_INSTALLED"NOT_INSTALLED
Remove Visual Studio Code User Data
These commands permanently delete your VS Code settings, extension data, snippets, and cached files. Export anything you want to keep before you continue.
These paths cover settings, extensions, cached files, local data, and the Flatpak sandbox directory for both the stable and Insiders builds. Print the existing paths first:
for path in \
    "$HOME/.config/Code" \
    "$HOME/.config/Code - Insiders" \
    "$HOME/.vscode" \
    "$HOME/.vscode-insiders" \
    "$HOME/.cache/Code" \
    "$HOME/.cache/Code - Insiders" \
    "$HOME/.local/share/Code" \
    "$HOME/.local/share/Code - Insiders" \
    "$HOME/.var/app/com.visualstudio.code"
do
    [ -e "$path" ] && printf '%s\n' "$path"
done
Review the list, then remove any path you want to keep from the cleanup command before running it:
rm -rf "$HOME/.config/Code" "$HOME/.config/Code - Insiders"
rm -rf "$HOME/.vscode" "$HOME/.vscode-insiders"
rm -rf "$HOME/.cache/Code" "$HOME/.cache/Code - Insiders"
rm -rf "$HOME/.local/share/Code" "$HOME/.local/share/Code - Insiders"
rm -rf "$HOME/.var/app/com.visualstudio.code"
Conclusion
Visual Studio Code is ready on Fedora through either Microsoft’s DNF repository or the Flathub package, so you can keep updates inside the package manager you already use. From here, install Git on Fedora for version control, install Docker on Fedora if your workflow depends on containers, or enable SSH on Fedora for remote development with the Remote SSH extension.

Formatting tips for your comment
You can use basic HTML to format your comment. Useful tags currently allowed in published comments:
<code>command</code>command<strong>bold</strong><em>italic</em><a href="https://example.com">link</a><blockquote>quote</blockquote>