
LaTeX on Fedora is easier to manage when the editor and the TeX toolchain stay separate. Texmaker gives you syntax highlighting, PDF preview, forward and inverse search, and project management, while Fedora and Flathub handle the packaging around it. That makes it straightforward to install Texmaker on Fedora with either DNF or Flathub, depending on whether you want native RPM management or Flatpak app delivery.
Texmaker installs cleanly on Fedora Workstation. Server and minimal installs can install the RPM too, but the application still needs an active graphical session to open. If your actual task is to install LaTeX on Fedora, add TeX Live packages as part of the DNF workflow so Texmaker can find tools such as pdflatex and latexmk.
Install Texmaker on Fedora
Two installation paths are available on Fedora. The DNF package is smaller and follows normal system updates. The Flathub build keeps the app outside the RPM database and uses per-app permissions, but its first download is much larger because it pulls the KDE runtime, support components, and a TeX Live Flatpak extension.
| Method | Source | Update behavior | Best for | Trade-offs |
|---|---|---|---|---|
| DNF package | Fedora repositories | Updates with normal DNF transactions | Most Fedora desktops and smaller installs | Uses Fedora’s packaged release and host TeX Live packages |
| Flatpak | Flathub | Updates with Flatpak apps and runtimes | Users who prefer Flathub packaging or per-app permissions | Unverified Flathub listing and a larger first download |
Install Texmaker from Fedora repositories
The Fedora package is the fastest path when you want Texmaker managed with the rest of your system updates. Fedora release suffixes in RPM output vary by release, so a newer Fedora install may show a later fc suffix than the example output.
sudo dnf upgrade --refreshThese commands use
sudofor tasks that need root privileges. If your account is not in the sudoers file yet, follow the guide to add a user to sudoers on Fedora before continuing.
Install the package with DNF. The -y flag confirms the transaction automatically, so the command does not stop for another prompt.
sudo dnf install texmaker -yConfirm that the RPM is present and that Texmaker can report its version without opening the graphical interface.
rpm -q texmaker && texmaker --versiontexmaker-6.0.1-4.fc44.x86_64 6.0.1 (compiled with Qt 6.10.1)
Install LaTeX tools for Texmaker
Texmaker is the editor, while TeX Live provides the compilers, packages, and helper tools that build documents. Fedora’s TeX Live metapackage installs the common Fedora LaTeX set, and Fedora’s latexmk package adds the build helper many Texmaker profiles call. Use texlive-scheme-full instead of texlive only when you want the entire Fedora TeX Live collection.
sudo dnf install texlive latexmk -yConfirm that the main PDF compiler and latexmk helper are available on your PATH.
command -v pdflatex && command -v latexmk/usr/bin/pdflatex /usr/bin/latexmk
Install Texmaker from Flathub
Use the Flatpak build when you prefer Flathub packaging or want Texmaker outside DNF. Fedora Workstation includes Flatpak, but Flathub is still opt-in on a clean Fedora install. Flathub currently marks the Texmaker listing as unverified, so treat this method as a Flathub-packaged option rather than an upstream-verified package.
Check the currently configured remotes first. If the output already shows flathub, you can skip the next command.
flatpak remotes --columns=name,optionsfedora system,oci
Add Flathub at system scope so the install, update, and removal commands all use the same remote and permission model.
sudo flatpak remote-add --if-not-exists flathub https://dl.flathub.org/repo/flathub.flatpakrepoVerify that both the Fedora remote and Flathub are available before installing Texmaker.
flatpak remotes --columns=name,optionsfedora system,oci flathub system
Install Texmaker from Flathub next. The first download is much larger than the DNF package because Flatpak also pulls the KDE runtime, support components, and a TeX Live extension.
sudo flatpak install flathub net.xm1math.TexmakerRelevant output includes the app, runtime, and TeX Live extension. Flatpak may also list support components during the transaction.
Required runtime for net.xm1math.Texmaker/x86_64/stable found in remote flathub

1. org.freedesktop.Sdk.Extension.texlive  25.08  flathub
2. org.kde.Platform                      6.10   flathub
3. net.xm1math.Texmaker                  stable flathub
Check the installed Flatpak metadata after the download finishes so you can confirm the app ID, version, runtime, and installation scope.
flatpak info net.xm1math.Texmaker | grep -E '^[[:space:]]*(ID|Version|Branch|Origin|Installation|Runtime):'ID: net.xm1math.Texmaker Branch: stable Version: 6.0.1 Origin: flathub Installation: system Runtime: org.kde.Platform/x86_64/6.10
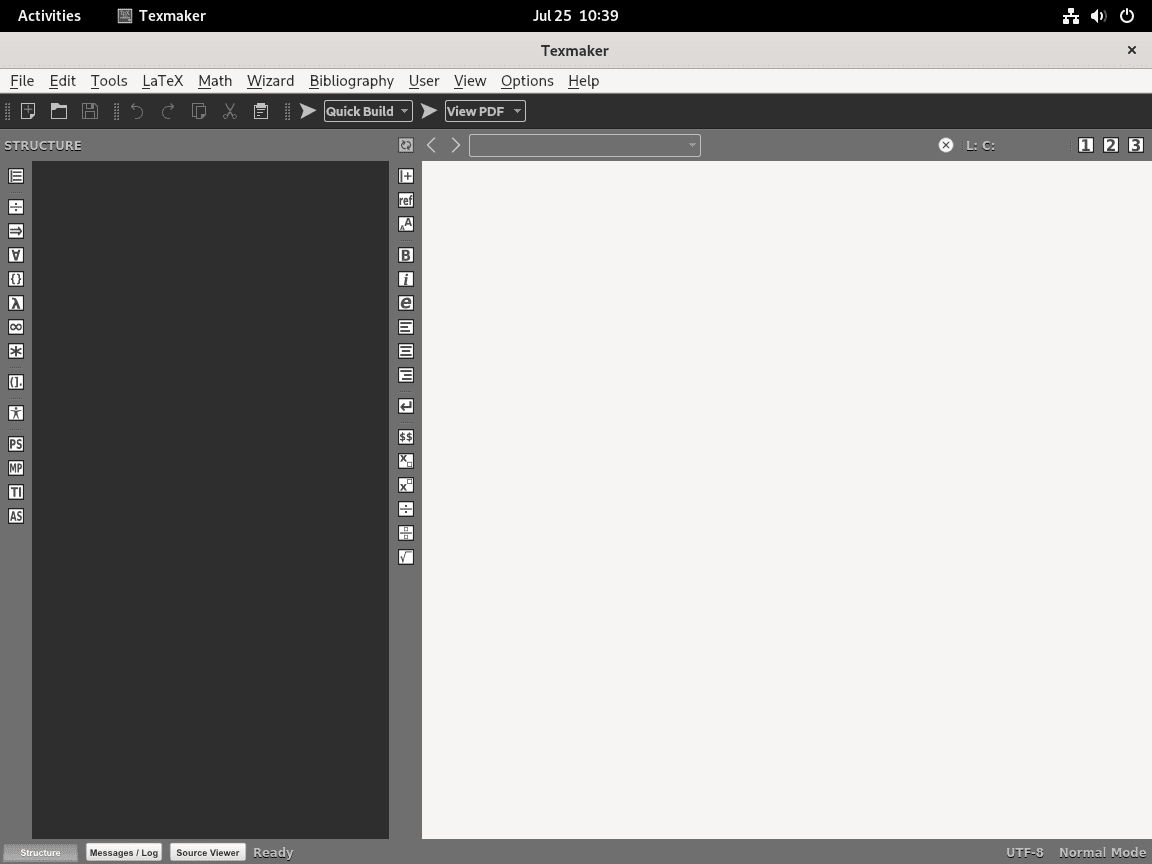
Launch Texmaker on Fedora
After installation, launch Texmaker with the command that matches your package source, or open it from the desktop menu in Fedora GNOME.
Launch Texmaker from the terminal
The RPM package installs the texmaker command directly on your PATH.
texmakerIf you used the Flathub build, start the Flatpak application with its app ID instead.
flatpak run net.xm1math.TexmakerOpen Texmaker from Activities
In Fedora GNOME, open Activities and search for Texmaker, then launch the desktop entry from the results.
Update or remove Texmaker on Fedora
Use the update and removal command that matches the way you installed Texmaker.
Update Texmaker on Fedora
Update the DNF package
Refresh the package metadata and upgrade just the Texmaker RPM.
sudo dnf upgrade --refresh texmaker -yUpdate the Flatpak build
Update the system-scoped Flatpak with sudo so the command matches the way Flathub was added earlier.
sudo flatpak update net.xm1math.TexmakerRemove Texmaker from Fedora
Remove the DNF package
Remove the RPM when you no longer need the Fedora package.
sudo dnf remove texmaker -yFedora removes unused dependencies during dnf remove by default, so you do not need a separate dnf autoremove step here.
Verify that the RPM is gone after the transaction completes.
rpm -q texmakerpackage texmaker is not installed
Remove the Flatpak build
Use Flatpak’s delete-data option when you want Flatpak to remove the app and its managed data during uninstall.
This command can permanently remove Texmaker Flatpak data. Export any custom templates or project-specific settings first if you want to keep them.
sudo flatpak uninstall --delete-data net.xm1math.TexmakerConfirm that the Flatpak app list no longer contains Texmaker.
flatpak list --system --app --columns=application | grep -Fx net.xm1math.Texmaker || echo 'Texmaker Flatpak not installed'Texmaker Flatpak not installed
If you need a clean reset for the current account, check whether a per-user data directory remains under ~/.var/app. No output means there is nothing else to remove for that account.
test -e "$HOME/.var/app/net.xm1math.Texmaker" && printf '%s\n' "$HOME/.var/app/net.xm1math.Texmaker"If the path still exists and you are sure you no longer need Texmaker’s Flatpak settings, remove that user data directory manually.
This cleanup permanently deletes Texmaker’s Flatpak settings for the current user. Keep the directory if you want to preserve templates, recent files, or custom preferences.
rm -rf "$HOME/.var/app/net.xm1math.Texmaker"Troubleshoot Texmaker on Fedora
Fix missing pdflatex or latexmk in Texmaker
If the RPM build reports errors such as pdflatex not found or spawn latexmk ENOENT, Texmaker can start but the TeX Live tool it called is missing. The Flathub build uses its own TeX Live extension, so install host DNF packages for the RPM workflow or for documents you build outside the sandbox.
recipe terminated with fatal error: spawn latexmk enoent
pdflatex not found
Check whether Fedora’s TeX Live metapackage and latexmk are already installed.
rpm -q texlive latexmkpackage texlive is not installed package latexmk is not installed
Install texlive plus latexmk for common LaTeX workflows. If you need the full Fedora TeX Live collection instead, replace texlive with texlive-scheme-full.
sudo dnf install texlive latexmk -yConfirm both binaries are now on your PATH.
command -v pdflatex && command -v latexmk/usr/bin/pdflatex /usr/bin/latexmk
Allow the Flatpak Texmaker build to open files outside Documents
The Flathub build does not start with full host filesystem access. By default it can use your Documents folder, but external drives and arbitrary system paths stay outside the sandbox.
Inspect the current Flatpak permissions first so you can see what the app already has.
flatpak info --show-permissions net.xm1math.Texmaker | grep '^filesystems='filesystems=xdg-documents;xdg-config/kdeglobals:ro;
Add a user-scoped override only if you need broader file access. The --user flag is intentional here because Flatpak stores permission overrides per user, even when the application itself is installed system-wide. Replace $HOME/LaTeX with the exact project directory you want Texmaker to open.
flatpak override --user --filesystem="$HOME/LaTeX" net.xm1math.TexmakerRestart Texmaker after the override, then try opening the project or external drive path that was previously blocked.
Conclusion
Texmaker is ready on Fedora with the package path that matches how you manage desktop apps, and the TeX Live checks cover the compiler and helper tools larger LaTeX projects often need. If you keep LaTeX projects under version control, install Git on Fedora next. For faster system updates, increase DNF speed on Fedora.

Formatting tips for your comment
You can use basic HTML to format your comment. Useful tags currently allowed in published comments:
<code>command</code>command<strong>bold</strong><em>italic</em><a href="https://example.com">link</a><blockquote>quote</blockquote>