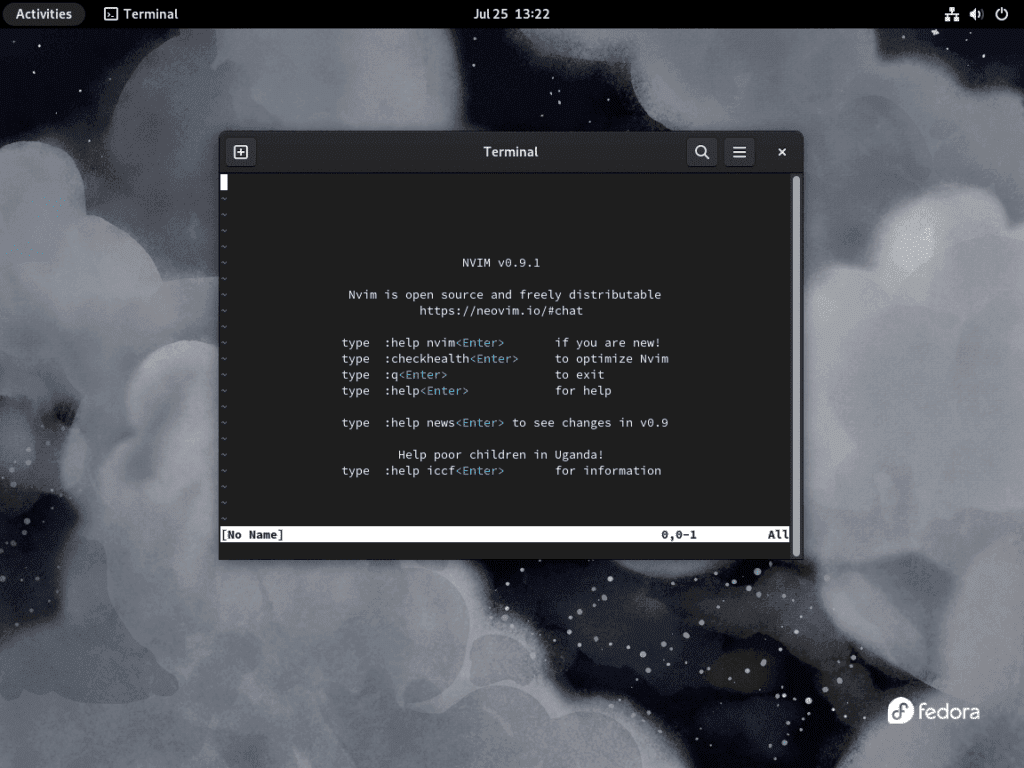
For those looking to optimize their text editing experience on Fedora Linux, Neovim offers a compelling solution. As an open-source evolution of the classic Vim text editor, Neovim provides new and seasoned users with enhanced features and usability. This guide will walk you through how to install Neovim on Fedora Linux, ensuring a seamless transition to this powerful tool.
Neovim’s standout attributes include:
- Enhanced User Experience: Neovim integrates sought-after features, such as asynchronous I/O, job control, and a plugin API, making it more user-friendly than its predecessor.
- Extensibility and Compatibility: Neovim boasts a modern architecture but remains compatible with Vim. This ensures a smooth transition as Vim plugins and configurations work without hitches in Neovim.
- Active Community: A vibrant community backs Neovim, contributing to its continuous development, updates, and solutions.
- Easy Configuration: Setting up Neovim is straightforward. Users can configure using Vimscript or Lua, offering flexibility in personalization.
Neovim aims to build on Vim’s strengths, catering to its dedicated user base and inviting newcomers. By the end of this guide, you’ll be well-equipped to harness Neovim’s capabilities, enhancing your coding and text editing experience.
Install Neovim on Fedora Linux via DNF
Step 1: Update Fedora’s Packages Before Neovim Installation
It’s always a good idea to begin installation by updating your system’s existing packages. This ensures you’re not installing new software on an outdated system, which can sometimes lead to compatibility issues.
To update your Fedora system, open your terminal and enter the following command:
sudo dnf upgrade --refreshThis command updates all of your currently installed packages and refreshes your system’s repositories to ensure the latest versions are available for installation.
Step 2: Install Neovim via DNF Command
You can proceed with the Neovim installation now that your system is up-to-date. To install Neovim from Fedora’s DNF repository, input the following command:
sudo dnf install neovimUpon running this command, DNF will fetch Neovim from its repository and handle the installation for you.
Install Neovim on Fedora Linux via Flatpak and Flathub
Step 1: Enable Flathub Repository For Neovim Installation
We will install Neovim using Flatpak with the Flathub repository in this method. Flatpak is a universal package manager for Linux, making application distribution easier across various Linux distributions.
First, you need to add the Flathub repository to your system. To do this, type in the following command:
sudo flatpak remote-add --if-not-exists flathub https://flathub.org/repo/flathub.flatpakrepoDespite adding the repository, sometimes it can be automatically disabled. To ensure that the repository is enabled, run the following command:
flatpak remote-modify --enable flathubStep 2: Install Neovim via Flatpak Command
With the Flathub repository enabled, you can now proceed to install Neovim. To do so, input the following command:
flatpak install flathub io.neovim.nvimUpon running this command, Flatpak will retrieve the Neovim package from Flathub and handle the installation process for you.
Starting Neovim on Fedora Linux
The installation process is just the beginning of your Neovim experience. Once it’s installed, you can launch the program in several ways. We will explore two methods: through the Command Line Interface (CLI) and the Graphical User Interface (GUI).
CLI Commands to Launch Neovim
If you installed Neovim using Fedora’s DNF repository, you can start it with the following command:
nvimIf you installed Neovim using Flatpak, the command will be slightly different. This is due to the nature of Flatpak’s isolated environments. To launch Neovim installed via Flatpak, use the following command:
flatpak run io.neovim.nvimGUI Method to Launch Neovim
Neovim can also be accessed via the Fedora desktop environment if you prefer to use a graphical interface. Follow the steps below:
- Open the Activities overview by clicking on the ‘Activities’ option in the top left corner of your desktop.
- Click on ‘Show Applications’ located at the bottom of your screen.
- Now, you will see a grid of all the installed applications. Scroll through them or use the search bar at the top to find Neovim.
- Click on the Neovim icon to start the application.
First-Time Tips with Neovim on Fedora Linux
Now that you have successfully installed Neovim on Fedora Linux, here are some first-time tips on getting started with the software:
General Neovim Tips for New Users on Fedora
- Explore Neovim’s Help System: Neovim boasts an extensive help system. Access it by typing
:helpin the command mode. This command is a gateway to information about Neovim’s features and usage. - Familiarize Yourself with Vim Commands: Since Neovim is an extension of Vim, learning Vim commands can be incredibly beneficial. Commands like
:wto save,:qto quit, andddto delete a line are fundamental. - Use Command-Line Mode Wisely: In Neovim, the command-line mode, activated by typing
:, is where you’ll execute most of your commands. It’s a powerful feature that extends beyond basic file operations.
Neovim Customizations for Enhanced Experience with Fedora
- Personalize Your
init.vimFile: Yourinit.vimfile is where you can customize Neovim. Located at~/.config/nvim/init.vim, this file can be used to set preferences, key mappings, and plugins.
nvim ~/.config/nvim/init.vim- This command opens your
init.vimfile for editing. - Explore Plugins: Neovim’s extensibility through plugins is one of its strengths. Plugins like
nerdtreefor file navigation orcoc.nvimfor language support can greatly enhance your experience. Use a plugin manager likevim-plugto easily manage these additions. - Set Your Color Scheme: A comfortable color scheme can make a difference. Experiment with different schemes by setting the
colorschemevariable in yourinit.vim.
Other Neovim Helpful Tips on Fedora
- Learn to Navigate Efficiently: Mastering Neovim’s navigation commands, like
ggfor top of the file andGfor bottom, can drastically speed up your workflow. - Regularly Backup Your Configuration: Your
init.vimis crucial. Regularly back it up to prevent loss of customizations. - Join the Community: Engage with the Neovim community. Platforms like GitHub, Reddit, and dedicated forums are great for tips, troubleshooting, and plugin recommendations.
Embracing these tips as you start your journey with Neovim on Fedora Linux will smooth out your learning curve and enhance your overall coding experience. Remember, the key to mastering Neovim lies in practice and exploration.
Managing Neovim on Fedora Linux
Update Neovim on Fedora
Consistently keeping your applications up-to-date is necessary to retain the system’s security and benefit from the latest features and improvements. While you may get update notifications, we recommend manually checking for updates regularly.
DNF Neovim Update Command
You can refresh your repositories and update all your installed packages, including Neovim, by executing the following command in the terminal:
sudo dnf update --refreshFlatpak Neovim Update Command
For those who have installed Neovim via Flatpak, you can update it using this command:
flatpak updateRemove Neovim From Fedora
If, for any reason, you wish to remove Neovim from your Fedora system, you can achieve this by executing a few simple commands. Please ensure that you use the correct command corresponding to the method you used for the initial installation.
DNF Neovim Remove Command
To uninstall Neovim that was installed via DNF and also remove any unused packages leftovers from the application, run the following command:
sudo dnf remove neovimFlatpak Neovim Remove Command
If you had installed Neovim through Flatpak, you can uninstall it with the following command:
flatpak remove --delete-data io.neovim.nvim -yNote that this command will also delete your data related to Neovim, so ensure you’ve backed up any essential files before proceeding.
Conclusion and Final Thoughts
Wrapping up, Neovim is an excellent choice for developers seeking a dynamic and efficient editing tool. This guide walked you through the essentials of getting Neovim up and running on Fedora Linux. We’ve covered everything from the initial installation using DNF and Flatpak to launching Neovim via command line and GUI. Moreover, the article provided practical tips for first-time users and insights into effective software management. Finally, keeping Neovim up-to-date is crucial for maintaining peak performance and security.


