
LightZone fits photographers who want exposure and tonal control without turning every edit into a layer-management task. When you install LightZone on Ubuntu, choose the package source by release because the PPA and Flathub build cover different needs. The editor keeps your originals untouched with a non-destructive tool stack, while deeper pixel-level compositing still belongs in a separate editor such as GIMP.
Install LightZone on Ubuntu
Choose a LightZone Install Method
| Method | Supported Releases | Source or Channel | Update Behavior | Best For |
|---|---|---|---|---|
| LightZone PPA | Ubuntu 24.04 LTS and 22.04 LTS | Launchpad PPA | APT-managed updates | Users who want the newer 5.0 beta builds on supported LTS releases |
| Flatpak from Flathub | Ubuntu 26.04 LTS, 24.04 LTS, and 22.04 LTS after Flatpak setup | Flathub stable channel | Flatpak app and runtime updates | Desktop users who want cross-release Flathub packaging |
Do not repoint Ubuntu 26.04 systems at the older
nobleorjammyPPA suites. Use the Flatpak method on 26.04 unless the PPA later publishes a native package for that release.
Method 1: Install LightZone from the Official PPA
Update Package Lists
Before adding the PPA, refresh your package index so APT starts from current repository metadata:
sudo apt updateIf your account cannot use
sudo, configure administrator access first with our guide to add a new user to sudoers on Ubuntu.
Import the LightZone PPA
The add-apt-repository helper is present on most Ubuntu desktop installs. If your system reports that the command is missing, install the helper package first:
sudo apt install software-properties-commonAdd the LightZone PPA after the helper is available. The guard keeps Ubuntu 26.04 and other unsupported releases from creating a PPA source that cannot provide the lightzone package:
. /etc/os-release
case "$VERSION_CODENAME" in
    noble|jammy)
        sudo add-apt-repository ppa:lightzone-team/lightzone -y
        ;;
    *)
        printf '%s\n' "The LightZone PPA does not publish a package for Ubuntu $VERSION_CODENAME. Use the Flatpak method instead."
        ;;
esac
The LightZone project maintains this PPA for Ubuntu packages. The -y flag accepts the repository prompt automatically; omit it if you prefer to review the prompt before confirming. If the command prints the unsupported-release message, skip the remaining PPA steps and use the Flatpak method.
The current LightZone GitHub release assets are macOS
.dmgfiles, not Ubuntu installers. Use the Launchpad PPA or the Flathub package instead of trying to install the GitHub release assets on Ubuntu.
Install LightZone with APT
With the PPA added on Ubuntu 24.04 LTS or 22.04 LTS, install LightZone using APT:
sudo apt install lightzoneThe installation pulls in Java and image-processing dependencies automatically because LightZone is a Java-based application. The exact download and installed size vary by Ubuntu release and by the packages already present on your system.
Verify the PPA Installation
After the installation completes, check the installed package source with APT:
apt-cache policy lightzoneExpected output on Ubuntu 24.04 LTS:
lightzone:
  Installed: 5.0.0~beta3+202505261334+1126~ubuntu24.04.1
  Candidate: 5.0.0~beta3+202505261334+1126~ubuntu24.04.1
  Version table:
 *** 5.0.0~beta3+202505261334+1126~ubuntu24.04.1 500
        500 https://ppa.launchpadcontent.net/lightzone-team/lightzone/ubuntu noble/main amd64 Packages
        100 /var/lib/dpkg/status
Expected output on Ubuntu 22.04 LTS:
lightzone:
  Installed: 5.0.0~beta2-0~202309261425~ubuntu22.04.1
  Candidate: 5.0.0~beta2-0~202309261425~ubuntu22.04.1
  Version table:
 *** 5.0.0~beta2-0~202309261425~ubuntu22.04.1 500
        500 https://ppa.launchpadcontent.net/lightzone-team/lightzone/ubuntu jammy/main amd64 Packages
        100 /var/lib/dpkg/status
Expect this version difference between releases because the PPA maintains separate builds for each Ubuntu version. The exact package revision can change after a PPA rebuild; the important source line is the matching noble or jammy PPA suite for your release.
Method 2: Install LightZone from Flathub
The LightZone Flathub listing provides a stable Flatpak build with app ID io.github.ktgw0316.LightZone. Use this method on Ubuntu 26.04 LTS or when you prefer a desktop package that is not tied to the release-specific PPA builds.
Install Flatpak Support
Install Flatpak from Ubuntu’s repositories:
sudo apt update
sudo apt install flatpak
Add Flathub as a Flatpak remote if it is not already configured:
sudo flatpak remote-add --if-not-exists flathub https://dl.flathub.org/repo/flathub.flatpakrepoIf this is the first Flatpak setup on the desktop, log out and back in if the application launcher does not show newly installed Flatpak apps.
Install the LightZone Flatpak
Install LightZone from the Flathub remote:
sudo flatpak install flathub io.github.ktgw0316.LightZoneVerify the Flatpak Installation
Check the installed Flatpak metadata. The version can change when Flathub publishes a new build, but the app ID, stable ref, origin, and installation scope should match this shape:
flatpak info io.github.ktgw0316.LightZoneID: io.github.ktgw0316.LightZone Ref: app/io.github.ktgw0316.LightZone/x86_64/stable Branch: stable Version: 4.2.5 Origin: flathub Installation: system
To inspect the Flatpak permissions, run:
flatpak info --show-permissions io.github.ktgw0316.LightZone[Context] shared=ipc; sockets=x11; devices=dri; filesystems=xdg-pictures; persistent=.java;.lzncache;
Launch LightZone
After installation, you can start LightZone from the terminal or your desktop environment’s application menu. The terminal command depends on whether you installed the PPA package or the Flatpak package.
Launch from Terminal
Start a PPA installation from a terminal with:
lightzoneStart a Flatpak installation with:
flatpak run io.github.ktgw0316.LightZoneRunning from the terminal is useful for troubleshooting because startup errors appear in the terminal output. If LightZone fails to start from the menu, try the matching terminal command for your install method.
Launch from Applications Menu
Graphical desktop users can launch LightZone from the application menu:
- Select Activities in the top-left corner of your screen (GNOME) or open your application launcher.
- Search for LightZone.
- Click the LightZone icon to launch the application.
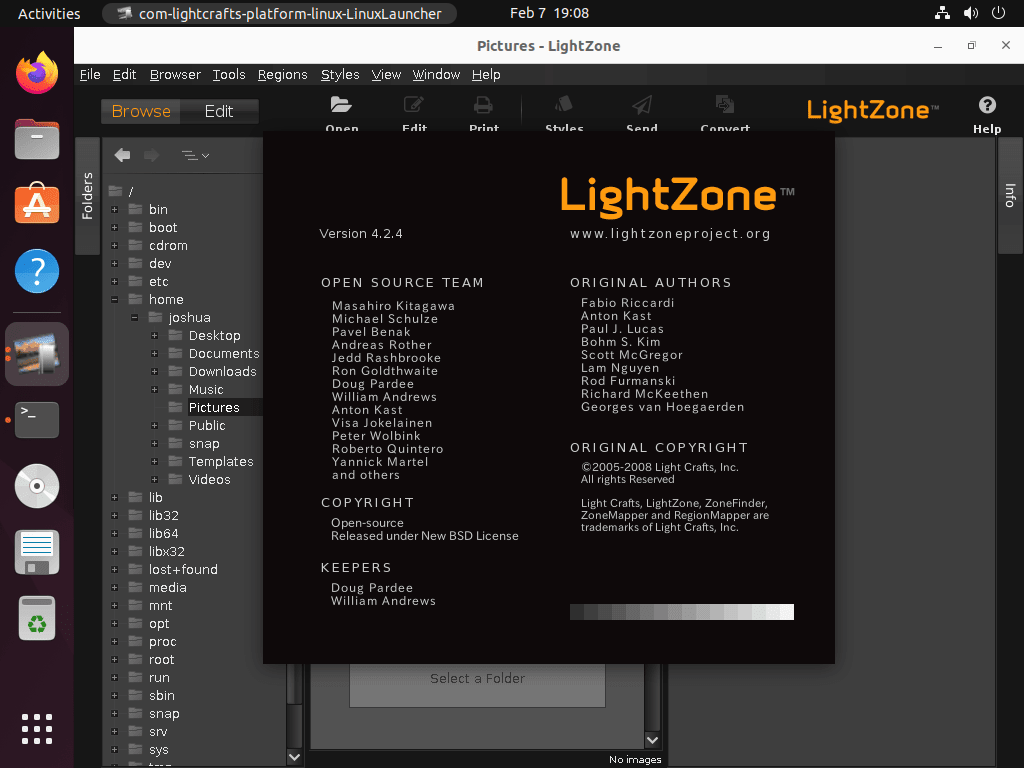
Getting Started with LightZone
Once LightZone is running, the following tips will help you get productive quickly. The interface may look different from traditional photo editors because of its unique tool-based approach.
Understanding the Tool Stack
LightZone’s tool stack differs from traditional layer-based editing found in applications like GIMP or Photoshop. Each tool you add sits on top of previous tools, and the order matters since tools process the image from bottom to top. You can drag tools to reorder them, toggle individual tools on and off, or remove them entirely without affecting other adjustments. This approach makes it easy to experiment with different combinations of adjustments while maintaining full control over your editing history.
Essential Keyboard Shortcuts
These shortcuts speed up the editing workflow and help you work more efficiently:
Ctrl+Z: Undo the last change.Ctrl+Shift+Z: Redo a previously undone action.Spacebar: Temporarily show the original image without edits (release to see the edited version). This is particularly useful for comparing your adjustments to the original.
Working with Styles
The Styles panel on the right side contains pre-built adjustment combinations that you can apply with a single click. To apply a style, click any style name to apply it to your current image. If you create adjustments you want to reuse across multiple photos, select Styles > Save Style to create a custom preset that you can apply to other photos with a single click. This feature is especially valuable when you want to create a consistent look across a series of images.
Batch Processing Multiple Images
To apply the same edits to multiple photos from the same shoot, use the Browser view to select multiple images, then right-click and choose a style or copy adjustments from an already-edited image. This approach saves considerable time when processing event photography or any series where lighting conditions remained consistent. The batch processing feature is one of LightZone’s strongest capabilities for photographers who need to process large volumes of images quickly.
Saving and Exporting
LightZone stores edits in separate metadata files (with an .lzn extension) alongside your original images. Your original files remain completely untouched, which means you can always go back to the unedited version. When you are ready to share or print, use File > Export to create a new JPEG or TIFF file with all adjustments baked in. The export dialog allows you to choose the output format, quality level, and dimensions for your final image.
Troubleshoot LightZone
If you encounter problems launching or using LightZone, the following solutions address the most common issues users experience.
LightZone Fails to Start or Shows Java Errors
The PPA package uses Java from the Ubuntu system. If a PPA installation fails to launch or shows Java-related errors, first verify that Java is installed and accessible:
java -versionUbuntu 24.04 commonly installs OpenJDK 21 with LightZone, while Ubuntu 22.04 commonly installs OpenJDK 11. Any valid OpenJDK output confirms Java is available. The first line begins like one of these examples, with the exact patch version varying over time:
openjdk version "21.0.x"
openjdk version "11.0.x"
If Java is missing or the command returns an error, reinstall the PPA package so APT can restore the missing dependency chain:
sudo apt reinstall lightzoneFor a Flatpak installation, host Java is not the first thing to check because the app runs inside its Flatpak environment. Confirm that the app is installed, then update the Flatpak package and runtime:
flatpak info io.github.ktgw0316.LightZone
sudo flatpak update io.github.ktgw0316.LightZone
LightZone Window Appears Blank or Displays Incorrectly
On some systems with older graphics drivers or unusual display configurations, Java applications may have rendering issues. For the PPA package, test LightZone from a terminal with this one-time environment variable:
_JAVA_AWT_WM_NONREPARENTING=1 lightzoneKeep this as a terminal launch test unless it consistently fixes the issue on your desktop. Adding the variable to ~/.bashrc does not change the graphical menu launcher, so avoid editing shell startup files just to fix a menu-launch problem.
RAW Files Not Opening or Camera Not Recognized
The PPA package uses Ubuntu’s LibRaw library for RAW file processing. If LightZone does not recognize your camera model, the installed version of LibRaw may lack support for newer cameras. Check the installed version by running the appropriate command for your Ubuntu release:
Ubuntu 24.04 LTS:
apt-cache policy libraw23t64libraw23t64: Installed: 0.21.2-2.1ubuntu0.24.04.1 Candidate: 0.21.2-2.1ubuntu0.24.04.1
Ubuntu 22.04 LTS:
apt-cache policy libraw20libraw20: Installed: 0.20.2-2ubuntu2.22.04.2 Candidate: 0.20.2-2ubuntu2.22.04.2
For newer cameras not yet supported by your LibRaw version, wait for an updated LibRaw package in Ubuntu or convert the files to DNG before opening them in LightZone. Adobe DNG Converter is not packaged as a native Ubuntu dngconverter package on Ubuntu 24.04, 22.04, or 26.04. If you use the Flatpak package, update the Flatpak app first because host LibRaw packages do not control that install. If you need a fully Linux-native RAW workflow for a newer camera, Darktable on Ubuntu may be a better fallback while LightZone’s packaged RAW support catches up.
Manage LightZone
Update a PPA Install
A PPA installation updates through APT and Ubuntu’s regular Software Updater. Check for a LightZone package update manually with:
sudo apt update && sudo apt install --only-upgrade lightzoneThe --only-upgrade flag ensures the command only upgrades LightZone if you already have it, rather than installing it fresh if you previously removed it. This approach is safer than using apt upgrade, which would upgrade all packages on your system.
Update a Flatpak Install
A Flatpak installation updates through Flatpak rather than APT. Update only LightZone with:
sudo flatpak update io.github.ktgw0316.LightZoneIf you maintain several Flatpak apps, run flatpak update separately when you want to review all available Flatpak app and runtime updates.
Remove a PPA Install
If you installed LightZone from the PPA, remove the application package first:
sudo apt remove lightzonePreview unused dependencies before deleting them. APT may list unrelated orphaned packages, such as old kernels or packages from earlier maintenance, so review the list before continuing:
sudo apt autoremove --dry-runIf the preview only includes packages you are comfortable removing, run the real cleanup:
sudo apt autoremoveThe LightZone PPA can install Java and image-processing dependencies on a system without those packages already present. The autoremove step clears dependencies that no installed package still needs.
Next, remove the PPA to prevent your system from checking for updates from a repository you no longer use. For more details on PPA management, see our guide on removing a PPA from Ubuntu:
sudo add-apt-repository --remove ppa:lightzone-team/lightzone -yRunning apt update after removing the PPA refreshes your package cache and confirms the system no longer references that repository. On Ubuntu 24.04, add-apt-repository --remove removes the generated .sources file. On Ubuntu 22.04, it removes the generated .list entry but can leave generated trust files behind, so remove the LightZone-specific trust files before refreshing APT:
sudo rm -f /etc/apt/trusted.gpg.d/lightzone-team-ubuntu-lightzone.gpg \
    /etc/apt/trusted.gpg.d/lightzone-team-ubuntu-lightzone.gpg~
sudo apt update
Your edited photos and
.lznmetadata files remain in your image folders after uninstalling LightZone. These files do not affect your system and can be safely left in place if you might reinstall LightZone later.
If you also want to remove LightZone’s per-user preferences for the native package, delete the configuration folder only if it exists in your home directory.
The next command deletes LightZone preferences for your user account. It does not delete edited photos or
.lznsidecar files, but review the path before running it.
if [ -d "$HOME/.config/LightZone" ]; then
    rm -rf "$HOME/.config/LightZone"
fi
Remove a Flatpak Install
If you installed LightZone from Flathub, remove the Flatpak app with:
sudo flatpak remove io.github.ktgw0316.LightZoneConfirm the app no longer appears in your Flatpak app list:
flatpak list --system --app --columns=application | grep -Fx io.github.ktgw0316.LightZone || echo "LightZone Flatpak is not installed"Flatpak keeps per-user app data under the app ID. Remove that directory only if you also want to delete LightZone’s Flatpak preferences and cache:
rm -rf ~/.var/app/io.github.ktgw0316.LightZoneAfter removing the app, you can review unused Flatpak runtimes with:
sudo flatpak uninstall --unusedConclusion
LightZone gives Ubuntu users a focused RAW-editing workflow built around non-destructive adjustments, reusable styles, and the Zone System approach to exposure control. Use the PPA on Ubuntu 24.04 LTS or 22.04 LTS when you want the newer beta package managed by APT, and use the Flathub package on Ubuntu 26.04 LTS or when you prefer a cross-release desktop package. For complex compositing or pixel-level retouching, pair LightZone with GIMP on Ubuntu; for a broader Linux-native RAW darkroom, compare it with Darktable on Ubuntu.

Formatting tips for your comment
You can use basic HTML to format your comment. Useful tags currently allowed in published comments:
<code>command</code>command<strong>bold</strong><em>italic</em><blockquote>quote</blockquote>