

This guide will demonstrate how to install Fotoxx on Ubuntu 24.04, 22.04, or 20.04 LTS utilizing the command-line terminal with two different methods: APT with the XtraDeb Applications LaunchPAD PPA.
Fotoxx is a compelling choice for photography enthusiasts seeking a powerful yet straightforward tool for enhancing and managing their digital photo collections. Unlike its counterparts, Fotoxx offers an intuitive interface with robust features designed to make photo editing and organization accessible and efficient. Its versatility is further underscored by its compatibility with various Ubuntu versions, ensuring a broad user base can leverage its capabilities. From basic editing tasks like cropping and color adjustment to more advanced functions such as panorama stitching and RAW file processing, Fotoxx stands out as a comprehensive solution tailored to photographers of all skill levels.
Key features that set Fotoxx apart include:
- User-friendly interface: Designed for ease of use, facilitating quick learning and efficient workflow.
- Comprehensive editing toolkit: Offers a wide range of editing tools for photo adjustments, corrections, and enhancements.
- Advanced image management: Efficient organization and searching of photo libraries with metadata support.
- RAW file support: Enables high-quality image processing with support for various camera RAW formats.
- Batch processing: Allows for time-saving batch edits and conversions.
- Geotagging capabilities: Integrates photo mapping to organize and view photos by location.
- Creative effects: A broad selection of artistic effects and filters to unleash creativity.
- Free and open-source: Ensures accessibility and continuous improvement through community contributions.
Collectively, these features make Fotoxx ideal for photographers looking to streamline their editing and organizational workflow. Now, let’s dive into the specifics of installing Fotoxx on your Ubuntu system, ensuring you can quickly get up and running with this powerful photo management tool.
With these steps, you’re ready to begin the installation process.
Install Fotoxx on Ubuntu via APT or PPA
Update Ubuntu Before Fotoxx Installation
Before starting the installation process, ensuring your Ubuntu system is up-to-date is crucial. This practice helps prevent potential issues during the installation and keeps your system secure and stable.
To update your Ubuntu system, open the terminal and execute the following command:
sudo apt update && sudo apt upgradeChoose an APT Installation Method for Fotoxx
There are two methods to install Fotoxx on Ubuntu: using the Ubuntu repository or adding a third-party PPA (Personal Package Archive). Each method has its advantages and drawbacks, which we will discuss below. Depending on your specific needs and preferences, you can choose either method for installation.
Method 1: Install Fotoxx from Ubuntu’s Repository
The first method involves installing Fotoxx directly from the Ubuntu repository. This option is often more stable and better suited for Ubuntu systems, as the package is thoroughly tested for compatibility. However, the drawback is that the version available in the Ubuntu repository might be outdated, depending on your Ubuntu LTS distribution. Users should weigh the pros and cons of this method before proceeding with the installation.
To install Fotoxx using the Ubuntu repository, execute the following command in the terminal:
sudo apt install fotoxxMethod 2: Install Fotoxx on Ubuntu via PPA
The alternative method involves installing Fotoxx from a third-party PPA, in this case, the “xtradeb packaging” team’s repository. This option provides a more recent version of Fotoxx, but it may not be as stable or well-tested as the version available in the Ubuntu repository. Users should carefully consider their requirements before opting for this installation method.
First, you’ll need to add the “xtradeb packaging” PPA to your system. Run the following command in the terminal to import the repository:
sudo add-apt-repository ppa:xtradeb/apps -yAfter successfully adding the PPA, you must update your system’s package information to include the new repository. Execute the following command in the terminal:
sudo apt updateFinally, to install Fotoxx using the PPA, run the following command:
sudo apt install fotoxxLaunching Fotoxx on Ubuntu via CLI or GUI
With Fotoxx successfully installed on your Ubuntu system, you can launch the application and utilize its powerful photo editing capabilities. There are multiple ways to open Fotoxx, and we will discuss two of the most common methods below.
CLI Command to Launch Fotoxx
One way to launch Fotoxx is by executing a command in the terminal. This method is particularly useful for users who prefer working in a command-line environment. To open Fotoxx using the terminal, simply run the following command:
fotoxxThis command will launch the Fotoxx application, and you can start exploring its features and tools.
GUI Method to Launch Fotoxx
Fotoxx can be easily launched from the desktop environment for users who prefer a more graphical approach. This method is more practical for those who enjoy using graphical interfaces rather than command-line tools.
To open Fotoxx from the desktop, follow the path below:
Activities > Show Applications > FotoxxYou can seamlessly launch the application and begin editing your photos by clicking on the Fotoxx icon in the “Show Applications” menu.
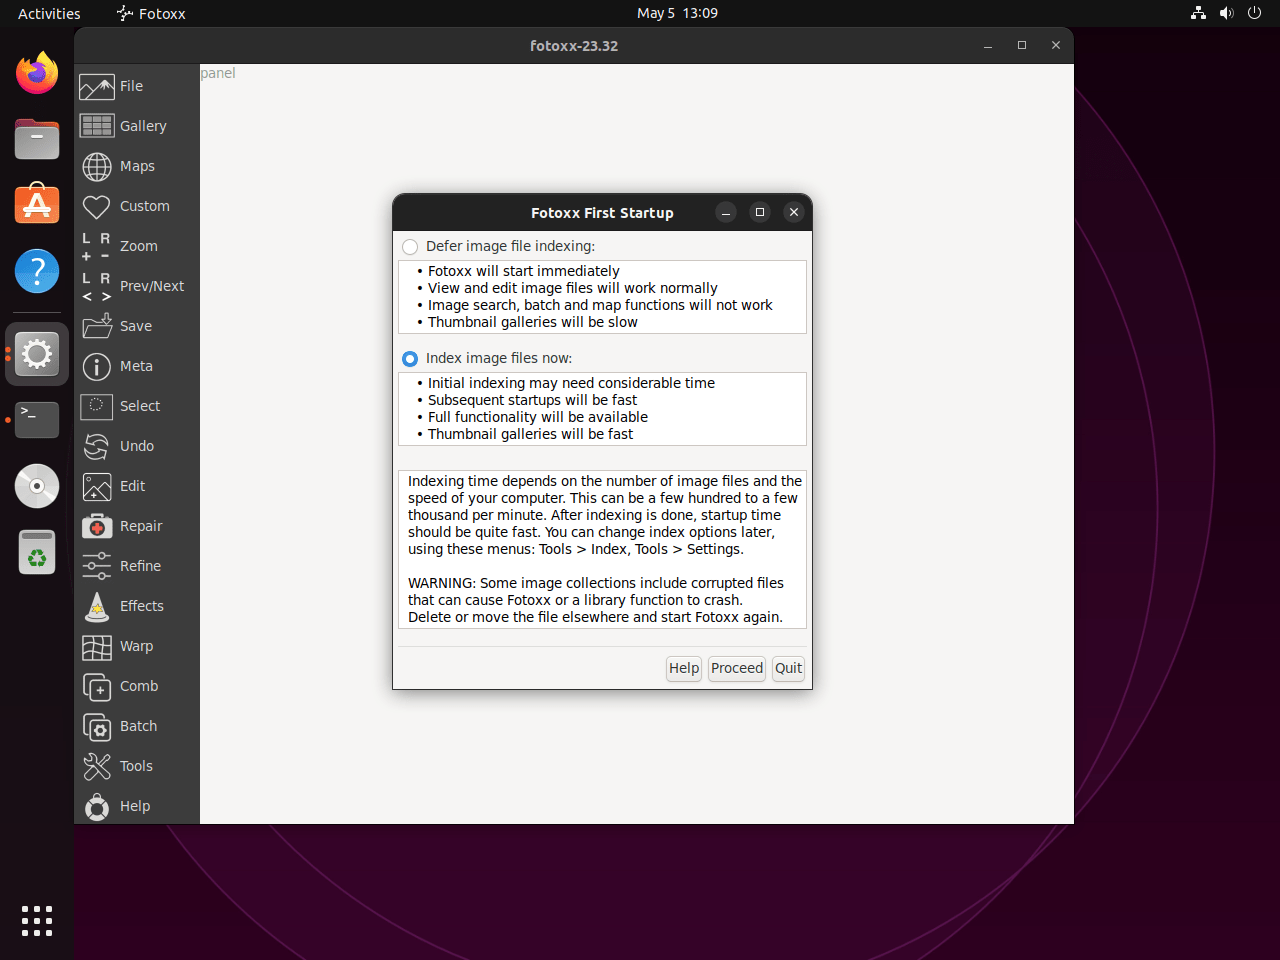
First-Time Tips with Fotoxx on Ubuntu
Now that you have successfully installed Fotoxx on Ubuntu, here are some first-time tips on getting started with the software:
General Tips for Fotoxx
- Explore the Interface: Familiarize yourself with Fotoxx’s interface. Spend time navigating through the menus and settings. This exploration will help you understand the layout and where different tools and options are located.
- Keyboard Shortcuts: Learn the keyboard shortcuts. Fotoxx offers several shortcuts to streamline your workflow. Check the documentation or the help menu for a list of these time-saving keys.
- Image Import: Begin by importing a few images or a small album. This smaller-scale approach allows you to experiment with Fotoxx’s features without being overwhelmed.
- Use the Documentation: Fotoxx comes with comprehensive documentation. It’s a valuable resource for understanding the software’s full capabilities and how to use them effectively.
Customization Tips for Fotoxx
- Adjust Preferences: Dive into the preferences menu to tailor the software to your needs. You can adjust settings related to the interface, editing tools, and more to optimize your user experience.
- Color Management: If you’re serious about photo editing, set up color management to ensure your photos look consistent across different devices. This involves configuring color profiles within Fotoxx.
- Plugin Management: Explore and manage plugins. Fotoxx supports various plugins that can extend its functionality. See which plugins might be beneficial for your editing process and learn how to activate them.
- Workspace Layout: Customize the layout of your workspace to suit your editing style. Fotoxx allows you to adjust toolbars and panels to create a setup that’s most efficient for you.
Performance Tips for Fotoxx
- Manage Cache Settings: Adjusting cache settings can help improve Fotoxx’s performance on Ubuntu. A larger cache can speed up image loading times, but it will use more disk space.
- Use External Editors: While Fotoxx is powerful, you might find certain tasks better suited to other software. Learn how to seamlessly integrate Fotoxx with external editors for specialized editing tasks.
- Batch Processing: Utilize batch processing for repetitive tasks. This can save you a significant amount of time if you need to apply the same edits or adjustments to multiple images.
- File Formats: Understand the differences between various file formats and their impact on image quality and editing flexibility. Use RAW for the highest quality edits and JPEG or PNG for sharing.
Advanced Usage Tips for Fotoxx
- RAW Editing: If you shoot in RAW, take advantage of Fotoxx’s RAW editing capabilities. This allows for a non-destructive workflow and maximum control over your images.
- Geotagging: Use the geotagging feature to add location data to your photos. This can be a fun way to organize and view your images by place.
- Panorama Stitching: Experiment with the panorama stitching feature to create stunning wide-angle shots. Fotoxx can automate much of this process, but understanding the basics will improve your results.
- HDR and Tone Mapping: Learn how to use HDR (High Dynamic Range) and tone mapping tools to enhance your photos. These features can bring out more detail in the highlights and shadows of your images.
With these tips, you’re well-equipped to start exploring Fotoxx on Ubuntu and make the most out of your photo editing experience. Remember, the key to mastery is experimentation and practice, so don’t hesitate to try out different features and settings to find what works best for your creative workflow.
Managing Fotoxx on Ubuntu
In this section, we will provide you with essential information on how to manage Fotoxx on your Ubuntu Linux system. This includes updating the application, uninstalling it when necessary, and managing the PPA that was added during the installation process.
Updating Fotoxx
Fotoxx updates are generally managed through your system updates. However, if you want to check for updates manually, you can use the following command in your terminal:
sudo apt upgrade && sudo apt upgradeThis command will refresh the package list and install any available updates for your system, including Fotoxx.
Uninstalling Fotoxx
If you decide that you no longer need Fotoxx on your system, you can uninstall it using the appropriate command based on your installation method. To remove Fotoxx, enter the following command in your terminal:
sudo apt remove fotoxxManaging the PPA
If you installed Fotoxx using the PPA method, you might want to remove the PPA after uninstalling the application. However, before removing the PPA, make sure that you are not using any other packages from it. To remove the PPA, use the following command:
sudo add-apt-repository --remove ppa:xtradeb/apps -yNote: If you have installed or upgraded other packages from this PPA, do not remove it.
Closing Thoughts
Throughout this guide, we’ve walked you through installing Fotoxx on Ubuntu versions 24.04, 22.04, and 20.04 LTS, using both APT with the XtraDeb Applications LaunchPAD PPA and Flatpak with Flathub. We also dived into essential first-time tips to get you comfortably started with Fotoxx, covering everything from general navigation to advanced editing techniques. Our final word? Take your time exploring Fotoxx’s features and customize it to fit your workflow. This software has a lot to offer for enhancing and managing your photo collections on Ubuntu. Remember, the more you play around with it, the more you’ll discover its potential to transform your digital photography experience. Happy editing!