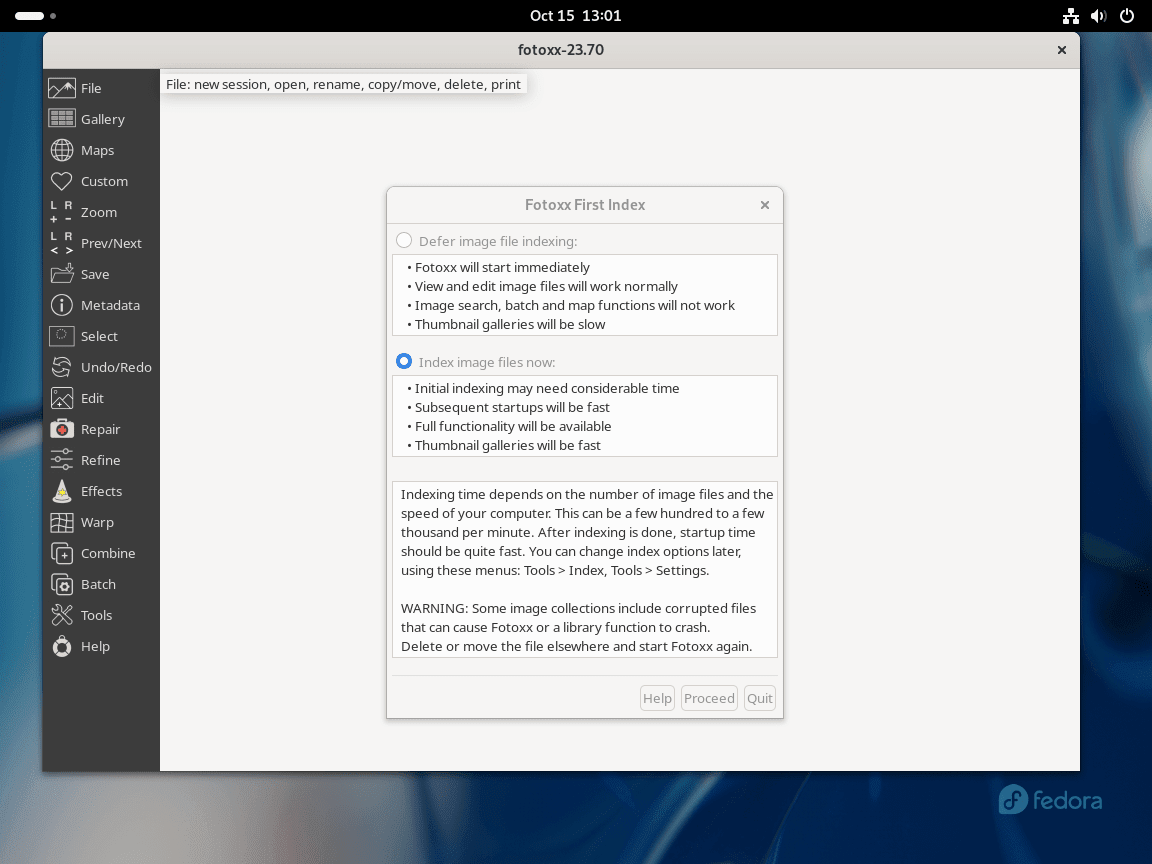
This guide will demonstrate how to install Fotoxx on Fedora Linux using the command-line terminal.
Fotoxx is a robust and feature-rich image editing and management software, designed for photographers and graphic designers who seek a powerful tool for their creative workflows. With its intuitive interface and comprehensive suite of editing functions, Fotoxx offers an efficient solution for enhancing and managing large photo collections. Its key features include non-destructive editing, RAW file processing, and a vast array of filters and effects, making it a versatile choice for image enhancement.
- Non-destructive editing: Modify images without altering the original files.
- RAW file support: Process RAW images to achieve high-quality results.
- Batch processing: Apply edits to multiple photos simultaneously for efficient workflow.
- Geotagging: Organize and search photos by location data.
- Panorama stitching: Combine multiple images to create stunning panoramas.
- HDR functions: Create High Dynamic Range images by combining photos at different exposures.
- Advanced search: Find images quickly with powerful search capabilities.
- Color management: Fine-tune colors with precision for professional-looking results.
Now, let’s dive into the technical steps to get Fotoxx installed on your Fedora system.
Install Fotoxx on Fedora Linux via DNF
Update Fedora Before Fotoxx Installation
Ensure your system is up-to-date to avoid installation issues and adhere to good practices. Open your terminal and execute the following command:
sudo dnf upgrade --refreshInstall Fotoxx on Fedora Linux via DNF Command
Most users find using the Fedora repository with the DNF package manager the easiest way to install the software. Since Fedora focuses on the latest releases every six months and often releases even more updates during that time, you are generally on the latest version, or at most one version behind, making it a desirable choice over using alternative package managers.
Execute the following DNF install command to install Fotoxx:
sudo dnf install fotoxxLaunch Fotoxx on Fedora Linux
Now that you have installed the software, you can launch it in a few ways.
CLI Command to Launch Fotoxx
In your terminal, enter the following command:
fotoxxGUI Path to Launch Fotoxx
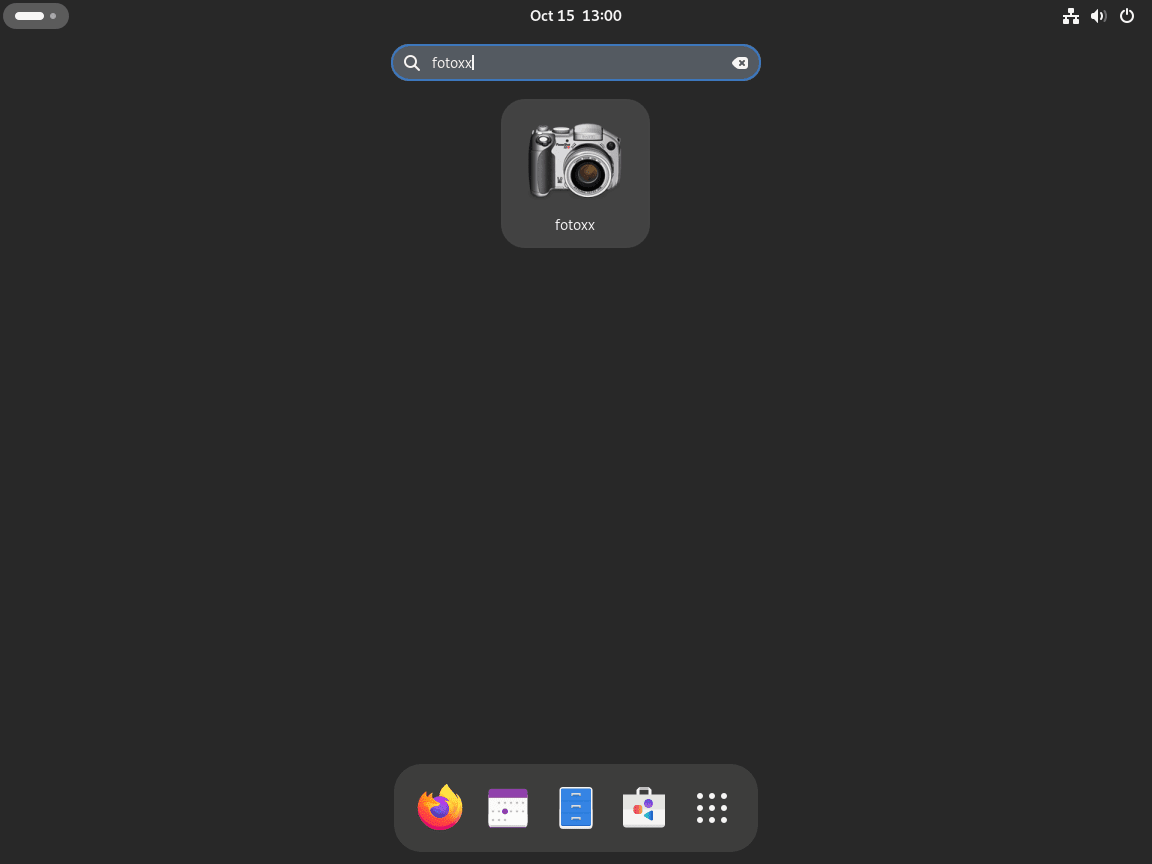
However, this method isn’t practical for desktop users. Desktop users should use the following path.
Activities > Show Applications > Fotoxx
First-Time Tips for Navigating Fotoxx on Fedora Linux
Now that the successful installation of Fotoxx on your Fedora Linux system is complete let’s delve into some initial tips to help you navigate and utilize the software adeptly. Ensuring a smooth and efficient use from the outset will enable you to explore and master more advanced functionalities as you become comfortable with the interface and capabilities of Fotoxx.
General Fotoxx Tips
- Explore the Interface: Familiarize yourself with the menu options, toolbar functionalities, and gallery views to locate and utilize the tools you need swiftly.
- Keyboard Shortcuts: Take note of and start using keyboard shortcuts early on to navigate and edit efficiently.
- CTRL + Z: Undo
- CTRL + Y: Redo
- F1: Help
- F11: Full Screen
- File Management: Ensure your photos and projects are organized in a structured directory to make it easier to locate, edit, and manage them within Fotoxx.
Fotoxx Customization Tips
- Adjusting Preferences: Navigate to Menu > File > Preferences and tailor the software settings to suit your workflow.
- Customize Interface Theme: Adapt the appearance according to your preference.
- Modify Startup Parameters: Alter parameters like default directories or gallery sorting.
- Tool Settings: Personalize settings for various tools under Menu > Adjust to enhance your photo editing workflow.
- Adjust parameters for Brightness, Color, and Contrast.
- Set your preferred Zoom Level for detailed editing.
- Saving Presets: If you create a particular setting that you find aesthetically pleasing or frequently used, save it as a preset for future use.
Additional Fotoxx Tips for Enhanced Usage
- Batch Processing: Utilize the batch processing feature to apply settings or edits to multiple images simultaneously. Find this under Menu > Batch.
- Geotagging: Use the Map function under Menu > Map to interactively explore and handle photos based on geographic location.
- Using Tags and Keywords: Implement tags and keywords to efficiently categorize and retrieve your photos.
- Editing Metadata: Engage with the metadata editor under Menu > Info > Edit Metadata to keep track of essential data and notes about your images.

Additional Commands for Fotoxx on Fedora
Update Fotoxx
Handle updates with your standard system updates when prompted. For users who want to check more regularly, enter the following command in your terminal:
sudo dnf update --refreshRemove Fotoxx
Use one of the following commands to suit the original installation method for users who no longer require the application:
sudo dnf remove fotoxxConclusion
We’ve just walked through the steps to install Fotoxx on your Fedora Linux system, giving you the power to elevate your photo editing game. Remember, Fotoxx isn’t just about tweaking images; it’s a full suite to manage, edit, and transform your photo collection. Dive in, explore its features, and see how it can streamline your creative process.


