

Navigating through the digital world becomes a seamless experience with the right tools at your disposal. The journey ahead promises a unified, efficient, and feature-rich internet suite for those seeking to install SeaMonkey on Fedora Linux. SeaMonkey, an open-source project, combines a web browser, email and newsgroup client, IRC chat client, and HTML editor into one cohesive platform, offering a streamlined user experience and a minimized digital footprint.
Key Advantages of SeaMonkey:
- Unified Internet Suite: SeaMonkey consolidates multiple internet tools, offering a web browser, email client, IRC chat, and HTML editor in one package, ensuring a streamlined user experience.
- Customization: Users can tailor the SeaMonkey environment with various extensions and themes and develop their own, ensuring a personalized and efficient user interface.
- Open-Source Commitment: Aligned with free software and transparency principles, SeaMonkey encourages community involvement and collaborative development.
- Consistent Updates: Regular updates and security patches from the SeaMonkey Project ensure that users enjoy the latest features while maintaining a secure online environment.
- Efficient Performance: Designed to be resource-friendly, SeaMonkey ensures smooth and responsive operation, even on systems with modest hardware capabilities.
- Integrated IRC Chat: The inclusion of ChatZilla provides users with an IRC chat client, facilitating engagement with online communities without requiring a separate application.
- HTML Editor: The built-in WYSIWYG HTML editor, Composer, allows users to create and edit web pages effortlessly, even without extensive coding knowledge.
SeaMonkey stands out as a versatile, all-encompassing internet suite, ensuring users have a secure, customizable, and user-friendly environment for their online activities. Let’s proceed to the guide, where we will explore the straightforward steps to install SeaMonkey on Fedora Linux, ensuring you have access to a robust internet suite tailored to your needs.
Install SeaMonkey on Fedora Linux via DNF
This section will guide you through installing the SeaMonkey Internet Suite on your Fedora Linux system. We will begin by updating your Fedora system and then installing SeaMonkey. Remember to follow the instructions carefully; we will use CLI commands to complete this task.
Step 1: Update Fedora Before SeaMonkey Installation
Before installing any new software, ensuring your Fedora system is up-to-date is essential. This will ensure your system has the latest security patches and software updates, minimizing potential conflicts and issues during installation.
To update your Fedora system, use the following command:
sudo dnf upgrade --refreshStep 2: Install SeaMonkey on Fedora Linux via DNF Command
With the repository in place, we can proceed to install SeaMonkey using the dnf package manager. Run the following command:
sudo dnf install seamonkeyLaunch SeaMonkey on Fedora Linux
Now that you have successfully installed the SeaMonkey Internet Suite on your Fedora Linux system, it’s time to launch the application and explore its features.
CLI Method to Launch SeaMonkey
If you prefer using the command line to launch applications, run the following command:
seamonkeyGUI Method to Launch SeaMonkey
For users who prefer a graphical approach, follow these steps to launch SeaMonkey:
- Open your applications menu by clicking on the Fedora logo in the lower-left corner of your screen or pressing the
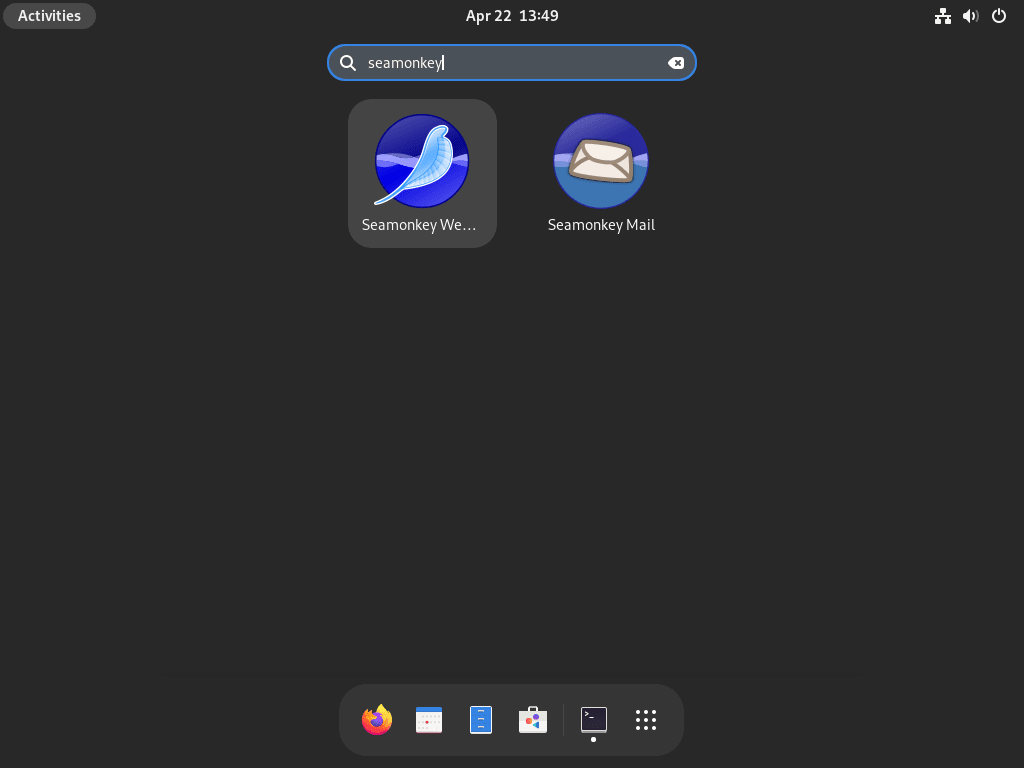
Superkey (usually the Windows key on your keyboard). - Search for “SeaMonkey” in the applications menu search bar. As you type, the SeaMonkey icon should appear in the search results.
- Click on the SeaMonkey icon to launch the application.
Getting Started with SeaMonkey on Fedora Linux
This section will provide some essential tips and tricks to help you make the most of your SeaMonkey experience on Fedora Linux. We will cover general tips, customization options, and other valuable suggestions to enhance your productivity and user experience.
General Tips for SeaMonkey on Fedora Linux
- Keyboard shortcuts: Familiarize yourself with the keyboard shortcuts for various functions in SeaMonkey. These shortcuts can save you time and make your browsing, emailing, and editing experience more efficient. You can find a comprehensive list of keyboard shortcuts in the SeaMonkey Help documentation.
- Manage multiple email accounts: SeaMonkey’s email client, Mail & Newsgroups, allows you to manage multiple email accounts from a single interface. This feature will consolidate your personal and professional email accounts and streamline communication.
- Customize the toolbar: You can customize SeaMonkey’s toolbar to add, remove, or rearrange buttons according to your preferences. Right-click on the toolbar and select “Customize” to access the customization options.
Customization Tips for SeaMonkey on Fedora Linux
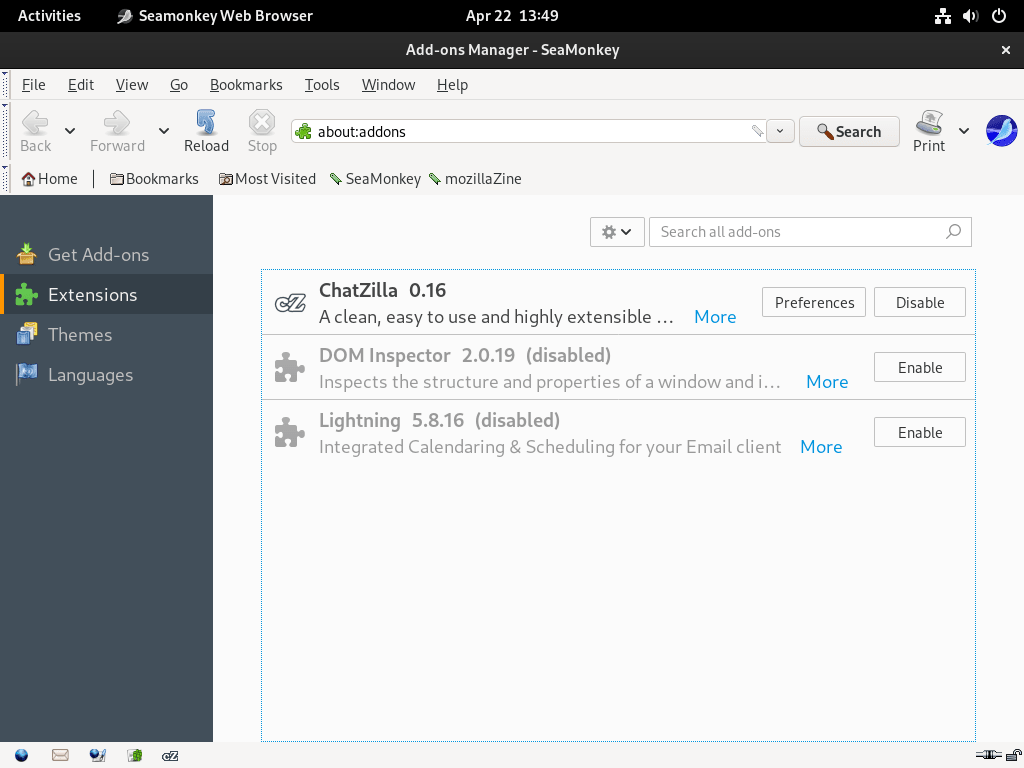
- Themes: Change the appearance of SeaMonkey with themes that alter the interface’s colors, icons, and other visual elements. Browse and install themes from the SeaMonkey Add-ons website by clicking “Tools” in the menu bar and selecting “Add-ons Manager.”
- Extensions: Enhance SeaMonkey’s functionality with extensions that add or modify new features. Like themes, you can find and install extensions from the SeaMonkey Add-ons website through the “Add-ons Manager.”
- Modify Preferences: Tweak the settings and preferences of SeaMonkey to suit your needs. Access the “Preferences” window by clicking “Edit” in the menu bar and selecting “Preferences.” Explore the various categories and adjust browsing, email, and privacy settings.
Other Useful Tips for SeaMonkey on Fedora Linux
- Use Composer for web development: SeaMonkey includes a built-in WYSIWYG HTML editor called Composer. Utilize this tool to create and edit web pages without extensive coding knowledge.
- Stay connected with ChatZilla: SeaMonkey features an integrated IRC chat client called ChatZilla. Use this tool to engage with online communities, collaborate with colleagues, or chat with friends without requiring a separate application.
- Organize bookmarks: Efficiently manage your bookmarks in SeaMonkey by organizing them into folders and using tags. Access the “Bookmarks Manager” by clicking “Bookmarks” in the menu bar and selecting “Manage Bookmarks.”
Additional SeaMonkey Commands with Fedora Linux
This section will discuss additional SeaMonkey commands that you may find helpful when managing the software on your Fedora Linux system. We will cover updating and removing SeaMonkey, providing step-by-step instructions to ensure a smooth experience.
Update SeaMonkey on Fedora Linux
To keep your SeaMonkey installation up-to-date with the latest features, security patches, and bug fixes, it’s essential to update the software regularly by running the following command:
sudo dnf upgrade --refreshThis command will check for available updates and automatically install them, which, if an update for SeaMonkey is available, will be among them.
Remove SeaMonkey on Fedora Linux
If you decide to remove SeaMonkey from your Fedora Linux system, run the following command:
sudo dnf remove seamonkeyConclusion
In conclusion, installing and managing SeaMonkey on Fedora Linux is a straightforward process that allows users to enjoy a versatile, all-in-one internet suite. Throughout this guide, we have covered the steps to install, update, and remove SeaMonkey and tips and tricks to enhance your experience with the software. By following these instructions and recommendations, you can ensure a seamless and productive experience with SeaMonkey on your Fedora Linux system.