
For enthusiasts and professionals looking to streamline their image viewing and editing on Fedora Linux, Nomacs offers a compelling solution. This free, open-source image viewer is known for its speed and customization options, allowing for a tailored approach to managing a wide array of image files. To install Nomacs on Fedora Linux is to embrace efficiency and flexibility in your image-related tasks.
Nomacs distinguishes itself with an impressive array of features:
- Versatility in File Formats: Supports an extensive range of image formats, including raw photos, facilitating diverse workflows.
- Image Manipulation: Comes equipped with tools for basic image editing, adjustments, and batch processing capabilities.
- Lightweight Design: Despite its broad feature set, Nomacs remains fast and unobtrusive, ensuring a smooth user experience.
- User Customization: The interface can be customized to suit individual preferences, enhancing usability and accessibility.
- Synchronization Capability: Offers the ability to sync images and folders across multiple devices, streamlining the organization process.
- Multi-Platform Support: Operates seamlessly on various operating systems, making it ideal for users in a multi-platform environment.
Adopting Nomacs on your Fedora system means not just accessing your images but optimizing how you interact with them, whether for a quick review or detailed editing.
Let’s explore the steps required to install Nomacs on Fedora Linux and set the stage for a more efficient image viewing and management experience.
Install Nomacs on Fedora via DNF
Step 1: Refresh Fedora Packages Before Nomacs Installation
Before initiating the installation of Nomacs, it is crucial to update your Fedora system. An up-to-date system ensures compatibility and security for the new software. To update your system, access the terminal and execute the command:
sudo dnf upgrade --refreshThis command refreshes the repository metadata and upgrades all the packages to their latest versions, resolving potential conflicts.
Step 2: Install Nomacs via DNF Command
Fedora’s DNF package manager is the preferred method for installing software due to its efficient handling of dependencies and integration with Fedora’s repositories. Given Fedora’s biannual release cycle and frequent updates, DNF typically offers the most recent version of the software.
To install Nomacs using DNF, input the following command:
sudo dnf install nomacsThis command will download and install the Nomacs Image Viewer and any required dependencies.
For those who prefer installing Flatpak packages, the following section offers an alternative method.
Install Nomacs on Fedora via Flatpak and Flathub
Step 1: Re-install Flatpak on Fedora for Nomacs (Situational)
If Flatpak has been removed from your Fedora system, it can be easily re-installed. Re-installing Flatpak ensures that you can manage applications outside of Fedora’s standard repositories.
Use this command to re-install Flatpak:
sudo dnf install flatpak -yThis command re-installs the Flatpak package manager and includes the -y flag to automatically confirm the installation, streamlining the process.
Step 2: Enable Flathub for Nomacs Installation
To access a broader range of applications, including Nomacs, enable the Flathub repository. Flathub is the go-to source for Flatpak applications, providing a diverse selection of the latest software. Enable Flathub using this command:
sudo flatpak remote-add --if-not-exists flathub https://flathub.org/repo/flathub.flatpakrepoThis command adds the Flathub repository to your Flatpak configuration if it isn’t already present.
Step 3: Install Nomacs via Flatpak Command
With Flathub enabled you can proceed to install Nomacs. Execute the following command to start the installation:
flatpak install flathub org.nomacs.ImageLoungeThis will fetch and install the Nomacs image viewer from the Flathub repository.
Troubleshoot Nomacs Flatpak Installation
A common issue encountered during Flatpak installations is a disabled Flathub repository, which results in an error. If you come across an error indicating an inability to fetch data from Flathub:
"error: Unable to load summary from remote flathub: Can't fetch summary from disabled remote 'flathub,"The fix is simple: run the following command to enable Flathub.
flatpak remote-modify --enable flathubThis will re-enable the Flathub repository, resolving the error and allowing the installation of Nomacs to proceed.
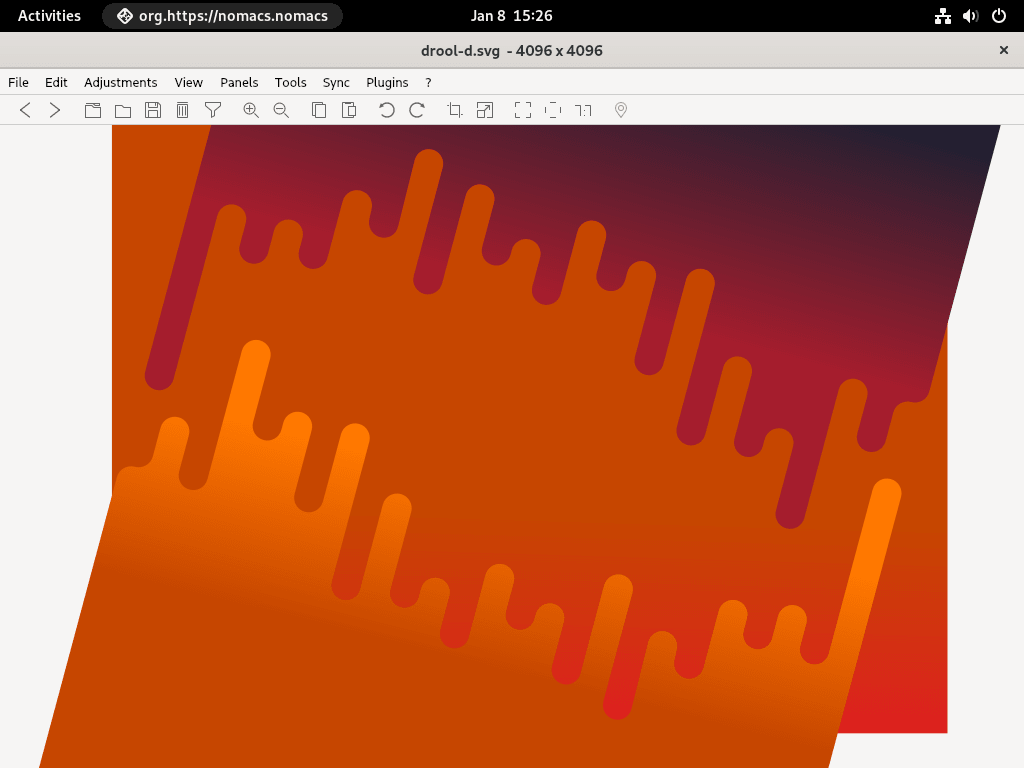
Launch Nomacs on Fedora Linux
After successful installation, you can open Nomacs using either the command-line interface (CLI) or the graphical user interface (GUI) on your Fedora system.
CLI Commands to Launch Nomacs
For immediate access, open Nomacs from the terminal with this simple command:
nomacsThis command activates Nomacs directly from the terminal, providing a quick way to open your image viewer.
For Flatpak installations, the launch command differs slightly. Enter the following in your terminal to open Nomacs:
flatpak run org.nomacs.ImageLoungeThis specifies that Flatpak should run the Nomacs application identified by its unique Flatpak identifier.
GUI Method to Launch Nomacs
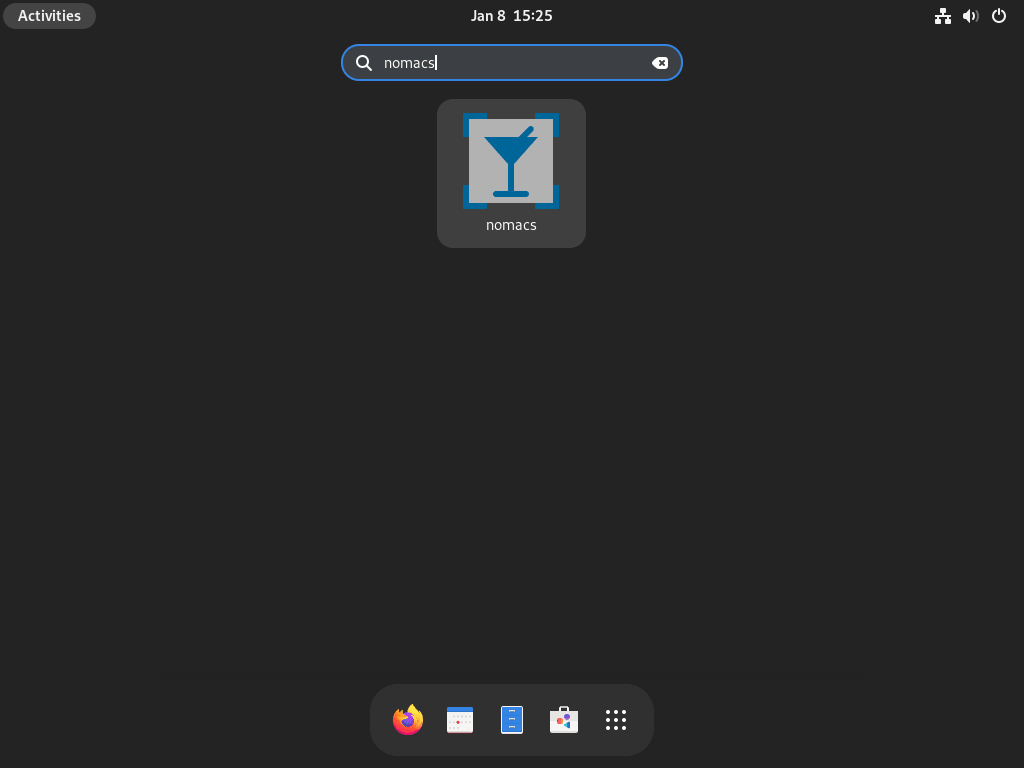
Most users prefer the graphical method for its convenience. To launch Nomacs without the command line, navigate through the following path on your desktop environment:
- Click on the “Activities” hotspot or button.
- Select “Show Applications” or use the equivalent application menu.
- Search for “nomacs” and click its icon to open the application.
This GUI pathway avoids command memorization and provides a user-friendly alternative to the CLI method.
First-Time Tips with Nomacs on Fedora
Now that you have successfully installed Nomacs on Fedora Linux let’s explore some first-time tips to enhance your experience with this robust image viewer.
Understanding Nomacs Interface with Fedora
- Familiarize with the Workspace: Nomacs presents a user-friendly interface. Take a moment to identify the menu bar, status bar, thumbnail panel, and the filter panel which may be hidden by default.
- Keyboard Shortcuts: Leverage keyboard shortcuts to streamline your workflow. Use
Ctrl + Lto enter the fullscreen mode,Ctrl + Tto display thumbnails, andCtrl + Mfor metadata.
Nomacs Image Viewing and Management on Fedora
- Multiple Instances: Open multiple images in separate windows by selecting File > New Instance. This allows for parallel viewing and comparison of images.
- Synchronization: If you’re working with multiple images, use the synchronization feature by going to Tools > Synchronize. This aligns the viewing of different images, which is handy for comparing edits.
- Full-Screen Mode: Press
F11to switch to full-screen for an immersive viewing experience, free from desktop distractions.
Nomacs Customization Tips with Fedora
- Theme Adjustment: Tailor the appearance of Nomacs to your liking. Navigate to Edit > Settings > Appearance to change the theme and adjust the thumbnail size.
- Setting Up Shortcuts: Customize your shortcuts through Edit > Settings > Shortcuts. Personalize key bindings to actions you use frequently for quicker access.
- Status Bar Information: Modify what information you see on the status bar. Right-click the status bar to choose elements like file name, zoom level, or file size to display.
Advanced Nomacs Features on Fedora
- Image Editing: Utilize built-in tools for quick edits. Access basic features like crop, resize, and rotate under Image > Adjustments.
- Batch Processing: Automate repetitive tasks with batch processing. Go to Tools > Batch Processing to resize, rename, or convert formats of multiple images at once.
- Plug-Ins: Enhance functionality with plug-ins. Check out the available plug-ins by navigating to Plug-ins> Manage Plug-ins to see if one suits your needs.
Remember, these tips are just the starting point to get the most out of Nomacs on your Fedora system. Dive into each feature and customize your experience, and Nomacs can be a powerful tool in your image viewing and editing arsenal.

Additional Commands For Nomacs on Fedora
Update Nomacs on Fedora
DNF Update Method for Nomacs
Keeping software updated is crucial for security and access to new features. For Nomacs installed via DNF, execute the command below to search for and apply updates. This ensures your application remains current with the latest enhancements and security patches.
sudo dnf update --refreshFlatpak Update Method for Nomacs
For installations done through Flatpak, updating is straightforward. Run the following command to ensure Nomacs is at the latest version. Flatpak manages dependencies separately, which might result in a more stable update process.
flatpak updateRemove (Uninstall) Nomacs From Fedora
In scenarios where Nomacs is no longer needed, it’s simple to remove the software from your system. Choose the command corresponding to your installation method to uninstall Nomacs cleanly.
DNF Remove Method for Nomacs
If you’ve installed Nomacs through DNF, use the following command to remove the application. This will free up system resources and declutter your application menu.
sudo dnf remove nomacsFlatpak Remove Method for Nomacs
For those who opted for Flatpak, uninstalling is effortless. The command below not only uninstalls Nomacs but also deletes associated data, which is beneficial for freeing up storage space.
flatpak uninstall --delete-data org.nomacs.ImageLoungeConclusion
In conclusion, Nomacs distinguishes itself on Fedora Linux not just as an alternative to the default image viewer but as a superior choice. Its swift performance and support for an extensive array of image formats, including raw files, make it indispensable for users with diverse and extensive image collections. The software’s customizable interface and embedded editing tools like cropping, resizing, and color adjustments further streamline the image viewing and editing process, making it a practical, all-in-one solution for everyday and professional image-handling tasks.