This guide will demonstrate how to install Zoom on Ubuntu 24.04, 22.04, or 20.04 LTS using the command-line terminal. We’ll explore three methods: Zoom’s .deb package or utilizing either one of the third-party package managers, Snap or Flatpak, with the Flathub repository.
Zoom, a leading video conferencing software, has become an essential tool in today’s digital workspace, connecting teams, families, and friends across the globe. With its user-friendly interface and robust feature set, including high-definition video calls, screen sharing, and real-time messaging, Zoom facilitates seamless communication and collaboration. Whether you’re working remotely, attending online classes, or just catching up with loved ones, Zoom offers a reliable and accessible platform for all your communication needs.
Before diving into the installation process, let’s highlight key considerations:
- Compatibility: Ensure your Ubuntu version is supported (24.04, 22.04, or 20.04 LTS).
- Internet Connection: A stable internet connection is required for downloading packages and attending meetings.
- System Requirements: Check your system’s compatibility with Zoom’s requirements for optimal performance.
- Security: Always download Zoom from official sources to safeguard your system against security threats.
- Updates: Keep your system and Zoom application updated for access to the latest features and security enhancements.
- Alternatives: Explore Snap and Flatpak for alternative installation methods that might suit your system configuration.
- Customization: Customize Zoom settings for a tailored user experience, including video, audio, and background options.
- Troubleshooting: Be prepared to troubleshoot common issues, such as audio/video problems or connectivity challenges.
With these points in mind, you’re ready to proceed with installing Zoom on your Ubuntu system.
Now, let’s move on to the technical how-to segment, guiding you through each installation method step by step.
Install Zoom on Ubuntu via .deb DPKG
Update Ubuntu Before Zoom Installation
To ensure a smooth installation of Zoom on Ubuntu, it’s essential to update your system first. This will help avoid conflicts and ensure that your system is up-to-date. To update Ubuntu, open the terminal and enter the following command:
sudo apt update && sudo apt upgradeThis command updates the package list and installs available updates. The system may prompt you to enter your password to initiate the update process. After completing the update, proceed with the Zoom installation.
Download Zoom .deb Package on Ubuntu
Using the APT method, you can download the official Debian-based package from the Zoom website to install the Zoom client on Ubuntu. By default, Zoom is not available in the default Ubuntu repository.
To download the package, open the terminal and enter the following command:
wget https://zoom.us/client/latest/zoom_amd64.debThis will download the latest version of the Zoom package to your system.
Install Zoom on Ubuntu via DPKG Command
Once the download is complete, you can install the package using the following command:
sudo dpkg -i zoom_amd64.debThis command will install the Zoom client on your system, allowing you to use it for video conferencing and collaboration.
Install Zoom on Ubuntu via Snap
Another method to install the Zoom client on Ubuntu is using Snapcraft, a package manager that comes pre-installed on most Ubuntu desktops. This method is usually faster and more straightforward than installing Zoom using a .deb package.
Install Snapd on Ubuntu for Zoom
Before starting, verify Snapcraft installation on your system by executing the command below:
sudo apt install snapdInstall Zoom on Ubuntu via Snap Command
Installing Zoom with Snapcraft is easy; run the following command to install the Zoom client on your desktop:
sudo snap install zoom-clientInstall Zoom on Ubuntu via Flatpak and Flathub
The last method we will examine is learning to install Zoom on Ubuntu 22.04 or 20.04 via Flatpak. Flatpak is an integral component in the Linux toolkit for those new to Ubuntu or Linux in general, celebrated for its impeccable sandboxing feature. This mechanism creates a secure harbor for applications, mitigating risks and providing a stable operational environment.
Alongside, Flathub is the trusted repository for housing Flatpak applications. Envision it as a digital toolbox, with Zoom as one of its essential instruments.
Note: If Flatpak isn’t part of your system yet, installing it before proceeding is crucial. For a thorough walkthrough on Flatpak installation on Ubuntu, refer to our dedicated installing Flatpak guide.
Ensure Flathub Activation for Zoom Installation
The Zoom installation begins with integrating the Flathub repository into your system. This move ensures that you have unobstructed access to Zoom and various other Flatpak applications.
Input the following command into your terminal:
sudo flatpak remote-add --if-not-exists flathub https://flathub.org/repo/flathub.flatpakrepoWith the execution of this command, the Flathub repository becomes a part of your existing Flatpak framework, opening doors to Zoom and many other applications.
Install Zoom on Ubuntu via Flatpak Command
With the Flathub repository now at your fingertips, you are ready to proceed with the installation of Zoom. Utilize the flatpak install command to set the wheels in motion. For Zoom, the command is:
flatpak install flathub us.zoom.Zoom -yInitiating this command pulls Zoom from the Flathub repository and installs it efficiently onto your system.
Launch Zoom on Ubuntu via CLI Commands or GUI Path
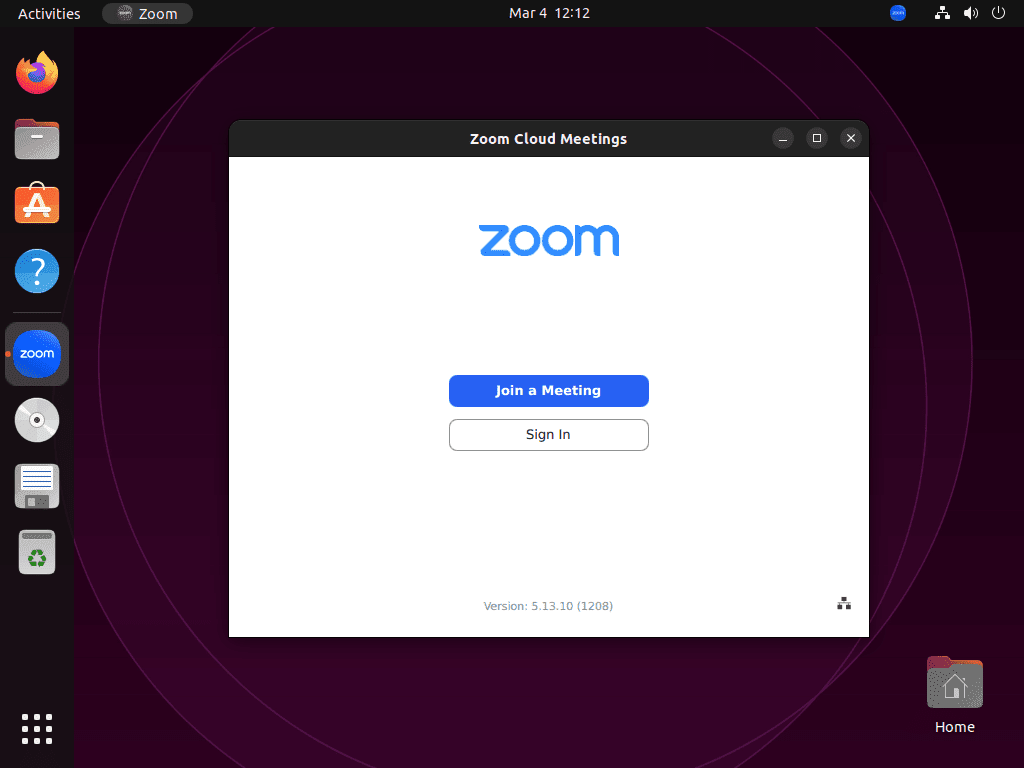
Now with Zoom installed, let’s look quickly how to launch it.
CLI Commands to Launch Zoom UI
If you installed Zoom via the terminal and you are still in it, you can launch the Zoom client immediately with the corresponding command that matches your installation package manager:
DPKG/APT Launch Command:
zoomSnap Launch Command:
snap run zoomFlatpak Launch Command:
flatpak run us.zoom.ZoomGUI Location Path to Launch Zoom Application
While this method might be impractical, use the following desktop path to open Zoom:
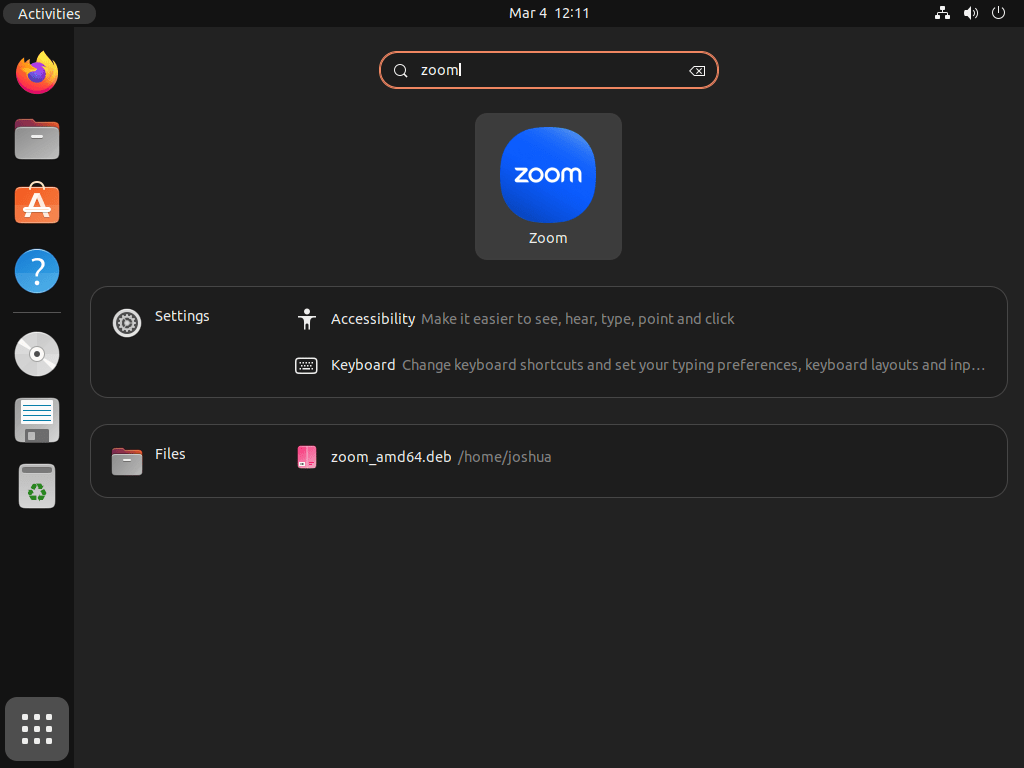
Activities > Show Applications > ZoomFirst-Time Tips with Zoom on Ubuntu
Now that you have successfully installed Zoom on Ubuntu, here are some first-time tips on getting started with the software:
General Tips for Zoom
- Test Your Audio and Video Before Joining a Meeting: Ensure your microphone and camera are correctly set up in Zoom by accessing the settings via the
Settings > AudioandSettings > Videotabs. This step is crucial for a smooth meeting experience. - Utilize Keyboard Shortcuts: Familiarize yourself with Zoom’s keyboard shortcuts to navigate more efficiently during meetings. For example,
Alt + Atoggles mute, andAlt + Vtoggles the video. - Adjust Your Background and Filters: Personalize your video appearance by adding virtual backgrounds or filters. This can be done under
Settings > Background & Filters. It’s a great way to maintain privacy or add a bit of personality to your calls. - Optimize Lighting and Frame: Position yourself so that light sources are in front of you, not behind, to avoid being backlit. Ensure your camera is at eye level for the best angle.
Customization Tips for Zoom
- Personalize Your Profile: Set up your profile with a photo and name by navigating to the Zoom web portal. This customization helps participants in meetings recognize you easily.
- Configure Video Settings: Within
Settings > Video, you can adjust your video’s quality and orientation. Enable HD if your internet connection supports it for a clearer picture. - Set Up Advanced Audio Settings: For better audio quality, especially if you’re using an external microphone or speakers, go to
Settings > Audioand explore theAdvancedoptions. Here, you can enable noise suppression and echo cancellation. - Choose Default Meeting Settings: Pre-configure your preferred meeting settings such as enabling/disabling participant video upon entry, setting up default mute options, and more under
Settingson the Zoom app or web portal.
Security Tips for Zoom
- Familiarize Yourself With Security Options: Know how to quickly access features like the waiting room, meeting lock, and participant removal. These can be found under the security icon once you start a meeting.
- Use a Meeting Password: Always set a password for your meetings to prevent uninvited guests from joining. This can be set up when scheduling a meeting.
- Enable the Waiting Room Feature: This feature allows you to control who enters your meeting, adding an extra layer of security.
- Be Cautious With Meeting Links: Avoid sharing meeting links publicly or on social media to minimize the risk of “Zoombombing.”
Performance Optimization Tips for Zoom
- Close Unnecessary Applications: Before joining a meeting, close any applications that are not in use to free up system resources and ensure Zoom runs smoothly.
- Check Your Internet Connection: A stable and fast internet connection is key to a successful Zoom meeting. Consider using a wired connection if you experience instability with Wi-Fi.
- Adjust Zoom’s Video Quality: If you’re experiencing lag, you can lower the video quality in Zoom’s settings to reduce the load on your internet connection.
- Monitor System Resources: Keep an eye on your CPU and memory usage via the Ubuntu System Monitor if Zoom seems to be running slowly. This can help you identify if other processes are affecting performance.
Following these tips, you’ll be well-prepared to use Zoom on Ubuntu, ensuring a smooth and productive experience in your video conferences and meetings.
Additional Commands with Zoom on Ubuntu
Update Zoom
DPKG/APT Method to Update Zoom
To update Zoom, go to the Zoom website and download the latest .deb package for Ubuntu, or re-use the following command:
wget https://zoom.us/client/latest/zoom_amd64.debThen, run the following command to update Zoom:
sudo apt install ./zoom_amd64.debSnap Method to Update Zoom
If you installed Zoom using Snapcraft, you could update it using the following command in the terminal:
sudo snap refresh zoom-clientFlatpak Method to Update Zoom
If you installed Zoom with Flatpak initially, run the following command to check all Flatpak installations for updates comprehensively:
flatpak updateRemove Zoom
If you no longer need Zoom on your Ubuntu system, you can easily remove it using the following commands in the terminal:
APT Method to Remove Zoom
sudo apt remove zoomSnap Method to Remove Zoom
sudo snap remove zoom-clientFlatpak Method to Remove Zoom
flatpak uninstall us.zoom.ZoomConclusion
Throughout this guide, we’ve walked you through the steps to get Zoom up and running on Ubuntu, covering versions 24.04, 22.04, and 20.04 LTS. From choosing the right installation method—whether it’s via Zoom’s .deb package or through third-party package managers like Snap or Flatpak—to setting up and securing your meetings, we’ve aimed to make the process as straightforward as possible. Remember, the key to a smooth Zoom experience on Ubuntu is ensuring your system is ready and optimized for video conferencing. Take a moment to personalize your settings, familiarize yourself with the security features, and you’ll be all set for a seamless communication experience. Thanks for following along, and here’s to many successful Zoom meetings on your Ubuntu system!


