

This guide will demonstrate how to install WebStorm on Ubuntu 24.04, 22.04 or 20.04 LTS utilizing the command-line terminal. Methods include using the APT PPA maintained by Jonas Groeger or alternative package managers like Snapcraft and Flatpak with the Flathub repository.
WebStorm is a powerful Integrated Development Environment (IDE) designed specifically for JavaScript developers. It offers rich features, including smart code completion, powerful navigation, real-time error detection, and refactorings. Developed by JetBrains, WebStorm facilitates web, mobile, and desktop development with cutting-edge technologies such as HTML5, Node.js, TypeScript, React, Angular, and Vue.js. Its user-friendly interface and robust toolset make it a top choice for developers seeking to streamline their coding process, enhance productivity, and execute projects efficiently.
Key Features of WebStorm:
- Smart Editor: Offers code completion, on-the-fly error detection, and quick fixes.
- Integrated Development Tools: Bundles tools for version control, package management, and development workflows.
- Seamless Tool Integration: Supports tools like linters, build tools, test runners, REST client, and more.
- Debugging Capabilities: Integrated debugger for JavaScript, Node.js, and client-side code.
- Customizable Interface: Tailor the IDE to your development needs and preferences.
- Version Control System: Integrated with Git, GitHub, Mercurial, and SVN.
- Code Quality Tools: Features like Prettier, ESLint, Stylelint, and others help maintain code quality.
- Support for Modern Frameworks: Enhanced support for React, Angular, Vue.js, and Node.js.
Moving on to the installation process, this guide simplifies the steps needed to get WebStorm up and running on your Ubuntu system. Whether you are a seasoned developer or new to web development, following this guide will help you set up WebStorm efficiently.
Now, let’s dive into the installation process.
Install WebStorm on Ubuntu via APT PPA
Update Ubuntu System Before WebStorm Installation
We must keep our system’s local package database updated to ensure the smooth installation of new software. This activity ensures that your Ubuntu system is aware of the latest versions of available software.
Here’s the command to update the package database:
sudo apt updateAfter updating the package database, we should also upgrade the system. This action ensures that all your installed software is up-to-date, which results in a more secure and stable operating environment.
Here’s how to perform the system upgrade:
sudo apt upgradeDo not forget to reboot if you update your Linux Kernel or have hundreds of packages outdated.
Install Initial Required Packages for WebStorm Installation
Our installation journey includes adding some essential packages to our system. These packages, namely dirmngr, ca-certificates, software-properties-common, apt-transport-https, curl, and LSB-release, are instrumental in managing secure file transfers, handling repositories, and other critical package-related tasks.
Execute the following command to install these packages:
sudo apt install dirmngr ca-certificates software-properties-common apt-transport-https curl lsb-release -yIntegrating the JetBrains PPA by Jonas Groeger
Next, we need to add the JetBrains Personal Package Archive (PPA) to the system’s list of repositories. Adding this repository will allow APT to fetch WebStorm directly from JetBrains’ PPA.
To ensure the authenticity of the packages from this repository, we’ll import the GPG key for the JetBrains repository. The GNU Privacy Guard (GPG), an implementation of the OpenPGP standard, verifies that the packages in the repository are genuinely from JetBrains. Run the following command to import the GPG key:
curl -s https://s3.eu-central-1.amazonaws.com/jetbrains-ppa/0xA6E8698A.pub.asc | gpg --dearmor | sudo tee /usr/share/keyrings/jetbrains-ppa-archive-keyring.gpg > /dev/nullWith the GPG key now imported, run the following command to add the repository:
echo "deb [signed-by=/usr/share/keyrings/jetbrains-ppa-archive-keyring.gpg] http://jetbrains-ppa.s3-website.eu-central-1.amazonaws.com any main" | sudo tee /etc/apt/sources.list.d/jetbrains-ppa.list > /dev/nullRefreshing the APT Package Index
Updating the APT package database is essential when integrating a new repository. This action ensures your system can fetch the latest package information from the newly added JetBrains PPA. Here’s how to perform this update:
sudo apt updateInstall WebStorm on Ubuntu via APT Command
Finally, we are ready to install WebStorm. Your system is familiar with the WebStorm package from the JetBrains PPA and is prepared to retrieve and install it.
Use the following APT install command to commence the installation process:
sudo apt install webstormThe command above prompts APT to download WebStorm, resolve any required dependencies, and install them on your system. This step marks the successful completion of the WebStorm installation process.
Install WebStorm on Ubuntu via Snap
Snap is a powerful software deployment and package management system developed by Canonical, the organization behind Ubuntu. Its design aims to simplify the software installation process and maintenance tasks across different Linux distributions.
Confirming the Presence of Snap on Your Ubuntu System
Being a Canonical product, Snap comes pre-installed on most Ubuntu distributions. However, there could be scenarios where Snap isn’t pre-loaded or has been manually removed.
If you encounter such a situation, you can reinstall Snap onto your system using the command below:
sudo apt install snapd -yThis command installs the Snap Daemon (snapd), a background service that manages and maintains Snap packages on your system.
Enabling Classic Snap Support for WebStorm
Some Snap packages require ‘classic’ confinement – a feature that gives the Snap package access to your system’s resources, akin to conventional software. To facilitate broad compatibility and seamless operation of these packages, we create a symbolic link (symlink) using the command below:
sudo ln -s /var/lib/snapd/snap /snapExecuting the command above creates a symlink between /var/lib/snapd/snap and /snap, effectively enabling classic Snap support on your system.
Install the Core Snap for WebStorm
Before initiating the WebStorm installation, installing the ‘core’ Snap is crucial. This core Snap serves as a base for other Snaps, offering the required libraries and services they depend upon. This proactive step can help prevent potential conflicts or issues that might arise later.
To install the core Snap, use the following command:
sudo snap install coreInstall WebStorm on Ubuntu via Snap Command
With the prerequisites in place, we are now prepared to install WebStorm. This can be accomplished by executing the following command:
sudo snap install webstorm --classicIn the above command, sudo is used to provide elevated privileges, snap calls upon the Snap package manager, install is the action to install a package, and webstorm is the package we’re targeting for installation. The --classic option allows WebStorm to access your system’s resources like a traditionally packaged application.
Install WebStorm on Ubuntu via Flatpak and Flathub
Flatpak is a universal package management system specifically tailored for Linux. It shares standard functionalities with Snap but distinguishes itself with a unique sandboxing feature. This feature isolates applications from the rest of the system, enhancing security and reducing potential software conflicts. This section presents a step-by-step guide on installing WebStorm via Flatpak and Flathub.
Note: It’s important to note that if your system doesn’t support Flatpak, you’ll need to install it first. For detailed instructions on how to install the most recent supported version of Flatpak on Ubuntu, we recommend visiting our comprehensive guide on installing Flatpak.
Activating the Flathub Repository for WebStorm on Ubuntu
The first step towards installing WebStorm through Flatpak is to activate the Flathub repository. Flathub serves as a reputable distribution platform that hosts Flatpak applications. It functions like an online marketplace, providing access to various applications ready for installation.
To integrate the Flathub repository into your system, execute the following command in your terminal:
sudo flatpak remote-add --if-not-exists flathub https://flathub.org/repo/flathub.flatpakrepoThe command above weaves the Flathub repository into your Flatpak configuration, thus extending access to a wide range of applications, including WebStorm.
Install WebStorm on Ubuntu via Flatpak Command
Once you’ve successfully incorporated the Flathub repository, the next step involves installing WebStorm. This is achieved using the flatpak install command. The specific command for installing WebStorm is:
flatpak install flathub com.jetbrains.WebStorm -yRunning this command initiates the installation of WebStorm from the Flathub repository, ensuring the application’s latest stable version is available.
Launching WebStorm on Ubuntu via GUI or CLI
After successfully installing WebStorm on your Ubuntu system, you are ready to take the next step: starting the application. Two primary ways to launch WebStorm are the command-line interface (CLI) and the graphical user interface (GUI).
Launching WebStorm through the Command-Line Interface (CLI)
In the realm of Linux, the command-line interface is an integral tool, and launching applications like WebStorm is no exception. The following subsections outline how to initiate WebStorm using various command sets, depending on your installation method—APT, Snap, and Flatpak.
Launching WebStorm Using the APT Command
To launch WebStorm with the APT command, open your terminal and input:
webstormThis command will initiate the Integrated Development Environment (IDE), preparing it for your coding tasks.
Launching WebStorm Using the Snap Command
If you have installed WebStorm using Snap, the command to launch it will be:
snap run webstormOnce executed, this command will start WebStorm, assuming the installation was successful.
Launching WebStorm Using the Flatpak Command
If you have chosen Flatpak as your preferred installation method, the following command in your terminal will launch WebStorm:
flatpak run com.jetbrains.WebStormThis command will set WebStorm into action, provided that the installation was executed correctly.
Launching WebStorm through the Graphical User Interface (GUI)
Ubuntu’s graphical user interface (GUI) offers an alternative way to start WebStorm for users who are more at ease with a visual approach. The procedure involves the following steps:
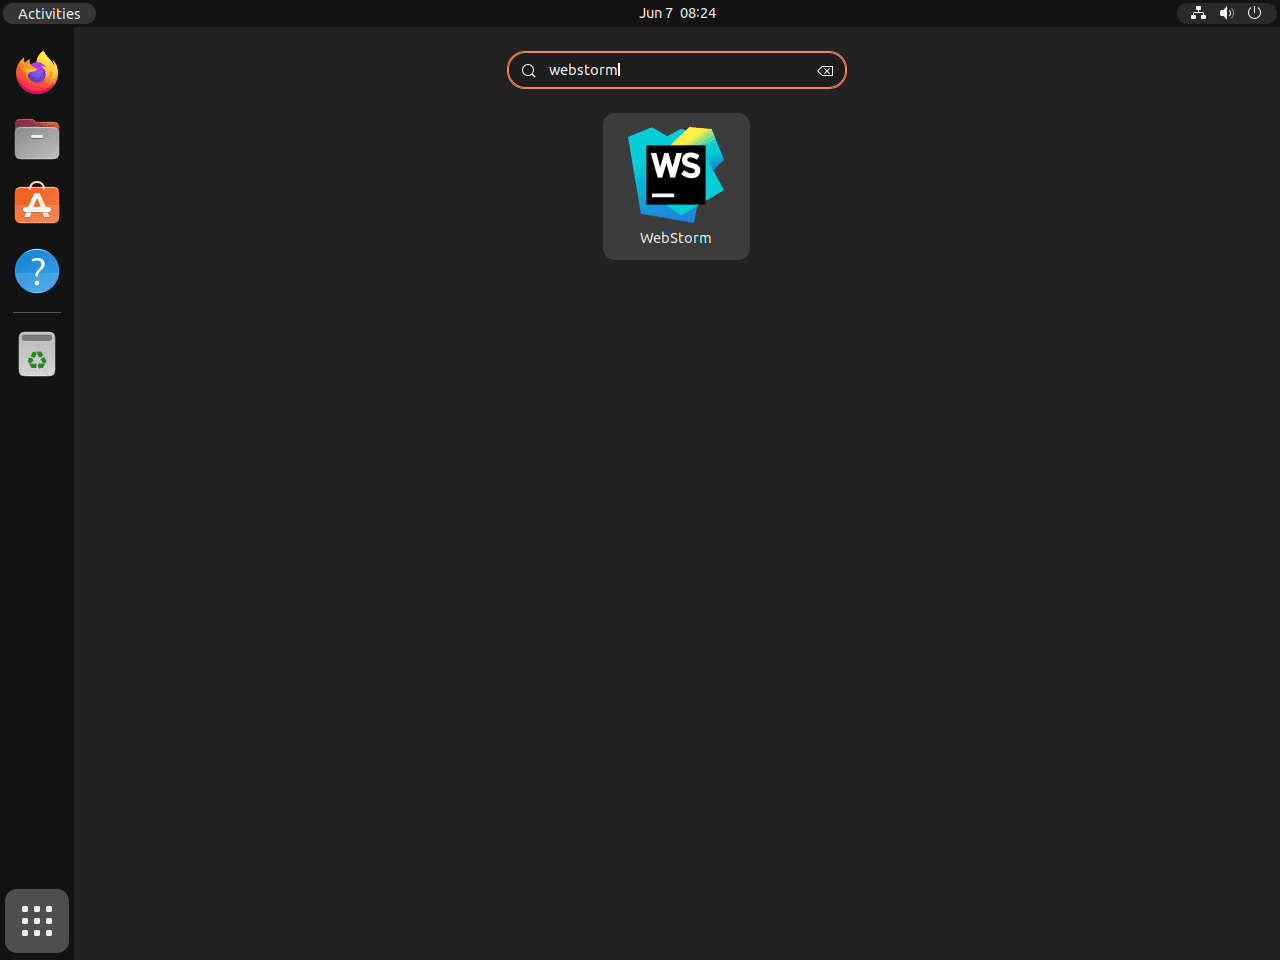
- Activities Menu: Start by clicking on the
Activitiesmenu, located at the top-left corner of your desktop screen. - Show Applications: Next, select the
Show Applicationsicon at the bottom of the Activities overlay. - Search for WebStorm: You can scroll through your applications or use the search bar to find WebStorm quickly.
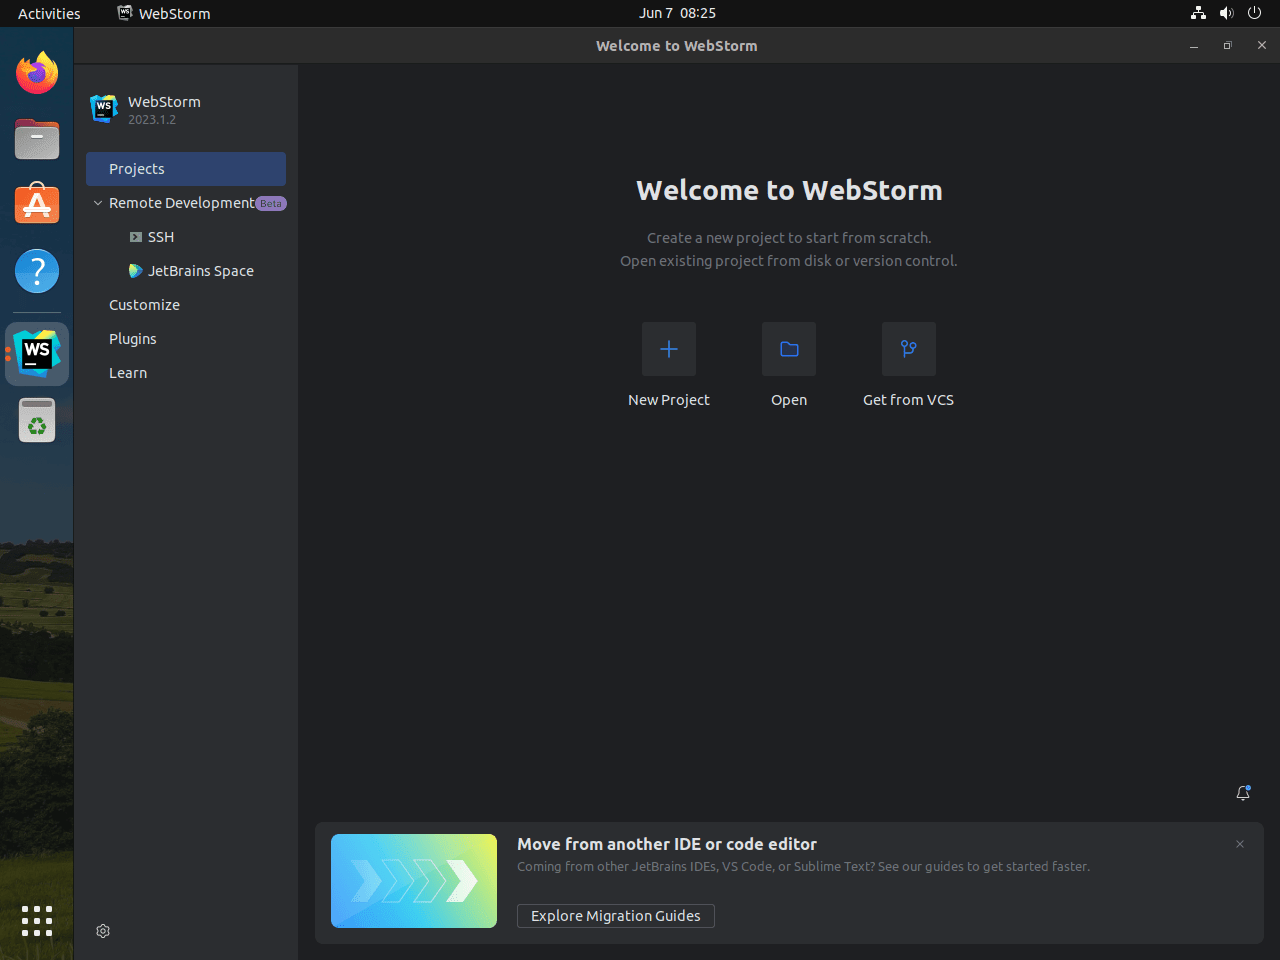
- Launch WebStorm: Finally, click the WebStorm icon to launch the IDE, readying it for your coding work.
First-Time Tips with WebStorm on Ubuntu
Now that you have successfully installed WebStorm on Ubuntu, here are some first-time tips on getting started with the software:
Optimizing Performance in WebStorm on Ubuntu
Maximizing the efficiency of WebStorm on your Ubuntu system ensures a smoother development experience. Here’s how you can optimize its performance:
- Increase Memory Allocation: Edit the
WebStorm.vmoptionsfile to increase the IDE’s memory allocation, which can significantly improve performance. Use the commandgedit ~/.WebStorm*/config/WebStorm.vmoptionsand adjust the-Xmsand-Xmxparameters to your preferred settings. - Disable Unused Plugins: WebStorm comes with several plugins. Disable those you don’t need by going to Settings > Plugins and unchecking the unnecessary ones to free up resources.
- Enable Soft Wraps for Large Files: To prevent slowdowns when opening large files, enable soft wraps by navigating to View > Active Editor > Use Soft Wraps.
- Customize Garbage Collection: Adjust garbage collection options in the
WebStorm.vmoptionsfile to improve IDE responsiveness. Adding-XX:+UseG1GCcan help manage memory more efficiently.
Streamlining Your Workflow with Key Shortcuts
Learning and using key shortcuts can significantly enhance your productivity in WebStorm on Ubuntu:
- Quickly Open Files: Use
Ctrl+Shift+Nto open any file within your project quickly. - Navigate to Declaration:
Ctrl+BorCtrl+Clickon any symbol in your code to jump to its declaration. - Refactor Code: Use
Shift+F6to rename symbols, andCtrl+Alt+Mto extract methods for cleaner code. - Search Everywhere: Press
Shifttwice to search for commands, files, symbols, or settings.
Customizing the Look and Feel
Personalizing WebStorm’s environment can make your development process more comfortable and visually appealing:
- Change the Theme: Go to Settings > Appearance & Behavior > Appearance and select a theme that suits your preference, whether it’s light, dark, or custom.
- Adjust Font and Size: In Settings > Editor > Font, you can change the font type and size for better readability.
- Customize Editor Colors: Modify syntax highlighting in Settings > Editor > Color Scheme to fit your visual preferences.
- Manage Code Style Settings: Tailor code formatting rules to your style by navigating to Settings > Editor > Code Style.
Enhancing Development with Advanced Features
Leverage WebStorm’s advanced features to streamline your development process on Ubuntu:
- Use the Terminal: Access the integrated terminal within WebStorm by navigating to the bottom of the IDE and clicking on the Terminal tab. It allows you to run Git commands, npm scripts, and more without leaving the IDE.
- Configure Version Control: Set up Git or any other VCS by going to Settings > Version Control to manage your project versions directly from WebStorm.
- Debugging Tools: Utilize WebStorm’s powerful debugging features by setting breakpoints and stepping through your code to identify and fix issues quickly.
- Live Edit: For web development, enable the Live Edit feature to see HTML/CSS changes in real-time in the browser as you code. This can be set up via Settings > Build, Execution, Deployment > Debugger.
Following these tips, you’ll be well on your way to mastering WebStorm on your Ubuntu system, enhancing both your efficiency and enjoyment of the development process.
WebStorm Additional Commands on Ubuntu
In this guide segment, we’ll delve into the methods of managing WebStorm on your Ubuntu Linux platform. This involves utilizing distinct command-line procedures to update and uninstall the IDE. Our primary focus will be on the unique steps required by package managers such as APT, Snap, and Flatpak.
Update WebStorm
In the realm of software applications, maintaining an up-to-date status is of paramount importance. Regular updates deliver cutting-edge features, vital security patches, and performance improvements. Therefore, getting to grips with updating WebStorm using different package managers is an essential skill to acquire.
Utilizing the APT Command for WebStorm Update on Ubuntu
Advanced Package Tool, more commonly known as APT, is a widely adopted package management system in Ubuntu. The process of updating WebStorm using APT encompasses two main steps. The first is to refresh the package list to ensure it reflects the most current status of all packages. Following this, an upgrade command is issued to apply the updates.
Here are the commands that facilitate these operations:
sudo apt update
sudo apt upgrade
Updating WebStorm via the Snap Command
Snap, conceived by Canonical, is a software packaging and deployment framework. Regarding updating WebStorm, the Snap command provides a straightforward approach.
To execute this operation, the following command is required:
sudo snap refresh webstormPlease note if you installed WebStorm as a snap package, it will manage updates automatically. All snaps are updated automatically in the background every day.
Leveraging the Flatpak Command to Update WebStorm
Flatpak is a versatile tool for software deployment, package management, and application virtualization on Linux systems.
To perform an update of WebStorm via Flatpak, the subsequent command needs to be invoked:
sudo flatpak updateNotably, these commands update all outdated packages, reinforcing the best practices to maintain your system’s security and optimal performance.
Remove WebStorm
You might need to uninstall WebStorm from your Ubuntu Linux system in certain circumstances. The following subsections will outline the steps for accomplishing this task.
Removing WebStorm Using the APT Command
To disengage WebStorm using APT, the command given below should be executed:
sudo apt remove webstormIn case you do not intend to reinstall WebStorm or use the JetBrains third-party APT PPA, the repository and GPG, key can also be purged with these commands:
sudo rm /etc/apt/sources.list.d/jetbrains-ppa.list
sudo rm /usr/share/keyrings/jetbrains-ppa-archive-keyring.gpg
Uninstalling WebStorm via the Snap Command
The process of uninstalling WebStorm using Snap is straightforward. Run the following command:
sudo snap remove webstormUtilizing the Flatpak Command to Remove WebStorm
Lastly, to disengage WebStorm using Flatpak, you need to run the command below:
sudo flatpak uninstall com.jetbrains.WebStormFinal Thoughts
In this guide, we walked through the steps of installing WebStorm on Ubuntu, touching on methods via APT PPA, Snapcraft, and Flatpak. We also dived into optimizing your setup, mastering shortcuts, customizing the interface, and leveraging WebStorm’s powerful features to boost your development workflow. As you embark on your coding projects, remember that personalizing your environment and familiarizing yourself with the IDE’s advanced functionalities can significantly enhance your productivity and enjoyment of the software. Whether you’re debugging, refactoring, or simply navigating through your codebase, WebStorm on Ubuntu is a robust companion for your development journey. Keep exploring, stay curious, and happy coding!