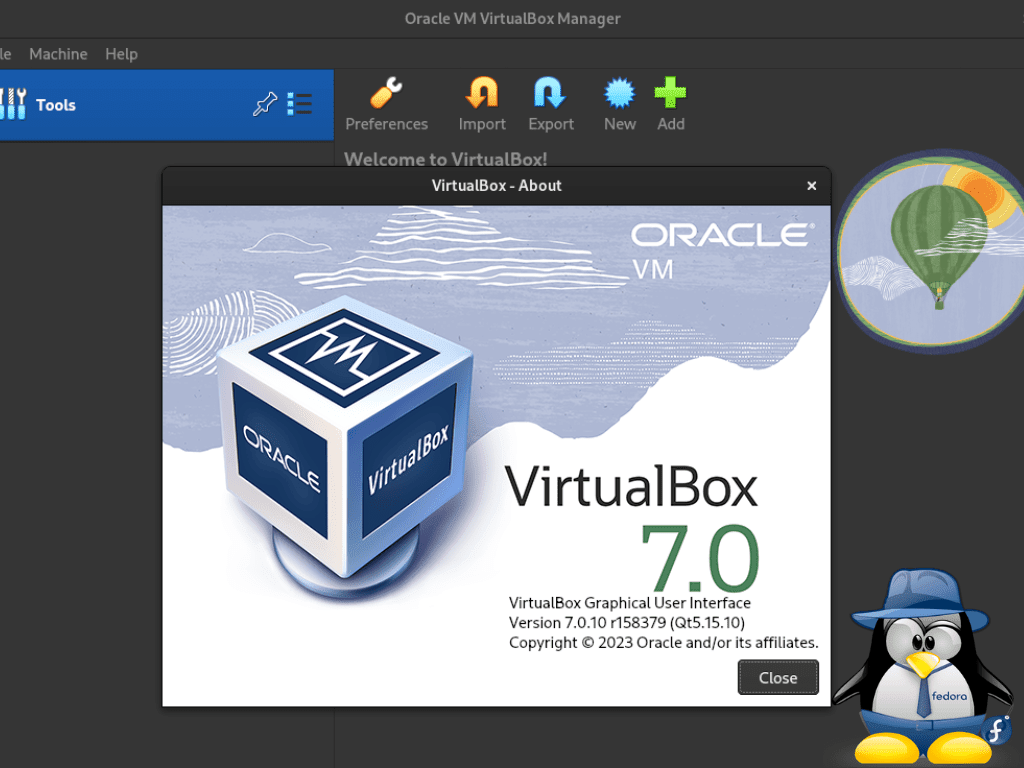
For individuals looking to install VirtualBox 7.0 on Fedora Linux, understanding this version’s notable features and enhancements is essential. Oracle’s VirtualBox 7.0 is a standout open-source virtualization solution, offering a robust platform for creating and managing virtual environments. This iteration introduces a suite of significant improvements meticulously designed to cater to tech enthusiast’s and professionals’ dynamic needs.
Key Features of VirtualBox 7.0:
- Full VM Encryption: VirtualBox 7.0 ensures heightened security by offering comprehensive encryption for virtual machines, including their configuration logs and saved states.
- Cloud VM Integration: With seamless integration with Oracle Cloud Infrastructure (OCI), users can effortlessly manage cloud virtual machines as though they were local.
- Performance Metrics: The new version incorporates a utility in the GUI that provides real-time performance insights for active guests.
- Guest Control Improvements: VirtualBox 7.0 introduces support for auto-updating Guest Additions for Linux guests, simplifying virtual machine maintenance.
- Enhanced 3D Support: The introduction of DirectX 11 support, along with DXVK on non-Windows hosts, improves the visual capabilities of virtual machines.
- Virtual TPM Devices: Including Virtual TPM 1.2 and 2.0 devices fortifies the environment for cryptographic operations.
- Secure Boot Integration: With the integration of Secure Boot in EFI, the security of virtual machines is further bolstered.
- Guest Debugging Tools: The version offers experimental support for guest debugging via GDB and initial support for KD/WinDbg.
With its innovative features and security enhancements, VirtualBox 7.0 is a pivotal tool for virtualization efficiency. This guide is designed to navigate both seasoned IT professionals and beginners through installing VirtualBox 7.0 on Fedora Linux, ensuring a smooth and enlightening experience.
Install VirtualBox 7.0 on Fedora Linux via DNF
Step 1: Update Fedora Linux Before VirtualBox 7.0 Installation
Ensuring your system is up-to-date before diving into any software installation is best. This not only ensures compatibility but also enhances the security of your system. To update your Fedora system, execute the following command:
sudo dnf upgrade --refreshNote: The --refresh flag ensures that your system fetches the latest package lists from the repositories.
Step 2: Install Initial Required Packages For VirtualBox on Fedora
VirtualBox relies on several underlying tools and libraries to function optimally. To ensure a seamless virtualization experience, you need to install these prerequisites.
Start by installing the development tools. This collection equips your system with a comprehensive set of software development utilities:
sudo dnf install @development-toolsNext, to allow VirtualBox to interact efficiently with your system’s kernel, install the Linux Kernel headers and some supplementary packages:
sudo dnf install kernel-devel kernel-headers dkms qt5-qtx11extras elfutils-libelf-devel zlib-develThe
kernel-develandkernel-headerspackages are crucial for any software that interfaces directly with the Linux kernel, like VirtualBox. The other packages, likedkmsandqt5-qtx11extras, enhance the functionality and user experience of VirtualBox.
Step 3: Import VirtualBox 7.0 RPM on Fedora Linux
Ensure you install the official and latest version of VirtualBox 7.0 using Oracle’s dedicated Fedora repository. This repository offers RPM packages explicitly optimized for Fedora.
Run the following wget command to import the repository:
sudo wget http://download.virtualbox.org/virtualbox/rpm/fedora/virtualbox.repo -P /etc/yum.repos.d/Using official repositories ensures you receive timely updates and patches directly from the software vendor.
Step 4: Install VirtualBox 7.0 on Fedora Linux via DNF Command
With everything set up, you’re now ready to install VirtualBox 7.0. Run the following command:
sudo dnf install VirtualBox-7.0You’ll encounter a prompt to import the Oracle VirtualBox key during the installation. This cryptographic key confirms the authenticity of the packages, ensuring you’re installing genuine software. Always choose “yes” at this juncture to maintain the security and integrity of your system.
Installing software from verified and trusted sources is paramount. It guarantees the software’s functionality and ensures your system’s safety.
Enable and Start VirtualBox 7.0 Service on Fedora Linux
Step 1: Understanding the VirtualBox Service
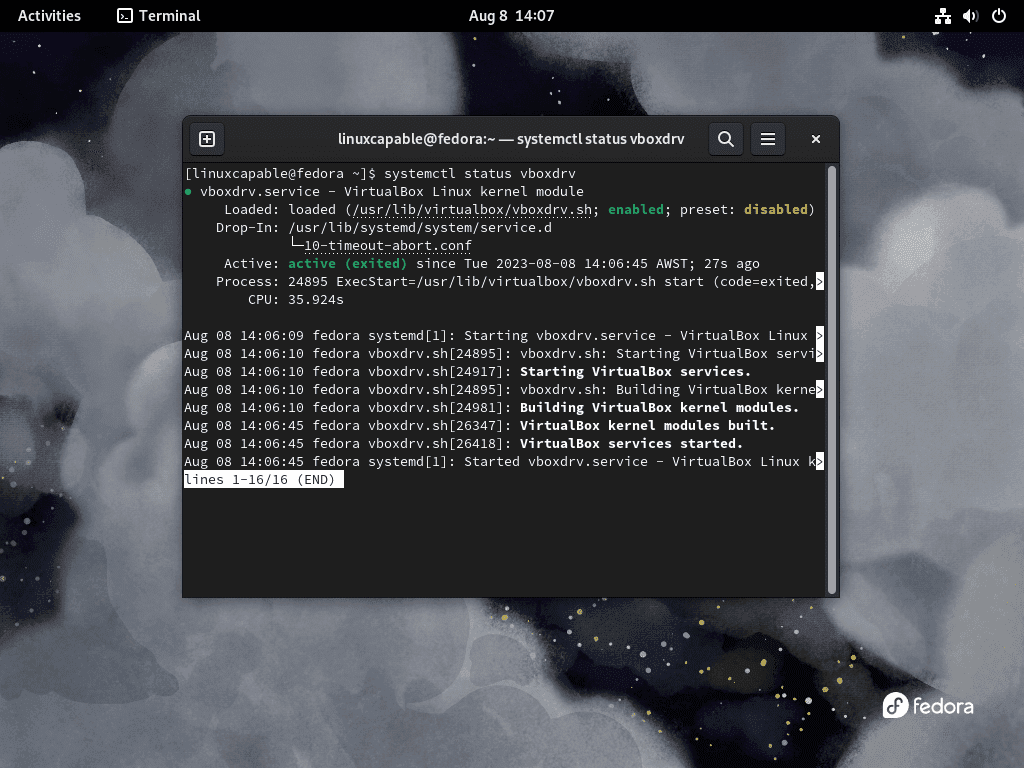
Once you install VirtualBox, vboxdrv is the core service powering its operation. Vboxdrv underpins VirtualBox’s virtualization capabilities on Fedora. In some cases, vboxdrv may not activate immediately after installation.
Step 2: Activate vboxdrv Service on Fedora
To guarantee the consistent performance of VirtualBox, it’s essential to start the vboxdrv service and configure it to launch automatically every time your system boots. This ensures that VirtualBox is always ready to operate whenever you need it.
Execute the following command to achieve this:
sudo systemctl enable vboxdrv --nowInsight: The systemctl command is a utility in Fedora (and other Linux distributions) that manages system services. The enable action ensures the service starts on boot, and the --now flag starts the service immediately without requiring a system restart.
Initiating VirtualBox 7.0 on Fedora Linux
Launch the application after successfully installing VirtualBox 7.0 and ensuring its core service operates.
CLI Method to Launch VirtualBox 7.0 on Fedora
VirtualBox offers a straightforward command to initiate the application for those well-acquainted with the terminal and its efficiencies. This method provides a direct route to harness the capabilities of VirtualBox without navigating through the graphical interface. To launch VirtualBox from the terminal, input the following:
virtualboxRunning the
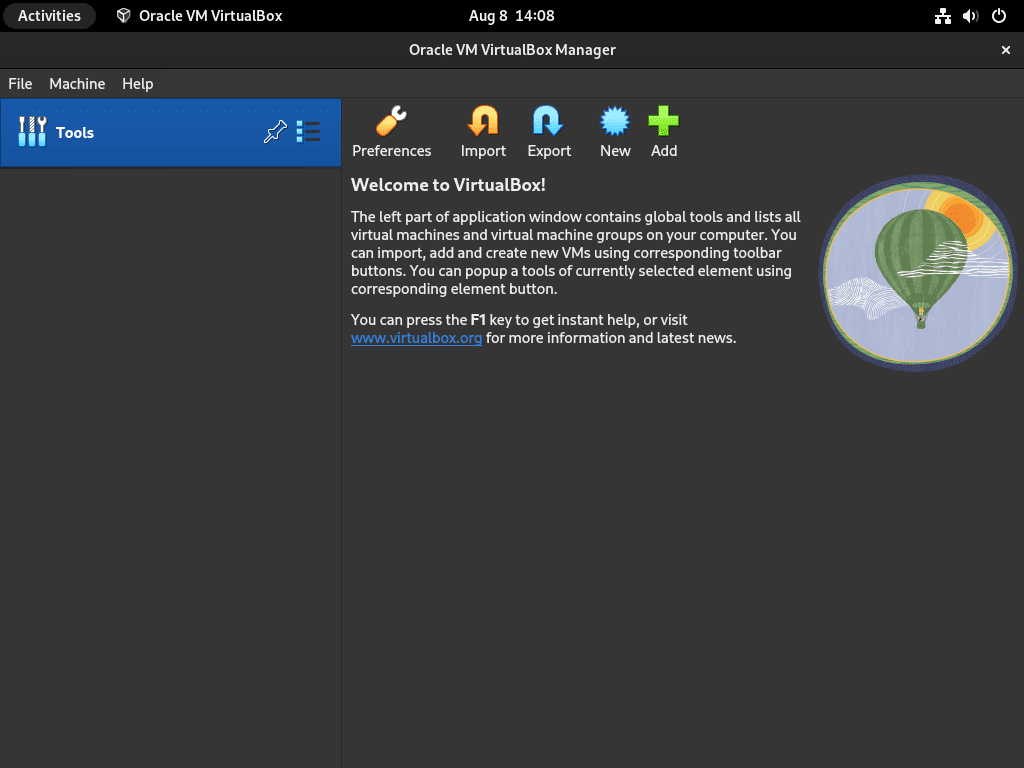
virtualboxcommand initializes the VirtualBox graphical user interface, allowing you to manage and operate your virtual machines directly from the terminal’s context.
GUI Method to Launch VirtualBox 7.0 on Fedora
Fedora’s desktop environment offers visually inclined individuals an intuitive VirtualBox launch method.
To get started, follow these steps:
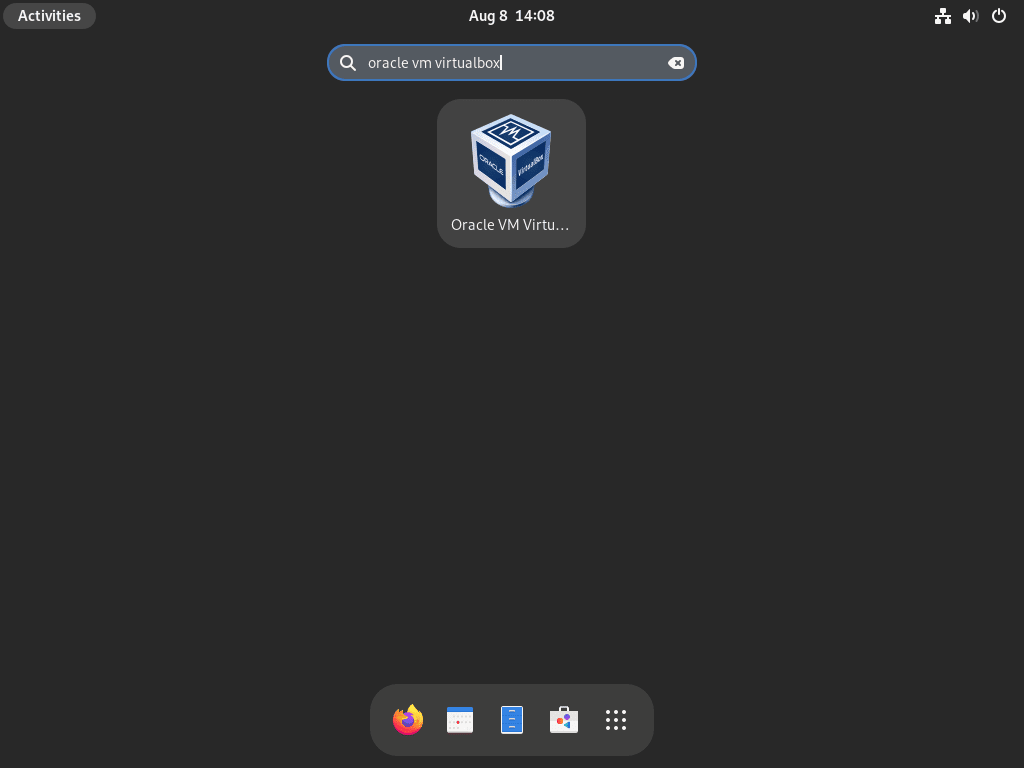
- Navigate to the Activities section, typically located at the top of your screen, and select it.
- From the ensuing options, opt for Show Applications.
- Scroll through your applications until you spot Oracle VM Virtualbox. Clicking on it will launch the application.
To give you a clearer picture of what to look for, here’s a placeholder for the VirtualBox application icon on Fedora Linux:
Install VirtualBox 7.0 Extension Pack on Fedora Linux (Optional)
Step 1: Understanding the VirtualBox Extension Pack
The VirtualBox Extension Pack is an optional component that augments the capabilities of your VirtualBox installation. While not mandatory, integrating this pack can significantly elevate your virtualization experience by introducing various advanced features.
Step 2: Determine Your VirtualBox 7.0 Version
Before downloading the Extension Pack, it’s pivotal to ascertain the version of VirtualBox installed on your Fedora system. This ensures compatibility between the core application and the extension. To retrieve your VirtualBox version, execute:
vboxmanage -v | cut -dr -f1This command will yield a version number resembling ‘7.0.x’. With this version number, you can download the corresponding Extension Pack.
Step 3: Download VirtualBox 7.0 Extension Pack on Fedora Linux
With the version number in hand, fetch the appropriate Extension Pack using the following:
wget https://download.virtualbox.org/virtualbox/7.0.x/Oracle_VM_VirtualBox_Extension_Pack-7.0.x.vbox-extpackEnsure you replace ‘7.0.x’ in the URL with your specific VirtualBox version.
Step 4: Install the VirtualBox 7.0 Extension Pack
Having downloaded the Extension Pack, the next step is its installation. Utilize the vboxmanage command for this purpose:
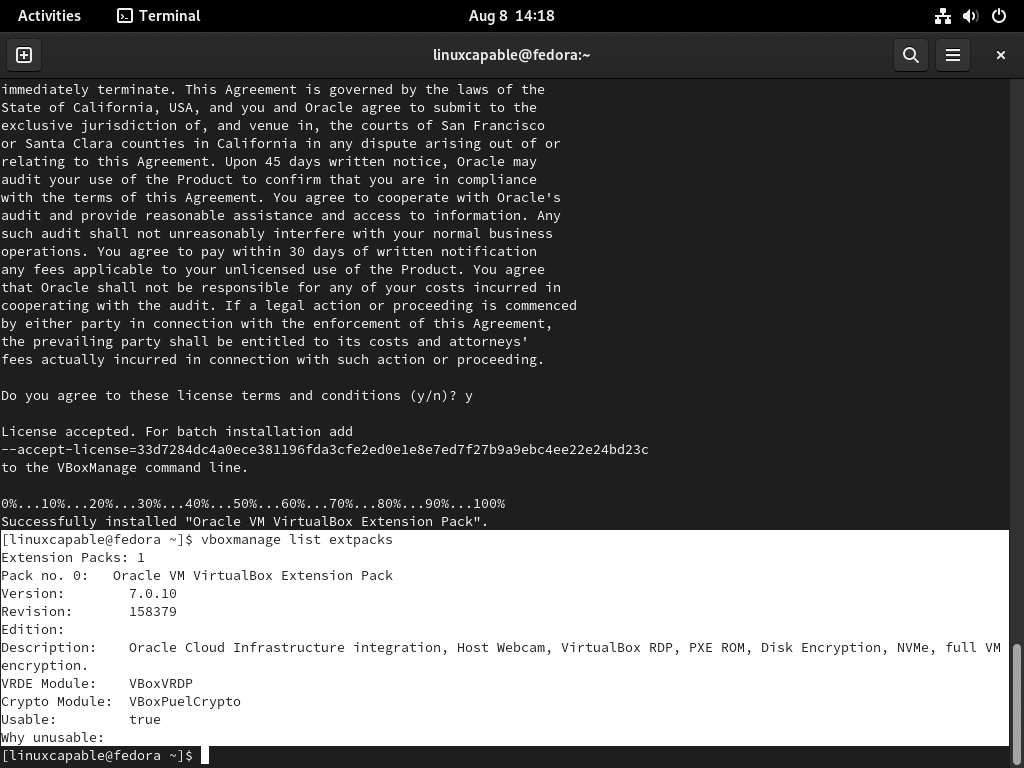
sudo vboxmanage extpack install Oracle_VM_VirtualBox_Extension_Pack-7.0.x.vbox-extpackIn this phase, Oracle presents its license terms. Type “y” and press Enter to signal your acceptance and proceed.
Step 5: Confirm the Extension Pack Installation
After installation, verify the version of the integrated Extension Pack. Accomplish this with:
vboxmanage list extpacksThis command details the installed Extension Packs, spotlighting their version numbers.
Step 6: Add Current User to vboxusers Group on Fedora
For a seamless VirtualBox experience, your user account should be affiliated with the vboxusers group. This association grants the necessary permissions to operate VirtualBox effectively. To add your user account to this group, run the following:
sudo usermod -a -G vboxusers $USERThese modifications require a system reboot. After logging back in, validate that your user associates with the vboxusers group.
groups $USERExample of what you may see in your terminal:
[linuxcapable@fedora ~]$ groups $USER
linuxcapable : linuxcapable wheel vboxusers
This command enumerates all groups linked to your user account. Ensure that the list includes vboxusers. Once you complete these steps, you can exploit the enhanced functionalities the VirtualBox Extension Pack offers on your Fedora system.
Additional VirtualBox 7.0 Management Commands on Fedora Linux
Update VirtualBox 7.0 on Fedora Linux
For optimal performance and security, it’s essential to ensure that your VirtualBox installation remains up-to-date. Regular updates address potential vulnerabilities, introduce new features, and optimize existing functionalities. On Fedora, you can manage these updates via the terminal.
To check for and apply available updates for VirtualBox, use the following command:
sudo dnf upgrade --refreshInsight: Regularly updating software, especially tools like VirtualBox, is a best practice to maintain system integrity and harness the latest advancements in virtualization technology.
Remove VirtualBox 7.0 From Fedora Linux
There might be instances where you decide to remove VirtualBox from your Fedora system. Whether it’s due to a shift in requirements or any other reason, you can uninstall it cleanly using the command below:
sudo dnf remove virtualbox-7.0Remove VirtualBox 7.0 RPM From Fedora Linux
Over time, if you decide to declutter your system or no longer require the VirtualBox repository, you can remove its source file with:
sudo rm /etc/yum.repos.d/virtualbox-7.repoConclusion and Final Thoughts
This comprehensive guide has walked you through the intricacies of installing and managing VirtualBox 7 on Fedora Linux. It clearly and precisely elucidated each phase, from initial installation steps to advanced management techniques. VirtualBox, a crucial virtualization tool, demands meticulous attention during setup to guarantee optimal performance. Following this guide equips users with the knowledge to install and effectively manage their VirtualBox environment. To harness VirtualBox’s full potential, regularly check for updates and stay informed about its latest advancements.

