
Mozilla Thunderbird still earns its place on Fedora when you want desktop email, calendars, contacts, and OpenPGP in one local client instead of juggling browser tabs all day. To install Thunderbird on Fedora, the cleanest path is the Fedora DNF package, while Flathub is still available if you prefer Flatpak packaging and a separate app update path.
For most Fedora systems, the Fedora package is the better fit because Fedora packages Thunderbird directly, updates stay inside the normal DNF workflow, and the current Fedora package tracks a newer release build than Flathub’s ESR build. Mozilla also publishes official Linux downloads, but on Fedora the DNF and Flatpak methods are easier to update and remove cleanly than a manual tarball.
Install Thunderbird on Fedora
The Fedora RPM uses the package name and launcher command thunderbird. The Flatpak build uses the app ID org.mozilla.Thunderbird. The two package-managed paths differ most in release track, update owner, and permissions model:
| Method | Source | Channel | Updates | Best For |
|---|---|---|---|---|
| DNF package | Fedora repositories | Fedora release package | Handled through DNF | Most users who want Fedora-managed updates, desktop integration, and the newer package when Fedora is ahead of Flathub |
| Flatpak | Flathub | Flathub stable branch, currently ESR | Handled through Flatpak | Users who prefer Flathub packaging and separate app/runtime updates |
On Fedora 44, the DNF package currently installs Thunderbird 149.0.1, while Flathub reports Thunderbird 140.10.2esr. If the newer Fedora package matters more than the Flatpak packaging model, use DNF. If your output later shows both channels on the same branch, choose based on update ownership and Flatpak permissions instead of version alone.
Install Thunderbird with DNF on Fedora
Install Thunderbird on Fedora from the default repositories if you want the straightforward DNF-managed path. Start with a normal system refresh so DNF works against current package metadata.
sudo dnf upgrade --refreshThese commands use
sudofor tasks that need root privileges. If your account is not in the sudoers file yet, follow the guide on how to add a user to sudoers on Fedora.
With the metadata refreshed, install Thunderbird with DNF:
sudo dnf install thunderbirdVerify that Fedora registered the package and that the launcher command is available:
rpm -q thunderbird
thunderbird --version
Example output from Fedora 44:
thunderbird-149.0.1-2.fc44.x86_64
Mozilla Thunderbird 149.0.1
If you want a broader package-management reference for installs, upgrades, and queries, keep the DNF5 install examples on Fedora nearby.
Install Thunderbird from Flathub on Fedora
Use Flatpak if you prefer Flathub packaging and do not mind Thunderbird coming from a separate ESR release track. Fedora Workstation already includes Flatpak, while Server or minimal installs may need sudo dnf install flatpak first, but Thunderbird still needs a graphical session to run. The current Flathub listing is verified, but it also shows broad permission warnings, so treat this as a packaging choice rather than a stronger isolation choice.
Enable Flathub on Fedora with this system-wide command. Because the remote is added at system scope, the later install, update, and removal commands need the same sudo flatpak ... pattern:
sudo flatpak remote-add --if-not-exists flathub https://dl.flathub.org/repo/flathub.flatpakrepoConfirm that the Flathub system remote appears before you continue:
flatpak remotes --columns=name,options | grep -E '^flathub[[:space:]]'Expected output:
flathub system
Once Flathub is available, install Thunderbird. The -y flag accepts Flatpak’s prompt automatically:
sudo flatpak install flathub org.mozilla.Thunderbird -yCheck the installed app info before you assume the Flatpak build is newer than Fedora’s package:
flatpak info org.mozilla.Thunderbird | grep -E '^[[:space:]]*(ID|Ref|Arch|Branch|Version|Origin|Installation|Runtime):'Relevant output includes:
          ID: org.mozilla.Thunderbird
         Ref: app/org.mozilla.Thunderbird/x86_64/stable
        Arch: x86_64
      Branch: stable
     Version: 140.10.2esr
      Origin: flathub
Installation: system
     Runtime: org.freedesktop.Platform/x86_64/24.08
That version output matters. With the current Fedora 44 package set, Flathub installs Thunderbird ESR, while Fedora’s DNF package is on the newer release build.
Launch Thunderbird on Fedora
Thunderbird installs from the terminal, but it still opens as a desktop application. Launch it from Activities on the desktop, or run the matching launcher command from a terminal inside a graphical session.
Launch Thunderbird from Activities on Fedora
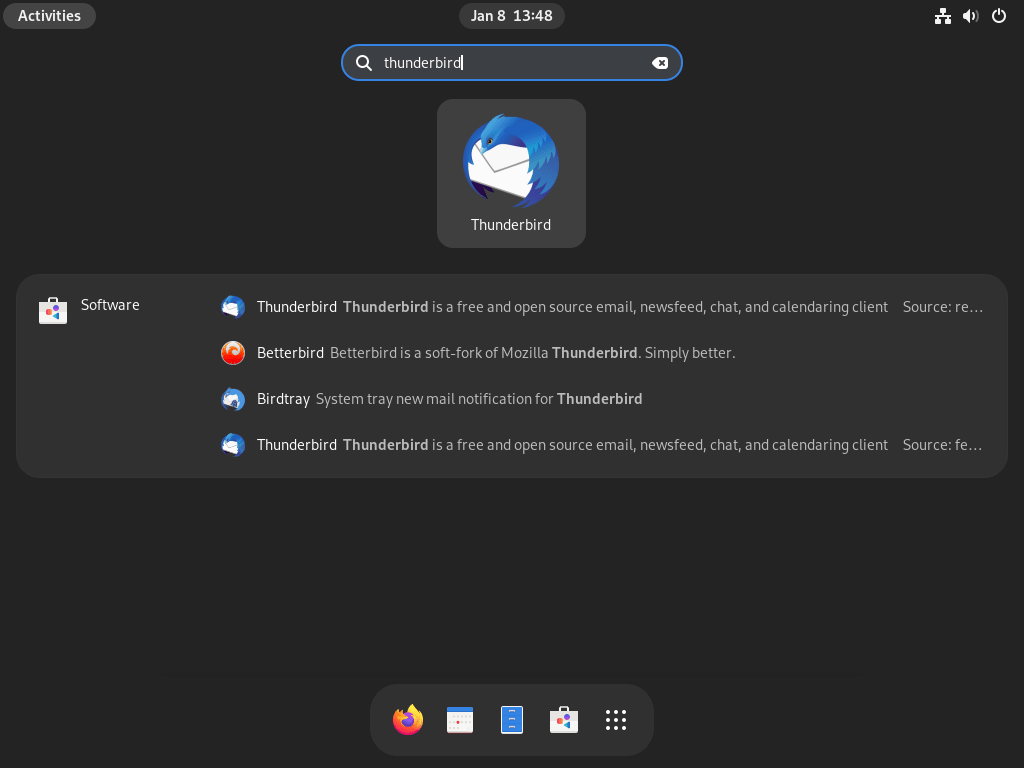
Open Activities and search for Thunderbird, then choose the launcher that matches your install method.
Launch Thunderbird from a Terminal on Fedora
The Fedora RPM and the Flatpak package use different launch commands, so run the one that matches how you installed Thunderbird:
# Fedora RPM package
thunderbird

# Flathub Flatpak
flatpak run org.mozilla.Thunderbird
Add Your First Thunderbird Account
Thunderbird detects IMAP and SMTP settings for most major providers automatically. If auto-detection fails, switch to manual configuration and use the server details from your mail provider.
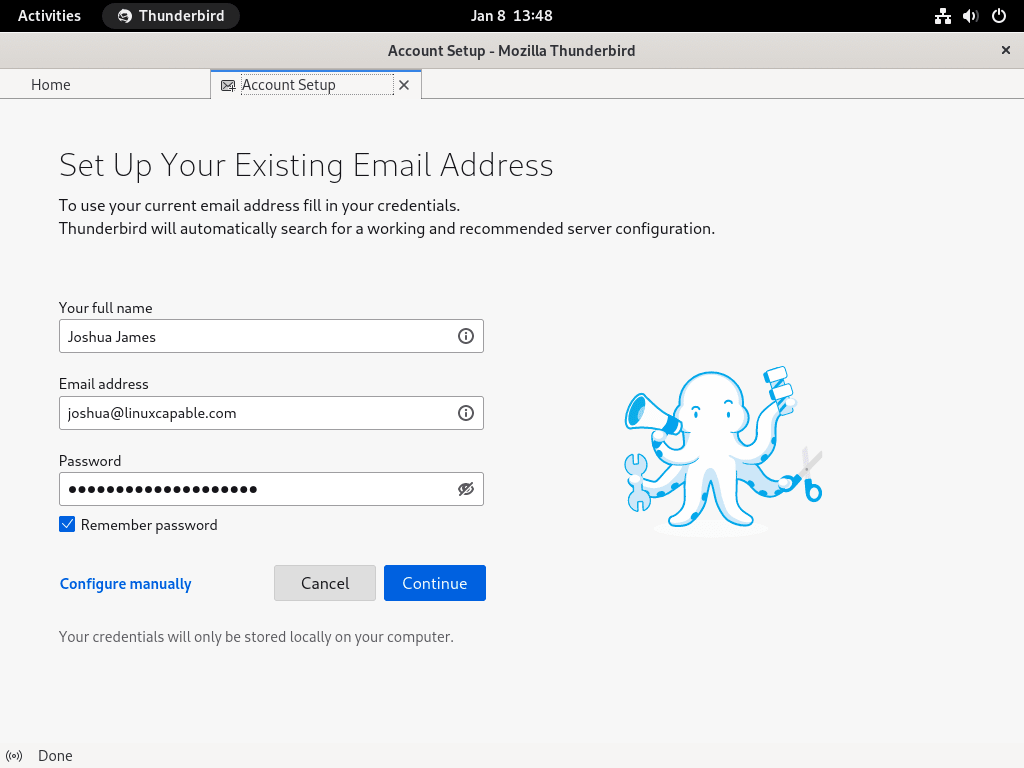
After the first account is in place, Thunderbird syncs mail and exposes the calendar, contact, and OpenPGP features from the same window.
Troubleshoot Thunderbird Installation on Fedora
The two Fedora-specific issues most likely to trip readers here are Flatpak scope mismatches and a Flathub remote that exists but is disabled.
Fix the “Deploy Not Allowed for User” Flatpak Error on Fedora
This happens when Flathub was added as a system remote but the install command is missing sudo. The install stops with an error like this:
Warning: Flatpak system operation Deploy not allowed for user
error: Failed to install org.freedesktop.Platform: Flatpak system operation Deploy not allowed for user
Run the install again with the same system scope you used for the remote:
sudo flatpak install flathub org.mozilla.Thunderbird -yAfter that, flatpak info org.mozilla.Thunderbird should show Installation: system.
Fix a Disabled Flathub Remote on Fedora
If Flathub exists but is disabled, Flatpak cannot fetch the Thunderbird metadata and the install fails early.
error: Unable to load summary from remote flathub: Can't fetch summary from disabled remote 'flathub'
Re-enable the system remote, then retry the install:
sudo flatpak remote-modify --enable flathub
sudo flatpak install flathub org.mozilla.Thunderbird -y
Verify the remote state before you move on:
flatpak remotes --columns=name,options | grep -E '^flathub[[:space:]]'Expected output:
flathub system
Update or Remove Thunderbird on Fedora
Keep Thunderbird inside the package manager that owns it. The Fedora RPM updates through DNF, while the Flatpak build updates through Flatpak itself.
Update Thunderbird on Fedora
Use the update command that matches your install method:
Fedora RPM package:
sudo dnf upgrade thunderbirdFlathub Flatpak:
sudo flatpak update org.mozilla.Thunderbird -yIf you want Fedora to apply package updates automatically, set up DNF Automatic on Fedora for the RPM workflow.
Remove Thunderbird on Fedora
Remove the package that matches your install method, then verify it is gone before you clean up user data.
Remove the Thunderbird RPM Package
The DNF removal command also clears the unused thunderbird-librnp-rnp dependency on Fedora 44:
sudo dnf remove thunderbirdVerify that the RPM package is gone:
rpm -q thunderbirdExpected output:
package thunderbird is not installed
Remove the Thunderbird Flatpak Package
If you installed Thunderbird from Flathub at system scope, remove it with the same scope. The --delete-data flag removes Flatpak-managed app data when it exists:
sudo flatpak uninstall --delete-data org.mozilla.Thunderbird -yThen confirm the Flatpak app no longer appears in the installed application list:
flatpak list --system --app --columns=application | grep -Fx org.mozilla.Thunderbird || echo NOT_INSTALLEDExpected output:
NOT_INSTALLED
The grep filter keeps the check focused on Thunderbird. If you want to adapt that pattern for other commands, the grep command guide covers the basics.
After that, you can review and clean out unused Flatpak runtimes. This removes runtimes that no installed Flatpak still needs, not Thunderbird profile data:
sudo flatpak uninstall --unused -yRemove Thunderbird Profile Data on Fedora
Thunderbird keeps mail, address books, calendars, and account settings in profile directories, not inside the package itself. Check which directories exist before you delete anything:
find "$HOME" -maxdepth 4 \( -path "$HOME/.thunderbird" -o -path "$HOME/.var/app/org.mozilla.Thunderbird" \)Relevant output can include:
/home/your-user/.thunderbird
/home/your-user/.var/app/org.mozilla.Thunderbird
The following commands permanently delete your local mail, account settings, calendars, address books, and cached Thunderbird data. Back up anything you want to keep before you continue.
The Fedora RPM build normally uses ~/.thunderbird/. The Flatpak build uses ~/.var/app/org.mozilla.Thunderbird/. Remove only the directories the find command actually printed:
rm -rf ~/.thunderbird
rm -rf ~/.var/app/org.mozilla.Thunderbird
Conclusion
Thunderbird is ready on Fedora through either the Fedora DNF package or the Flathub Flatpak, so mail, calendars, contacts, and OpenPGP stay in a desktop client that fits the package workflow you chose. Keep future updates tied to the same package manager, and remove profile data only after you have backed up anything you still need.

Formatting tips for your comment
You can use basic HTML to format your comment. Useful tags currently allowed in published comments:
<code>command</code>command<strong>bold</strong><em>italic</em><a href="https://example.com">link</a><blockquote>quote</blockquote>