
Thunderbird keeps email, calendars, contacts, RSS, and OpenPGP mail in one local desktop app, which helps when personal webmail, work IMAP accounts, and offline archives are spread across providers. To install Thunderbird on Ubuntu, choose the package source that matches how you want updates and profiles handled: Ubuntu’s default APT path, a native Mozilla Team PPA package, the verified Flathub build, or the Snap Store package.
These steps cover Ubuntu 26.04 LTS, 24.04 LTS, and 22.04 LTS. Ubuntu 26.04 and 24.04 use a transitional thunderbird package that installs the snap version, while Ubuntu 22.04 still provides a native Ubuntu archive .deb. The Mozilla Team PPA supplies Thunderbird ESR .deb builds for all three supported LTS releases, and Flatpak and snap provide separate store-managed choices.
Install Thunderbird on Ubuntu
Use the table to pick one package source before installing. Mixing APT, Flatpak, and snap installs is possible, but it creates separate update paths and profile locations.
| Method | Channel | Version | Updates | Best For |
|---|---|---|---|---|
| Ubuntu repository | Ubuntu archive | 26.04/24.04 snap wrapper; 22.04 Ubuntu ESR .deb | APT package updates, then snap refreshes on 26.04/24.04 | Users who want Ubuntu’s default packaging choice |
| Mozilla Team PPA | Mozilla Team PPA | Thunderbird ESR native .deb builds | APT upgrades from the PPA | Users who want a native .deb package on 26.04/24.04 or a newer ESR build than the 22.04 archive package |
| Flatpak | Flathub | Verified Flathub stable build from MZLA Technologies/Mozilla | Flatpak updates from Flathub | Users who prefer sandboxed desktop apps and Flathub’s runtime model |
| Snap | Snapcraft | Snap Store latest/stable ESR channel | Automatic snap refreshes | Users who want Ubuntu’s snap-based desktop app workflow |
Pick one Thunderbird package source unless you intentionally want parallel installs. APT, Flatpak, and snap use different update commands and profile paths, so troubleshooting is simpler when one source owns the desktop app.
Check Official Download and Package Format Options
The official Thunderbird download page currently provides a Linux .tar.xz archive rather than an Ubuntu-native .deb installer. For most Ubuntu desktops, the package-managed methods below are easier to update, remove, and audit than a manual tarball install.
If your goal is specifically to avoid snap on Ubuntu 26.04 or 24.04, use the Mozilla Team PPA method. If you want the default Ubuntu behavior, the normal sudo apt install thunderbird command is enough, but it installs the snap-backed package on those newer LTS releases.
Update Ubuntu Package Lists
Refresh APT metadata before installing Thunderbird or adding the PPA:
sudo apt updateThe commands below use
sudo. If you are working from a restricted account, configure administrator access first; the Ubuntu sudoers walkthrough explains how to add a new user to sudoers on Ubuntu.
Install Thunderbird with Ubuntu APT Defaults
The default Ubuntu repository method is the shortest path. On Ubuntu 26.04 and 24.04, this command installs Ubuntu’s snap transitional package; on Ubuntu 22.04, it installs the Ubuntu archive .deb package.
sudo apt install thunderbirdCheck what APT selected for your release:
apt-cache policy thunderbirdthunderbird:
Installed: (none)
Candidate: 2:1snap1-0ubuntu5
Version table:
2:1snap1-0ubuntu5 500
500 http://archive.ubuntu.com/ubuntu resolute/main amd64 Packages
On Ubuntu 26.04, the candidate above shows the snap transitional package. Ubuntu 24.04 shows the same package family with its own revision, while Ubuntu 22.04 shows a native Thunderbird .deb package from the Ubuntu archive instead.
Install Thunderbird from the Mozilla Team PPA
The Mozilla Team PPA is the native .deb route for Ubuntu 26.04 and 24.04 users who do not want the snap-backed default package. It also gives Ubuntu 22.04 users a newer Thunderbird ESR build than the current Ubuntu archive package.
Install the repository helper if your system does not already include it:
sudo apt install software-properties-commonAdd the Mozilla Team PPA:
sudo add-apt-repository ppa:mozillateam/ppa -yRefresh package metadata after adding the source:
sudo apt updateCreate a pin file so APT chooses the PPA package instead of Ubuntu’s snap transitional package:
printf '%s\n' \
'Package: thunderbird' \
'Pin: release o=LP-PPA-mozillateam' \
'Pin-Priority: 1001' \
'' \
'Package: thunderbird' \
'Pin: release o=Ubuntu' \
'Pin-Priority: -1' | sudo tee /etc/apt/preferences.d/thunderbird-ppa
APT reports the PPA Origin as LP-PPA-mozillateam on Ubuntu 26.04, 24.04, and 22.04. The priority 1001 makes the lower-epoch PPA package win over the snap wrapper, while the Ubuntu archive rule prevents APT from selecting the wrapper by mistake.
Confirm the PPA is now the selected candidate. The exact version will change as Thunderbird updates; the durable checks are the Launchpad candidate, PPA priority 1001, and Ubuntu archive priority -1:
apt-cache policy thunderbirdthunderbird:
Installed: (none)
Candidate: 1:140.10.0+build1-0ubuntu0.25.10.1~mt2
Version table:
2:1snap1-0ubuntu5 -1
500 http://archive.ubuntu.com/ubuntu resolute/main amd64 Packages
1:140.10.0+build1-0ubuntu0.25.10.1~mt2 1001
500 https://ppa.launchpadcontent.net/mozillateam/ppa/ubuntu resolute/main amd64 Packages
Install Thunderbird from the PPA after the candidate points to Launchpad:
sudo apt install --allow-downgrades thunderbird -yThe --allow-downgrades flag is intentional for Ubuntu 26.04 and 24.04 because Ubuntu’s transitional wrapper uses a higher epoch than the PPA’s real Thunderbird package. It is harmless on a fresh install and prevents APT from refusing the switch when the transitional package was installed earlier.
Verify the installed PPA package revision:
dpkg-query -W -f='${Version}\n' thunderbird1:140.10.0+build1-0ubuntu0.25.10.1~mt2
Your exact revision will change as the PPA updates. The ~mt suffix confirms the package came from the Mozilla Team PPA rather than Ubuntu’s archive.
Install Thunderbird from Flathub with Flatpak
The Flathub build is verified and published under MZLA Technologies, part of the Mozilla Foundation. Choose this method when you want Thunderbird isolated in a Flatpak sandbox and updated independently from APT or snap.
Flatpak is not pre-installed on Ubuntu. If your system does not have the
flatpakcommand yet, follow the guide to install Flatpak on Ubuntu, then return here to add Flathub and install Thunderbird.
Add Flathub at system scope:
sudo flatpak remote-add --if-not-exists flathub https://dl.flathub.org/repo/flathub.flatpakrepoConfirm the remote exists:
flatpak remotes --columns=name,optionsflathub system
Install the Thunderbird Flatpak:
sudo flatpak install flathub org.mozilla.Thunderbird -yVerify the installed Flatpak metadata:
flatpak info org.mozilla.ThunderbirdThunderbird - Thunderbird is a free and open source email, newsfeed, chat, and calendaring client
ID: org.mozilla.Thunderbird
Ref: app/org.mozilla.Thunderbird/x86_64/stable
Arch: x86_64
Branch: stable
Version: 140.10.0esr
The version line will move as Flathub publishes new Thunderbird releases. The stable branch, app ID, and verified Flathub listing are the important checks for this method.
Install Thunderbird from the Snap Store
Ubuntu 26.04 and 24.04 already use the snap package behind the default APT wrapper, but you can also install it directly with snap. Snapcraft lists the Thunderbird snap under Canonical’s verified publisher account, with Thunderbird project contact links and domain ownership verification.
Standard Ubuntu desktop installs usually include snapd. On a minimal or customized system where snap is missing, install snapd first:
sudo apt install snapdInstall Thunderbird from the Snap Store:
sudo snap install thunderbirdVerify the installed snap and channel:
snap list thunderbirdName Version Rev Tracking Publisher Notes thunderbird 140.10.0esr-1 1073 latest/stable canonical** -
The version and revision will move as Snapcraft publishes updates. The canonical** publisher marker is Snapcraft’s verified-account notation, and latest/stable confirms the channel that matches Ubuntu’s normal snap-backed Thunderbird path. The Snap Store also exposes a monthly channel, but the commands here stay on the stable ESR track.
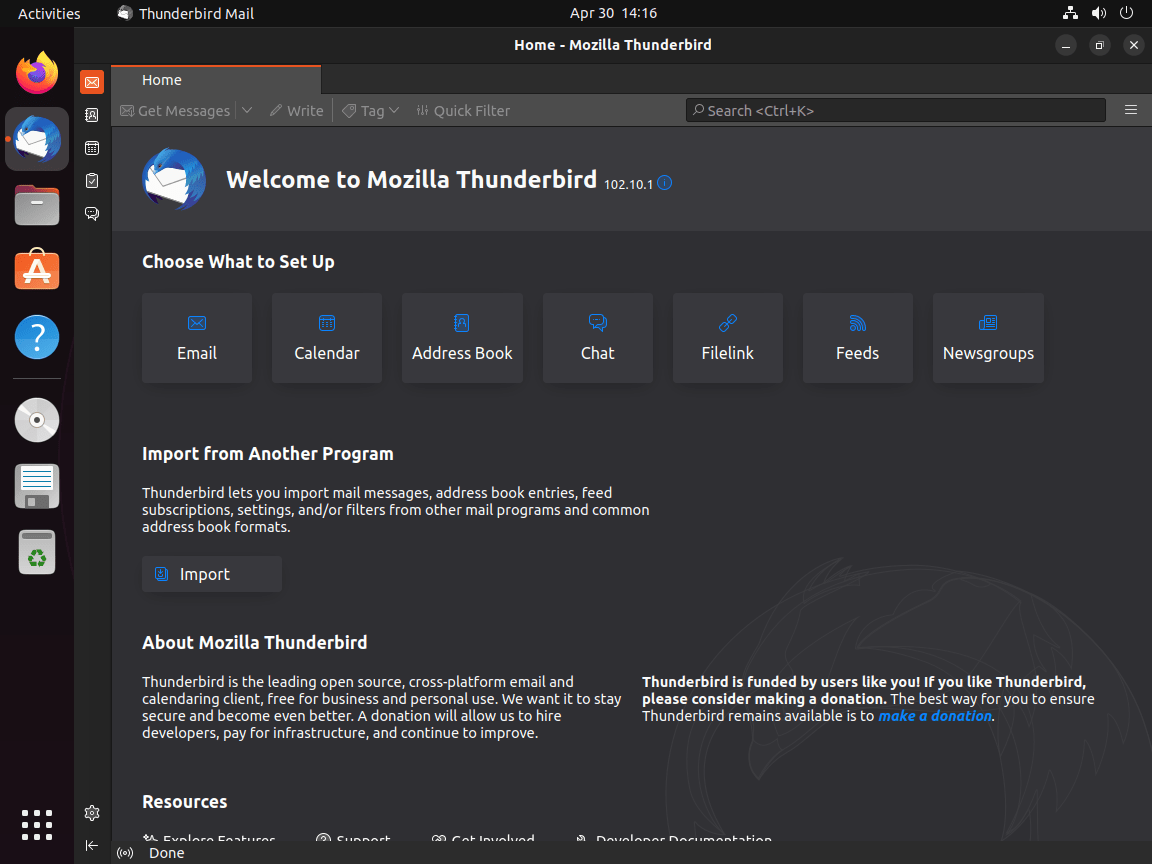
Launch Thunderbird on Ubuntu
Thunderbird appears in your desktop application menu after installation. A graphical desktop session is required for normal use; SSH or headless validation can confirm the package state, but it cannot complete the account setup wizard without a display session.
Launch Thunderbird from the Terminal
Use the command that matches your installation method.
APT, Ubuntu archive, or Mozilla Team PPA:
thunderbirdFlatpak:
flatpak run org.mozilla.ThunderbirdSnap:
snap run thunderbirdLaunch Thunderbird from the Applications Menu
GNOME and most Ubuntu desktop flavors add Thunderbird to the application launcher after installation:
- Open the Activities overview from your desktop.
- Click Show Applications to display installed applications.
- Open Thunderbird Mail.

Update or Remove Thunderbird
Update Thunderbird
Use the update command that belongs to the package source you installed.
APT, Ubuntu 22.04 archive package, or Mozilla Team PPA:
sudo apt update
sudo apt install --only-upgrade thunderbird
Flatpak:
sudo flatpak update org.mozilla.Thunderbird -ySnap or Ubuntu 26.04/24.04 default APT wrapper:
sudo snap refresh thunderbirdRemove Thunderbird
Remove the package with the same manager you used to install it.
APT, Ubuntu 22.04 archive package, or Mozilla Team PPA:
sudo apt remove --purge thunderbirdIf you added the Mozilla Team PPA, remove that source and pin file after removing Thunderbird:
sudo add-apt-repository --remove ppa:mozillateam/ppa -y
sudo rm -f /etc/apt/preferences.d/thunderbird-ppa
sudo apt update
Review APT’s orphaned-package list before removing dependencies. On reused systems, autoremove can include packages unrelated to Thunderbird:
sudo apt autoremoveIf you installed Thunderbird through Ubuntu’s default APT wrapper on 26.04 or 24.04, remove the snap package too:
sudo snap remove --purge thunderbirdFlatpak:
sudo flatpak remove org.mozilla.Thunderbird -y
sudo flatpak uninstall --unused -y
Snap:
sudo snap remove --purge thunderbirdPackage removal does not necessarily delete your mail profiles. Check the relevant profile directory before deleting anything: native APT and PPA installs use
~/.thunderbird, Flatpak uses~/.var/app/org.mozilla.Thunderbird, and snap uses~/snap/thunderbird.
ls -ld ~/.thunderbird ~/.var/app/org.mozilla.Thunderbird ~/snap/thunderbird 2>/dev/nullTroubleshoot Thunderbird on Ubuntu
APT Still Selects the Snap Wrapper After Adding the PPA
On Ubuntu 26.04 and 24.04, APT can keep selecting the snap transitional package if the pin file is missing or if the Origin value is wrong. Check the final candidate before reinstalling:
apt-cache policy thunderbirdThe PPA line should show priority 1001, and the Ubuntu archive line should show priority -1. If both sources show priority 500, recreate the pin file from the PPA section, run sudo apt update, then install with sudo apt install --allow-downgrades thunderbird -y.
Thunderbird Does Not Start
Start Thunderbird from a terminal in your desktop session so startup messages appear in the terminal. Use the command for your package source:
thunderbird
flatpak run org.mozilla.Thunderbird
snap run thunderbird
Profile damage or add-on conflicts are common causes. Start with add-ons disabled, then remove or update the extension that causes the problem.
APT or PPA:
thunderbird --safe-modeFlatpak:
flatpak run org.mozilla.Thunderbird --safe-modeSnap:
snap run thunderbird --safe-modeFlatpak Thunderbird Cannot Reach a Folder
The Thunderbird Flatpak already has access to common desktop integration points and your Downloads folder, but it does not receive unrestricted host filesystem access by default. Check the current sandbox permissions first:
flatpak info --show-permissions org.mozilla.ThunderbirdIf you need Thunderbird to attach or save files from a specific external mount, grant only that path instead of the whole filesystem. Per-user overrides are intentional here because Flatpak stores user permissions separately from the system installation.
flatpak override --user --filesystem=/media org.mozilla.Thunderbird
flatpak override --user --filesystem=/mnt org.mozilla.Thunderbird
Reset custom overrides if troubleshooting shows the permission change is no longer needed:
flatpak override --user --reset org.mozilla.ThunderbirdConclusion
Thunderbird can now run on Ubuntu through the default Ubuntu package path, Mozilla Team PPA, verified Flathub build, or Snap Store package without mixing update systems. Keep the update and removal commands paired with the source you chose, and use the guides to install Flatpak on Ubuntu or remove a PPA from Ubuntu only when those paths apply.

Tried the “Select APT Installation Method”, Option 2. It didn’t work, because apparently the snap repo overrides the mozilla one. So I get:
thunderbird is already the newest version (2:1snap1-0ubuntu3)
Presumably there’s a way to prioritize the Mozilla one, but I don’t know what it is.
You were absolutely right, mcswell. The article was missing the APT pinning configuration when you commented in October. Ubuntu 24.04 changed the default repository package to a snap transitional wrapper, and without pinning, the snap version takes priority over the PPA.
The article now includes the complete APT pinning setup. After adding the Mozilla PPA, create the preference file:
This assigns priority 1001 to the PPA version and blocks the snap transitional package with priority -1. You can verify it worked with
apt-cache policy thunderbird, which should show the PPA version (1:140.x.x) as the candidate instead of the snap wrapper (2:1snap1-0ubuntu3).Your feedback directly drove this update. Thank you for reporting it.
Somthing has gone wrong with my comment above. It should read:
Good article , thank you, but sudo snap update does not work for me. I think it should be sudo snap refresh
Hi William,
Thanks for the positive comment. I’ll fix the small mistake with the command; it should be
sudo snap refresh. When using multiple methods, small things can get overlooked. Appreciate your message!Thanks for pointing out the mistype on the update command. This has been fixed.
Good article , thank you, but does not work for me. I think it should be