
Inkscape gives Ubuntu a full SVG and vector graphics editor for logo design, illustration, diagramming, and one-page PDF cleanup work. To install Inkscape on Ubuntu, start with a package-managed path so updates come from APT, Snap, or Flatpak instead of a one-off download.
Install Inkscape on Ubuntu
The desktop editor uses the package name inkscape for Ubuntu Universe, the stable PPA, and Snap. Flatpak uses the app ID org.inkscape.Inkscape.
Four package-managed paths are available, and the best choice depends on whether you prefer Ubuntu’s repository package, the Inkscape Launchpad PPA, automatic Snap updates, or Flathub packaging.
| Method | Source | Channel | Updates | Best Fit |
|---|---|---|---|---|
| APT (Default Repository) | Ubuntu Universe | Distribution package | sudo apt upgrade | Users who want Ubuntu’s packaged build on all supported LTS releases |
| Inkscape Stable PPA | Launchpad PPA | Stable PPA builds for Ubuntu 26.04, 24.04, and 22.04 | sudo apt upgrade | Users who want Inkscape’s newer APT-managed PPA build |
| Snap | Snapcraft | latest/stable | Automatic | Users who want Snap Store packaging and can accept confinement limits |
| Flatpak | Flathub | Stable Flathub app | sudo flatpak update | Users who want Flathub updates and package isolation across Ubuntu LTS releases |
Current Inkscape versions vary sharply across Ubuntu releases and package sources:
| Method | Ubuntu 26.04 LTS | Ubuntu 24.04 LTS | Ubuntu 22.04 LTS |
|---|---|---|---|
| Default Repository | 1.4.3 | 1.2.2 | 1.1.2 |
| Inkscape Stable PPA | 1.4.4 | 1.4.3 | 1.4.3 |
| Snap | 1.4.x | 1.4.x | 1.4.x |
| Flatpak (Flathub) | 1.4.x | 1.4.x | 1.4.x |
Ubuntu’s Universe component currently ships Inkscape 1.4.3-0ubuntu2 on 26.04, 1.2.2-2ubuntu12 on 24.04, and 1.1.2-3ubuntu1 on 22.04. The stable PPA publishes dedicated builds for Ubuntu 26.04, 24.04, and 22.04. It currently installs Inkscape 1.4.4 on 26.04 and Inkscape 1.4.3 on 24.04 and 22.04, so it is the newer APT-managed path across the supported LTS releases.
- Choose APT if you want the package from Ubuntu’s Universe component for your release.
- Choose the stable PPA if you want Inkscape’s Launchpad build and newer APT-managed PPA updates.
- Choose Snap if you want Snap Store packaging with automatic background updates and can accept strict confinement limits.
- Choose Flatpak if you want Flathub updates on every supported Ubuntu LTS release. The current Flathub manifest grants broad host filesystem access, so treat it as package isolation rather than strict file isolation.
Inkscape Download Options on Ubuntu
If you searched for an Inkscape Ubuntu download, the official Linux release page also lists an AppImage. Use package-managed workflows for normal installs because APT, Snap, and Flatpak handle updates. Use the AppImage only when you specifically need a portable file and are ready to update it yourself.
Inkscape is useful for SVG drawings, logos, diagrams, and single-page PDF edits where you need to adjust imported objects as vector artwork. For PDF reading, annotation, and multi-page document review, install Okular on Ubuntu instead.
Update Ubuntu Before Installing Inkscape
Refresh package metadata and install any pending upgrades first so APT, Snap, and Flatpak-related packages start from a clean state:
sudo apt update && sudo apt upgrade -yPackage-management commands use
sudobecause they change system files. If your account is not in the sudoers group yet, see how to add a sudo user on Ubuntu.
Install Inkscape from Ubuntu’s Default Repository
Install Inkscape from Ubuntu’s Universe component with sudo apt install inkscape -y. Standard desktop installs usually have Universe enabled. If APT cannot locate the package on a minimal or customized system, enable Universe on Ubuntu first and rerun the install command:
sudo apt install inkscape -yConfirm the installed build:
inkscape --versionInkscape 1.4.3 (0d15f75042, 2025-12-25)
The version shown here is from Ubuntu 26.04. Ubuntu 24.04 currently reports Inkscape 1.2.2, and Ubuntu 22.04 reports Inkscape 1.1.2 from the default repository.
Install Inkscape from the Inkscape Stable PPA
The official Inkscape Ubuntu instructions point to the stable PPA when your release does not yet ship the current stable build. Launchpad lists the stable PPA for Ubuntu 26.04, 24.04, and 22.04, so this method remains available across the supported LTS releases covered here.
On Ubuntu 26.04, the default repository already ships Inkscape 1.4.3, while the stable PPA currently installs Inkscape 1.4.4. Use the default repository if you want Ubuntu’s packaged build, or use the PPA if you prefer the newer Launchpad build and its APT-managed update path.
Desktop installs usually already include add-apt-repository. On server or minimal installs, install software-properties-common first. The Universe component is also enabled here because Inkscape and several dependencies come from Universe on Ubuntu systems:
sudo apt install software-properties-common -y
sudo add-apt-repository universe -y
sudo add-apt-repository ppa:inkscape.dev/stable -y
The add-apt-repository command creates the Launchpad source entry and imports the matching signing key for you. Refresh APT next so you can confirm Ubuntu is fetching packages from the new Launchpad source:
sudo apt updateRelevant output includes the new Inkscape PPA source:
Get: https://ppa.launchpadcontent.net/inkscape.dev/stable/ubuntu resolute InRelease
Get: https://ppa.launchpadcontent.net/inkscape.dev/stable/ubuntu resolute/main amd64 Packages
Install Inkscape from the stable PPA:
sudo apt install inkscape -yConfirm the installed build:
inkscape --versionInkscape 1.4.4 (1:1.4.4+202605061435+dcaf3e7d9e)
On Ubuntu 26.04, the stable PPA currently installs revision 1:1.4.4+202605061435+dcaf3e7d9e~ubuntu26.04.1. On Ubuntu 24.04, it currently installs 1:1.4.3+202512261035+0d15f75042~ubuntu24.04.1. On Ubuntu 22.04, it currently installs 1:1.4.3+202512261034+0d15f75042~ubuntu22.04.1.
Install Inkscape with Snap
Install Inkscape with Snap if you want Snap Store packaging that updates automatically. The Snap package is published by Inkscape Project on Snapcraft and uses strict confinement. Standard Ubuntu desktop installs already include snapd; if the snap command is missing on a server or minimal install, add it first with sudo apt install snapd -y.
Inkscape’s own Snap notes call out package-format limits, including custom marker files and extensions that depend on programs outside the snap. Choose the APT or PPA path instead if those integrations matter more than automatic Snap refreshes.
Install the Snap package:
sudo snap install inkscapeConfirm Snap registered the installed package:
snap list inkscapeName Version Rev Tracking Publisher Notes inkscape 1.4.3-fcd0343856-2026-01-01 11364 latest/stable inkscape** -
Install Inkscape with Flatpak and Flathub
Install Inkscape with Flatpak if you want the same Flathub build on every supported Ubuntu LTS release. Flathub verifies the listing against inkscape.org, but the current manifest grants filesystems=host so Inkscape can work with normal files. Ubuntu does not install Flatpak by default, so set it up first with how to install Flatpak on Ubuntu if you have not already.
Flathub is added at system scope here, so the install, update, and removal commands also use sudo. The --if-not-exists flag skips an error if the remote is already configured:
sudo flatpak remote-add --if-not-exists flathub https://flathub.org/repo/flathub.flatpakrepoCheck that Flathub is registered at system scope:
flatpak remotesflathub system
Install the Flatpak build from Flathub:
sudo flatpak install flathub org.inkscape.Inkscape -yConfirm the Flatpak build is available:
flatpak run org.inkscape.Inkscape --versionInkscape 1.4.3 (0d15f75042, 2025-12-25)
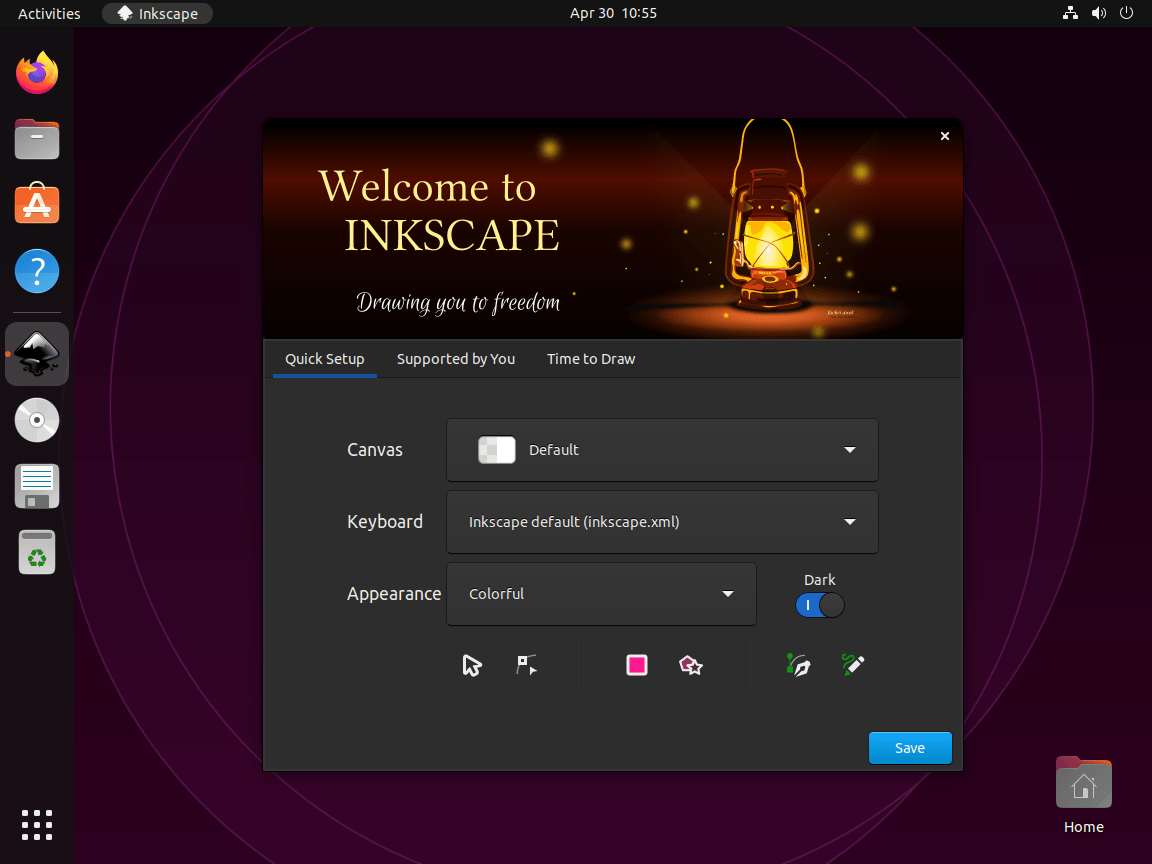
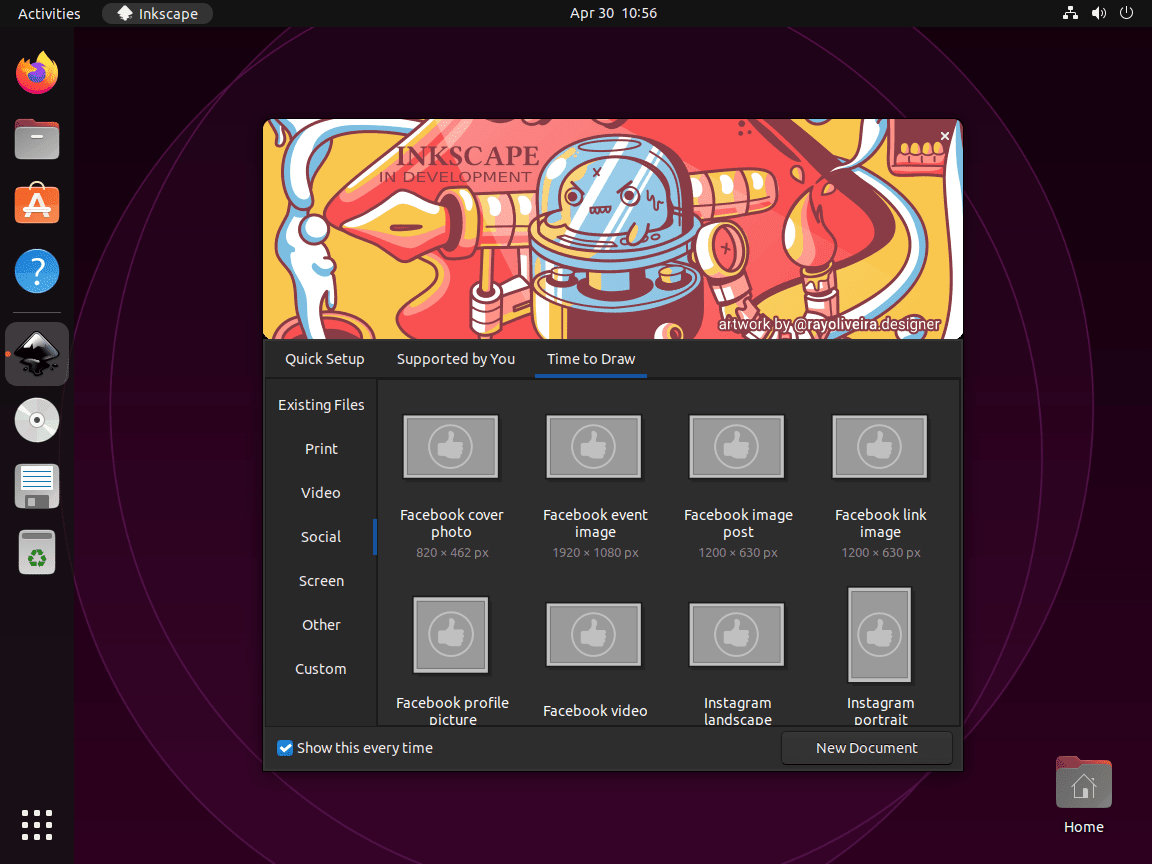
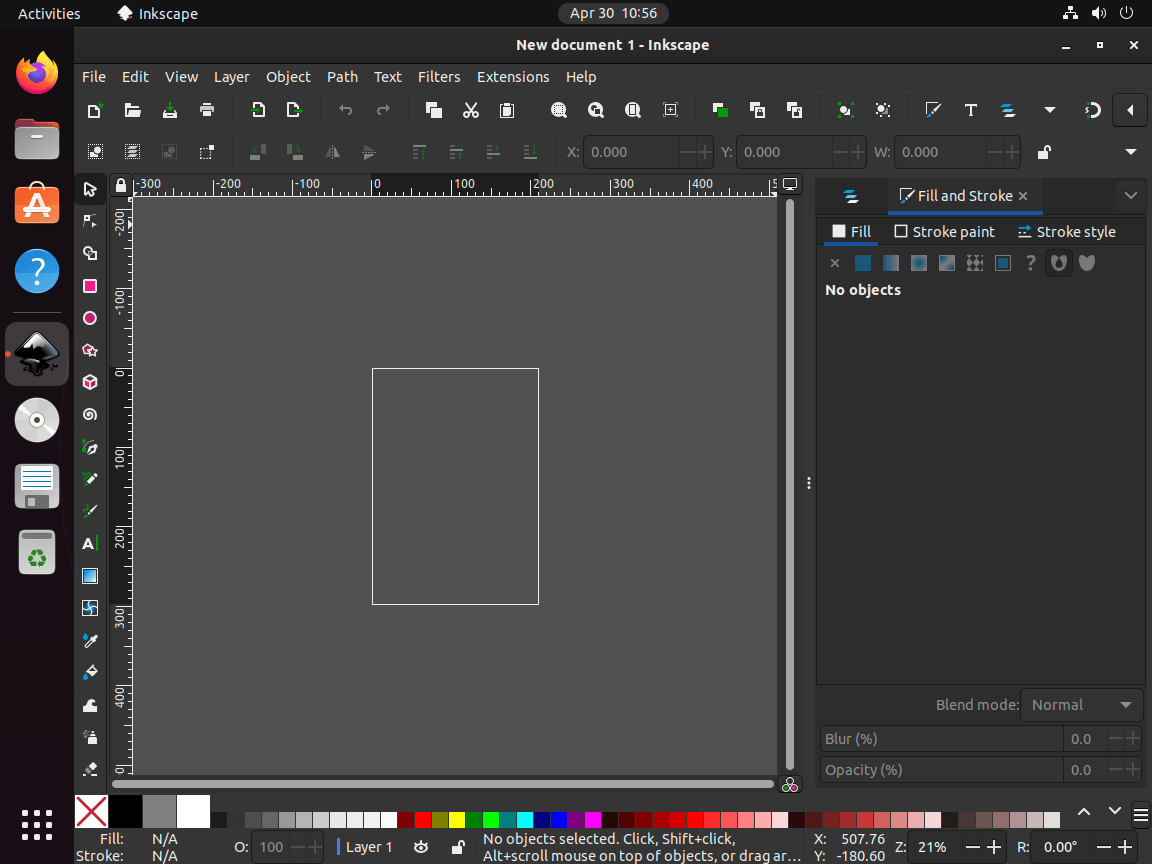
Launch Inkscape on Ubuntu
Once Inkscape is installed, you can open it from the terminal or from Ubuntu’s application launcher. The desktop launcher name is simply Inkscape for every method.
Launch Inkscape from the Terminal
APT and stable PPA installs use the same launcher command:
inkscapeSnap installs launch through the Snap runtime:
snap run inkscapeFlatpak installs launch through the Flatpak app ID:
flatpak run org.inkscape.InkscapeLaunch Inkscape from the Applications Menu
Desktop users can launch Inkscape from the GNOME Activities menu:
- Click Activities in the top-left corner of the desktop.
- Type Inkscape in the search box.
- Open the Inkscape icon to start the editor.
Update and Remove Inkscape on Ubuntu
Update Inkscape on Ubuntu
The update command depends on the package format you chose, but each method can be refreshed without reinstalling the application from scratch.
Update Inkscape with APT
Use this for the default repository or the stable PPA:
sudo apt update && sudo apt install --only-upgrade inkscape -yUpdate Inkscape with Snap
Refresh the installed snap directly:
sudo snap refresh inkscapeUpdate Inkscape with Flatpak
Update the system-scoped Flatpak app directly:
sudo flatpak update org.inkscape.Inkscape -yRemove Inkscape from Ubuntu
Removal steps differ by package format, and only some methods leave user settings behind. Pick the subsection that matches the way you installed Inkscape.
Remove Inkscape Installed with APT
Remove the main package first:
sudo apt remove inkscape -y
sudo apt autoremovecan remove dozens of image-processing, math, and Python libraries that were installed only to satisfy Inkscape dependencies. Review the removal list before you confirm it if you still use packages such as ImageMagick or NumPy for other work.
If you want to clear libraries APT no longer needs, preview the cleanup first:
sudo apt autoremove --dry-runContinue only if the removal list does not include packages you still use:
sudo apt autoremoveIf you added the stable PPA, remove it too and refresh package metadata. For broader cleanup options, see how to remove a PPA from Ubuntu.
sudo add-apt-repository --remove ppa:inkscape.dev/stable -y
sudo apt update
Confirm the package is gone and APT has fallen back to Ubuntu’s repository:
apt-cache policy inkscapeinkscape:
Installed: (none)
Candidate: 1.2.2-2ubuntu12
Version table:
1.2.2-2ubuntu12 500
500 http://au.archive.ubuntu.com/ubuntu noble/universe amd64 Packages
Installed: (none) confirms Inkscape is removed. On Ubuntu 26.04 and 22.04 the candidate line will show their repository versions instead.
If you launched the APT or PPA build, personal settings remain in
~/.config/inkscape/. Delete that directory only if you want to remove your preferences, extensions settings, and recent-file history.
rm -rf ~/.config/inkscapeRemove Inkscape Installed with Snap
Remove the snap package and its saved snap data:
sudo snap remove --purge inkscapeThe --purge flag skips Snap’s automatic recovery snapshot. Use plain sudo snap remove inkscape instead if you want Snap to keep a temporary restorable snapshot. Confirm the package itself is gone:
snap list inkscape 2>/dev/null || echo "inkscape not installed"inkscape not installed
Remove Inkscape Installed with Flatpak
Remove the Flatpak app first:
sudo flatpak uninstall org.inkscape.Inkscape -yIf Flatpak reports unused runtimes or extensions after removal, review that list before clearing them because they may belong to other Flatpak apps:
sudo flatpak uninstall --unusedConfirm the Flatpak app is no longer installed:
flatpak info org.inkscape.Inkscapeerror: org.inkscape.Inkscape/*unspecified*/*unspecified* not installed
Flatpak app removal still leaves
~/.var/app/org.inkscape.Inkscape/behind. Delete it only if you want to remove saved Flatpak settings and cached user data.
rm -rf ~/.var/app/org.inkscape.InkscapeTroubleshoot Inkscape Installation Issues on Ubuntu
The two issues most likely to trip you up are choosing between the Ubuntu and PPA candidates on 26.04 and a Flathub remote that was already configured earlier.
Switch Back to Ubuntu’s Default Inkscape Package
If you added the stable PPA on Ubuntu 26.04 and later decide you prefer Ubuntu’s default package, remove the PPA and refresh APT so the default repository becomes the candidate again. This is worth checking because PPA packages can use an epoch in their version string, which can affect APT’s candidate selection.
sudo add-apt-repository --remove ppa:inkscape.dev/stable -y
sudo apt update
Check which source APT will use after the PPA is removed:
apt-cache policy inkscapeinkscape:
Installed: (none)
Candidate: 1.4.3-0ubuntu2
Version table:
1.4.3-0ubuntu2 500
500 http://au.archive.ubuntu.com/ubuntu resolute/universe amd64 Packages
Fix “Remote flathub already exists” When Installing Inkscape
If Flathub was already configured, Flatpak returns this message when you try to add it again:
error: Remote "flathub" already exists
Check the configured remotes before changing anything:
flatpak remotesflathub system
If the remote is missing or you want to recreate it at system scope, add it again with:
sudo flatpak remote-add --if-not-exists flathub https://flathub.org/repo/flathub.flatpakrepoConclusion
Inkscape on Ubuntu is ready for SVG editing, illustration, diagramming, and one-page PDF cleanup with the package source that best matches your release and update preferences. For companion creative tools, install GIMP on Ubuntu, install Krita on Ubuntu, or install Blender on Ubuntu for raster editing, painting, and 3D work.

Inkscape PPA stable. Installation ok. Thank you.