
Mozilla VPN gives Ubuntu desktops a paid, device-level VPN client from Mozilla, the maker of Firefox. On Ubuntu 26.04 LTS, 24.04 LTS, and 22.04 LTS, the current Ubuntu path uses Mozilla’s official APT repository rather than the older Launchpad source.
The Linux client installs from the terminal, but sign-in and connections still happen in the graphical Mozilla VPN app. The package name is mozillavpn, so searches for Firefox VPN on Linux usually lead back to this standalone Mozilla VPN client rather than a separate Firefox package.
Install Mozilla VPN on Ubuntu
Confirm Mozilla VPN Package Scope
Mozilla’s Linux installation instructions list APT as the recommended path for Ubuntu and Ubuntu-derived systems. Mozilla documents Ubuntu 22.04 LTS and newer, Linux Mint 20 and newer, and Debian 11 and newer as APT-supported targets. The Ubuntu coverage here is Ubuntu 26.04 LTS, 24.04 LTS, and 22.04 LTS.
Mozilla VPN is not a free VPN service. The app can be installed without entering a license key, but you need an active Mozilla VPN subscription before you can sign in and connect. Mozilla’s Linux instructions also link a Flathub build for broader Linux coverage; treat the upstream-documented Flathub listing as a separate handoff because the complete install, update, and removal workflow here uses APT. If your Ubuntu desktop already uses Flathub, set up Flatpak on Ubuntu first, then follow that Flathub path instead.
Update Ubuntu and Install Repository Tools
Refresh the package index, apply available package updates, and make sure the key-verification tools are present before adding Mozilla’s repository.
sudo apt update
sudo apt upgrade -y
sudo apt install wget gnupg -y
These commands use
sudofor system changes. If your account does not have admin rights yet, follow the guide on adding a new user to sudoers on Ubuntu before continuing.
Add Mozilla’s APT Signing Key
Create the keyring directory, then download Mozilla’s APT repository signing key.
sudo install -d -m 0755 /etc/apt/keyrings
wget -q https://packages.mozilla.org/apt/repo-signing-key.gpg -O- | sudo tee /etc/apt/keyrings/packages.mozilla.org.asc > /dev/null
Verify the key fingerprint before trusting packages from the new repository.
gpg -n -q --import --import-options import-show /etc/apt/keyrings/packages.mozilla.org.asc | awk '/pub/{getline; gsub(/^ +| +$/,""); if($0 == "35BAA0B33E9EB396F59CA838C0BA5CE6DC6315A3") print "The key fingerprint matches ("$0")."; else print "Verification failed: fingerprint ("$0") does not match."}'The key fingerprint matches (35BAA0B33E9EB396F59CA838C0BA5CE6DC6315A3).
Add Mozilla’s APT Source on Ubuntu
Write Mozilla’s APT repository as a DEB822 source file. This uses the same upstream repository and signing key Mozilla documents, but stores the source in an easy-to-audit format.
printf '%s\n' \
  'Types: deb' \
  'URIs: https://packages.mozilla.org/apt' \
  'Suites: mozilla' \
  'Components: main' \
  'Signed-By: /etc/apt/keyrings/packages.mozilla.org.asc' | sudo tee /etc/apt/sources.list.d/mozilla.sources > /dev/null
Verify the Mozilla VPN Package Candidate
Refresh APT metadata and confirm that Ubuntu now selects mozillavpn from Mozilla’s repository.
sudo apt update
apt-cache policy mozillavpn
mozillavpn:
Installed: (none)
Candidate: 2.36.0~rc20260416164158-static1
Version table:
2.36.0~rc20260416164158-static1 500
500 https://packages.mozilla.org/apt mozilla/main amd64 Packages
Ubuntu 26.04, 24.04, and 22.04 currently select the same Mozilla repository candidate. On Ubuntu 22.04, Ubuntu’s older jammy/universe package can still appear as a fallback if Mozilla’s source is removed, but Mozilla’s repository wins while it is enabled.
Install Mozilla VPN with APT
Install the Mozilla VPN desktop client and its WireGuard dependencies.
sudo apt install mozillavpn -yThe following NEW packages will be installed: libxcb-cursor0 libxcb-icccm4 libxcb-image0 libxcb-keysyms1 libxcb-render-util0 libxcb-xkb1 libxkbcommon-x11-0 mozillavpn wireguard wireguard-tools Setting up mozillavpn (2.36.0~rc20260416164158-static1) ... Created symlink /etc/systemd/system/multi-user.target.wants/mozillavpn.service -> /usr/lib/systemd/system/mozillavpn.service. Created symlink /etc/systemd/system/multi-user.target.wants/socksproxy.service -> /usr/lib/systemd/system/socksproxy.service.
The exact dependency list can be shorter on Ubuntu 24.04 or 22.04 if some libraries are already installed, but the final mozillavpn package and service setup should match the same Mozilla repository version.
Verify Mozilla VPN on Ubuntu
Check the installed application version and confirm the background service is active before opening the desktop client.
mozillavpn --version
systemctl is-active mozillavpn.service
Mozilla VPN 2.36.0 active
The CLI version output uses the upstream app version, while apt-cache policy shows the full repository package revision. Both values are useful: the first confirms the installed client launches, and the second confirms which APT source supplied it.
Launch Mozilla VPN on Ubuntu
Launch Mozilla VPN From a Terminal
If you already have a desktop session open, start the graphical Mozilla VPN client from a local terminal.
mozillavpnThis command opens the GUI from a local desktop terminal. The sign-in flow still needs the desktop app.
Launch Mozilla VPN From the Applications Menu
You can also open Mozilla VPN from the Ubuntu applications overview after the package finishes installing.
- Open Activities in the upper-left corner of the desktop.
- Select Show Applications.
- Search for Mozilla VPN and open it.
Sign in with your Mozilla account, choose a server location, and connect. If you do not have a subscription yet, use the Mozilla VPN website to choose a plan before signing in.
Update Mozilla VPN on Ubuntu
Mozilla VPN updates through the same APT source you added during installation. Refresh package metadata, then upgrade only the Mozilla VPN package if a newer build is available.
sudo apt update
sudo apt install --only-upgrade mozillavpn -y
After the upgrade finishes, rerun mozillavpn --version and apt-cache policy mozillavpn if you want to confirm both the app version and the repository package revision.
Remove Mozilla VPN From Ubuntu
Remove the Mozilla VPN Package
Remove the installed application package first. Leave -y off the removal command so you can review APT’s package list before confirming.
sudo apt remove mozillavpnIf APT reports Mozilla VPN dependencies as autoremovable, preview the cleanup list before running the real cleanup. This matters on desktops that already have old kernels or unrelated packages marked as autoremovable.
sudo apt autoremove --dry-runOnly run the cleanup after the preview shows packages you actually want to remove.
sudo apt autoremoveUse purge only if you also want to remove package-managed system configuration left in rc state. Purge does not remove account data the desktop app may have created in your home directory after sign-in.
sudo apt purge mozillavpnRemove the Mozilla APT Source
Remove the Mozilla repository file and signing key only if you added them for Mozilla VPN and do not use the same repository for another Mozilla package.
sudo rm -f /etc/apt/sources.list.d/mozilla.sources
sudo rm -f /etc/apt/keyrings/packages.mozilla.org.asc
sudo apt update
Verify Mozilla VPN Removal
Check package state first, then confirm the Mozilla repository no longer provides the active candidate.
dpkg -l mozillavpn | grep '^ii' || echo "mozillavpn is not installed"
apt-cache policy mozillavpn
mozillavpn is not installed mozillavpn: Installed: (none) Candidate: (none) Version table:
Ubuntu 26.04 and 24.04 show no repository candidate after Mozilla’s source is removed. If you removed without purging first, apt-cache policy may still show a /var/lib/dpkg/status line for the removed package; that is local package history, not an active Mozilla source. Ubuntu 22.04 can also show Ubuntu’s older 2.2.0-1 package from jammy/universe, which confirms the Mozilla source is gone while leaving Ubuntu’s own fallback visible.
Troubleshoot Mozilla VPN on Ubuntu
APT Cannot Locate the mozillavpn Package
If sudo apt install mozillavpn reports that the package cannot be located, verify that the Mozilla source file exists and that APT has refreshed metadata from packages.mozilla.org.
cat /etc/apt/sources.list.d/mozilla.sources
sudo apt update
apt-cache policy mozillavpn
If you previously followed older Launchpad PPA commands, remove that old source and use Mozilla’s current APT repository instead. The PPA removal guide for Ubuntu covers broader source cleanup when you need it.
Ubuntu 22.04 Shows an AppArmor Parser Warning
On Ubuntu 22.04, Mozilla’s current package can print an AppArmor parser warning about abi/4.0 during installation. The package can still install, report its version, and start mozillavpn.service. Confirm the final state before troubleshooting further.
mozillavpn --version
systemctl is-active mozillavpn.service
If the service is not active, inspect the service journal and review AppArmor status on Ubuntu before changing profiles or disabling confinement.
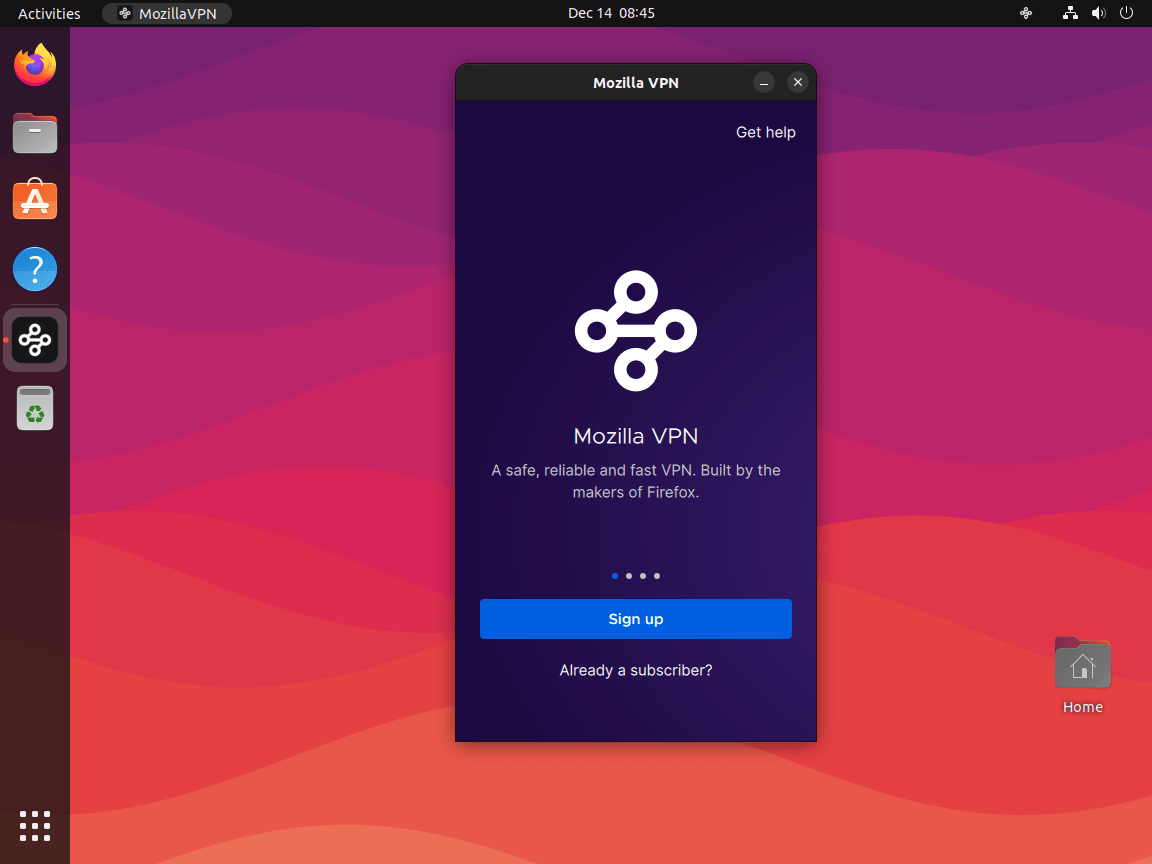
journalctl -u mozillavpn.service --no-pager -n 50Mozilla VPN Opens to a Sign-In Screen
The sign-in screen is expected on a fresh install. Mozilla VPN protects traffic after you sign in with a Mozilla account that has an active subscription. If you want browser privacy changes without a full-device VPN tunnel, consider installing Brave Browser on Ubuntu as a separate browser-level option.
Conclusion
Mozilla VPN is now installed on Ubuntu from Mozilla’s current APT repository, with APT handling future package updates. The same workflow covers Ubuntu 26.04 LTS, 24.04 LTS, and 22.04 LTS, while older Launchpad PPA commands should be replaced with the packages.mozilla.org source shown above. If this machine also needs host-level network rules, configure UFW on Ubuntu next.

Formatting tips for your comment
You can use basic HTML to format your comment. Useful tags currently allowed in published comments:
<code>command</code>command<strong>bold</strong><em>italic</em><blockquote>quote</blockquote>