GitHub Desktop, tailored by GitHub, is a pivotal tool for developers seeking an efficient way to manage Git repositories through a graphical interface. This introduction underscores its primary advantages and distinct features for those aiming to install GitHub Desktop on openSUSE Leap or its upstream branch of openSUSE Tumbleweed.
Key Benefits:
- Simplified Operations: With its intuitive design, GitHub Desktop streamlines tasks like cloning, branching, and merging, removing the need for complex command-line operations.
- Visual Tracking: Users gain a clear visual insight into repository changes, aiding in understanding project progression.
- Team Collaboration: Enhanced features for teamwork, including easy conflict resolution and seamless GitHub integration, promote efficient team-based projects.
Noteworthy Features:
- Cross-Platform Support: Catering to diverse user needs, GitHub Desktop is available for Windows, macOS, and openSUSE.
- Customization: Users can personalize the interface, adjusting fonts, themes, and more.
- Guided Assistance: Built-in tutorials guide users, ensuring a smooth onboarding experience.
In summary, GitHub Desktop emerges as a top-tier Git client for openSUSE users, blending functionality with user-friendliness. The following sections will guide you through the installation process on openSUSE Leap or Tumbleweed using the official RPM Linux Fork.
Install GitHub Desktop on openSUSE Leap or Tumbleweed
Step 1: Update openSUSE Before GitHub Installation
Before installing GitHub Desktop, update your openSUSE system to ensure all existing packages are up-to-date. This ensures that your system has the latest security patches and dependencies needed for a smooth installation. To update your system, execute the following command:
sudo zypper refresh && sudo zypper updateThis command first refreshes the repositories with zypper refresh and then updates the system packages using zypper update.
Step 2: Install GitHub Desktop on openSUSE Leap or Tumbleweed
Here are the steps to install GitHub Desktop on openSUSE Linux using the shiftkey third-party RPM:
Option 1: Import @shiftkey package feed:
First, import the GPG key using the following command:
sudo rpm --import https://rpm.packages.shiftkey.dev/gpg.keyOnce the GPG key is imported, import the RPM repo using the following command:
sudo sh -c 'echo -e "[shiftkey-packages]\nname=GitHub Desktop\nbaseurl=https://rpm.packages.shiftkey.dev/rpm/\nenabled=1\ngpgcheck=1\nrepo_gpgcheck=1\ngpgkey=https://rpm.packages.shiftkey.dev/gpg.key" > /etc/zypp/repos.d/shiftkey-packages.repo'
Option 2 (Backup): @mwt package feed:
First, import the GPG key using the following command:
sudo rpm --import https://mirror.mwt.me/shiftkey-desktop/gpgkeyOnce the GPG key is imported, import the RPM repo using the following command:
sudo sh -c 'echo -e "[mwt-packages]\nname=GitHub Desktop\nbaseurl=https://mirror.mwt.me/shiftkey-desktop/rpm\nenabled=1\ngpgcheck=1\nrepo_gpgcheck=1\ngpgkey=https://mirror.mwt.me/shiftkey-desktop/gpgkey" > /etc/zypp/repos.d/mwt-packages.repo'Finally, run the following command to install the GitHub Desktop client:
sudo zypper install github-desktopThis command will fetch and install the GitHub Desktop package from the chosen repository.
Launch GitHub Desktop on openSUSE Leap or Tumbleweed
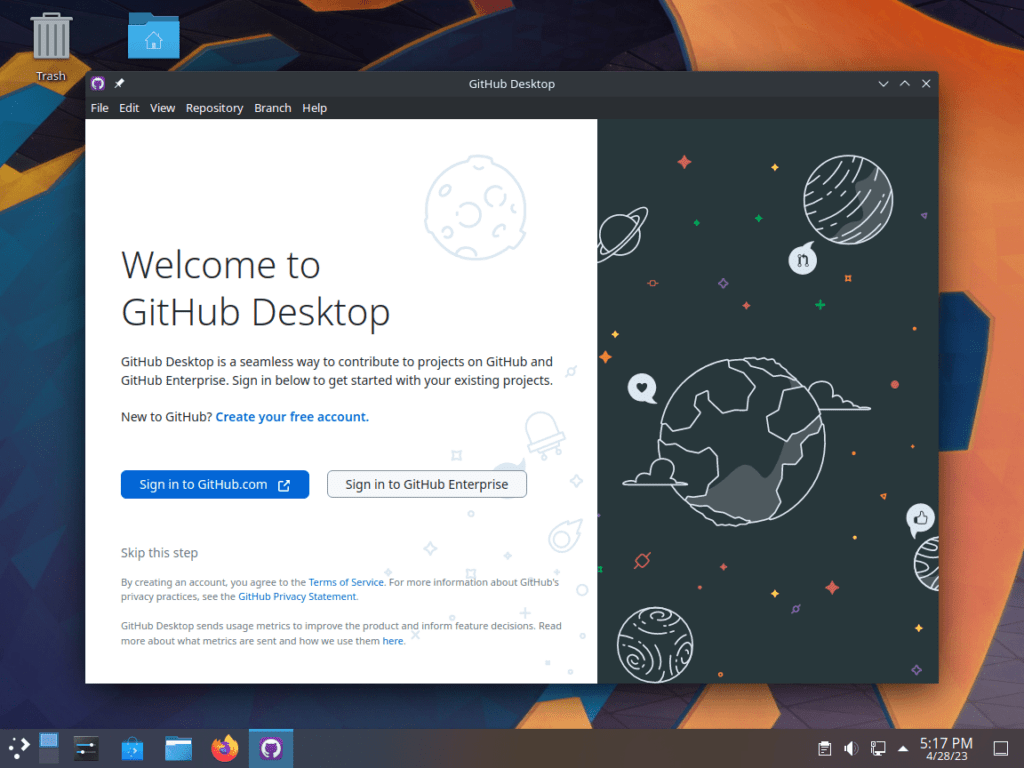
If you have completed the installation of GitHub Desktop on your openSUSE system, you may wonder how to launch the application. Here are two methods to do it:
CLI Method to Launch GitHub Desktop on openSUSE
If you prefer to use the terminal, open it and type the following command to launch the GitHub Desktop client immediately:
github-desktopGUI Method to Launch GitHub Desktop on openSUSE
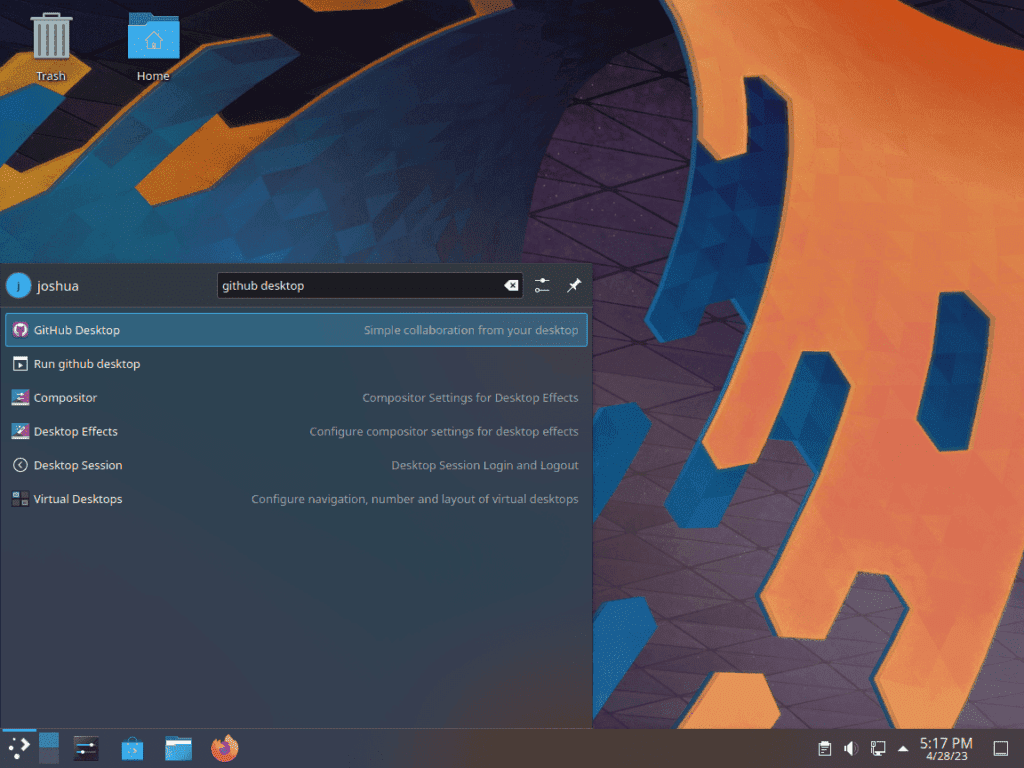
While using terminal commands can be efficient, it might not be the most practical method for everyday use. You can also launch GitHub Desktop directly from your desktop environment. The process may vary depending on your installed desktop environment, such as KDE, XFCE, or GNOME. Follow these general steps:
- Access the applications menu by clicking the menu icon or button, usually in your screen’s bottom-left or top-left corner. This icon or button may be labeled as “Menu,” “Applications,” or “Activities” or represented by a grid of dots.
- Open the applications launcher by clicking “Show Applications,” “All Applications,” or a similar option depending on your desktop environment.
- Look for the GitHub Desktop icon, which represents the application. Click on it to launch GitHub Desktop.
Tips on Getting Started with GitHub Desktop on openSUSE Leap or Tumbleweed
Now that you have installed and launched GitHub Desktop on openSUSE, it’s time to get familiar with some tips and tricks to make the most of this powerful Git client. This section will cover general tips, customizations, and other helpful insights to enhance your GitHub Desktop experience on openSUSE.
General Tips with GitHub Desktop on openSUSE
- Cloning repositories: To clone a repository, click on the File menu and select Clone Repository. You can enter the repository’s URL or choose one from the repositories associated with your GitHub account.
- Adding a local repository: If you have an existing local Git repository that you’d like to manage with GitHub Desktop, click on the File menu and select Add Local Repository. Browse to the repository folder, and GitHub Desktop will automatically detect and add it.
- Switching between repositories: If you’re working with multiple repositories, you can easily switch between them using the dropdown menu at the top of the application window.
- Branch management: GitHub Desktop simplifies branch management by providing an easy-to-use interface for creating, switching, and merging branches. To create a new branch, click the Current Branch dropdown menu and select New Branch. To switch branches, choose the desired branch from the same dropdown menu.
- Committing changes: To commit changes in your repository, navigate to the Changes tab, review the modified files, and enter a commit message. Click on the Commit to [branch] button to finalize the commit.
- Pushing and pulling: To sync your local repository with the remote repository, use the Fetch origin, Pull, or Push buttons in the top-right corner of the application window.
Customizations with GitHub Desktop on openSUSE
- Changing the appearance: You can customize the appearance of GitHub Desktop by navigating to File > Options (or GitHub Desktop > Preferences on some desktop environments) and selecting the Appearance tab. Choose the default light or dark theme, or let the application follow your system’s theme.
- Setting the default editor: To change the default text editor that opens when you click on a file in the Changes tab, navigate to File > Options (or GitHub Desktop > Preferences) and select the Advanced tab. Choose your preferred text editor from the dropdown menu or browse to its executable file.
- Configuring Git: You can configure your Git settings, such as your name, email, and signing key, from within GitHub Desktop. Navigate to File > Options (or GitHub Desktop > Preferences) and select the Git tab. Make the necessary changes and click on Save to apply them.
Other Tips with GitHub Desktop on openSUSE
- Keyboard shortcuts: GitHub Desktop supports various keyboard shortcuts to help you perform actions quickly. Press Ctrl + Shift + H on your keyboard to open the list of available shortcuts.
- External tools integration: GitHub Desktop can integrate with external tools like linters, formatters, and merge tools. Configure these tools in your repository’s
.gitconfigfile or your global Git configuration to use them within GitHub Desktop.
Additional GitHub Desktop Commands with openSUSE Leap or Tumbleweed
Update GitHub Desktop on openSUSE Leap or Tumbleweed
To update GitHub Desktop on your openSUSE system, update your system’s packages using the zypper command. This will update all installed packages, including GitHub Desktop, to their latest versions:
sudo zypper refresh && sudo zypper updateThis command first refreshes the repositories on your system with zypper refresh and then updates all the installed packages to their latest versions with zypper update.
Remove GitHub Desktop From openSUSE Leap or Tumbleweed
To remove GitHub Desktop from your system, execute the following command:
sudo zypper remove github-desktopThis command uninstalls GitHub Desktop from your openSUSE system. If you also want to remove the repository that was added during the installation process, use the following command:
sudo zypper removerepo <repository_alias>Replace <repository_alias> with the alias of the GitHub Desktop repository. You can find the alias by running zypper repos and locating the GitHub Desktop repository in the list.
Conclusion
In this article, we have walked you through installing GitHub Desktop on openSUSE Leap or openSUSE Tumbleweed. We’ve covered importing the necessary repositories, installing GitHub Desktop, and launching the application using the command line and the graphical user interface. Additionally, we discussed how to update and remove GitHub Desktop on your openSUSE system. Following these steps, you should have a fully functional GitHub Desktop installation on your openSUSE system, allowing you to work with your repositories more efficiently.


