

Visual Studio Code, commonly known as VSCode, is a premier open-source code editor developed by Microsoft, offering a dynamic environment tailored for developers. For those considering how to install Visual Studio Code on openSUSE Leap or its upstream branch of openSUSE Tumbleweed, this introduction highlights its standout features and the benefits it brings to the table.
Key Advantages:
- Cross-Platform: Visual Studio Code is not only optimized for openSUSE but also runs smoothly on Windows, macOS, and other Linux distributions, ensuring consistent performance across platforms.
- Extension Ecosystem: The vast array of extensions available for VSCode enhances its capabilities, catering to diverse programming languages and tools.
- Git Integration: With built-in Git support, developers can effortlessly manage version control and streamline collaboration.
- Personalized Experience: Users can customize the interface, adjusting themes, fonts, and more to create a tailored coding environment.
- IntelliSense: This feature elevates coding efficiency by offering intelligent code completion, aiding in faster and error-free coding.
- Community and Updates: Regular updates from Microsoft, coupled with an active community, ensure that Visual Studio Code remains cutting-edge, with abundant resources and support available.
Given its compelling features and user-focused approach, Visual Studio Code is a preferred option for openSUSE enthusiasts. Following this introduction, the guide will delve into the installation steps for openSUSE Leap or Tumbleweed, ensuring you can seamlessly integrate this renowned code editor into your workflow.
Install Visual Studio Code on openSUSE Leap or Tumbleweed
Step 1: Update openSUSE Before VSCode Installation
Before installing Visual Studio Code, ensuring your openSUSE system is up-to-date is crucial. Keeping your system updated helps avoid potential conflicts during the installation process. To update your system, run the following commands in the terminal:
sudo zypper refresh
sudo zypper update
It’s essential to reboot your system after updating your system, mainly if the updates include a new kernel or many updates. Rebooting ensures that all changes take effect and your system runs smoothly:
rebootStep 2: Import Visual Studio Code RPM on openSUSE
By default, Visual Studio Code is not included in the openSUSE repositories. However, you can easily add the official Visual Studio Code repository to your system and install it from there.
To add the Visual Studio Code repository, run the following command:
sudo zypper ar https://packages.microsoft.com/yumrepos/vscode vscodeYou should see output similar to the following, indicating that the repository has been added successfully:
Adding repository 'vscode' .............................................................................................................[done]
Repository 'vscode' successfully added

URI         : https://packages.microsoft.com/yumrepos/vscode
Enabled     : Yes
GPG Check   : Yes
Autorefresh : No
Priority    : 99 (default priority)

Repository priorities are without effect. All enabled repositories share the same priority.
Next, import the GPG key to verify the package’s authenticity:
sudo rpm --import https://packages.microsoft.com/keys/microsoft.ascStep 3: Install Visual Studio Code on openSUSE Leap or Tumbleweed
With the repository added, update your package manager’s list of sources to include the newly added repository before installing Visual Studio Code. To do this, run the following command in your terminal:
sudo zypper refreshAfter refreshing your package manager’s sources, you can choose to install the “stable” or the “insiders” (beta) version of Visual Studio Code. You can also install both versions simultaneously since they have separate installations.
To install Visual Studio Code’s stable branch, run the following command:
sudo zypper install codeIf you want to install Visual Studio Code’s insiders branch, use the following command:
sudo zypper install code-insidersTo install both the stable and insider branches together, run the following:
sudo zypper install code code-insidersLaunch Visual Studio Code on openSUSE Leap or Tumbleweed
Now that you have successfully installed Visual Studio Code, it’s time to launch and use the application for your development projects.
CLI Method to Launch VSCode on openSUSE
One way to open Visual Studio Code is by using the terminal. If you have installed the stable version, enter the following command:
codeFor those who have installed the insider (beta) version, use this command instead:
code-insidersGUI Method to Launch VSCode on openSUSE
Although launching Visual Studio Code from the terminal is a viable option, you might find it more convenient to open the application through your desktop environment.
For GNOME users:
- Click on the Activities button located at the top-left corner of your screen.
- Click on the Show Applications icon (a grid of nine dots) at the bottom-left corner of the Activities overview.
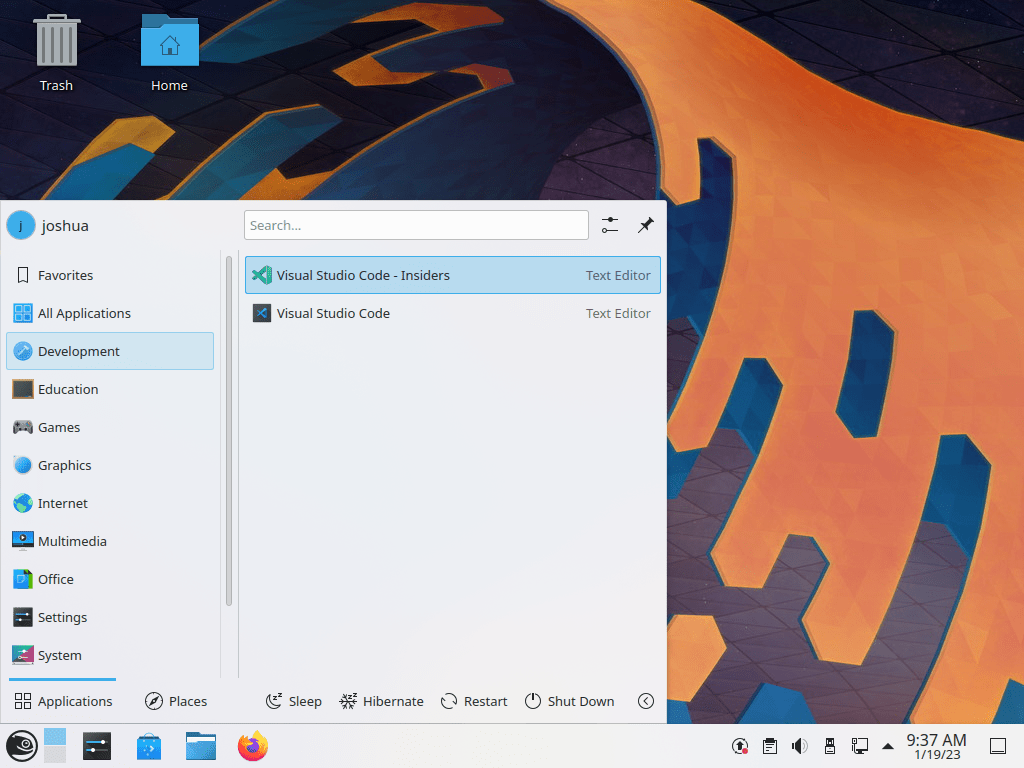
- Locate and click on the Visual Studio Code {version} icon to launch the application.
For KDE and XFCE users:
- Click on the Taskbar at the bottom of your screen.
- Navigate to the Internet submenu.
- Locate and click on the Visual Studio Code {version} icon to launch the application.
In both cases, replace {version} with either Code for the stable version or Code - Insiders for the insider version, depending on which one you have installed.
Tips on Getting Started with Visual Studio Code on openSUSE Leap or Tumbleweed
Now that you have installed and launched Visual Studio Code, it’s time to explore valuable tips and customizations tailored for openSUSE and Linux users to enhance your development experience.
General Tips with VSCode on openSUSE
- Integrated terminal: Visual Studio Code provides an integrated terminal, allowing you to access the command line without switching windows. To open the integrated terminal, press
Ctrl+`or go to View > Terminal in the menu bar. - Multi-root workspaces: Manage multiple projects within a single instance of Visual Studio Code by creating a multi-root workspace. Go to File > Add Folder to Workspace to add additional folders to your workspace.
- Quick file navigation: Use the Go to File feature to quickly navigate between files in your project. Press
Ctrl+Pand start typing the file name to see a list of matching files. Select the desired file to open it.
Customizations with VSCode on openSUSE
- Themes: Customize the appearance of Visual Studio Code by selecting a theme that suits your preferences. Go to File > Preferences > Color Theme to choose from various built-in themes or explore additional themes from the extensions marketplace.
- Fonts and font ligatures: Personalize your editor by changing the font or enabling font ligatures. To do this, go to File > Preferences > Settings and search for “Editor: Font Family” and “Editor: Font Ligatures” settings.
- Keyboard shortcuts: Tailor keyboard shortcuts to your needs by going to File > Preferences > Keyboard Shortcuts. Customize existing shortcuts or create new ones to improve your productivity.
Other Tips with VSCode on openSUSE
- Search and replace: Find and replace text across multiple files in your project by pressing
Ctrl+Shift+For going to Edit > Find in Files. - Git integration: Visual Studio Code has built-in Git support, making version control more accessible. Use the Source Control view (accessible via the menu or by pressing
Ctrl+Shift+G) to manage your Git repository. - Extensions: Enhance the functionality of Visual Studio Code by installing extensions tailored to your programming languages, frameworks, or tools. To browse and install extensions, click on the Extensions icon in the Activity Bar on the side of the window, or press
Ctrl+Shift+X. - Debugging: Utilize Visual Studio Code’s powerful debugging capabilities by setting breakpoints, stepping through code, and inspecting variables. To start debugging, open the Run view by clicking the Run icon in the Activity Bar or pressing
Ctrl+Shift+D.

Additional Visual Studio Code Commands with openSUSE Leap or Tumbleweed
In this section, we will cover how to update and uninstall Visual Studio Code on openSUSE using the zypper package manager, ensuring your system remains up-to-date and secure.
Update Visual Studio Code on openSUSE
Keeping Visual Studio Code updated is essential to benefit from new features, improvements, and security patches. You can use the zypper update command to check for updates for all installed packages, including Visual Studio Code:
sudo zypper refresh
sudo zypper update
Regularly updating your software helps maintain a secure system, as updates often include essential security patches.
Remove Visual Studio Code From openSUSE
If you need to uninstall Visual Studio Code from your system, you can use the zypper remove command in your terminal.
To remove the stable version of Visual Studio Code, execute the following command:
sudo zypper remove codeIf you installed the insider’s build alongside the standard stable version, you could remove this particular version using the following command:
sudo zypper remove code-insidersRemove Visual Studio Code RPM from openSUSE
After uninstalling Visual Studio Code, you may also want to remove the associated repository. This step is optional but recommended for maintaining a clean system.
To remove the Visual Studio Code repository from your system, use the following command:
sudo zypper removerepo vscodeConclusion
This guide has covered the essential steps for installing Visual Studio Code on openSUSE Leap and openSUSE Tumbleweed. We walked you through updating your system, importing the Visual Studio Code repository and GPG key, installing the software, launching Visual Studio Code, and managing the software through updating and uninstalling. With these instructions, you should have a solid foundation for working with Visual Studio Code on your openSUSE system.