Install GPU-Viewer on Ubuntu when you want a desktop view of graphics capability data instead of separate OpenGL, Vulkan, OpenCL, and VDPAU terminal checks. GPU-Viewer works like a Linux-friendly GPU-Z style inspector: it gathers graphics API details into tabs, but it does not install drivers, tune fan curves, change brightness, or act as a live performance monitor. On Ubuntu 26.04, 24.04, and 22.04, Flatpak is the cleanest path because Flathub tracks the current upstream release; Ubuntu 26.04 also has a Universe package, while the older PPA remains useful only for Ubuntu 24.04 and 22.04 users who specifically need a native apt package.
Install GPU-Viewer on Ubuntu
Three package-manager paths exist, but they do not cover the same Ubuntu releases. Use Flatpak unless you have a specific reason to prefer the Ubuntu 26.04 repository package or the legacy PPA package on Ubuntu 24.04 or 22.04.
| Method | Channel | Version | Updates | Best For |
|---|---|---|---|---|
| Flatpak | Flathub | Current upstream release | Via flatpak update | Ubuntu 26.04, 24.04, and 22.04 desktops |
| Ubuntu repository | Ubuntu Universe | 3.26.x on Ubuntu 26.04 | Via apt upgrade | Ubuntu 26.04 users who want a distro package |
| Legacy PPA | Launchpad PPA | Older builds | Via apt upgrade | Ubuntu 24.04 or 22.04 amd64 users who need an apt package |
Flathub currently publishes GPU-Viewer for x86_64 and aarch64. Ubuntu 26.04 publishes gpu-viewer in Universe, but Ubuntu 24.04 and 22.04 do not currently have a default repository candidate. The PPA package index currently contains amd64 builds for Ubuntu 24.04 and 22.04, but not Ubuntu 26.04, so it is not a general fallback for every supported Ubuntu system.
Flatpak is not pre-installed on Ubuntu. If
flatpak --versionfails, follow the guide to install Flatpak on Ubuntu before continuing.
Install GPU-Viewer via Flatpak
Enable Flathub for GPU-Viewer
Add Flathub at system scope, then verify that the remote is available before installing GPU-Viewer.
sudo flatpak remote-add --if-not-exists flathub https://dl.flathub.org/repo/flathub.flatpakrepoflatpak remotes --columns=name,optionsflathub system
Install the GPU-Viewer Flatpak
Install the Flathub build with the validated application ID:
sudo flatpak install flathub io.github.arunsivaramanneo.GPUViewer -yConfirm the installed build with Flatpak metadata:
flatpak info io.github.arunsivaramanneo.GPUViewerRelevant output includes:
ID: io.github.arunsivaramanneo.GPUViewer
Ref: app/io.github.arunsivaramanneo.GPUViewer/x86_64/stable
Arch: x86_64
Branch: stable
Version: 3.32
Origin: flathub
Installation: system
Runtime: org.gnome.Platform/x86_64/50
The Flathub build declares display and GPU access permissions such as
x11,ipc, anddri. GPU-Viewer needs those permissions to inspect graphics data through the host display stack; they do not grant broad filesystem access.
Install the Ubuntu Repository Package on Ubuntu 26.04
Use this method only on Ubuntu 26.04 when you want a distro-managed package and do not need the current Flathub release. Ubuntu 24.04 and 22.04 users should use Flatpak or the scoped PPA method instead.
sudo apt updateapt-cache policy gpu-viewergpu-viewer:
Installed: (none)
Candidate: 3.26+ds-1
Version table:
3.26+ds-1 500
500 http://au.archive.ubuntu.com/ubuntu resolute/universe amd64 Packages
Install the Ubuntu package after the candidate appears from the resolute/universe component:
sudo apt install gpu-viewer -yInstall the Legacy GPU-Viewer PPA Package
The PPA does not publish an Ubuntu 26.04
resoluterepository, and the upstream project currently marks the PPA path as no longer supported. Use this method only on Ubuntu 24.04 or 22.04 when you need a native apt package and accept older builds.
Add the GPU-Viewer PPA
Install the PPA helper if it is missing, then add the GPU-Viewer PPA and refresh apt metadata.
sudo apt install software-properties-common -y
sudo add-apt-repository ppa:arunsivaraman/gpuviewer -y
sudo apt update
Check the package candidate before installing. On Ubuntu 24.04, the PPA currently exposes this amd64 package:
apt-cache policy gpu-viewergpu-viewer:
Installed: (none)
Candidate: 3.02N2-1
Version table:
3.02N2-1 500
500 https://ppa.launchpadcontent.net/arunsivaraman/gpuviewer/ubuntu noble/main amd64 Packages
Ubuntu 22.04 currently shows the older 2.30J1-1 package from the PPA’s jammy/main index. The PPA package depends on host graphics tools such as clinfo, vulkan-tools, mesa-utils, and vdpauinfo, plus GTK development packages, so the apt install can pull in more packages than the Flatpak path.
Install GPU-Viewer from the PPA
Install the native package after the PPA candidate appears from the expected Ubuntu release.
sudo apt install gpu-viewer -yLaunch GPU-Viewer on Ubuntu
Launch from the Terminal
Use the command that matches the installation method.
gpu-viewerFor the Flatpak build, launch the app with its Flatpak ID:
flatpak run io.github.arunsivaramanneo.GPUViewerLaunch from the Application Menu
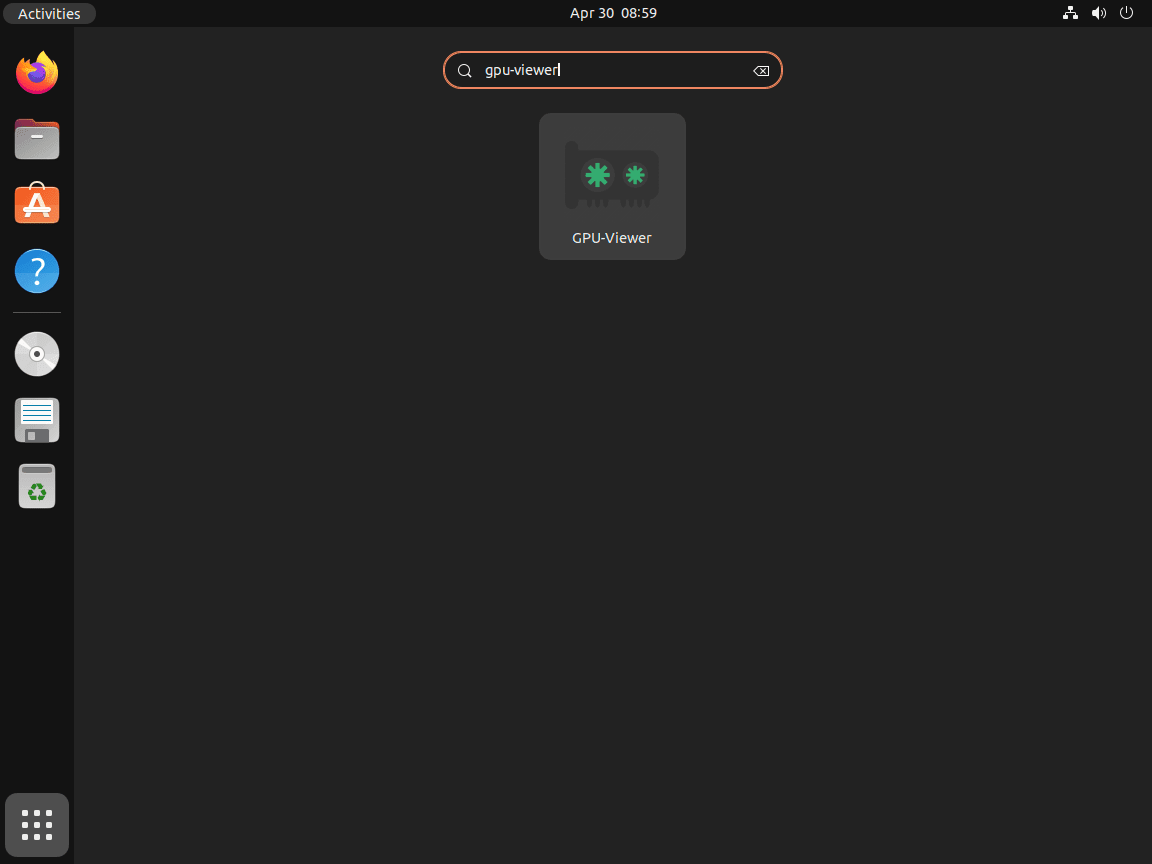
Open Activities, search for GPU-Viewer, and launch the desktop entry. The app needs a graphical session because it displays hardware details in a GTK interface.
Check GPU Information with GPU-Viewer
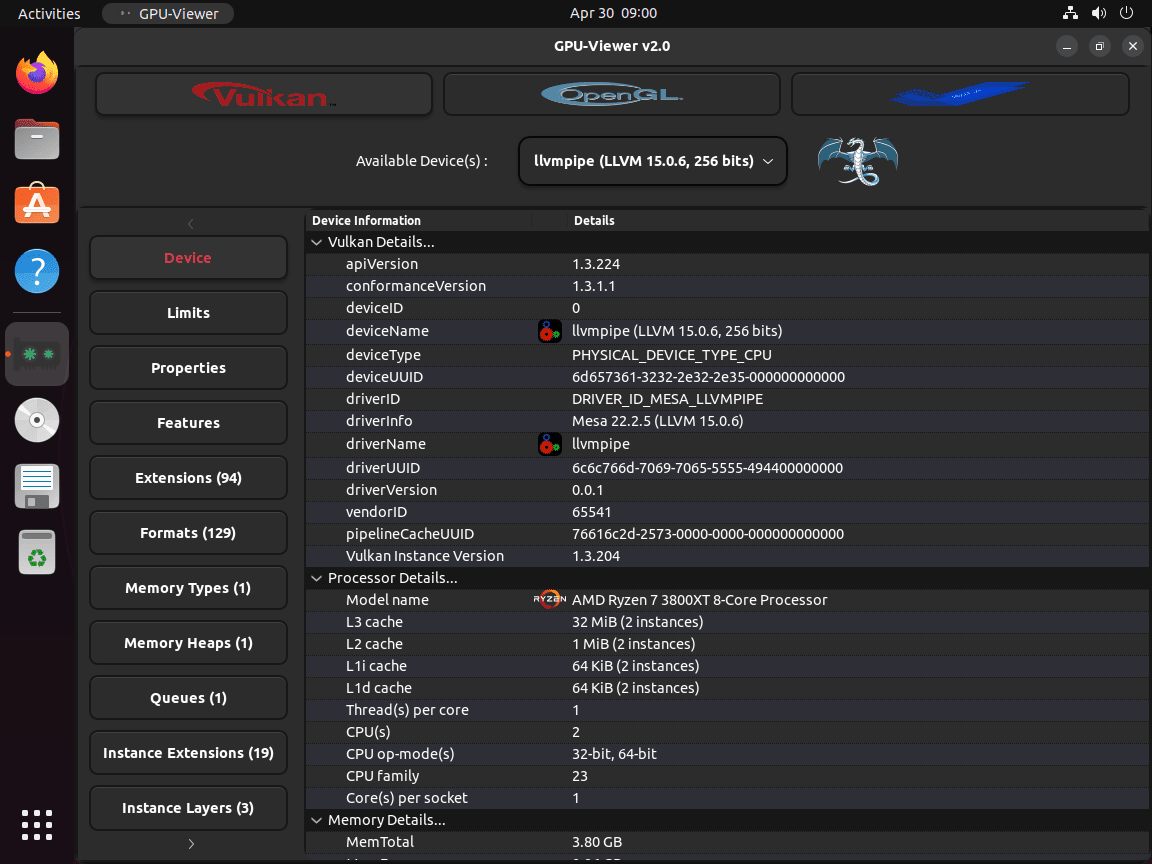
GPU-Viewer reads capability data from tools such as glxinfo, vulkaninfo, clinfo, and vdpauinfo. Use the OpenGL, Vulkan, OpenCL, and VDPAU tabs to inspect renderer names, driver versions, API support, memory heaps, queue families, and extension lists. If you were looking for a GPU-Z style Linux viewer, GPU-Viewer is the information-inspection tool; it is not a sensor dashboard, benchmark, or overclocking utility.
The Flatpak build bundles the diagnostic tools it needs inside the sandbox. If you want host-terminal reports that you can attach to a support request, install the Ubuntu diagnostic packages first:
sudo apt install mesa-utils vulkan-tools clinfo vdpauinfo -yThen save the reports you need:
glxinfo -B > gpu-opengl.txt
vulkaninfo --summary > gpu-vulkan.txt
clinfo > gpu-opencl.txt
vdpauinfo > gpu-vdpau.txt
These diagnostic packages come from Ubuntu’s
universecomponent. If apt cannot find them on a minimal or customized system, enable the component with the Ubuntu Universe and Multiverse guide, then rerun the install command.
Update or Remove GPU-Viewer
Update GPU-Viewer
Update GPU-Viewer with the same package manager that installed it.
Update the Flatpak Build
sudo flatpak update io.github.arunsivaramanneo.GPUViewer -yTo refresh every Flatpak app and runtime on the system, run:
sudo flatpak update -yUpdate the APT or PPA Package
sudo apt update
sudo apt install --only-upgrade gpu-viewer
Remove GPU-Viewer
Remove the package and any source you added for the method you used.
Remove the Flatpak Build
sudo flatpak remove io.github.arunsivaramanneo.GPUViewer -y
sudo flatpak uninstall --unused -y
Confirm the Flatpak app is gone:
sudo flatpak list --app --columns=application | grep -Fx io.github.arunsivaramanneo.GPUViewer || echo "NOT_INSTALLED"NOT_INSTALLED
The following command permanently deletes GPU-Viewer settings and cached data from your account’s Flatpak sandbox. Skip it if you want to keep local preferences.
rm -rf ~/.var/app/io.github.arunsivaramanneo.GPUViewerRemove the APT or PPA Package
Remove the native package first:
sudo apt remove gpu-viewerIf you added the PPA only for GPU-Viewer, remove it and refresh apt metadata:
sudo add-apt-repository --remove ppa:arunsivaraman/gpuviewer -y
sudo apt update
Confirm the package is no longer installed:
dpkg-query -W -f='${db:Status-Abbrev} ${binary:Package}\n' gpu-viewer 2>/dev/null | grep '^ii' || echo "gpu-viewer not installed"gpu-viewer not installed
Troubleshoot GPU-Viewer on Ubuntu
GPU-Viewer Opens but Tabs Are Empty
Empty tabs usually mean the underlying graphics stack cannot report data, not that GPU-Viewer can repair the driver. Check the host graphics tools from a graphical session:
glxinfo -BRelevant output from a working OpenGL stack includes:
display: :0  screen: 0
direct rendering: Yes
OpenGL renderer string: NVIDIA GeForce RTX 3060/PCIe/SSE2
OpenGL core profile version string: 4.6.0 NVIDIA 555.58.02
Check Vulkan and OpenCL separately when those tabs are blank:
vulkaninfo --summary
clinfo
If the commands fail because the tools are missing, install the diagnostic packages from Ubuntu’s repositories:
sudo apt install mesa-utils vulkan-tools clinfo vdpauinfo -yIf the tools run but report missing drivers, fix the driver stack first. NVIDIA systems can use the Ubuntu NVIDIA driver guide. AMD and Intel systems usually rely on Mesa, so the Ubuntu Mesa driver guide is the better handoff when the distro-provided Mesa stack is too old for your hardware or Vulkan workload.
The PPA Fails on Ubuntu 26.04
Ubuntu 26.04 currently gets a missing Release file when the PPA is added:
E: The repository 'https://ppa.launchpadcontent.net/arunsivaraman/gpuviewer/ubuntu resolute Release' does not have a Release file.
Remove the PPA source and use the Flatpak method or the Ubuntu 26.04 Universe package instead:
sudo add-apt-repository --remove ppa:arunsivaraman/gpuviewer -y
sudo apt update
Flatpak Cannot Find the Flathub Runtime
If Flatpak reports that a runtime such as org.gnome.Platform or org.freedesktop.Platform was not found, verify that the Flathub remote exists at system scope:
flatpak remotes --columns=name,optionsflathub system
If flathub is missing, add it again and retry the install:
sudo flatpak remote-add --if-not-exists flathub https://dl.flathub.org/repo/flathub.flatpakrepo
sudo flatpak install flathub io.github.arunsivaramanneo.GPUViewer -y
Conclusion
GPU-Viewer gives Ubuntu users a practical GUI for checking OpenGL, Vulkan, OpenCL, and VDPAU capability data without reading several raw terminal reports. Flatpak is the best current install path across Ubuntu 26.04, 24.04, and 22.04 because it tracks the active upstream release and includes the diagnostic tools inside the sandbox. Ubuntu 26.04 users also have a Universe package, while the PPA still answers package-specific searches for Ubuntu 24.04 and 22.04 but remains older, amd64-only in the package index, and unavailable for Ubuntu 26.04.

Formatting tips for your comment
You can use basic HTML to format your comment. Useful tags currently allowed in published comments:
<code>command</code>command<strong>bold</strong><em>italic</em><a href="https://example.com">link</a><blockquote>quote</blockquote>