A local media library feels much better when the player understands posters, watched status, remotes, live TV backends, and TV-style navigation instead of only opening one file at a time. Because Fedora does not ship Kodi in its default repositories, the practical ways to install Kodi on Fedora are RPM Fusion Free for a native DNF package or Flathub for the Flatpak build.
Kodi’s Linux download page points users to Flathub and the upstream Linux install guide rather than a standalone Fedora RPM from kodi.tv. Use RPM Fusion when you want a host-integrated package that updates with DNF, or use Flatpak when you prefer Flathub packaging and app/runtime updates that stay separate from Fedora packages.
Install Kodi on Fedora
Choose a Kodi Installation Method on Fedora
Pick one install path unless you intentionally need to compare package behavior. The native RPM and Flatpak can coexist, but keeping one avoids duplicate launchers and separate configuration directories.
| Method | Source | What You Get | Updates | Best Fit |
|---|---|---|---|---|
| RPM Fusion | RPM Fusion Free | Native RPM package with Fedora desktop integration and host libraries | Through normal DNF upgrades | Most Fedora Workstation installs and systems that use RPM Fusion for multimedia packages |
| Flatpak | Flathub | Flatpak app with its own runtime and broad media-device permissions | Through Flatpak app and runtime updates | Users who prefer Flathub packaging or want the same app ID across Linux distributions |
The RPM Fusion package is the better default on mutable Fedora Workstation installs because Kodi, its launcher, and its FirewallD service definitions stay in the RPM database. The Flatpak remains useful on systems where you already manage desktop apps through Flathub or want to avoid adding RPM Fusion.
Update Fedora Before Installing Kodi
Refresh Fedora packages before installing Kodi so DNF resolves the current dependency set:
sudo dnf upgrade --refreshCommands that change system packages use
sudo. If your account is not allowed to run sudo yet, add your user to the admin group with the guide to add a user to sudoers on Fedora.
Enable RPM Fusion Free for Kodi on Fedora
Kodi is packaged in RPM Fusion Free, so Fedora only needs the Free repository for this method. The Non-Free repository is useful for other packages, but it is not required for Kodi itself.
If RPM Fusion is already configured, skip to the package install step. Otherwise, install the RPM Fusion Free release package:
sudo dnf install https://mirrors.rpmfusion.org/free/fedora/rpmfusion-free-release-$(rpm -E %fedora).noarch.rpmThe $(rpm -E %fedora) expression expands to your Fedora release number, so the same command follows the active Fedora release on your system. The full RPM Fusion setup guide for Fedora covers Free, Non-Free, tainted repositories, and cleanup if you need broader RPM Fusion coverage later.
Confirm the Free repository and its Updates channel are enabled:
dnf repo list --enabled rpmfusion-free rpmfusion-free-updatesExpected output on Fedora 44:
repo id                repo name
rpmfusion-free         RPM Fusion for Fedora 44 - Free
rpmfusion-free-updates RPM Fusion for Fedora 44 - Free - Updates
Install Kodi with DNF on Fedora
Install the native Kodi package from RPM Fusion:
sudo dnf install kodiOn Fedora Workstation, DNF also pulls kodi-firewalld because FirewallD is installed. That companion package provides the ready-made FirewallD service definitions used later for remote access.
Verify the installed RPM package without freezing a version string into the article:
rpm -q --qf '%{NAME}\n' kodiExpected output:
kodi
Install Kodi with Flatpak on Fedora
Fedora Workstation includes Flatpak, but Flathub is still opt-in on a fresh install. Add Flathub at system scope if the remote is not already present:
sudo flatpak remote-add --if-not-exists flathub https://dl.flathub.org/repo/flathub.flatpakrepoVerify that Flathub is available at the same system scope used by the install command:
flatpak remotes --columns=name,options | grep -E '^flathub[[:space:]]'Expected output:
flathub system
Install the Kodi Flatpak from Flathub:
sudo flatpak install flathub tv.kodi.KodiVerify the application ID after installation:
flatpak list --system --app --columns=application | grep -Fx tv.kodi.KodiExpected output:
tv.kodi.Kodi
The Kodi Flatpak currently publishes stable x86_64 and aarch64 refs on Flathub. Its manifest grants broad media-player permissions such as network, audio, display sockets, all devices, removable-media paths, and common music, video, and picture directories, so treat Flatpak here as a packaging and update-scope choice rather than a strict isolation boundary.
Configure Kodi Remote Access on Fedora
Skip this section when Kodi only plays local media on the same Fedora desktop. Remote control ports are only needed for the Kodi web interface, JSON-RPC clients, or EventServer remote input from other devices on your network.
Kodi remote access has two sides: Kodi must allow the remote-control feature, and Fedora’s firewall must allow the matching traffic. In Kodi, open Settings, then Services, then Control. Enable HTTP remote control only when needed, keep authentication enabled, and set a username and password. The Kodi Services and Control settings page warns not to expose the web server or unauthenticated application-control interfaces to the internet.
| Kodi Feature | Default Port | Protocol | Use Case |
|---|---|---|---|
| Web interface | 8080 | TCP | Browser-based control through Kodi’s web server |
| JSON-RPC | 9090 | TCP | Third-party remote apps and automation clients |
| EventServer | 9777 | UDP | Remote input events from compatible clients |
Check Kodi FirewallD Service Files on Fedora
RPM Fusion’s kodi-firewalld package ships service files that map those ports to readable FirewallD service names. Confirm the package is installed:
rpm -q --qf '%{NAME}\n' kodi-firewalldExpected output:
kodi-firewalld
If the package is missing, install it from RPM Fusion Free:
sudo dnf install kodi-firewalldList the installed Kodi service definitions:
rpm -ql kodi-firewalld | grep '/firewalld/services/kodi-'Expected output:
/usr/lib/firewalld/services/kodi-eventserver.xml
/usr/lib/firewalld/services/kodi-http.xml
/usr/lib/firewalld/services/kodi-jsonrpc.xml
Open Kodi Services with FirewallD on Fedora
Check the default and active FirewallD zones before adding rules. Fedora Workstation normally attaches the active interface to the default zone, but customized systems can differ:
firewall-cmd --get-default-zone
firewall-cmd --get-active-zones
The examples set zone to the default zone. If the active interface uses a different zone, replace the assignment with that active zone name before adding, checking, or removing Kodi rules.
For web-interface access only, add the HTTP service to the selected FirewallD zone, then reload FirewallD:
zone=$(firewall-cmd --get-default-zone)
sudo firewall-cmd --zone="$zone" --add-service=kodi-http --permanent
sudo firewall-cmd --reload
Verify the service was added:
zone=$(firewall-cmd --get-default-zone)
firewall-cmd --zone="$zone" --query-service=kodi-http
Expected output:
yes
Use this instead of the HTTP-only command when you want the web interface, JSON-RPC over TCP, and EventServer input together:
zone=$(firewall-cmd --get-default-zone)
sudo firewall-cmd --zone="$zone" --add-service=kodi-http --add-service=kodi-jsonrpc --add-service=kodi-eventserver --permanent
sudo firewall-cmd --reload
Check each service:
zone=$(firewall-cmd --get-default-zone)
for service in kodi-http kodi-jsonrpc kodi-eventserver; do
  firewall-cmd --zone="$zone" --query-service="$service"
done
Expected output:
yes
yes
yes
These rules allow devices that can reach the selected FirewallD zone to contact Kodi’s control ports. Use them only on trusted private networks, and remove the rules again if you stop using remote control.
Open Manual Ports for Kodi Flatpak Installs
If you installed Kodi only through Flatpak and do not have RPM Fusion’s service files, open the required ports directly instead. Use the smallest set that matches the features you enabled in Kodi:
zone=$(firewall-cmd --get-default-zone)
sudo firewall-cmd --zone="$zone" --add-port=8080/tcp --permanent
sudo firewall-cmd --reload
For all three remote-control paths, add the HTTP, JSON-RPC, and EventServer ports:
zone=$(firewall-cmd --get-default-zone)
sudo firewall-cmd --zone="$zone" --add-port=8080/tcp --add-port=9090/tcp --add-port=9777/udp --permanent
sudo firewall-cmd --reload
Launch Kodi on Fedora
Launch the RPM Fusion Kodi Package
Start the native RPM package from a terminal with:
kodiLaunch the Kodi Flatpak
Start the Flatpak build with its application ID:
flatpak run tv.kodi.KodiLaunch Kodi from Fedora Activities
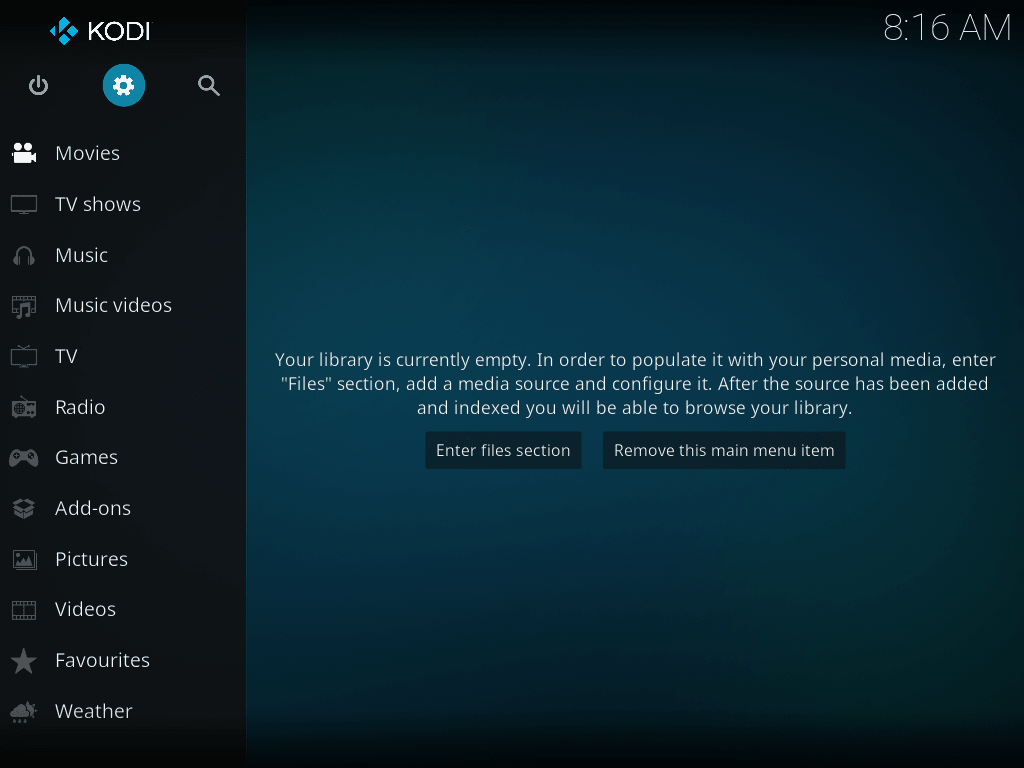
From GNOME, open Activities, search for Kodi, and select the Kodi icon. After the first launch, add media sources from Kodi’s file browser and configure add-ons from inside the application.
Troubleshoot Kodi on Fedora
Kodi Does Not Appear in Fedora Activities
If the terminal launch works but the desktop icon is missing, sign out and back in so GNOME reloads desktop application entries. For Flatpak installs, confirm the app can start from the terminal:
flatpak run tv.kodi.KodiKodi Opens with llvmpipe or Graphics Errors
OpenGL errors often mean Fedora is using a software renderer instead of your GPU. Install glx-utils if glxinfo is missing:
sudo dnf install glx-utilsCheck the active renderer:
glxinfo -B | grep -E 'Device|OpenGL renderer'If the renderer shows llvmpipe, refresh Fedora packages first. AMD and Intel systems normally receive Mesa fixes through Fedora updates, while NVIDIA systems may need the proprietary RPM Fusion driver stack from the guide to install NVIDIA drivers on Fedora.
sudo dnf upgrade --refreshKodi Has No Audio on Fedora
Kodi uses Fedora’s normal PipeWire audio stack. Check the user-level sockets and session manager:
systemctl --user is-enabled pipewire.socket pipewire-pulse.socket wireplumber.serviceExpected output on a normal Fedora Workstation session:
enabled
enabled
enabled
If one of those units is disabled, enable it for your user session:
systemctl --user enable --now pipewire.socket pipewire-pulse.socket wireplumber.serviceThen open Kodi Settings, go to System, then Audio, and select the correct output device.
Kodi Remote Access Still Fails on Fedora
Start with the Kodi setting that matches the feature you enabled. For the web interface, Settings, Services, Control must have HTTP remote control enabled, authentication configured, and the same port number you opened in FirewallD.
Check the FirewallD service rule when you used RPM Fusion’s service files:
zone=$(firewall-cmd --get-default-zone)
firewall-cmd --zone="$zone" --query-service=kodi-http
Expected output when the HTTP service is open:
yes
For a Flatpak-only setup that opened raw ports, query the port instead:
zone=$(firewall-cmd --get-default-zone)
firewall-cmd --zone="$zone" --query-port=8080/tcp
If FirewallD says yes but the browser still cannot connect, keep Kodi open and check whether the service is listening:
ss -ltnup | grep -E ':(8080|9090|9777)'No matching listener usually means the matching Kodi control feature is still disabled, Kodi is not running, or you changed the default port inside Kodi without updating FirewallD.
Update or Remove Kodi on Fedora
Update Kodi on Fedora
The RPM Fusion package updates with normal Fedora package upgrades:
sudo dnf upgrade --refreshThe Flatpak build updates through Flatpak instead:
sudo flatpak update tv.kodi.KodiRemove Kodi RPM Packages from Fedora
If you opened Kodi FirewallD services, remove those rules before removing kodi-firewalld. Use the same zone that you used when opening the services. Keeping the service files available during rollback lets FirewallD resolve the service names cleanly:
zone=$(firewall-cmd --get-default-zone)
for service in kodi-http kodi-jsonrpc kodi-eventserver; do
  if firewall-cmd --quiet --zone="$zone" --query-service="$service"; then
    sudo firewall-cmd --zone="$zone" --remove-service="$service" --permanent
  fi
done
sudo firewall-cmd --reload
Remove the native Kodi packages:
sudo dnf remove kodi kodi-firewalldVerify that the main Kodi package is gone:
rpm -q kodiExpected output:
package kodi is not installed
Remove RPM Fusion Free from Fedora
Leave RPM Fusion enabled if FFmpeg, NVIDIA drivers, codecs, or other multimedia packages still use it. If you added RPM Fusion Free only for Kodi and no longer need that package source, remove the Free release package:
sudo dnf remove rpmfusion-free-releaseVerify the repository release package is gone:
rpm -q rpmfusion-free-releaseExpected output:
package rpmfusion-free-release is not installed
Check for leftover RPM Fusion Free repository files. No output means the package-owned repo files are gone:
find /etc/yum.repos.d -maxdepth 1 -name 'rpmfusion-free*.repo' -printThis stops DNF from using RPM Fusion Free. Imported RPM signing-key cleanup is a separate full-trust cleanup task, and you should only do it when no remaining RPM Fusion packages or repositories depend on that key.
Remove Kodi Flatpak from Fedora
Remove the system-scope Kodi Flatpak:
sudo flatpak uninstall tv.kodi.KodiVerify that the application ID no longer appears in the system Flatpak app list:
flatpak list --system --app --columns=application | grep -Fx tv.kodi.Kodi || echo "NOT_INSTALLED"Expected output:
NOT_INSTALLED
After removing the app, you can review unused Flatpak runtimes and extensions interactively:
sudo flatpak uninstall --unusedIf you opened raw FirewallD ports for a Flatpak-only install, remove them only when no other service relies on the same ports. Use the same zone that you used when opening the ports:
zone=$(firewall-cmd --get-default-zone)
for port in 8080/tcp 9090/tcp 9777/udp; do
  if firewall-cmd --quiet --zone="$zone" --query-port="$port"; then
    sudo firewall-cmd --zone="$zone" --remove-port="$port" --permanent
  fi
done
sudo firewall-cmd --reload
Remove Kodi User Data from Fedora
Deleting Kodi user data permanently removes library databases, add-ons, watched status, remote-control settings, skins, and custom configuration. Back up anything you want to keep before running these commands.
Native RPM installations store user data in ~/.kodi/. Check for the directory first:
test -d ~/.kodi && echo "~/.kodi exists"No output means that native profile path is already absent for this user. Remove it only when you are ready to delete it:
rm -rf -- ~/.kodiFlatpak installations store sandboxed user data under ~/.var/app/tv.kodi.Kodi/. Check that exact path first:
test -d ~/.var/app/tv.kodi.Kodi && echo "~/.var/app/tv.kodi.Kodi exists"No output means that Flatpak profile path is already absent for this user. Remove it only when you are ready to delete it:
rm -rf -- ~/.var/app/tv.kodi.KodiConclusion
Kodi is ready on Fedora through either RPM Fusion’s native package or the Flathub build, with update and cleanup paths matched to the method you chose. For better codec coverage, use the companion guide to install FFmpeg on Fedora; for server-style media streaming, the guide to install Plex Media Server on Fedora is the stronger next step.

Hi Joshua
This is the best way to install kodi on fedora; it worked now on fedora41
Thank you very much :-))))
Have a good day
Kind regards
Brian