

Navigating the digital landscape requires tools that enhance productivity and organization, and Joplin stands out as a prime candidate for this purpose. In this guide, we will meticulously walk you through the process to install Joplin on Linux Mint 21 or Linux Mint 20, ensuring you have access to one of the most versatile open-source note-taking applications available today.
Key Advantages of Joplin:
- Open-Source Freedom: Joplin’s development is fueled by a vibrant community, ensuring constant innovation and a price tag of zero dollars.
- Cross-Platform Synchronization: Your notes and to-dos seamlessly sync across various devices, providing consistent access regardless of your platform.
- End-to-End Encryption: Joplin places a premium on security, encrypting your notes to protect them from unauthorized access.
- Markdown Compatibility: Enjoy the simplicity of markdown for crafting your notes, with the added benefit of rich text transformation for enhanced formatting.
- Web Clipper Functionality: Effortlessly save web content directly to Joplin, turning your browser into a powerful note-taking tool.
Maximizing Joplin’s Potential:
- Streamlined Idea Management: Capture everything from quick thoughts to comprehensive plans, organizing them within notebooks for easy access.
- Efficient Task Tracking: Beyond notes, Joplin is a task manager, complete with reminders and progress tracking.
- Secure Data Storage: Confidently store sensitive information in encrypted notes, ensuring your private data stays private.
With a comprehensive understanding of Joplin’s capabilities and practical applications, you are now poised to leverage this tool to its fullest extent. The subsequent sections of this guide will provide detailed instructions to ensure a smooth installation process of Joplin on your Linux Mint system, setting the stage for a more organized and productive digital environment.
Install Joplin on Linux Mint 21 or 20 via APT
Step 1: Update Linux Mint Before Joplin Installation
Ensuring your Linux Mint system is current before proceeding with the Joplin installation. This step helps prevent potential software conflicts and compatibility issues. Execute the following commands to update your system:
sudo apt update && sudo apt upgradesudo apt update: This command refreshes your package lists, ensuring you have the latest information about available packages and their versions.sudo apt upgrade: Following the update, this command upgrades the installed packages to their latest versions.
Step 2: Download and Execute Joplin’s Installation Script
Joplin is not available in the default Linux Mint repositories. However, the developers provide a convenient bash script for easy installation. This script is hosted on GitHub and can be executed directly in your terminal.
Run the following command to download and execute the installation script:
wget -O - https://raw.githubusercontent.com/laurent22/joplin/dev/Joplin_install_and_update.sh | bashUnderstanding the Command:
wget: A command-line utility for downloading files from the web.-O -: This option tellswgetto write the downloaded data to standard output.https://raw.githubusercontent.com/laurent22/joplin/dev/Joplin_install_and_update.sh: The URL to Joplin’s installation script.
|: The pipe operator, used here to send the output from thewgetcommand directly tobash.bash: The command that reads and executes the installation script.
Following these steps, you will successfully install Joplin on your Linux Mint system, ensuring a smooth and efficient note-taking experience.
Install Joplin on Linux Mint 21 or 20 via Flatpak and Flathub
Step 1: Enable Flathub for Joplin Installation
To begin the installation of Joplin via Flatpak, it is essential to add the Flathub repository to your system. Flathub, recognized as the default app store for Flatpak, offers a comprehensive collection of Flatpak applications.
Run the following command to add Flathub to your Flatpak configuration:
sudo flatpak remote-add --if-not-exists flathub https://flathub.org/repo/flathub.flatpakreposudo flatpak remote-add --if-not-exists flathub: This command checks if the ‘flathub’ repository is already present in your Flatpak configuration. If it is not, the command adds it.https://flathub.org/repo/flathub.flatpakrepo: This is the URL to the Flathub repository.
By executing this command, you ensure that your system has access to the extensive range of applications available on Flathub, including Joplin.
Step 2: Install Joplin on Linux Mint via Flatpak Command
With the Flathub repository now integrated into your system, you can install Joplin on Linux Mint with Flatpak. Utilize the following command for the installation:
flatpak install flathub net.cozic.joplin_desktop -yflatpak install flathub net.cozic.joplin_desktop: This command instructs Flatpak to install Joplin from the Flathub repository.-y: This flag automatically confirms any prompts during the installation process, ensuring a smooth and uninterrupted installation.
After following these steps, you will successfully install Joplin on your Linux Mint system using Flatpak and Flathub, providing a secure and isolated environment to manage your notes and tasks.
Initiating Joplin on Linux Mint 21 or 20
CLI Commands to Launch Joplin
Launching Joplin from the terminal requires different commands depending on the installation method you choose. Below are the commands tailored to each method:
APT Launch Method
For installations done via APT, run the following command:
joplinThis command directly calls the Joplin application, making it active and ready for use.
Flatpak Launch Method
For those who installed Joplin using Flatpak, the command differs:
flatpak run net.cozic.joplin_desktopflatpak run: This command tells Flatpak to execute a specific application.net.cozic.joplin_desktop: This is the unique identifier for Joplin within the Flatpak environment.
This command will initiate Joplin, providing access to its extensive note-taking and organization features.
GUI Launch Method
For users who prefer a graphical approach, launching Joplin is just as simple:
- Navigate to the ‘Taskbar’, usually found at the bottom left corner of your Linux Mint dock.
- Enter ‘Joplin’ in the search bar. As you type, the Joplin application icon will appear.
- Select the Joplin icon to start the application.
This method provides a straightforward way to access Joplin without interacting with the terminal, catering to users who favor a more visual approach.
First-Time Tips with Joplin on Linux Mint 21 or 20
As you initiate your journey with Joplin on Linux Mint, these tips will ensure a smooth start and help you leverage the full potential of this powerful note-taking application. The focus here is specifically on Linux-based installations, considering the nuances of this operating system.
Setting Up Synchronization
The synchronization feature is a pivotal part of Joplin, allowing you to access your notes across different devices. To set up synchronization, navigate to the Joplin > Tools > Options > Synchronization menu, select your preferred sync target, and provide the necessary credentials.
For example, if you wish to sync with Dropbox, select it from the synchronization targets list and follow the prompts to authenticate your Dropbox account.
Customizing Appearance
Customizing Joplin’s appearance to match your aesthetic preferences can make the note-taking process even more enjoyable. Navigate to Joplin > Tools > Options > Appearance to tweak the application’s theme, layout, and editor fonts.
You can customize the user interface’s language from this menu, making Joplin’s interface more comfortable and intuitive.
Leveraging Markdown
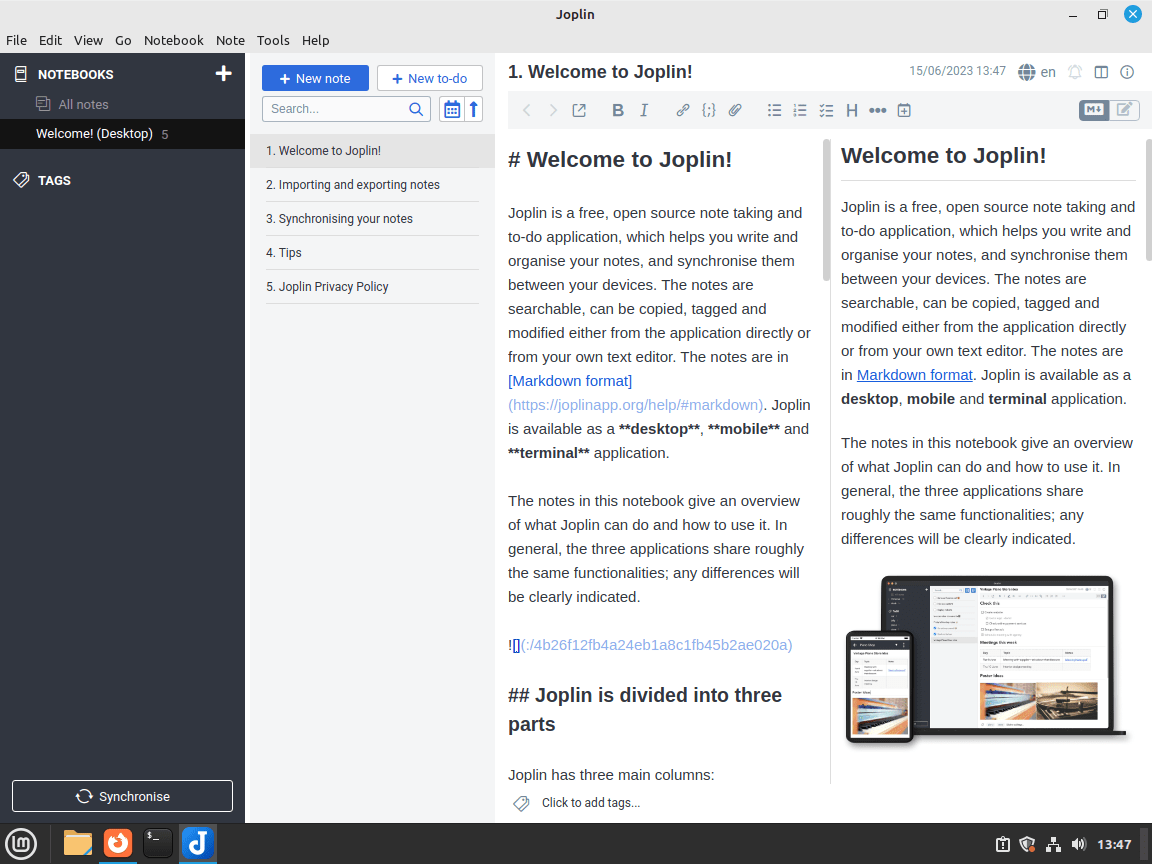
Joplin supports Markdown, a lightweight markup language that you can use to format text. This feature allows you to create structured, organized notes with headers, lists, tables, and more. To toggle the Markdown editor, click the Markdown layout button in the top-right corner of the application.
Here are a few basic Markdown commands:
Headers:
# This is a Heading 1
## This is a Heading 2
### This is a Heading 3
Bold and italic text:
**This is bold text**
*This is italic text*Lists:
- This is a bullet point
1. This is a numbered item
Creating To-Do Lists
Joplin is not just for taking notes. You can also create to-do lists, making it an excellent tool for project management and task tracking. Click on the +’> To-Do button in the application’s menu to create a new to-do list item.
You can then add a reminder to the task, assign it a due date, or even tag it for easy reference.
Shortcut Keys
Leveraging shortcut keys can expedite your note-taking process in Joplin. Navigate to Joplin > Tools > Options > Keyboard Shortcuts to view and customize your shortcut keys.
For instance, you can create a new note by simply pressing Ctrl + N or switch to the following note with Ctrl + Tab.
These tips help you navigate your initial interaction with Joplin on Linux Mint. As you explore and experiment with the application, you will likely discover additional customizations and tricks to enhance your note-taking experience.
Additional Commands with Joplin on Linux Mint 21 or 20
Update Joplin on Linux Mint
Regular updates are crucial for maintaining the security and performance of any application, including Joplin. The update process will vary depending on whether you installed Joplin via APT or Flatpak.
APT Command Update Method
For installations done through APT, Joplin is typically installed manually using a bash script. To ensure Joplin stays up-to-date, set up a cron job to download and execute this script periodically.
Edit your crontab file with the following:
crontab -eTo update Joplin at every system startup, add the following line to your crontab:
@reboot /path/to/your/joplin_update_script.shEnsure you replace “/path/to/your/joplin_update_script.sh” with the path to your Joplin update script.
Flatpak Command Update Method
For Flatpak installations, updating all installed applications, including Joplin, is straightforward:
flatpak updateTo update Joplin specifically, use:
flatpak update net.cozic.joplin_desktopRemove Joplin From Linux Mint
There might be instances where you need to uninstall Joplin from your system. Below are the steps for both APT and Flatpak installations.
APT Command Remove Method
To remove Joplin installed via APT, delete the Joplin directory with:
rm -rf ~/.joplinThis command removes the Joplin directory and all its contents.
Flatpak Command Remove Method
For Joplin installations via Flatpak, use:
flatpak uninstall net.cozic.joplin_desktopThis command will remove Joplin from your system.
Closing Thoughts
Throughout this guide, we’ve provided detailed instructions and insights into installing and managing the Joplin application on Linux Mint. From the initial installation to launching the application and keeping it up-to-date, we have aimed to provide a comprehensive guide that empowers you, regardless of your technical expertise, to get the most out of Joplin. We’ve also discussed how to uninstall the application if needed. As with all software, it’s crucial to keep Joplin updated and manage it properly to ensure the highest level of security and performance.