
PhotoQt fits Linux Mint users who have outgrown the stock image viewer but do not need a full photo-management suite. Install PhotoQt on Linux Mint when you want faster folder-to-folder browsing with RAW files, videos, Motion Photos, Live Photos, and 360-degree panoramas.
Linux Mint 22.x and 21.x can use the default repository, the developer PPA, or Flathub. The main trade-off is version gap: Mint 22 installs PhotoQt 4.4 from the default package, Mint 21 stays on 2.5, and the newer PPA or Flatpak builds close that gap while the application itself still needs a graphical session to open images.
Install PhotoQt on Linux Mint
Each installation path trades off version freshness, package ownership, and desktop integration a little differently. The right method depends on whether you want the default APT package, a newer APT build from the PhotoQt PPA, or the same upstream release on both supported Mint bases.
| Method | Channel | Version | Updates | Best For |
|---|---|---|---|---|
| APT (Default Repository) | Linux Mint / Ubuntu repositories | Default APT package | APT-managed updates from default sources | Users who want the lowest-maintenance package |
| APT (PhotoQt PPA) | Launchpad PPA | Newer APT build | APT-managed updates from the PPA | Users who want a newer release without leaving APT |
| Flatpak | Flathub | Latest stable | Flatpak updates with sudo flatpak update | Users who want the same upstream release on Mint 22.x and 21.x |
On Mint 22.x, the default package installs 4.4+ds-1. Mint 21.x installs 2.5-4. The PhotoQt PPA raises that to 5.3.0.1-1 on Mint 22.x and 4.6-1 on Mint 21.x, while Flathub currently ships 5.3 on both releases.
Update Linux Mint Before Installing PhotoQt
Refresh APT once before adding packages so you are working from current repository metadata.
sudo apt updateThese commands use
sudofor package-management tasks that need root privileges. If your account does not have sudo access yet, create and add users to sudoers on Linux Mint before continuing.
Install PhotoQt from the Default Repository on Linux Mint
The default APT package is the simplest option and already current enough for many desktops, especially on Mint 22.x.
sudo apt install -y photoqtThe -y flag accepts APT’s confirmation prompt automatically. Once the install finishes, confirm the package state with APT instead of trying to launch the GUI from a headless shell.
apt-cache policy photoqtphotoqt:
Installed: 4.4+ds-1
Candidate: 4.4+ds-1
Version table:
*** 4.4+ds-1 500
500 http://archive.ubuntu.com/ubuntu noble/universe amd64 Packages
100 /var/lib/dpkg/status
Mint 21.x installs 2.5-4 instead. Either way, apt-cache policy is the safer verifier for remote shells because photoqt --version still tries to initialize the Qt display stack.
Install PhotoQt from the PhotoQt PPA on Linux Mint
The developer PPA is the better APT path when you want a newer PhotoQt build on Mint 22.x or 21.x. Linux Mint can use this PPA without a manual Ubuntu codename table because add-apt-repository handles the correct Ubuntu base automatically.
sudo add-apt-repository ppa:lumas/photoqt -y
sudo apt update
sudo apt install -y photoqt
add-apt-repository adds the Launchpad source and imports its signing key for you. The final install command upgrades an older repository build automatically if PhotoQt is already present.
apt-cache policy photoqtphotoqt:
Installed: 5.3.0.1-1
Candidate: 5.3.0.1-1
Version table:
*** 5.3.0.1-1 500
500 https://ppa.launchpadcontent.net/lumas/photoqt/ubuntu noble/main amd64 Packages
100 /var/lib/dpkg/status
4.4+ds-1 500
500 http://archive.ubuntu.com/ubuntu noble/universe amd64 Packages
Mint 21.x installs 4.6-1 from the same PPA. On either release, the Launchpad source line confirms the PPA package won the version comparison.
Install PhotoQt from Flathub on Linux Mint
Linux Mint already ships Flatpak with a system-scope Flathub remote, so this method is ready without extra setup.
flatpak remotesflathub system
That system scope is why the terminal workflow uses sudo. A bare flatpak install flathub org.photoqt.PhotoQt can fail with Flatpak system operation Deploy not allowed for user even though Flathub is already configured.
sudo flatpak install -y flathub org.photoqt.PhotoQtThe -y flag accepts Flatpak’s confirmation prompt automatically. Use flatpak info for verification because it works cleanly in headless shells. The Flathub build currently uses the KDE runtime and host filesystem access so PhotoQt can browse normal image folders; choose the APT or PPA package instead if you prefer a non-Flatpak desktop package.
flatpak info org.photoqt.PhotoQt ID: org.photoqt.PhotoQt
Ref: app/org.photoqt.PhotoQt/x86_64/stable
Arch: x86_64
Branch: stable
Version: 5.3
Origin: flathub
Installation: system
If you already manage several Flatpak apps on Mint, use upgrade Flatpak on Linux Mint for broader maintenance, runtime cleanup, and update checks.
Launch PhotoQt on Linux Mint
PhotoQt launches from the terminal or the Linux Mint menu, but it still needs a running graphical session. In plain SSH shells, it fails with Qt display and xcb plugin errors instead of opening a viewer window.
Launch PhotoQt from the Terminal on Linux Mint
APT and PPA installs use the regular desktop launcher name.
photoqtFlatpak installs use the application ID through flatpak run.
flatpak run org.photoqt.PhotoQtIf you only need remote verification, stay with apt-cache policy photoqt or flatpak info org.photoqt.PhotoQt instead of trying to launch the GUI over SSH.
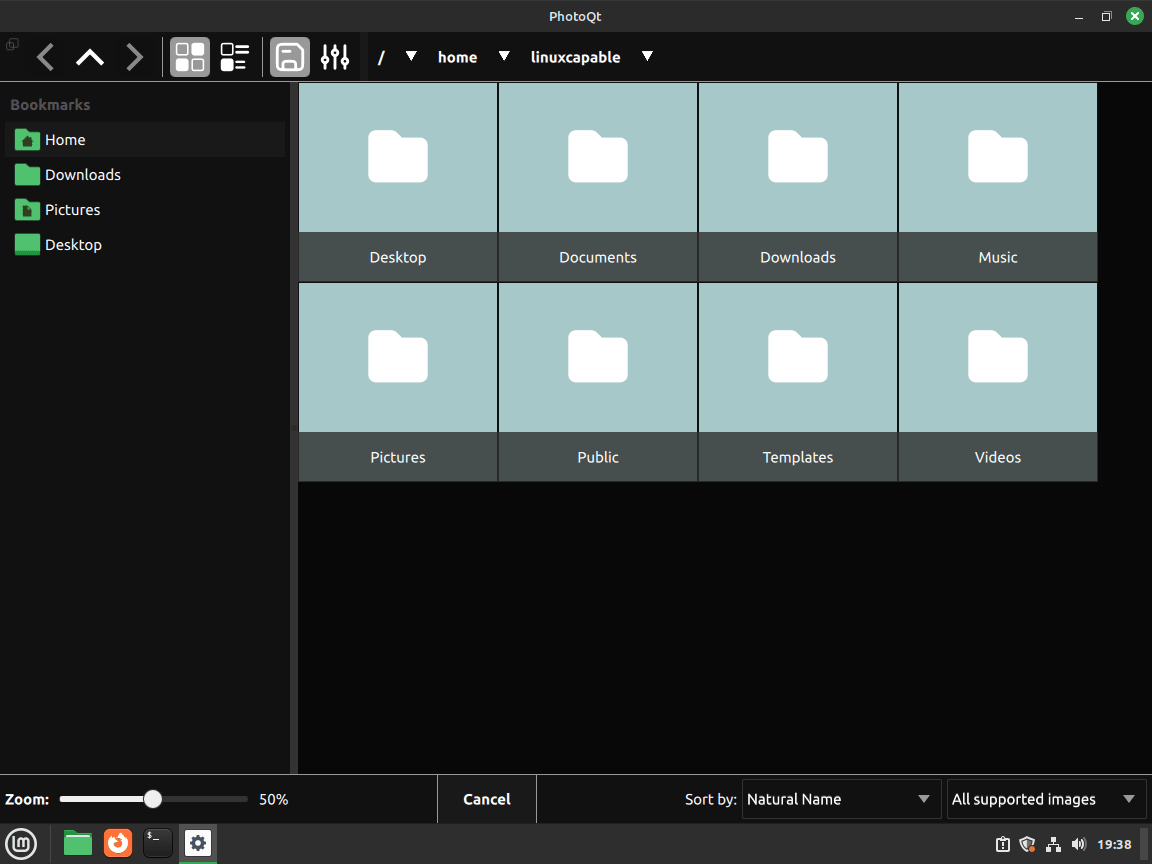
Open PhotoQt from the Linux Mint Menu
On a regular desktop session, open the menu, search for PhotoQt, and launch it from the result list.
Set PhotoQt as the Default Image Viewer
Installing PhotoQt does not automatically replace Linux Mint’s current image viewer for every image type. To make common image files open in PhotoQt for your user account, set the MIME associations to the same desktop file used by the APT, PPA, and Flatpak builds.
xdg-mime default org.photoqt.PhotoQt.desktop image/jpeg image/png image/webp image/gif image/bmp image/tiffCheck one association afterward. The command should return PhotoQt’s desktop file.
xdg-mime query default image/jpegorg.photoqt.PhotoQt.desktop
This change is per-user and does not remove Linux Mint’s original image viewer. If you only want PhotoQt for one file type, keep just that MIME type in the command or use the file manager’s open-with menu for that format.
Update or Remove PhotoQt on Linux Mint
Keep the update and removal path matched to the installation method you chose. That avoids mixed package states and makes it easier to verify what is still installed.
Update PhotoQt APT Installations on Linux Mint
APT users can refresh metadata and upgrade just PhotoQt without running a full distribution upgrade.
sudo apt update
sudo apt install --only-upgrade -y photoqt
If the PhotoQt PPA is still enabled, the same command pulls the newer PPA build instead of the repository package.
Update PhotoQt Flatpak Installations on Linux Mint
Linux Mint’s system-scope Flatpak install should stay on the same system scope for updates.
sudo flatpak update -y org.photoqt.PhotoQtUse sudo flatpak update -y instead if you prefer to refresh every installed Flatpak app and runtime in one pass.
Remove PhotoQt APT Installations on Linux Mint
Remove the package first, then decide whether you also need to remove the optional PPA source. APT may suggest autoremovable dependencies afterward; review that list separately on a reused desktop.
sudo apt remove -y photoqtAPT should now report the package as uninstalled. If you used only the default repository, the candidate remains the stock Mint package.
apt-cache policy photoqtphotoqt:
Installed: (none)
Candidate: 4.4+ds-1
Version table:
4.4+ds-1 500
500 http://archive.ubuntu.com/ubuntu noble/universe amd64 Packages
Mint 21.x shows the same layout with Candidate: 2.5-4. The important part is the Installed: (none) line.
Remove the PhotoQt PPA on Linux Mint
Skip this step if you never added the PhotoQt PPA. Default-repository users only need the package-removal command above.
sudo add-apt-repository --remove ppa:lumas/photoqt -y
sudo apt update
Run the same policy check again to confirm the Launchpad candidate is gone and APT has fallen back to the stock Mint package metadata.
apt-cache policy photoqtphotoqt:
Installed: (none)
Candidate: 4.4+ds-1
Version table:
4.4+ds-1 500
500 http://archive.ubuntu.com/ubuntu noble/universe amd64 Packages
On Mint 21.x, the candidate drops back to 2.5-4 after the PPA is removed and APT refreshes its package lists.
Remove PhotoQt Flatpak Installations on Linux Mint
Remove the system-scope Flatpak app first, then check for leftover per-user data separately.
sudo flatpak uninstall -y org.photoqt.PhotoQtValidate the result with the installed-app list instead of flatpak info, which can be noisy after removal in remote sessions.
flatpak list --app --columns=application | grep -Fx org.photoqt.PhotoQt || echo "NOT_INSTALLED"NOT_INSTALLED
Find Leftover PhotoQt User Data on Linux Mint
APT installs can still leave user preferences under your home directory if you have launched PhotoQt before. Flatpak can also leave per-user data under ~/.var/app/. Search first, then delete only the paths that actually exist on your account.
Deleting these directories permanently removes saved shortcuts, interface preferences, and other local PhotoQt settings for your user account.
find ~/.config -maxdepth 1 -type d -iname '*photoqt*' 2>/dev/null
find ~/.cache -maxdepth 1 -type d -iname '*photoqt*' 2>/dev/null
find "$HOME/.var/app" -maxdepth 1 -type d -name 'org.photoqt.PhotoQt' 2>/dev/null
If those searches print directories you no longer want, remove only the paths shown in your own output.
Troubleshoot PhotoQt on Linux Mint
Start troubleshooting with a check that identifies the failed layer, then apply the matching fix and retest with the same package source or launch path.
APT Still Selects the Default Repository Build
If the PPA method still installs 4.4+ds-1 on Mint 22.x or 2.5-4 on Mint 21.x, APT is still selecting the default repository package. Check the package policy first.
apt-cache policy photoqtRelevant lines from a default-only result on Mint 22.x look like this. The important problem is that no ppa.launchpadcontent.net line appears.
  Candidate: 4.4+ds-1
        500 http://archive.ubuntu.com/ubuntu noble/universe amd64 Packages
Add or re-add the PPA, refresh metadata, and install PhotoQt again.
sudo add-apt-repository ppa:lumas/photoqt -y
sudo apt update
sudo apt install -y photoqt
Retest the package policy after the install finishes.
apt-cache policy photoqtOn Mint 22.x, success shows Candidate: 5.3.0.1-1 and a Launchpad source line. On Mint 21.x, the PPA candidate is 4.6-1.
PhotoQt Does Not Open from SSH
If PhotoQt prints Qt display or xcb plugin errors from SSH, the package may be installed correctly but the shell has no desktop display. Check the display variable first.
echo "${DISPLAY:-NO_DISPLAY}"NO_DISPLAY
If the output is NO_DISPLAY, verify the install without starting the GUI. Use the APT check for default or PPA installs.
apt-cache policy photoqtUse the Flatpak check for Flathub installs.
flatpak info org.photoqt.PhotoQtOpen PhotoQt from the Linux Mint menu or from a terminal inside the logged-in desktop session. For APT or PPA installs, retest with the normal launcher command.
photoqtFor Flatpak installs, retest with the Flatpak application ID.
flatpak run org.photoqt.PhotoQtFlatpak Install Needs Administrator Approval
Linux Mint’s default Flathub remote is system-scoped on normal desktop installs. If a non-sudo Flatpak install reports Flatpak system operation Deploy not allowed for user, confirm the remote scope.
flatpak remotesflathub system
For a system remote, rerun the install with administrator privileges or use the Software Manager from the desktop session so PolicyKit can request authorization.
sudo flatpak install -y flathub org.photoqt.PhotoQtRetest with flatpak info. The installed app should report Installation: system.
flatpak info org.photoqt.PhotoQtImages Still Open in the Old Viewer
If image files still open in Linux Mint’s original viewer after you set PhotoQt as the default, query the MIME association for one affected file type.
xdg-mime query default image/jpegIf the command returns another desktop file, set the common image associations again.
xdg-mime default org.photoqt.PhotoQt.desktop image/jpeg image/png image/webp image/gif image/bmp image/tiffRetest the same MIME type. The query should return PhotoQt’s desktop file.
xdg-mime query default image/jpegorg.photoqt.PhotoQt.desktop
Conclusion
PhotoQt is ready on Linux Mint with a package source that matches how much change you want to track. Keep the default package when the distro build is enough, or move to the PPA or Flathub when you want a newer release. If you also need cataloging and metadata tools, install digiKam on Linux Mint next.

Formatting tips for your comment
You can use basic HTML to format your comment. Useful tags currently allowed in published comments:
<code>command</code>command<strong>bold</strong><em>italic</em><blockquote>quote</blockquote>