
If you need to disable the firewall on Ubuntu, UFW is usually the command you are looking for. You can confirm whether the firewall is active, turn it off for troubleshooting, and enable it again with a few terminal commands. The important part is knowing what each command changes so you do not leave a desktop or server exposed by accident.
Ubuntu 26.04 (Resolute), Ubuntu 24.04 (Noble), and Ubuntu 22.04 (Jammy) use the same basic UFW controls for checking firewall status, disabling the firewall, enabling it safely, reviewing active rules, installing the optional GUFW desktop interface, and fixing common startup or SSH-access problems. For custom allow and deny rules, application profiles beyond SSH, rate limits, or rule deletion workflows, use the advanced UFW firewall configuration guide for Ubuntu.
Check Ubuntu Firewall Status
Check firewall status on Ubuntu with sudo ufw status. If the command returns Status: inactive, UFW is installed but not enforcing firewall rules.
sudo ufw statusExample output on a fresh Ubuntu installation:
Status: inactive
Ubuntu ships the ufw package in the default installation on standard desktop and server images, but the firewall is usually inactive until you enable it. This status check is safe to run before making any change.
Disable UFW Firewall on Ubuntu
To disable, stop, or turn off the firewall on Ubuntu, run sudo ufw disable. This turns off UFW enforcement immediately and prevents it from starting automatically at boot, but it keeps your saved rules for later use.
sudo ufw disableExpected output:
Firewall stopped and disabled on system startup
Use this command when you need to isolate whether UFW rules are blocking an application, port, or remote connection. After troubleshooting, check the rules you want to keep and re-enable the firewall rather than leaving the system open indefinitely.
sudo ufw statusStatus: inactive
Disabling UFW does not delete rules under
/etc/ufw/. When you enable UFW again, the saved rules apply again.
Enable UFW Firewall on Ubuntu
If you are connected through SSH on Ubuntu, allow SSH before enabling UFW. Otherwise, the default incoming-deny policy can block your active session.
Allow SSH Before Enabling UFW
On systems that use the default OpenSSH service on port 22, allow the packaged OpenSSH UFW application profile before turning on the firewall.
sudo ufw allow OpenSSHExpected output:
Rules updated
Rules updated (v6)
The OpenSSH profile maps to 22/tcp. If your SSH daemon listens on a custom port, allow that TCP port instead, then confirm the rule before enabling UFW. Replace 2222 with the active SSH port before running this example.
sudo ufw allow proto tcp to any port 2222Turn On UFW
Turn the Ubuntu firewall back on with sudo ufw --force enable. The --force flag uses UFW’s non-interactive enable path, so only run it after allowing any remote-management ports you still need.
sudo ufw --force enableExpected output:
Firewall is active and enabled on system startup
UFW now enforces its rules and loads automatically at boot. By default, UFW denies incoming connections and allows outgoing connections.
Verify Active Firewall Rules
Confirm that UFW is active and review the rules that will affect incoming traffic.
sudo ufw statusExample output with SSH allowed:
Status: active

To                         Action      From
--                         ------      ----
OpenSSH                    ALLOW       Anywhere
OpenSSH (v6)               ALLOW       Anywhere (v6)
If you allowed a custom SSH port instead of the OpenSSH profile, the output lists that port and protocol rather than OpenSSH.
View UFW Rules and Status Details
The plain status command is enough for a quick active or inactive check. Use the verbose view when you need default policies, logging state, and rule direction in the same output.
sudo ufw status verboseExample output:
Status: active
Logging: on (low)
Default: deny (incoming), allow (outgoing), disabled (routed)
New profiles: skip

To                         Action      From
--                         ------      ----
22/tcp (OpenSSH)           ALLOW IN    Anywhere
22/tcp (OpenSSH (v6))      ALLOW IN    Anywhere (v6)
The ALLOW IN direction confirms that the rule affects incoming connections. The default policy line confirms that UFW blocks unsolicited inbound traffic while allowing outbound traffic.
View Numbered UFW Rules
Numbered output is useful before any rule cleanup because UFW rule numbers shift after deletions.
sudo ufw status numberedExample output:
Status: active

     To                         Action      From
     --                         ------      ----
[ 1] OpenSSH                    ALLOW IN    Anywhere
[ 2] OpenSSH (v6)               ALLOW IN    Anywhere (v6)
Use this output as a review step before changing custom rules. For rule creation, deletion, application profiles, and rate limits, follow the separate UFW rule management guide for Ubuntu so the basic enable and disable workflow here stays focused.
Install GUFW Graphical Firewall Manager
GUFW is the graphical front end for UFW. It is optional and mainly useful on Ubuntu desktops with a graphical session; servers and minimal installations can manage the same firewall with the ufw command.
GUFW is available from Ubuntu’s universe component. If APT cannot locate the package, enable the Ubuntu Universe repository, then run the install command again.
sudo apt install gufwVerify that the package is installed:
dpkg-query -W gufwExample output on Ubuntu 26.04:
gufw 26.04.0-0ubuntu1
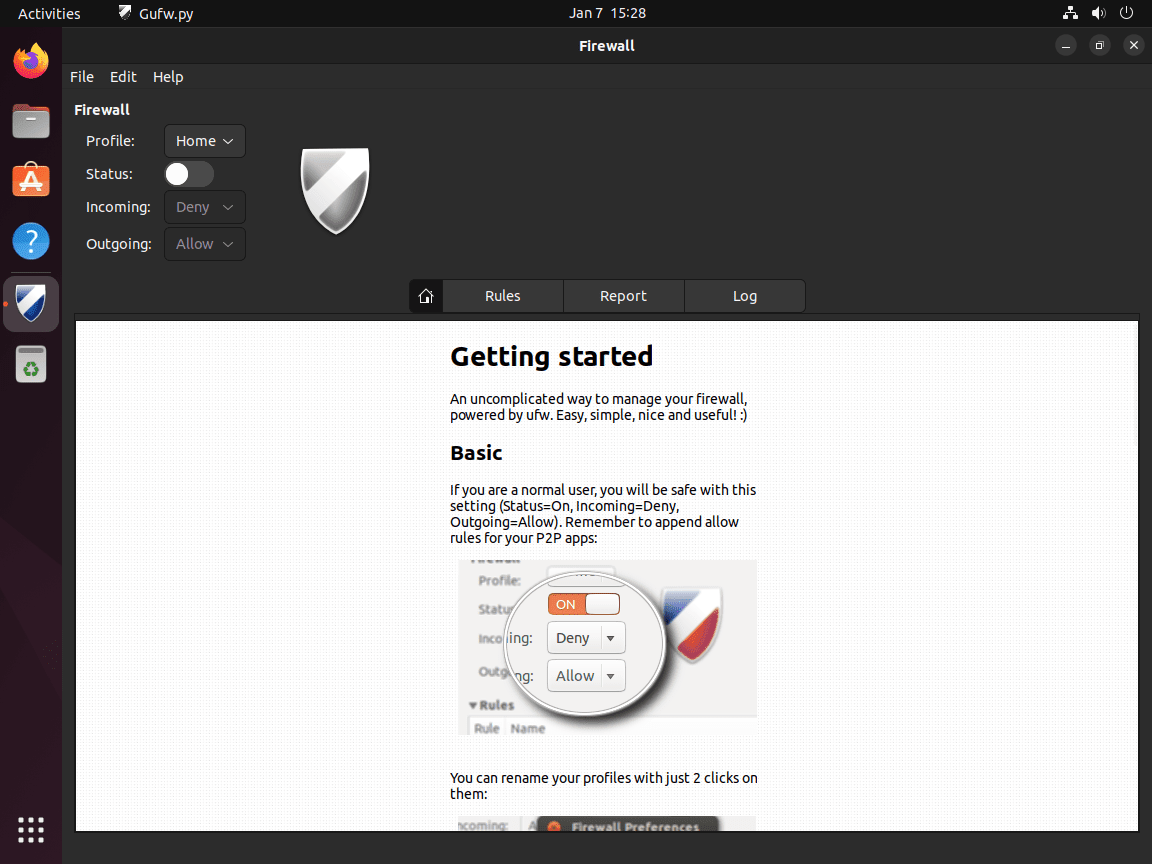
Launch GUFW Application
After installation, open Activities, select Show Applications, and search for Firewall Configuration.
GUFW provides a status toggle, default incoming and outgoing policies, rule controls, and log viewing in a desktop interface. It changes the same UFW configuration that the terminal commands use.
Remove GUFW
If you no longer need the graphical interface, remove the GUFW package. This does not remove the command-line UFW package or erase your firewall rules.
sudo apt remove --purge gufwIf you want to review other packages that APT considers removable, preview them separately before confirming any cleanup. This list can include unrelated old packages, so do not treat it as part of the GUFW removal itself.
sudo apt autoremove --dry-runTroubleshoot UFW on Ubuntu
Recover from SSH Lockout
If you enabled UFW without allowing SSH and lost remote access, use local console or provider console access. Disable UFW first, add the SSH rule, then enable it again.
sudo ufw disable
sudo ufw allow OpenSSH
sudo ufw --force enable
For cloud servers, use the provider’s web console or recovery console to run the commands. After reconnecting, confirm your SSH rule with sudo ufw status numbered.
Fix UFW Not Active After Reboot
UFW has a systemd service that loads firewall state at boot, but the service being enabled does not prove the firewall is currently enforcing rules. Check both the service setting and UFW status.
systemctl is-enabled ufw
sudo ufw status
Example output when the service is enabled but UFW is inactive:
enabled
Status: inactive
If the service is disabled, enable it. Then review your required rules and enable UFW again.
sudo systemctl enable ufw
sudo ufw --force enable
Check UFW Logs
UFW writes firewall events to /var/log/ufw.log when logging is enabled. The tail command in Linux is useful for reading the newest entries first.
sudo tail -n 50 /var/log/ufw.logLog entries can show the action, interface, source and destination addresses, ports, and protocol. Use them to confirm whether UFW is blocking the traffic you are troubleshooting.
Reset UFW Rules
Reset UFW only when you want to delete all rules and return to the default inactive state.
sudo ufw resetThis reset command removes existing rules and disables UFW. Use it from console access when working on a remote server so you can recover if network access changes.
Conclusion
The basic Ubuntu firewall workflow is simple: use sudo ufw status to check state, sudo ufw disable to turn off enforcement during troubleshooting, and sudo ufw --force enable to turn protection back on after required access rules are in place. For stronger login protection, pair UFW with Fail2Ban on Ubuntu, and use the separate Ubuntu UFW configuration guide when you need advanced firewall rules.

Formatting tips for your comment
You can use basic HTML to format your comment. Useful tags currently allowed in published comments:
<code>command</code>command<strong>bold</strong><em>italic</em><a href="https://example.com">link</a><blockquote>quote</blockquote>