

This guide will demonstrate how to install Plex Media Server on Ubuntu 24.04, 22.04, or 20.04 LTS Linux releases. Utilizing the command-line terminal, you’ll access the official Plex Media Server APT repository for the latest version and future updates.
Plex Media Server stands as a pivotal solution for streaming enthusiasts seeking to organize and access their media libraries seamlessly from various devices. Its ability to transcode media files on the fly ensures compatibility across different platforms, making it an indispensable tool for a unified streaming experience.
Key features include:
- Centralized Media Library: Consolidates your videos, music, and photos in one easy-to-navigate platform.
- On-the-Fly Transcoding: Converts media to the optimal format for each device, enhancing playback quality.
- Remote Access: Stream your content from anywhere, on any device with internet access.
- User-Friendly Interface: Offers a visually appealing and intuitive navigation experience.
- Customizable Playlists and Libraries: Tailor your viewing or listening experience by creating personalized collections.
- Extensive Device Support: Compatible with a wide range of devices, from smartphones to smart TVs.
- Secure Sharing: Safely share selected content with friends and family.
- Regular Updates: Continuously improves with new features and enhancements.
Transitioning from highlighting Plex’s robust features to setting it up on your Ubuntu system is straightforward. Now, let’s dive into the technical steps to get Plex Media Server up and running.
Install Plex Media Server on Ubuntu via Plex APT Repository
Update Ubuntu Before Plex Installation
Before proceeding with the tutorial, ensuring your system is up-to-date with all existing packages is good.
sudo apt updateProceed to upgrade any outdated packages using the following command.
sudo apt upgradeImport Plex Media Server APT Repository
For the Plex Media server installation, you must create a repository file that pulls directly from the Plex repository. This ensures you install and update straight from the official source using the apt package manager.
First, ensure the following packages are installed:
sudo apt install dirmngr ca-certificates software-properties-common apt-transport-https curl -yImport the GPG key using the following terminal command.
curl -fsSL https://downloads.plex.tv/plex-keys/PlexSign.key | sudo gpg --dearmor | sudo tee /usr/share/keyrings/plex.gpgNext, import the repository with the following command.
echo deb [signed-by=/usr/share/keyrings/plex.gpg] https://downloads.plex.tv/repo/deb public main | sudo tee /etc/apt/sources.list.d/plexmediaserver.listInstall Plex Media Server on Ubuntu via APT Command
Run the apt update command to reflect the new repository imported before installing Plex:
sudo apt updateInstall the Plex Media Server on Ubuntu using the following apt install command:
sudo apt install plexmediaserverVerify Plex Media Player Service Status
The Plex Media service should start automatically by default. Verify this by using the following systemctl status command.
systemctl status plexmediaserver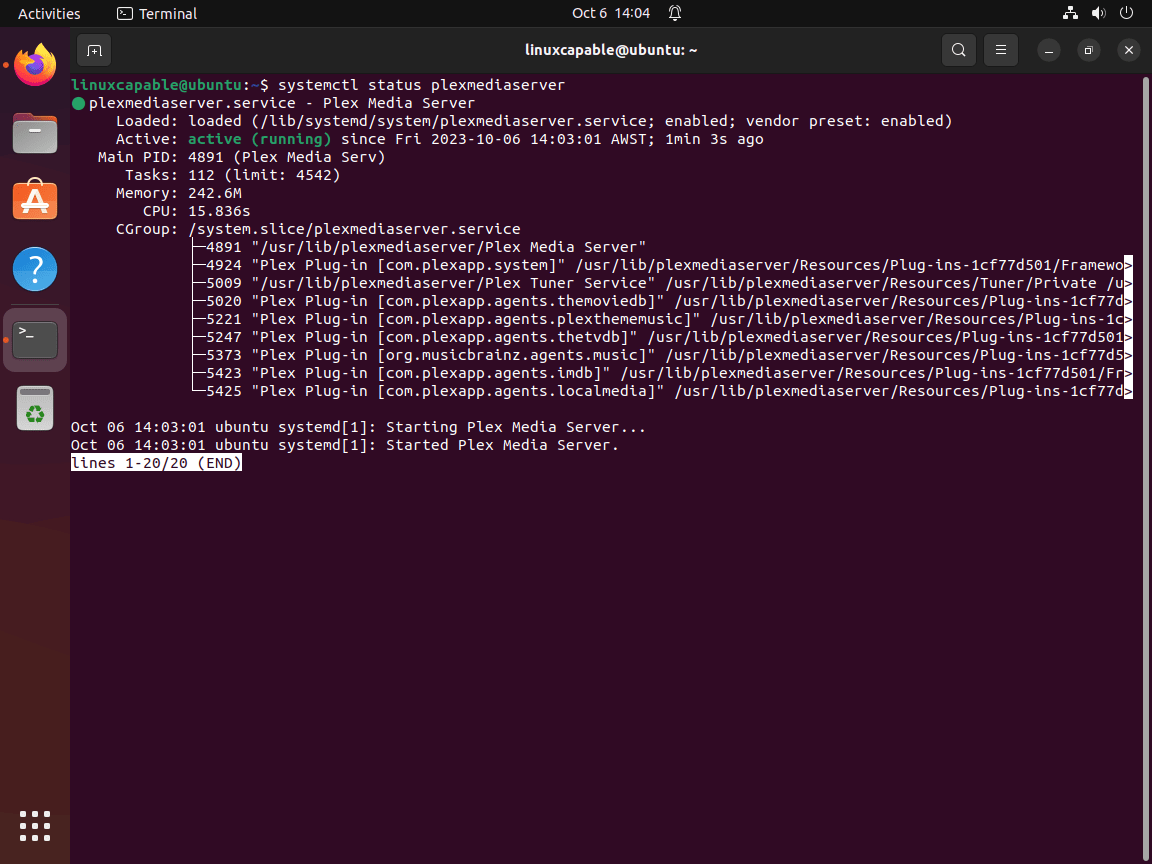
If the service is not active, use the following command to start Plex Media Server:
sudo systemctl start plexmediaserverNext, enable on system boot:
sudo systemctl enable plexmediaserverTo restart the service, use the following:
sudo systemctl restart plexmediaserverConfigure Plex Media Server UFW Firewall on Ubuntu (Optional)
Before proceeding, configure your UFW firewall. By default, the firewall should be enabled for most users. If not, enable it with the following command:
sudo ufw enableAdd the Plex Media Server port 32400; you can customize the port later. Ensure you delete this rule if you allow another and swap it in the Plex Media server dashboard:
sudo ufw allow 32400Configure Ubuntu Server SSH on Ubuntu For Plex
Users with Plex Media Server on a remote Ubuntu server must set up an SSH tunnel on their local computers for initial setup to enable outside connections.
Replace {server-ip-address} with your specific example, such as 192.168.50.1.
Example:
ssh {server-ip-address} -L 8888:localhost:32400For users new to SSH, you may need to install it.
sudo apt install openssh-server -yNext, start the service.
sudo systemctl enable ssh -yNow, you can access the Plex Media Server by accessing the localhost in your web browser.
http://localhost:8888/webOr the alternative if the above address does not work.
localhost:32400/web/index.html#!/setupThrough an SSH tunnel, the HTTP request redirects to http://localhost:32400/web on the remote server. After the initial setup, access your Plex Media Server using the remote server’s IP address.
https://{server-ip-address}:32400Finalize Plex Media Server in Web-UI on Ubuntu
After installing Plex on your system, configure and complete the setup via the WebUI. Open your preferred Internet browser and navigate to http://127.0.0.1:32400/web or http://localhost:32400/web.

Now, you can log in using an existing social media account listed above or with your e-mail to register a new account if you are new to Plex. Once logged in, you will begin the initial configuration setup.
How Plex Works
The first configuration page describes Plex and how it works in a concise example.
Navigate to GOT IT! and leave a click to proceed to the next page.

Depending on your Internet browser, you may need to take specific actions. Firefox users, for instance, will see a message that prompts them to enable DRM
Note: Enabling DRM is necessary for the proper function of Plex WebUI; without it, the interface may malfunction on Firefox-based browsers.
Optional: Plex Pass
You may see a prompt for you to upgrade to Plex Pass, which is optional. Plex Pass offers HDR options and access to Beta builds.
If you prefer to skip this, click the “X” in the top right-hand corner.

Plex Server Setup
Name your server, choosing any name you desire. You also have the option to disable the “Allow me to access my media outside my home” feature. The system enables access to outside media by default; untick the feature if you don’t need it.
Once configured, click the NEXT button.

Add or Skip Plex Media Library Section
The Media Library page gives you the option to pre-add your media directories.
If you have a media drive or folder ready, click the ADD LIBRARY button.

Select the media type for organizing your folders: TV shows, movies, music, etc.
Click the NEXT button to proceed to add folders.

Click the BROWSE FOR MEDIA FOLDER button and select the media directory.
Note: As often happens, you can skip this step and add media later.

The last option is that the Advanced options appear once the folder is added. Here, you can further customize Plex to your liking.
Once done, click ADD LIBRARY to continue back to the initial configuration setup installation.

Finishing Up Plex Server Configuration
Next, hit the NEXT button to finish the initial setup with or without adding a Media Library. The next screen informs you that you are all set.
Click the DONE button to proceed to the Plex Dashboard.

Now, you will arrive at your Plex Dashboard.

Setting Up Media File and Folder Permissions for Plex on Ubuntu
When configuring Plex Media Server on Ubuntu, ensuring the Plex service has the necessary permissions to access your media files is crucial. Plex operates under a dedicated user account, typically named plex. This account must have read and execute permissions on the media directories to successfully scan and add content to your Plex library. Here, we outline how to adjust permissions using chown and setfacl, two command-line utilities available in Ubuntu.
Adjusting Permissions with setfacl
The setfacl command allows for fine-grained access control list modifications. This method is particularly useful for setting permissions without changing the ownership of the directories and files. Before proceeding, ensure the ACL package is installed on your system. If not, you can install it with the following command:
sudo apt install acl -yAfter installing the ACL package, apply the necessary permissions using setfacl by executing the commands below. Replace /media/yourfolder/ with the actual path to your media folders.
sudo setfacl -R -m u:plex:rx /media/yourfolder/
sudo setfacl -R -m u:plex:rx /media/yourfolder/tv
sudo setfacl -R -m u:plex:rx /media/yourfolder/movies
These commands recursively (-R) modify the access control list for the plex user, granting read (r) and execute (x) permissions to your media directories.
Setting Permissions with chown
Alternatively, you can change the ownership of the media directories to the plex user with chown command. This approach is straightforward but alters the ownership of the files and folders, which might affect access for other users. Use chown as follows:
To change ownership of the entire media directory:
sudo chown -R plex:plex /media/yourfolder/For specific media types within the directory, ensuring Plex only accesses designated folders:
sudo chown -R plex:plex /media/yourfolder/tv
sudo chown -R plex:plex /media/yourfolder/movies
These commands recursively change the ownership of the specified directories to plex, allowing the Plex Media Server full access to these files.
Configure Nginx as a Reverse Proxy on Ubuntu For Plex Media Server
You can set up a reverse proxy to access Plex Media Server from a remote computer or network. In this example, the tutorial will set up an Nginx proxy server.
First, install Nginx:
sudo apt install nginx -yEnsure that Nginx is activated and error-free:
systemctl status nginx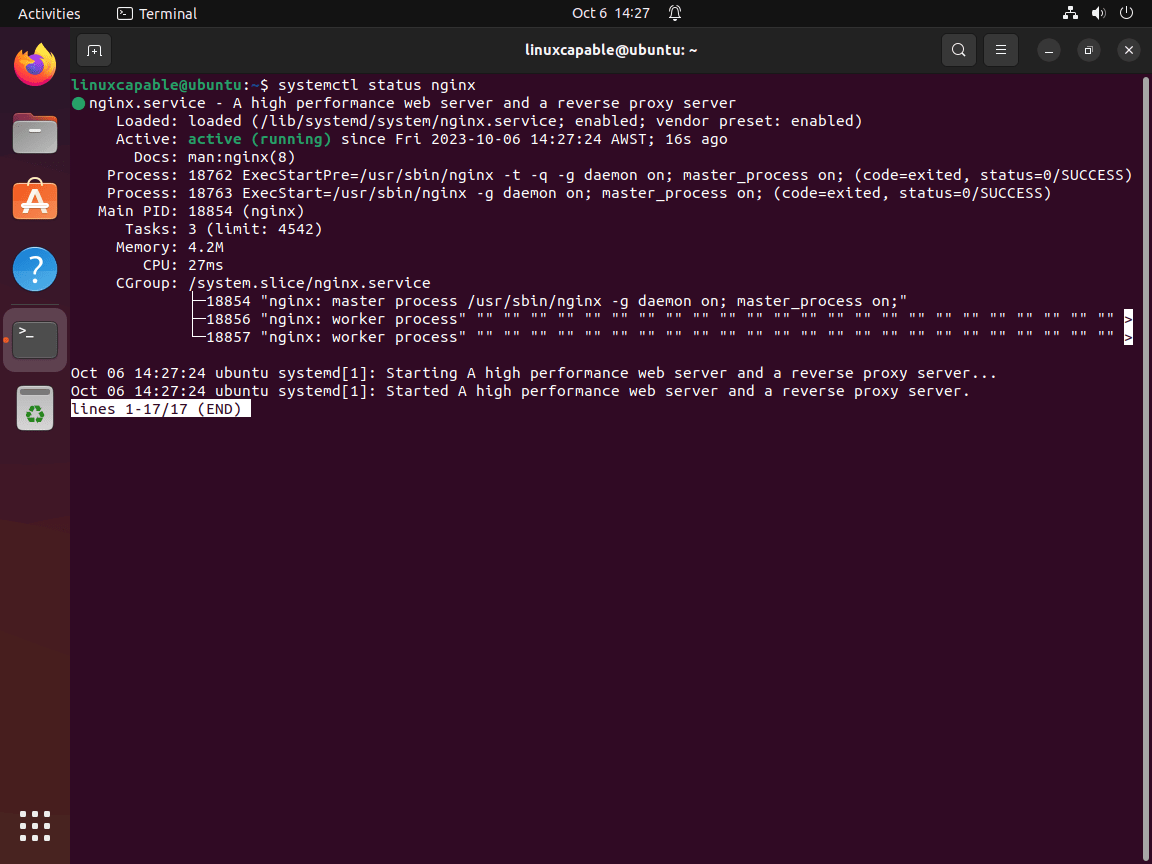
If Nginx is not enabled by default, activate it using the following command:
sudo systemctl enable nginx --nowNow, create a new server block as follows:
sudo nano /etc/nginx/conf.d/plex.confPurchase an active domain name for as little as 1 to 2 dollars if you don’t already have one. NameCheap offers the best affordable domains.
After you have created your sub-domain, add the following to the server block file:
server {
      listen 80;
      server_name plex.example.com;

      location / {
          proxy_pass http://127.0.0.1:32400;
          proxy_set_header Host $host;
          proxy_set_header X-Real-IP $remote_addr;
          proxy_set_header X-Forwarded-For $proxy_add_x_forwarded_for;

          #upgrade to WebSocket protocol when requested
          proxy_set_header Upgrade $http_upgrade;
          proxy_set_header Connection "Upgrade";
      }
}
Save the file (CTRL+O), then exit (CTRL+X).
Now do a dry run to make sure there are no errors in the Nginx configuration or your server block:
sudo nginx -tIf everything is working correctly, the example output should be:
nginx: the configuration file /etc/nginx/nginx.conf syntax is ok
nginx: configuration file /etc/nginx/nginx.conf test is successful
Reload Nginx for the change to take effect:
sudo systemctl reload nginxIf you have set up your domain and DNS records to point to your server IP, you can now access your Plex Media Server at plex.example.com.
Secure Nginx with Let’s Encrypt SSL Free Certificate For Plex Media Server
Run your Nginx on HTTPS using a Let’s Encrypt SSL certificate. Let’s Encrypt, a free, automated, and open certificate authority, operates under the nonprofit Internet Security Research Group (ISRG).
First, execute the following command to install the certbot package:
sudo apt install python3-certbot-nginx -yAfter installation, initiate your certificate creation with this command:
sudo certbot --nginx --agree-tos --redirect --hsts --staple-ocsp --email you@example.com -d www.example.comDuring installation, a notice will appear asking if you want to receive e-mails from the Electronic Frontier Foundation (EFF). Select ‘Y’ or ‘N’, and the system will automatically install and configure your TLS certificate.
This setup automatically applies force HTTPS 301 redirects, adds a Strict-Transport-Security header and enables OCSP Stapling. Ensure you replace the placeholder e-mail and domain name with your actual information.
Your URL will then change from HTTP://www.example.com to HTTPS://www.example.com, with the old HTTP URL automatically redirecting to HTTPS.
For automatic certificate renewal, consider setting up a cron job. Certbot provides a script for this purpose. Run a dry test to ensure functionality:
sudo certbot renew --dry-runIf successful, open your crontab window with the terminal command:
sudo crontab -eThen, set the auto-renewal schedule. Check for renewal daily; the script will update the certificate if needed.
00 00 */1 * * /usr/sbin/certbot-auto renewAdditional Tips Getting Started with Plex Media Server on Ubuntu
After successfully installing Plex Media Server on Ubuntu, follow these initial tips to start using the software:
General Plex Media Server Tips with Ubuntu
- Check System Requirements: Ensure your system meets the minimum requirements for running Plex Media Server if you are experiencing issues with hardware.
- Use Static IP: Assign a static IP address to your server to ensure that other devices can connect reliably. You can do this by editing the
/etc/network/interfacesfile.
sudo nano /etc/network/interfaces- Configure Firewall: If a firewall is enabled, open ports for Plex. The default port is
32400, this was covered earlier in the guide.
sudo ufw allow 32400/tcp- Enable Remote Access: Enable remote access in Plex to access your media server from outside your home network. Go to Settings > Remote Access and follow the instructions.
Plex Media Server Customizations with Ubuntu
- Organize Media Libraries: Create and organize your media libraries for an optimal experience. Name your libraries, and organize your media files in a logical structure.
- Metadata Management: Customize the metadata settings to ensure correct information and artwork is displayed for your media. You can set this under Settings > Library.
- Install Plugins: Enhance your Plex experience by installing plugins. Although Plex has discontinued its plugin directory, you can still manually install plugins by placing the plugin files in the
Plug-insdirectory of your Plex installation.
cd ~/Library/Application\ Support/Plex\ Media\ Server/Plug-ins- Use Skins: Customize the look of your Plex server with different skins. Explore the available skins and find one that suits your taste.
Other Plex Media Server Tips
- Optimize Streaming Performance: Adjust the server’s transcoding settings to suit your hardware capabilities. This can be done under Settings > Transcoder.
- Enable Subtitles: If you prefer subtitles, enable and configure them under Settings > Server > Languages.
- Monitor Server Performance: Utilize the built-in dashboard or third-party tools to monitor server performance, view real-time bandwidth usage, and diagnose issues.
- Backup Your Configuration: It’s wise to back up your Plex configuration and database regularly, especially before making major changes. Use the built-in backup feature or manually copy the necessary files.
cp -r ~/Library/Application\ Support/Plex\ Media\ Server/ ~/backup-location/These tips better prepare you to enjoy your Plex Media Server on Ubuntu.
Additional Commands with Plex Media Server on Ubuntu
Update Plex Media Server
Update Plex using the standard apt update command that you typically use to upgrade packages on your system.
To check for updates:
sudo apt updateIf one is available, use the upgrade command:
sudo apt upgrade plexmediaserver -yRemove Plex Media Server
To remove Plex from your Ubuntu system, run the following command:
sudo apt autoremove plexmediaserver --purge -yIf you have installed the Nginx reverse proxy, disable it and delete your domain’s configuration file as necessary.
Then, if you don’t plan to reinstall Plex, delete the repository in /etc/apt/sources.list.d/ with:
sudo rm /etc/apt/sources.list.d/plexmediaserver.listFinally, for enhanced security and maintenance, remove the GPG key from usr/share/keyrings/:
sudo rm usr/share/keyrings/plex.gpgConclusion
In this guide, we walked through the steps to install Plex Media Server on Ubuntu 24.04, 22.04, and 20.04 LTS. By tapping into the command-line terminal and the official Plex repository, you’re now equipped with the latest version of a powerful media server. As you dive into Plex, remember to explore its features like remote access and on-the-fly transcoding to get the most out of your media collection. Keep your server updated for a smooth streaming experience. And hey, don’t hesitate to share your favorite movies or shows with friends and family securely through Plex. Happy streaming!