In today’s digital landscape, safeguarding your system against unauthorized access is paramount. Tripwire IDS stands out as a robust intrusion detection system designed to monitor changes in files and directories meticulously. This guide will walk you through how to install Tripwire IDS on Debian 12 Bookworm or the older stable releases of Debian 11 Bullseye or Debian 10 Buster, ensuring a fortified defense mechanism for your system.
Key Advantages of Implementing Tripwire IDS:
- Proactive Intrusion Detection: Tripwire IDS excels in the early detection of unauthorized changes, providing alerts that enable swift response to potential threats.
- Detailed Change Reports: The system generates comprehensive reports detailing every alteration made, aiding in tracing the intrusion source and bolstering future security measures.
- Versatile Monitoring: Beyond files and directories, Tripwire IDS extends its vigilance to operating systems, applications, and resource utilization, ensuring an all-encompassing security check.
- Prompt Threat Mitigation: With immediate alerts and detailed insights, organizations can neutralize threats, quickly safeguarding data integrity.
- Enhanced System Integrity: Tripwire IDS is crucial in maintaining the system’s integrity, ensuring all components function as intended, free from unauthorized tampering.
By integrating Tripwire IDS into your Debian system, you are taking a significant step towards fortifying your digital environment. The subsequent sections of this guide will provide a detailed walkthrough of the installation process, setting you on the path to enhanced security and peace of mind.
Tripwire Pre-Installation Steps on Debian 12, 11 or 10
Ensuring your Debian system is current and updated before installing any new software. This practice not only enhances the security of your system but also ensures that the software installation goes smoothly. Let’s walk through the necessary steps to prepare your Debian system for Tripwire installation.
Updating the Package Database
Firstly, open your terminal and initiate the package list update process. Run the following command:
sudo apt updateThis command refreshes your system’s package list, ensuring it has the latest information about available packages and their versions. It’s critical to ensure you install the software’s most recent and secure version.
Upgrading Installed Packages
With your package lists now up to date, the next step is to upgrade any outdated packages on your system.
Execute the following command to start this process:
sudo apt upgradeThis command scans your system for any packages that have updates available and prompts you to confirm before proceeding with the upgrade.
Install Tripwire on Debian 12, 11, or 10 via APT
Step 1: Run Tripwire IDS Installation Command on Debian
Being part of Debian’s default repositories allows for a smooth installation process. Begin by executing the command below:
sudo apt install tripwireStep 2: Addressing the Initial Tripwire Configuration Prompts
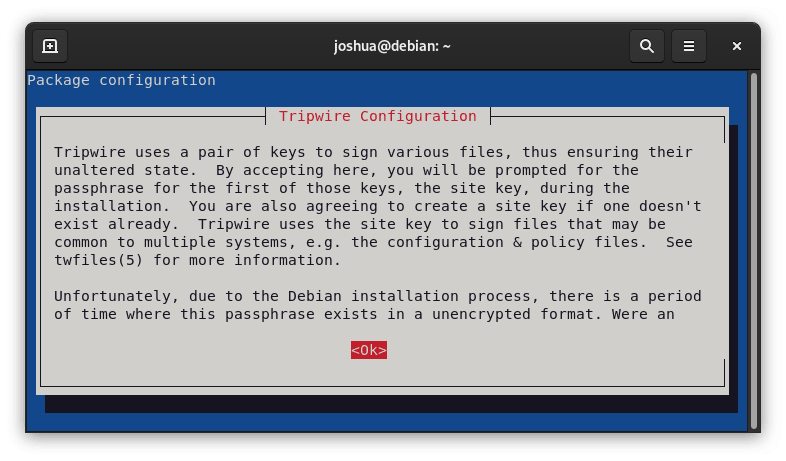
Upon commencing the installation, a Tripwire configuration dialog will appear. This dialog emphasizes the significance of Tripwire’s paired keys to validate the integrity of various files, ensuring they remain unaltered. It’s pivotal to understand that if your system has been severely breached, these keys might be momentarily visible to intruders. Therefore, confirming the security of your network is essential.
Navigate through the dialog by pressing (TAB) until the (Ok) option is highlighted. Press enter to progress.
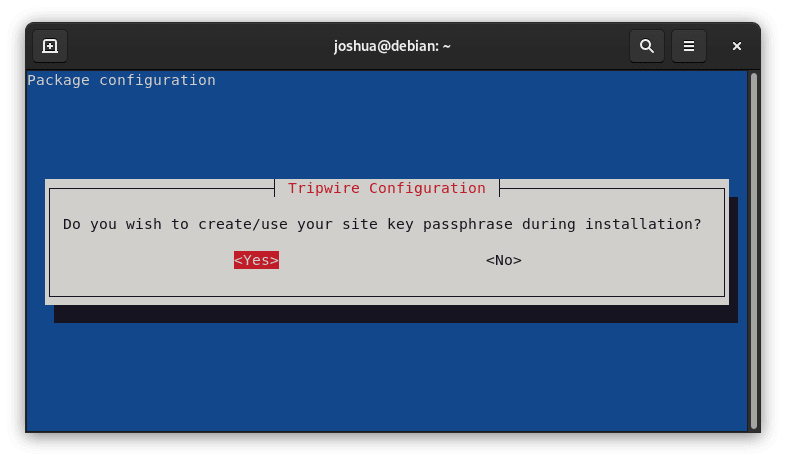
Next, the system will prompt you to set up a site key passphrase. We recommend doing this during the current setup phase.
Opt for <Yes> to formulate a site key passphrase and move forward with the installation.
Another alert surfaces, reiterating the transient vulnerability of the keys during the setup. It’s crucial to ensure network safety, especially in expansive network environments where local users have the potential for data interception.
it’sontinue, press (TAB) to emphasize the (Ok) option, then hit enter.

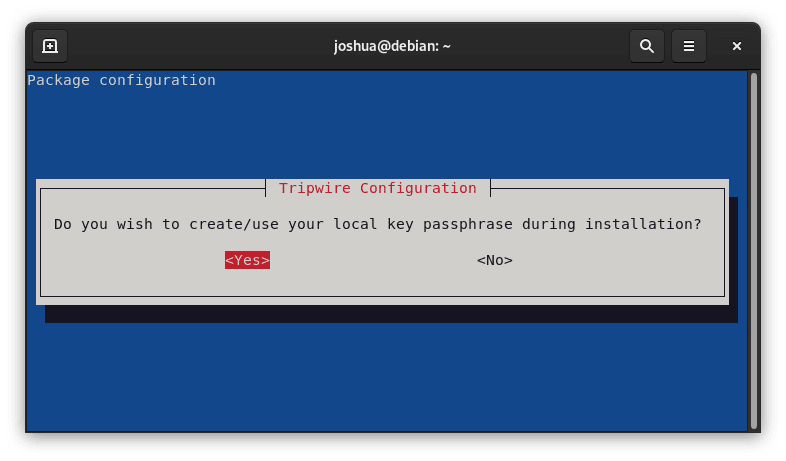
The ensuing dialog will ask you to generate a local key passphrase. It’s vital to note that this passphraseIt’sdistinct from the site key passphrase, and the two should not mirror each other.
Choose <Yes> to establish a local key passphrase and proceed.
Step 3: Modifying the Tripwire Configuration
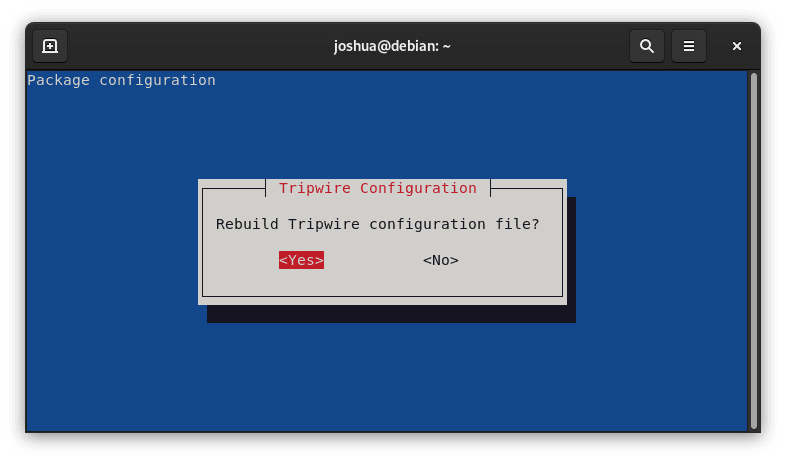
In this phase, you’ll be tasked with reconstructing thyou’llwire configuration file.
Select <Yes> to continue.
The system will then provide insights into Tripwire’s operational approach, detailTripwire’snitoring attributes and file change procedures.
To advance, press (TAB) to select the (Ok) option and enter.

Next, you’ll need to refresh the Tripwire polyou’llle.
Select <Yes> to continue with the installation.

Step 4: Key Authentication in Tripwire
An informative dialog will elucidate that Tripwire employs two distinct keys for authentication. It’s imperative to document these passpIt’ses securely.
To proceed, press (TAB) until the (Ok) option is highlighted, and then hit enter.
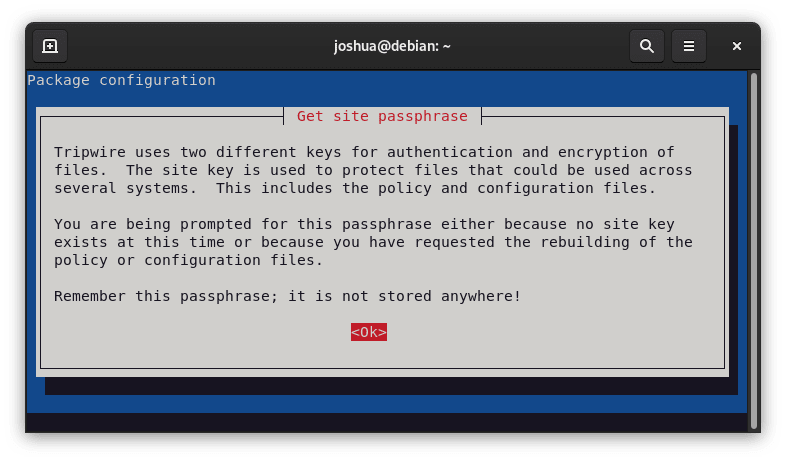
The system will prompt you to enter the site passphrase.
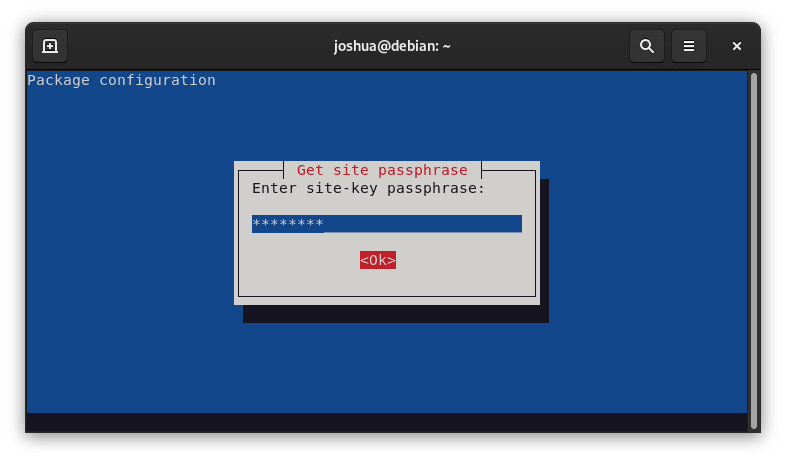
And then to confirm it:

A subsequent message, identical to the previous, will reappear, but this time referring to the local passphrase.
Navigate by pressing (TAB) and selecting the (Ok) option.
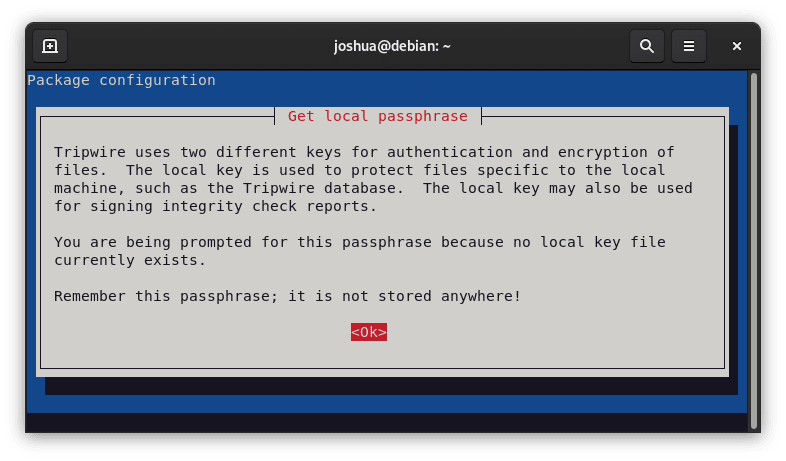
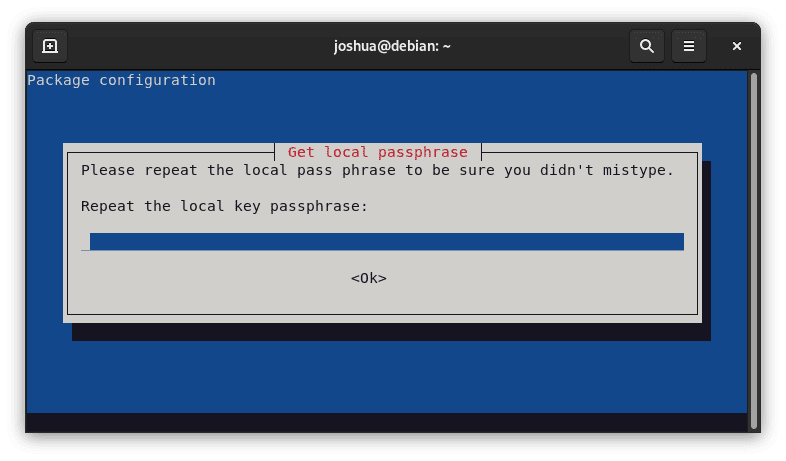
Enter the local passphrase:
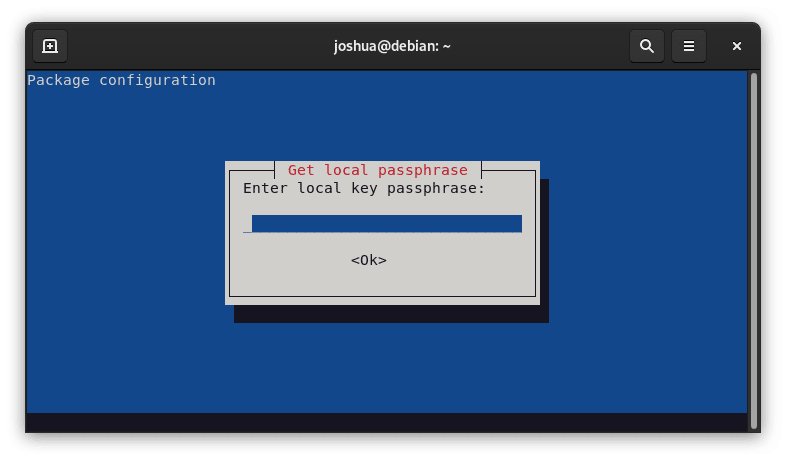
And, once again, confirm it:
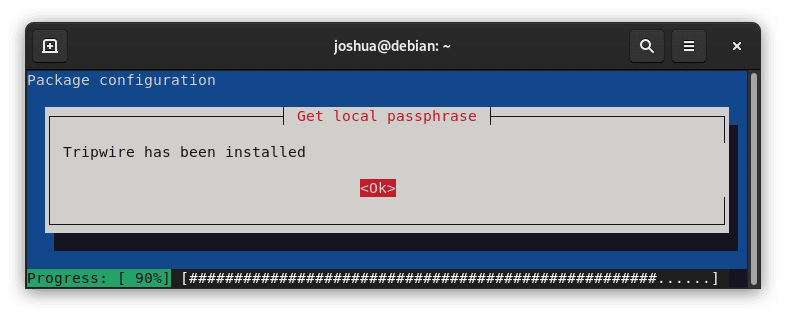
Upon completing these steps, a confirmation message will indicate the successful installation of Tripwire.
Configure Tripwire on Debian 12, 11 or 10
Step 1: Setting Up Tripwire Keys and Database Initialization
To bolster the security mechanisms of your Debian system, configuring Tripwire is an essential task. Begin by generating Tripwire keys and initializing its database. Although Debian supports various text editors, for this guide, we’ll utilize nano.
Start by accessing thewe’llwire directory:
cd /etc/tripwire/Next, open the twcfg.txt configuration file:
sudo nano twcfg.txt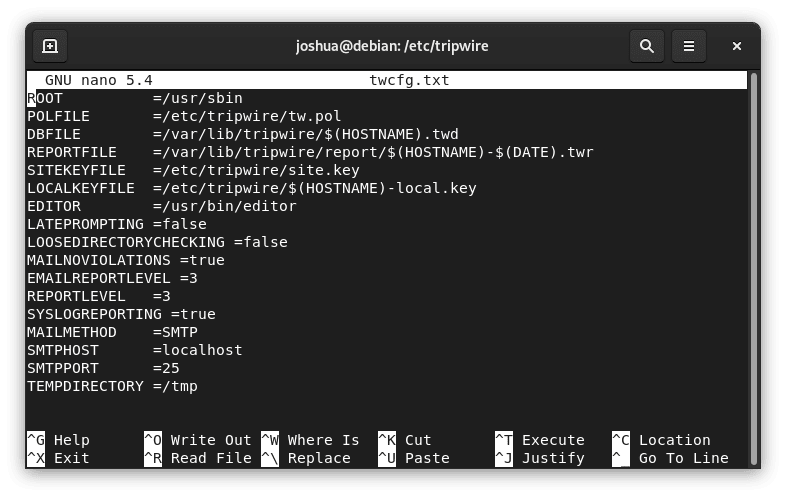
The default configurations here usually suffice, but we recommend adjusting REPORTLEVEL from 3 to 4. After making this change, save the modifications with (CTRL+O) and exit with (CTRL+X).
To create a new configuration file, execute:
sudo twadmin -m F -c tw.cfg -S site.key twcfg.txtThe system will then ask you to enter your site passphrase:

Step 2: Optimizing Tripwire Policy with Nano
Using the nano editor, create the file twpolmake.pl to fine-tune the Tripwire policy:
sudo nano twpolmake.plThen enter the following code into your file:
#!/usr/bin/perl
$POLFILE=$ARGV[0];

open(POL,"$POLFILE") or die "open error: $POLFILE" ;
my($myhost,$thost) ;
my($sharp,$tpath,$cond) ;
my($INRULE) = 0 ;

while () {
     chomp;     if (($thost) = /^HOSTNAME\s*=\s*(.*)\s*;/) {
         $myhost = `hostname` ; chomp($myhost) ;
         if ($thost ne $myhost) {
           $_="HOSTNAME=\"$myhost\";" ;
         }
     }
         elsif ( /^{/ ) {
          $INRULE=1 ;

     }   elsif ( /^}/ ) {
          $INRULE=0 ;
     }
         elsif ($INRULE == 1 and ($sharp,$tpath,$cond) = /^(\s*\#?\s*)(\/\S+)\b(\s+->\s+.+)$/) {
          $ret = ($sharp =~ s/\#//g) ;
          if ($tpath eq '/sbin/e2fsadm' ) {
          $cond =~ s/;\s+(tune2fs.*)$/; \#$1/ ;
           }
           if (! -s $tpath) {
             $_ = "$sharp#$tpath$cond" if ($ret == 0) ;
           }
         else {
             $_ = "$sharp$tpath$cond" ;
           }
     }
    print "$_\n" ;
}
close(POL) ;
Enter the provided Perl script into this file. Once you’ve verified you entered the script you’vetly, save the changes using (CTRL+O) and close the editor using (CTRL+X).
If you’re operating under the SUDO commandyou’rech to the root account to proceed:
suThen, generate the configuration file:
perl twpolmake.pl twpol.txt > twpol.txt.new /
sudo twadmin -m P -c tw.cfg -p tw.pol -S site.key twpol.txt.new
If you encounter an error indicating twadmin is not recognized, prepend the command with sudo.

Step 3: Tripwire Database Creation and Maintenance
With the configurations in place, create a new Tripwire database:
sudo tripwire -m i -s -c tw.cfgTo view the newly generated database, utilize:
sudo twprint -m d -d /var/lib/tripwire/debian.twdMaintaining the database’s accuracy is crucial. To updadatabase’spwire IDS database, execute:
sudo tripwire --update --accept-all
St’p 4: Testing and Reviewing Tripwire System
It’s prudent to verify the Tripwire sysIt’ss functionality. Trigger a systesystem’sby running the following:
sudo tripwire -m c -s -c /etc/tripwire/tw.cfgBy default, Tripwire saves its reports in the /var/lib/tripwire/report/ directory. Access this location and list the reports:
cd /var/lib/tripwire/report/ && lsTo delve into a specific report, use the print command, replacing <report file name> with the desired report’s name:
sudo twprint -m r -t 4 -r /var/lib/tripwire/report/<report file name>.twrVerifying Tripwire IDS Freport’slity on Debian 12, 11, or 10
Step 1: Testing with Sample Files
After successfully installing and configuring Tripwire on your Debian system, it’s crucial to validate its functionalit’s One practical approach involves creating sample files and prompting Tripwire to detect them, ensuring the system is operational.
Start by generating a few test files:
sudo touch test1 test2 test3With the sample files in place, initiate Tripwire to ascertain its detection capabilities:
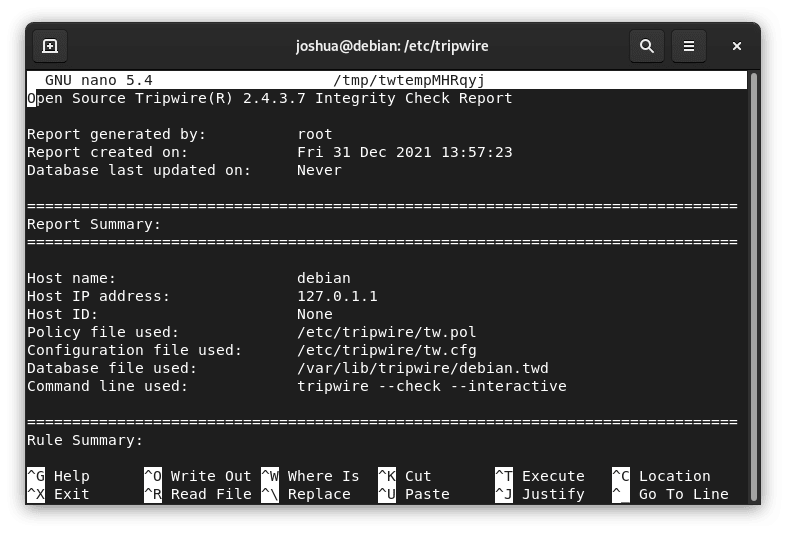
sudo tripwire --check --interactiveIf Tripwire functions without hitches, you should spot the recently crafted files in the system’s feedback.
Step 2: Accessystem’spwire Reports
For future references or to validate any activity, you can always peruse the generated reports. To do this, utilize the command below, ensuring you replace <report file name> with the specific name of the report you’re interested in:
sudo twprint --print-report --twrfile /var/lib/tripwire/report/<report file name>.twrSetting up Tripwiyou’re Cronjob on Debian 12, 11, or 10
Step 1: Scheduling Regular Tripwire Reports
Set up a cronjob to automatically generate reports at specific intervals to optimize Tripwire’s operation. This regular moniTripwire’sures system changes are immediately detected, streamlining the process.
First, use the following command to open the crontab editor:
sudo crontab -eNext, decide on the frequency you’d like Tripwire to run its reports.you’dou’re uncertain about how to configureyou’reiming, Crontab.Guru is a great resource to assist you.
For instance, if you want Tripwire to check every 12 hours, you would add the following line:
00 */12 * * * /usr/sbin/tripwire --checkOnce Tripwire completes its checks, it will generate and store the reports in the specified directory:
/var/lib/tripwire/report/Conclusion
In wrapping up our comprehensive guide on installing Tripwire on Debian 12, 11, or 10, we have navigated through a series of meticulous steps to ensure a successful setup of this robust intrusion detection system. We laid a solid foundation by updating and upgrading our system packages, ensuring compatibility and security. Following this, we installed Tripwire, configuring it to monitor and alert us of unauthorized changes to our system files and directories.
This setup enhances our system’s security posture and provides system’sdetailed reports for auditing and forensic analysis. With Tripwire now diligently guarding our system, we have taken a significant step towards fortifying our Debian-based system against unauthorized access and potential security breaches, achieving higher integrity and trustworthiness for our digital environment.

