
In the world of software development, version control is paramount, and Git stands as one of the most popular and powerful tools in this domain. This guide will showcase the steps to install Git on Pop!_OS, a task essential for developers looking to manage their codebase efficiently. Git’s prominence is not without reason; it offers a robust set of features that cater to various project needs. Let’s delve into some of these key features:
- Version Control: Track and manage changes to code over time, enabling easier collaboration and rollback if needed.
- Branching and Merging: Create isolated environments (branches) for development, testing, or experimentation, and seamlessly merge changes back into the main codebase.
- Distributed Architecture: Git’s distributed nature allows each developer to have a full-fledged repository locally, fostering greater flexibility and resilience.
- Staging Area: A unique staging area concept for preparing and reviewing changes before a commit, ensuring only intended modifications are added.
- Support for Non-linear Development: Efficiently handle multiple streams of development, such as feature branches or hotfixes.
Transitioning from these features to the practical aspect of installing Git on Pop!_OS, this guide will walk you through the process step-by-step. You’ll learn not just how to get Git up and running on your system but also gain an understanding of the initial configuration steps to set the stage for your development work. Let’s get started!
Install Git on Pop!_OS via APT
Step 1: Update Pop!_OS Packages Before Git Installation
Updating your Pop!_OS system packages is a crucial first step in the Git installation process. This update minimizes the risk of conflicts by ensuring all packages are current.
To update, execute the following command in your terminal:
sudo apt updateFollowing the update, it’s a good practice to upgrade your system packages. This step ensures that all software on your system is up-to-date, which is vital for system stability and security.
Perform the upgrade using this command:
sudo apt upgradeStep 2: Checking for Existing Git Installation on Pop!_OS
Before installing Git, it’s practical to check if it’s already installed on your system. This check avoids unnecessary installations and keeps your system organized.
To determine if Git is installed, use the following command:
git --versionIf Git is installed, this command will display the currently installed version.
Step 3: Install Git on Pop!_OS via APT Command
If the git --version command indicates that Git is not installed, you can proceed with the installation. Installing Git from Pop!_OS’s default repository is recommended for its simplicity.
Use the following command to install Git:
sudo apt install gitStep 4: Verifying Git Installation on Pop!_OS
After installing Git, it’s important to verify that the installation was successful. Confirming the installation ensures that Git is ready for use. To verify, run the git --version command again:
git --versionThis command should now display the version number of Git, typically in the format git version x.x.x, where x.x.x is the installed version of Git. This output confirms that Git is correctly installed on your Pop!_OS system.
Install Git on Pop!_OS via Ubuntu Git Maintainers PPA
Step 1: Add Ubuntu Git Maintainers PPA on Pop!_OS
When you require the latest features or essential bug fixes in Git, the Ubuntu Git Maintainers PPA is an invaluable resource. This Personal Package Archive (PPA) ensures you have access to the most current stable version of Git. Adding this PPA to your system is crucial for tapping into these updates.
To add the Ubuntu Git Maintainers PPA to your system, use the following command:
sudo add-apt-repository ppa:git-core/ppa -yThis command adds the repository and automatically confirms the addition, streamlining the process.
Step 2: Refresh APT Package Index After PPA Import
After integrating the Git PPA into your repository list, refreshing the package index is essential. This action updates your system’s package database to include the latest offerings from the new repository.
Update the package index with this command:
sudo apt updateStep 3: Install or Upgrade Git on Pop!_OS
With the PPA added, you’re ready to install or update Git. This step ensures you get the newest version available from the PPA.
To install or upgrade Git, execute:
sudo apt install gitIf Git is already installed, this command will update it to the version available in the PPA.
After installing or updating, verify the version of Git:
git --versionThis command should show an output like git version x.x.x, signifying the successful installation or upgrade of the latest Git version on your Pop!_OS system.
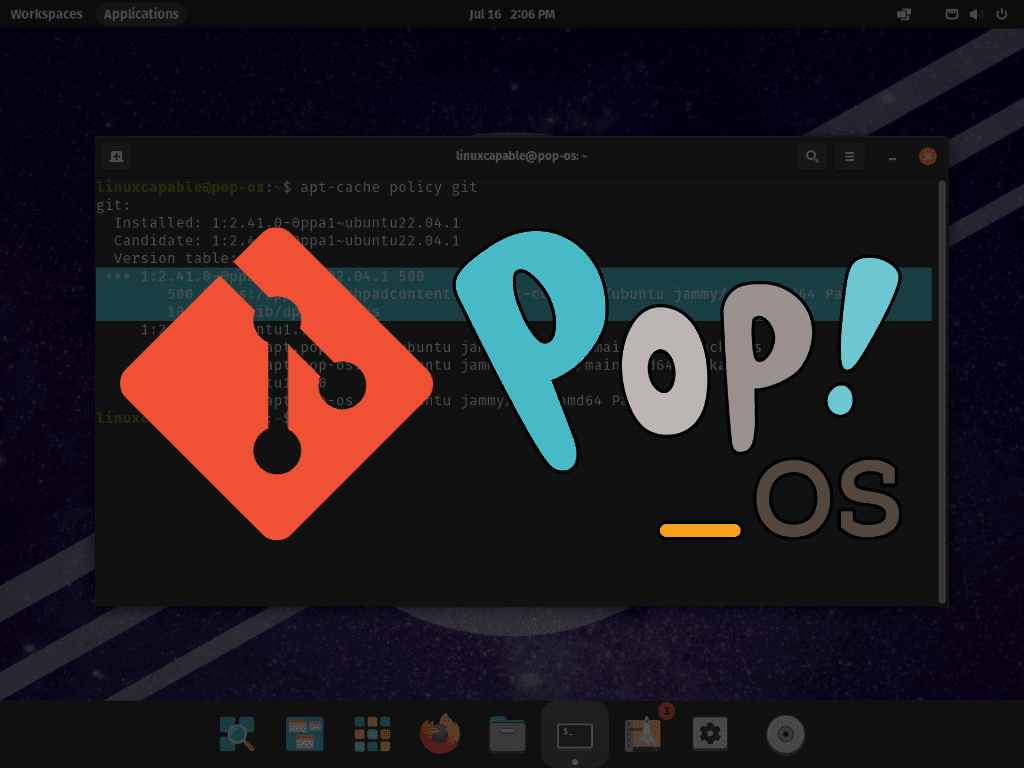
To confirm the source of your Git installation, especially to check if it’s from the recently added PPA, run:
apt-cache policy gitThis command will display the installation source, typically showing the PPA if it’s providing a newer version than the standard repository.

Install Git on Pop!_OS via source
Step 1: Install Git Build Dependencies
Installing Git from the source is a viable option when you need the latest version or urgent updates. Start by installing Git’s build dependencies with the following command:
sudo apt install make libssl-dev libghc-zlib-dev libcurl4-gnutls-dev libexpat1-dev gettextThis installs the necessary tools and libraries for compiling Git from its source code.
Step 2: Download Git Source Code
Next, obtain the Git source code. Visit the Git release page and download the source code. Use the wget command for fetching the latest stable release Tar archive.
For example only, to download version 2.41.0:
wget https://github.com/git/git/archive/refs/tags/v2.41.0.tar.gzThis is an example command; ensure you visit the link for the latest version, as Git updates often.
Step 3: Extract the Source Code
After downloading, extract the source code from the tar archive:
tar -xvf v2.41.0.tar.gzEnsure the version number matches the one you downloaded.
Step 4: Navigate to the Extracted Directory
Move into the extracted directory using the cd command:
cd git-2.41.0Step 5: Build Git from Source
Now, compile Git from the source:
make prefix=/usr/local allThis command compiles the source code into executable files. The prefix=/usr/local specifies the installation directory.
Step 6: Install Git
After compiling, install Git with:
sudo make prefix=/usr/local installThis places the Git files in appropriate locations on your system.
Step 7: Verify Git Installation
Finally, check that Git is installed correctly:
git --versionThis should display the version of Git you’ve just installed, confirming a successful installation.
Wrapping Up: Installing Git on Pop!_OS
In this guide, we navigated through the diverse ways to install Git on Pop!_OS, catering to different preferences and needs. From the convenience of Pop!_OS’s built-in repositories to leveraging the latest versions via the Ubuntu Git Maintainers PPA, and even compiling directly from the source code, we’ve explored each avenue in detail. The choice of method should align with your specific requirements – for the latest Git features, opting for the PPA or source code compilation is ideal.
Remember, keeping your Git installation up-to-date is key for efficient and hassle-free project management. Stay current, and happy coding!