
SciTE, an acronym for Scintilla Text Editor, is an excellent option for those planning to install SciTE on Ubuntu 22.04 Jammy Jellyfish or its older stable release of Ubuntu 20.04 Focal Fossa. This lightweight and potent editor boasts a range of features tailored to accommodate the varied requirements of coders and writers alike.
Key Features of SciTE:
- Customizability: With many configuration options, SciTE allows users to personalize key bindings, fonts, colors, and the user interface to create an environment that best suits their workflow.
- Syntax Highlighting: Supporting a wide array of programming languages, SciTE enhances code readability through its syntax highlighting feature, aiding in the quick identification of code errors.
- Code Folding: The editor’s code folding functionality enables users to maintain a tidy and organized codebase by collapsing and expanding code sections based on indentation or structure.
- Auto-completion: SciTE’s intelligent auto-completion proposes relevant code snippets as users type, streamlining the coding process and reducing manual input.
- Find and Replace: SciTE’s powerful search and replace function supports regular expressions, allowing for efficient text location and replacement within the code.
Why Choose SciTE on Ubuntu?:
- Lightweight Design: Crafted for efficiency, SciTE is an optimal choice for those with limited system resources or a preference for a minimalist text editor.
- Cross-Platform: With availability on Windows, macOS, and Linux, SciTE is a versatile option for users operating on various platforms.
- Consistent Updates: The active development team behind SciTE ensures the editor stays current with the latest features and functionalities of programming languages.
- Open Source Community: As an open-source initiative, SciTE enjoys support from a dynamic community of contributors dedicated to improving and expanding the software’s capabilities.
With its user-friendly features and robust capabilities, SciTE is a compelling text editor option for Ubuntu users. Follow the guide below to seamlessly install SciTE on Ubuntu 22.04 Jammy Jellyfish or Ubuntu 20.04 Focal Fossa, utilizing either the APT or Flatpak with the Flathub repository.
Install SciTE on Ubuntu 22.04 or 20.04 via APT
Step 1: Update Ubuntu Before SciTE Installation
To ensure a smooth installation process and avoid potential conflicts, it’s essential to keep your Ubuntu system updated. In this step, we will update the package lists and upgrade the existing packages on your system. Open your terminal and execute the following command:
sudo apt update && sudo apt upgradeThis command performs two tasks:
sudo apt update: Updates the package lists for available upgrades.sudo apt upgrade: Upgrades the installed packages to their latest versions.
By running these commands together, you ensure that your system is up-to-date before proceeding with the installation.
Step 2: Install SciTE on Ubuntu 22.04 or 20.04 via APT Command
Now that you’ve updated your system, let’s proceed with SciTE installation using the APT package manager. This installation method, which pulls SciTE from the Ubuntu repository, is recommended for most users due to its simplicity and straightforwardness.
To install SciTE, enter the following command in your terminal:
sudo apt install sciteThis command installs the SciTE text editor by fetching the necessary packages from the Ubuntu repository and setting them up on your system.
Install SciTE on Ubuntu 22.04 or 20.04 via Flatpak and Flathub
This section will explore an alternative method to install SciTE using the Flatpak package manager. Flatpak is a universal package manager for Linux distributions, similar to Snap, that allows you to install applications in an isolated environment. This offers benefits such as improved security and easier updates, making it a popular choice for installing software like SciTE.
Step 1: Enable Flathub For SciTE on Ubuntu
Before installing SciTE through Flatpak, you must enable the Flathub repository, a primary source for Flatpak applications. To enable Flathub, execute the following command in your terminal:
sudo flatpak remote-add --if-not-exists flathub https://flathub.org/repo/flathub.flatpakrepoThis command adds the Flathub repository to your Flatpak configuration, ensuring you have access to various applications, including SciTE.
Step 2: Install SciTE on Ubuntu 22.04 or 20.04 via Flatpak Command
With Flathub enabled, you can now install SciTE using the flatpak install command. Run the following command in your terminal:
flatpak install flathub org.scintilla.SciTE -yThis command installs the SciTE text editor from the Flathub repository, providing you with the latest version of the application.
If your system does not have Flatpak installed, please refer to our own guide on How to Install Flatpak on Ubuntu for step-by-step instructions on installing the most recent supported version of Flatpak.
Launch SciTE on Ubuntu 22.04 or 20.04
With the SciTE text editor now installed on your system, you can launch the application using one of the following methods:
CLI Methods to Launch SciTE on Ubuntu
To launch SciTE from the terminal, enter the following command:
sciteIf you installed SciTE using Flatpak, you must use a different command. Enter the following command in your terminal:
flatpak run org.scintilla.SciTEGUI Method to Launch SciTE on Ubuntu
While launching SciTE from the terminal might be helpful in some cases, it may not be the most practical method for everyday use. Instead, you can launch the application directly from your desktop environment. To do this, follow these steps:
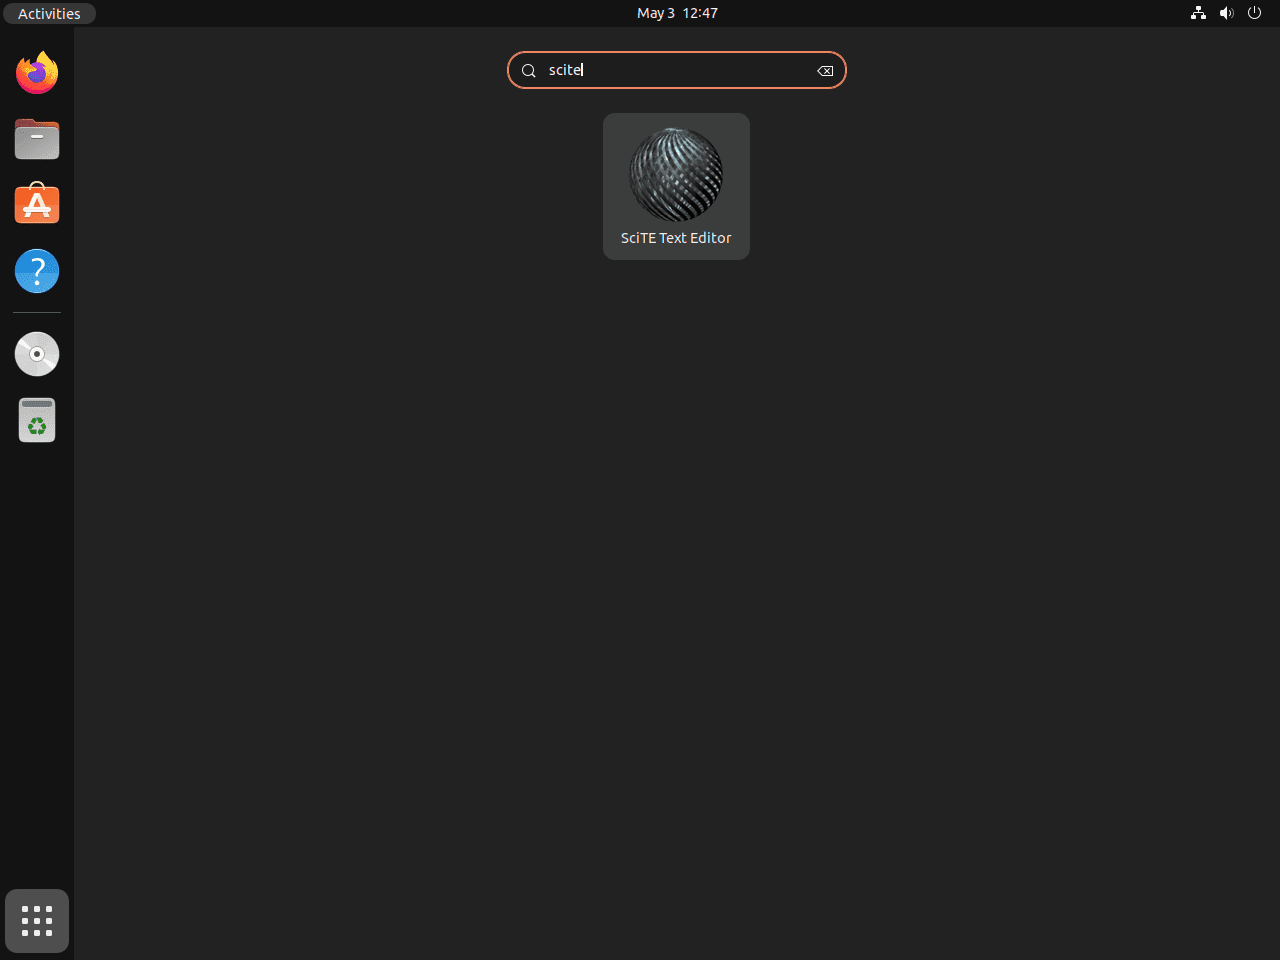
- Open the Activities menu in your desktop environment.
- Click on Show Applications.
- Look for the SciTE Text Editor icon and click on it to launch the application.
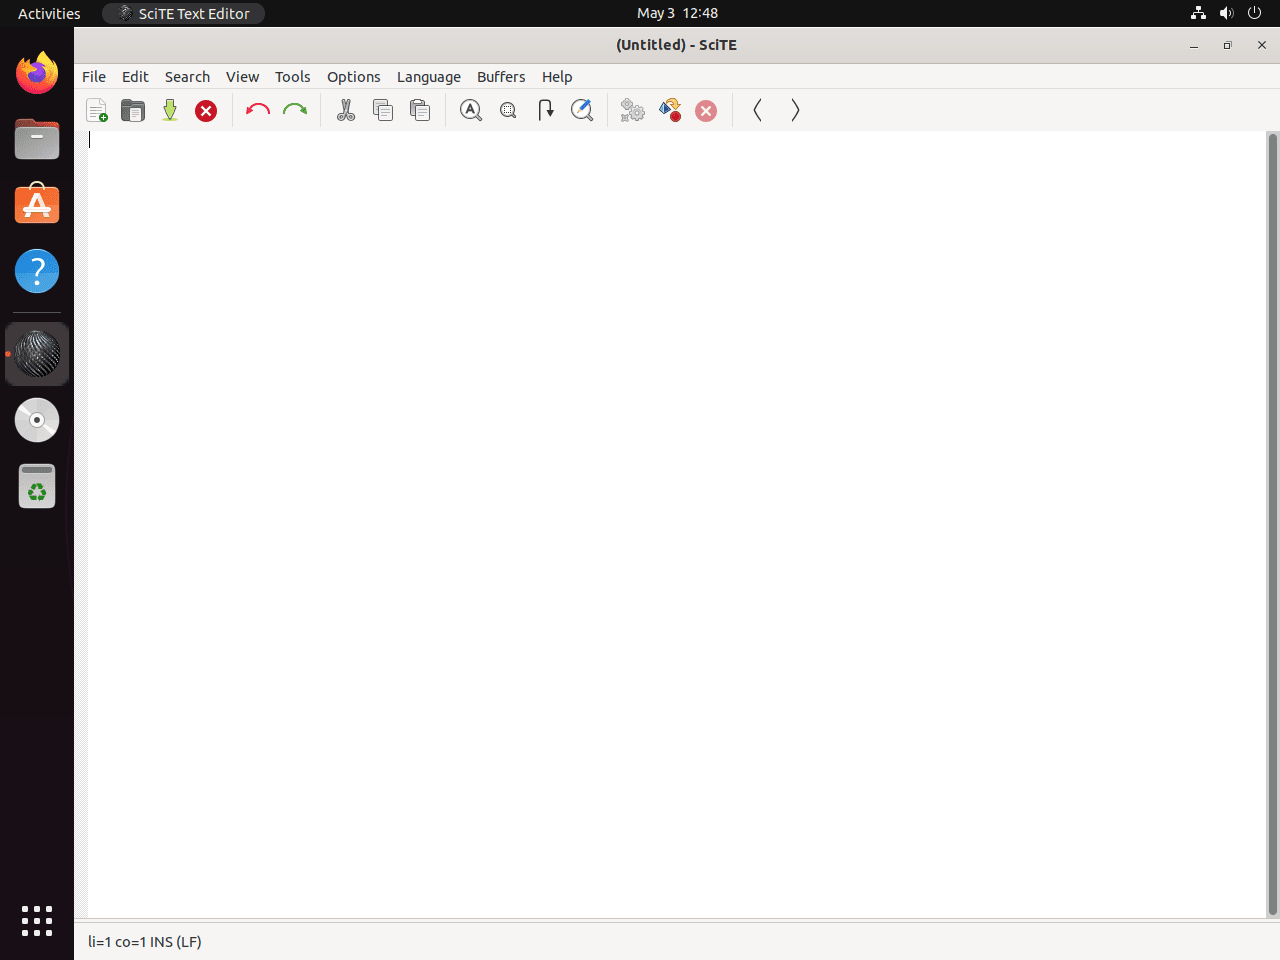
Getting Started with SciTE on Ubuntu 22.04 or 20.04
After installing and running SciTE on your Ubuntu system, explore these starting tips to maximize your text editor’s utility.
Customize SciTE’s Appearance with Ubuntu
SciTE allows you to customize its appearance to match your preferences. To access these customization options, follow these steps:
- In the SciTE text editor, click on Options in the menu bar.
- Select Open Global Options File.
This will open the global configuration file, SciTEGlobal.properties. You can now modify various settings related to appearance, such as font size, colors, and themes. Some common customizations include:
- Changing the font size: Look for the line
font.base, and change thesizevalue to your desired font size. - Changing the color scheme: Find the line
colour.scheme, and change its value to one of the available color schemes. - Enabling line numbers: Uncomment the line
line.margin.visible(remove the#at the beginning) to display line numbers.
Don’t forget to save the file and restart SciTE to apply your changes.
Make Use of SciTE Keyboard Shortcuts with Ubuntu
SciTE offers keyboard shortcuts to improve efficiency while working with the text editor. Some of the most valuable shortcuts include:
- Ctrl+S: Save the current file.
- Ctrl+O: Open a new file.
- Ctrl+Z: Undo the last action.
- Ctrl+Y: Redo the last undone action.
- Ctrl+F: Open the Find dialog.
- Ctrl+H: Open the Replace dialog.
These shortcuts can help you save time and increase productivity when working with SciTE.
Customize the SciTE Toolbar with Ubuntu
SciTE provides a customizable toolbar that allows you to add, remove, or rearrange buttons for frequently used actions. To customize the toolbar, open the global configuration file described in Tip 1 and look for the toolbar.visible line. Uncomment this line to enable the toolbar. You can then modify the user.toolbar line to add or remove buttons, separated by spaces. Some available buttons include:
|(pipe symbol): Creates a separator between buttons.New: Creates a new file.Open: Opens an existing file.Save: Saves the current file.SaveAs: Saves the current file with a new name.
Once you have made your desired changes, save the file and restart SciTE for the changes to take effect.
Configure SciTE File Associations with Ubuntu
You can configure SciTE as the default text editor for specific file types on your Ubuntu system. To do this, follow these steps:
- Open the Settings app on your Ubuntu desktop.
- Navigate to Default Applications.
- Locate the Text Editor setting and select SciTE from the dropdown menu.
SciTE will open automatically when you double-click on files with the associated file types.
Additional SciTE Commands with Ubuntu 22.04 or 20.04
In this section, we will cover various additional commands that you may find useful when working with SciTE on Ubuntu Linux. Specifically, we will discuss how to update SciTE and remove (uninstall) the application if you no longer require it. The appropriate commands will depend on the installation method you used earlier.
Update SciTE on Ubuntu 22.04 or 20.04
To ensure you have the latest features and security updates, keeping SciTE up to date is essential. Depending on your installation method (APT or Flatpak), the commands to update SciTE will differ.
APT SciTE Update Method with Ubuntu
If you installed SciTE using the APT package manager, execute the following command in your terminal:
sudo apt upgrade && sudo apt upgradeThis command will update your system’s package list and upgrade any outdated packages, including SciTE.
Flatpak SciTE Update Method with Ubuntu
If you installed SciTE using Flatpak, use the following command to update the application:
flatpak updateThis command will update all installed Flatpak applications, including SciTE.
It’s a good idea to use the terminal update command even if you have auto-updates in your desktop GUI to ensure everything updates correctly.
Remove SciTE From Ubuntu 22.04 or 20.04
If you no longer need SciTE and wish to remove it from your system, use one of the following commands based on your original installation method:
APT SciTE Remove Method with Ubuntu
To remove SciTE installed via the APT package manager, execute the following command:
sudo apt remove sciteThis command will uninstall SciTE and remove any associated configuration files and data.
Flatpak SciTE Remove Method with Ubuntu
If you installed SciTE using Flatpak, use the following command to uninstall the application and delete its data:
flatpak uninstall --delete-data org.scintilla.SciTE -yClosing Thoughts
In conclusion, the article explored various SciTE text editor installation methods on Ubuntu Linux, such as using the APT package manager and Flatpak. It also outlined application launch procedures, offered start-up tips, and listed commands for updating and removing SciTE. Following this guide’s instructions equips you to use SciTE effectively on your Ubuntu Linux system.