7-Zip is a renowned file archiving tool recognized for its comprehensive features and outstanding performance. As open-source software, it invites developers and enthusiasts to delve into its core, promoting continuous improvement and innovation.
Here are some key features that set 7-Zip apart:
- Open-Source: Its source code is freely available, enhancing transparency and reliability. This allows the community to address any security concerns quickly.
- High Compression Ratio: With its unique 7z format, 7-Zip offers one of the highest compression ratios in the market, outperforming popular formats like ZIP and RAR.
- Multi-Language Support: Catering to a global audience, it supports over 80 languages, ensuring users from different linguistic backgrounds can easily use it.
- Format Compatibility: Beyond its native 7z format, 7-Zip is compatible with various other formats, including ZIP, RAR, TAR, GZIP, and more.
- AES-256 Encryption: To safeguard user data, 7-Zip provides AES-256 encryption for 7z and ZIP formats, ensuring top-notch security for your files.
The rise of user-friendly Linux distributions like Pop!_OS, an offshoot of Ubuntu, has amplified the need for efficient software tools. 7-Zip’s open-source foundation and robust features make it an ideal choice for Pop!_OS users. Now, let’s dive into how to install 7-Zip on Pop!_OS via the source.
Section 1: Install 7-Zip through Direct Binary Download
The best strategy for installing the latest version of 7-Zip on Pop!_OS involves downloading the binary file directly from the official 7-Zip website. This method requires you to choose the correct version and architecture compatible with your system. Once downloaded, the binary file is moved to a location on your system where it can be readily executed.
To illustrate this approach, we will use the latest version of 7-Zip at the time of writing, 23.01 (released on 2023-06-20), designed for the 64-bit Linux x86-64 architecture.
Step 1: Download the 7-Zip Binary
Download the 7-Zip binary using the wget command. Note that the command provided below is an example, and you should select the version and architecture matching your system’s specifications. 7-Zip provides different versions tailored to specific architectures.
wget https://7-zip.org/a/7z2301-linux-x64.tar.xzStep 2: Extract the Binary File
Upon successful download, the next step is to extract the contents from the tar file. This can be achieved by executing the tar command as follows:
tar xf 7z2301-linux-x64.tar.xzThis operation will yield a binary file named 7zz.
Step 3: Execute 7-Zip
At this point, you can run 7-Zip on your Pop!_OS by using the below command:
./7zzNote: that if you are running 7-Zip from a different working directory, you’ll have to provide the complete path to the binary. This can be mitigated by placing the binary in the /usr/local/bin directory, making it globally accessible.
Step 4: Move the Binary for System-wide Access
To move the binary to the /usr/local/bin directory, invoke the mv command with sudo privileges:
sudo mv 7zz /usr/local/binAs a result of this operation, you can access 7-Zip from any location within your filesystem by simply using the 7zz command.
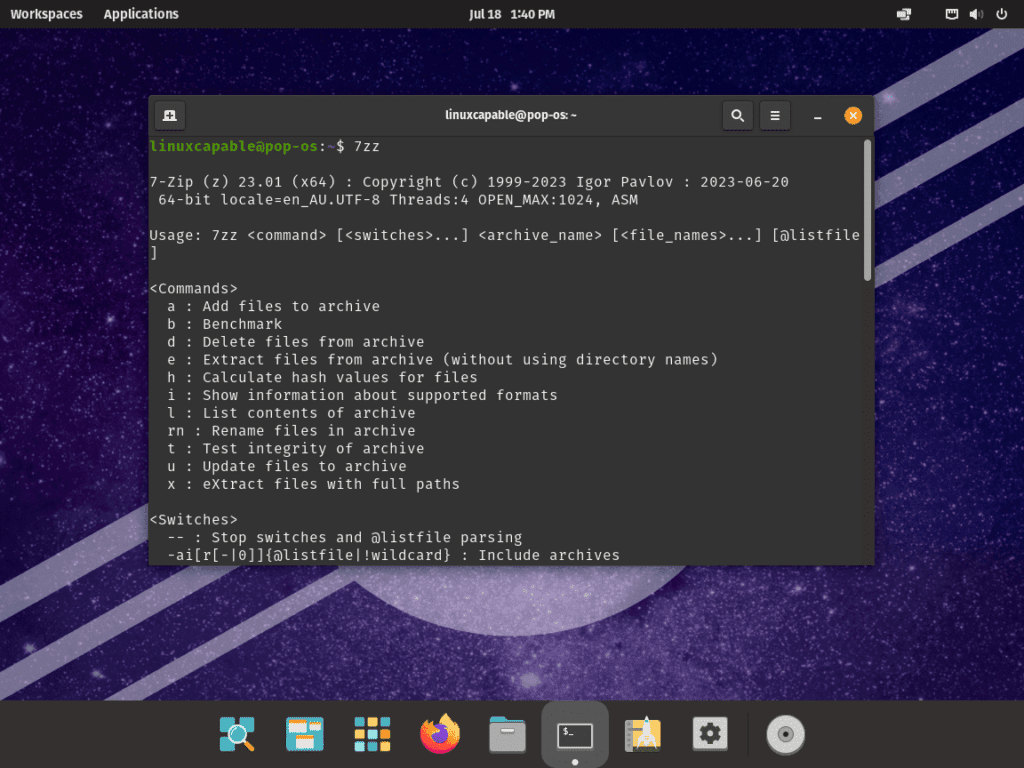
7zzSection 2: Basic Commands for 7-Zip Usage
Once 7-Zip has been installed on your Pop!_OS system, you can perform various operations, such as creating and extracting archives from the command line. Here’s an overview of common tasks you might need to perform with 7-Zip and the corresponding commands.
Compressing a File
To compress a file, use the command shown below. Here, archive.7z is the archive that will be created, and file.txt is the file you want to compress.
7z a archive.7z file.txtExtracting a File
If you want to extract a file from an archive, use the following command. This command will extract all the files from the archive.7z.
7z x archive.7zViewing the Contents of an Archive
To list the contents of an archive without extracting them, you can use the following command:
7z l archive.7zStep 4: Adding Files to an Existing Archive
If you need to add more files to an existing archive, use the command shown below. This command adds file2.txt to the archive.7z.
7z u archive.7z file2.txtStep 5: Extracting Files with Full Path
If you want to extract files while preserving their full path in a specific location, you can use the -o option, followed by the path where you want to extract the files.
7z x archive.7z -o/path/to/extract/In addition to these common tasks, 7-Zip also offers the ability to test the integrity of an archive and to remove files from an archive.
Testing Archive Integrity
To test an archive for any errors, use the following command:
7z t archive.7zDeleting Files from an Archive
If you want to delete files from an existing archive, you can use the following command:
7z d archive.7z file_to_delete.txtThese commands provide a foundation to perform a variety of tasks with 7-Zip’s command-line interface on your Pop!_OS system.
Wrapping Up: Installation of 7-Zip on Pop!_OS
In this guide, we walked through the installation and utilization of 7-Zip on Pop!_OS, showcasing practical command-line operations for compressing, extracting, and managing archives. With 7-Zip on board, handling file archives on your Pop!_OS system becomes a streamlined experience.


