
Large C and C++ projects are easier to manage when the editor, debugger, build system, and code indexer stay in one workspace. That workflow is the reason to install KDevelop on Ubuntu for C, C++, QML, Python, and PHP projects.
Ubuntu 26.04 LTS (Resolute Raccoon), 24.04 LTS (Noble Numbat), and 22.04 LTS (Jammy Jellyfish) are covered. Start with the distro-integrated APT package unless you prefer a store-style update path or need KDE’s contributor source-build workflow.
Install KDevelop on Ubuntu
Start with a normal package refresh, then choose the package source that fits your workflow. APT is best for most Ubuntu users, Snap is the simplest KDE-published current channel, and Flatpak is useful when you already manage desktop apps through Flathub.
Update Ubuntu Before Installing KDevelop
Refresh the package index and apply pending system updates before installing development tools:
sudo apt update && sudo apt upgradeThese commands use
sudofor tasks that need administrator privileges. If your account is not configured for sudo yet, add a user to sudoers on Ubuntu first.
Choose a KDevelop Package Source on Ubuntu
| Method | Source | Update behavior | Best fit |
|---|---|---|---|
| APT | Ubuntu Universe repository | Updates with Ubuntu packages | Most users who want distro-managed dependencies and predictable maintenance |
| Snap | KDevelop on Snapcraft | Automatic Snap refreshes | Users who want the KDE-published Snap and classic confinement for toolchain access |
| Flatpak | KDevelop on Flathub | Updates through flatpak update | Users who prefer Flathub and sandboxed desktop app management |
| Source build | KDE Builder documentation | Manual rebuilds | Contributors testing patches or building unreleased KDE code |
If you searched for a KDevelop AppImage or a standalone Ubuntu .deb download, the current KDevelop Linux download page does not list those as normal Ubuntu paths. Use APT, Snap, Flatpak, or KDE’s source-build documentation instead.
Start with APT unless you have a specific reason to use another channel. Snap and Flatpak update outside Ubuntu’s package cadence, but KDevelop still needs compilers, debuggers, build systems, and project tools from the host when you work on real projects.
Install KDevelop with APT
The APT package comes from Ubuntu’s Universe repository. If apt reports that it cannot locate kdevelop, enable Universe and Multiverse repositories on Ubuntu, then rerun sudo apt update.
Check the available package first if you want to confirm the exact Ubuntu build before installing:
apt-cache policy kdevelopOn Ubuntu 26.04, relevant output includes:
kdevelop:
  Installed: (none)
  Candidate: 4:25.12.3-0ubuntu1
  Version table:
     4:25.12.3-0ubuntu1 500
        500 http://au.archive.ubuntu.com/ubuntu resolute/universe amd64 Packages
Install KDevelop with APT:
sudo apt install kdevelopConfirm the installed package state:
dpkg-query -W -f='${Package} ${Version} ${Status}\n' kdevelopExpected output on Ubuntu 26.04 is similar to:
kdevelop 4:25.12.3-0ubuntu1 install ok installed
| Ubuntu release | Codename | APT KDevelop package |
|---|---|---|
| Ubuntu 26.04 LTS | resolute | 4:25.12.3-0ubuntu1 |
| Ubuntu 24.04 LTS | noble | 4:23.08.5-0ubuntu3 |
| Ubuntu 22.04 LTS | jammy | 4:21.12.3-0ubuntu1 |
Install KDevelop with Snap
Ubuntu includes Snap on standard installations. KDevelop’s Snap package is published by KDE and uses classic confinement so the IDE can work with files, compilers, and debuggers outside a strict sandbox.
Check the current stable channel before installing:
snap info kdevelopRelevant output includes the KDE publisher, stable channel, and classic confinement note. The stable channel line follows this pattern because the version, revision, and size can change when KDE refreshes the Snap:
publisher: KDE**
channels:
  latest/stable: [version] [date] ([revision]) [size] classic
Install the Snap package:
sudo snap install kdevelop --classicVerify the installed Snap:
snap list kdevelopThe Notes column should show classic, and the publisher should be KDE.
The Snap version changes when KDE refreshes the stable channel; the important checks are the KDE publisher, the latest/stable channel, and the classic confinement note.
Install KDevelop with Flatpak
Flatpak is not pre-installed on Ubuntu. Install Flatpak and configure Flathub first, or follow the dedicated Flatpak setup guide for Ubuntu if your system does not have the flatpak command yet.
Add Flathub at system scope. Flatpak uses system scope by default when the command runs with sudo, so no separate --system flag is needed:
sudo flatpak remote-add --if-not-exists flathub https://dl.flathub.org/repo/flathub.flatpakrepoConfirm the remote exists:
flatpak remotes --columns=name,optionsRelevant output includes:
flathub system
Check the KDevelop Flatpak record before installing:
flatpak remote-info flathub org.kde.kdevelopRelevant output includes the app ID and stable branch. The runtime line should reference org.kde.Sdk, but the runtime branch can move as Flathub updates the app:
        ID: org.kde.kdevelop
       Ref: app/org.kde.kdevelop/x86_64/stable
    Branch: stable
Install KDevelop from Flathub:
sudo flatpak install flathub org.kde.kdevelop -yVerify the installed Flatpak:
flatpak info org.kde.kdevelopThe output should list org.kde.kdevelop with flathub as the origin.
The KDE runtime branch can move as Flathub updates the app, so treat the runtime line as a compatibility check rather than a fixed value to type manually.
Add KDevelop Project Tools and Plugins
KDevelop is the IDE, not the whole build environment. The APT package recommends GCC, GDB, Make, Clang, and kapptemplate, but Snap and Flatpak users may still need to install host-side project tools separately.
For a practical C++ setup, install the common compiler, debugger, build-system, and Git packages:
sudo apt install build-essential gdb clang cmake git ninja-buildThe guides to install GCC on Ubuntu, install CMake on Ubuntu, and install or upgrade Git on Ubuntu cover those tools in more detail if you need newer branches or extra configuration.
Some older search results mention packages such as kdevelop-plugin-kde or kdevelop-templates. Those are not current Ubuntu package names on supported LTS releases. Use plasma-kdevelop for Plasma integration, kdevelop-php for PHP support, and kdevelop-python where Ubuntu packages it.
On Ubuntu 26.04 and 24.04, install the optional KDevelop plugins with:
sudo apt install kdevelop-php kdevelop-python plasma-kdevelopOn Ubuntu 22.04, kdevelop-python is not packaged, so keep the optional plugin command to the packages that exist there:
sudo apt install kdevelop-php plasma-kdevelopIf project templates are missing because APT recommendations were disabled, install kapptemplate explicitly:
sudo apt install kapptemplateLaunch KDevelop on Ubuntu
KDevelop is a graphical IDE. The package can install on desktop, server, or minimal Ubuntu systems, but launching the application still requires a desktop session or another graphical display path.
Launch KDevelop from Terminal
APT installs a normal host binary:
kdevelopSnap uses the Snap launcher:
snap run kdevelopFlatpak uses the application ID:
flatpak run org.kde.kdevelopLaunch KDevelop from Applications Menu
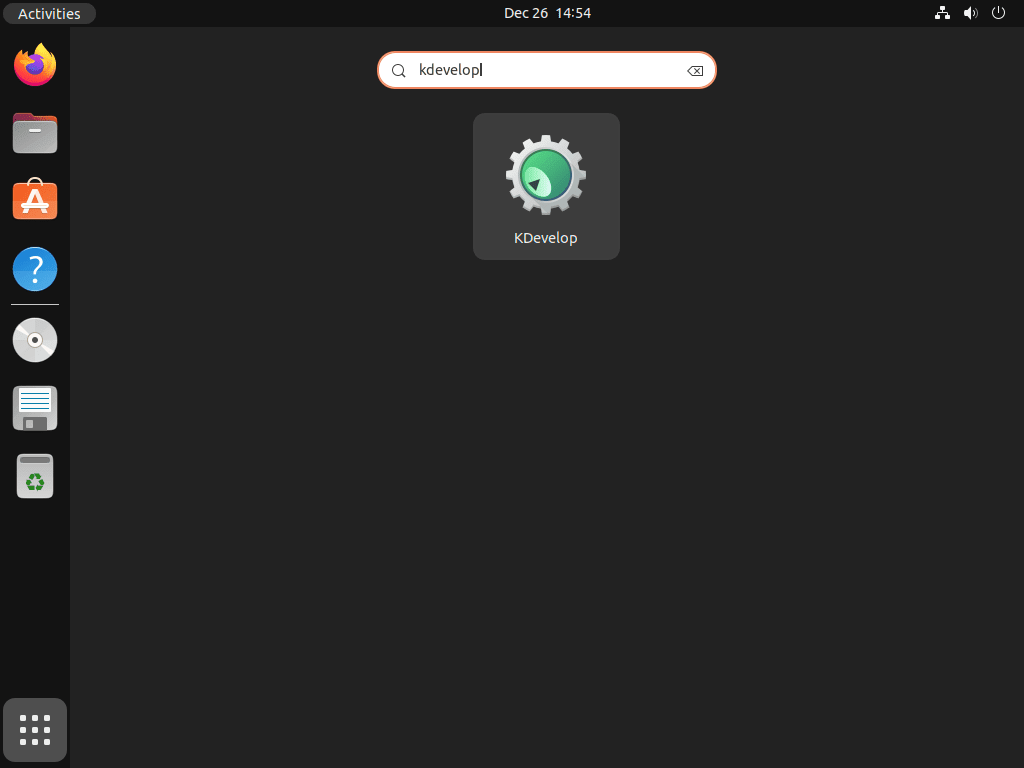
On Ubuntu Desktop, open Activities, select Show Applications, then search for KDevelop.
Activities > Show Applications > KDevelop
The first launch can take a few seconds while KDevelop initializes plugins and indexes any project you open.

Build KDevelop from Source on Ubuntu
Source builds are best left to contributors, testers, and developers working on KDevelop itself. KDE’s current build workflow uses kde-builder, which installs distribution packages from KDE-maintained dependency metadata instead of relying on a fixed Ubuntu package list in an article.
Use the official KDE Builder setup documentation for the maintained workflow. It covers the initial setup script, kde-builder --generate-config, kde-builder --install-distro-packages, Qt setup, Git configuration, and the next build step.
Update KDevelop on Ubuntu
Use the update command that matches the installation method.
APT installation:
sudo apt update
sudo apt install --only-upgrade kdevelop
Snap installation:
sudo snap refresh kdevelopFlatpak installation:
sudo flatpak update org.kde.kdevelop -ySource build: Follow KDE Builder’s update and rebuild steps from the upstream documentation, because branch names and dependency metadata can change with KDE development.
Remove KDevelop from Ubuntu
Remove KDevelop with the same package manager you used to install it.
APT installation:
sudo apt remove kdevelopAPT may leave dependency packages that were installed only for KDevelop. Preview that cleanup before removing anything else:
sudo apt autoremove --dry-runIf the preview only lists packages you no longer need, run:
sudo apt autoremoveSnap installation:
sudo snap remove --purge kdevelopFlatpak installation:
sudo flatpak remove org.kde.kdevelop -y
sudo flatpak remove --unused -y
System-scope Flatpak removal and per-user sandbox cleanup are separate tasks. After removing the app, inspect ~/.var/app/org.kde.kdevelop/ and delete it manually only if you no longer need that user’s KDevelop Flatpak settings or cached state.
KDevelop can leave user configuration and project state under paths such as
~/.config/kdeveloprc,~/.local/share/kdevelop/, and method-specific data directories such as~/snap/kdevelop/or~/.var/app/org.kde.kdevelop/. Back up anything important before deleting user data manually.
Troubleshoot KDevelop on Ubuntu
KDevelop Package Not Found with APT
kdevelop lives in Universe on Ubuntu 26.04, 24.04, and 22.04. If APT cannot find it, enable Universe with Ubuntu’s Software & Updates tool or the linked repository guide, refresh the package index, then rerun the install command.
KDevelop Opens but Projects Cannot Build
Install the host build tools if KDevelop opens but cannot compile, debug, or configure your project:
sudo apt install build-essential gdb clang cmake git ninja-buildRestart KDevelop after installing these packages so it can rescan available compilers, debuggers, and build systems.
Flatpak KDevelop Cannot Find Host Compilers
The Flatpak build runs inside a sandbox and uses the KDE SDK runtime, so host toolchain discovery can be less direct than the APT or Snap methods. For regular C and C++ development against Ubuntu system libraries, the APT or Snap package is usually the cleaner choice.
KDevelop Indexing Feels Slow
Large C++ projects can make the background parser work hard. Use KDevelop’s project settings to exclude generated build directories, close projects you are not actively editing, and tune background parser threads under Settings > Configure KDevelop > Language Support > Background Parser.
Conclusion
KDevelop is ready on Ubuntu with a package source that matches your update preference: APT for distro integration, Snap for the KDE-published current build, or Flatpak for Flathub workflows. Add the compiler and build tools your projects need, and install Kate on Ubuntu if you want a lighter KDE editor beside the full IDE.

Formatting tips for your comment
You can use basic HTML to format your comment. Useful tags currently allowed in published comments:
<code>command</code>command<strong>bold</strong><em>italic</em><a href="https://example.com">link</a><blockquote>quote</blockquote>