When a video needs a smaller file size, a different container, or a device-friendly preset, HandBrake gives Fedora users a graphical transcoder without requiring a hand-built FFmpeg command. To install HandBrake on Fedora, use the upstream-published Flathub build for the current HandBrake Team release, or use RPM Fusion when you specifically want native RPM packages managed by DNF.
Fedora does not ship HandBrake in its default repositories, so the source you choose matters. Flathub provides the official Linux Flatpak release, while RPM Fusion provides third-party Fedora RPMs for the GUI package and the HandBrakeCLI command-line encoder.
Install HandBrake on Fedora
Choose a HandBrake Installation Method
Use Flathub if you want the release published for Linux by the HandBrake Team. Use RPM Fusion if you prefer Fedora-native RPM packages, DNF-managed updates, and the host-side HandBrakeCLI binary.
| Method | Source | What You Get | Best Fit |
|---|---|---|---|
| Flathub Flatpak | Upstream-published Linux release | Current HandBrake GUI plus Flatpak CLI helper, updated with flatpak update | Most desktop users who want the official Linux release and normal Flatpak updates |
| RPM Fusion | Third-party Fedora repository | HandBrake-gui for the GTK app and HandBrake for HandBrakeCLI | Users who want native RPM packages or DNF-only package management |
The HandBrake Team publishes Linux Flatpak builds and does not provide a native Fedora RPM. RPM Fusion is useful for RPM workflows, but support for RPM Fusion builds comes from RPM Fusion and the Fedora community, not the HandBrake project.
Update Fedora Before Installing HandBrake
Refresh Fedora package metadata before adding repositories or installing RPM packages. This also applies pending system updates that can affect multimedia libraries and Flatpak integration.
sudo dnf upgrade --refreshWhen no updates are pending, the command returns output ending with:
Nothing to do.
Complete!
Install HandBrake from Flathub
Fedora Workstation includes Flatpak by default, but Flathub is opt-in. Add the system-wide Flathub remote first so every desktop user on the system can launch the same HandBrake installation.
sudo flatpak remote-add --if-not-exists flathub https://dl.flathub.org/repo/flathub.flatpakrepoVerify that Fedora can see the Flathub remote:
flatpak remotes --columns=name,optionsRelevant output includes both Fedora’s default remote and Flathub:
fedora  system,oci
flathub system
Install HandBrake from Flathub:
sudo flatpak install flathub fr.handbrake.ghbConfirm the installed Flatpak record after the transaction finishes:
flatpak info fr.handbrake.ghbRelevant fields should identify the Flathub app ID, release branch, version, origin, and system installation scope:
            ID: fr.handbrake.ghb
           Ref: app/fr.handbrake.ghb/x86_64/stable
        Branch: stable
       Version: 1.11.1
        Origin: flathub
  Installation: system
Flathub currently grants HandBrake broad file and device access so it can open media files and use hardware encoders. Treat the Flatpak method as the upstream-published Linux package and Flatpak update path, not as a strict isolation boundary.
Install HandBrake with RPM Fusion
RPM Fusion Free is the Fedora RPM source for HandBrake. If RPM Fusion is already enabled, skip the repository command and go straight to the package installation.
sudo dnf install https://mirrors.rpmfusion.org/free/fedora/rpmfusion-free-release-$(rpm -E %fedora).noarch.rpmThe $(rpm -E %fedora) expression expands to your Fedora release number, so the same command follows your installed Fedora version.
Verify that the RPM Fusion Free repositories are enabled:
dnf repo list --enabled rpmfusion-free rpmfusion-free-updatesrepo id repo name rpmfusion-free RPM Fusion for Fedora 44 - Free rpmfusion-free-updates RPM Fusion for Fedora 44 - Free - Updates
Install both RPM packages for the complete Fedora RPM workflow:
sudo dnf install HandBrake-gui HandBrakeThe GUI package installs the ghb launcher, and the CLI package installs HandBrakeCLI. Verify the installed package versions with RPM:
rpm -q HandBrake HandBrake-guiHandBrake-1.10.2-5.fc44.x86_64 HandBrake-gui-1.10.2-5.fc44.x86_64
Confirm that Fedora can find both installed commands:
command -v HandBrakeCLI ghb/usr/bin/HandBrakeCLI /usr/bin/ghb
If you only want the graphical app, install
HandBrake-gui. If you only need batch encoding from scripts or terminals, installHandBrakeforHandBrakeCLI.
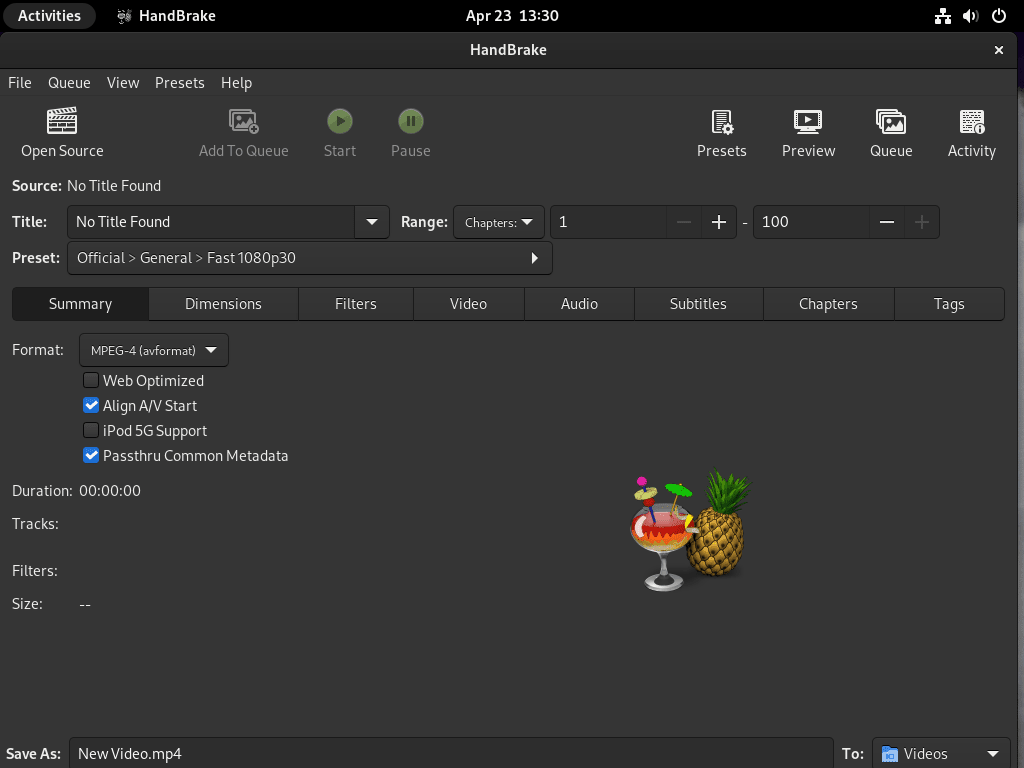
Launch HandBrake on Fedora
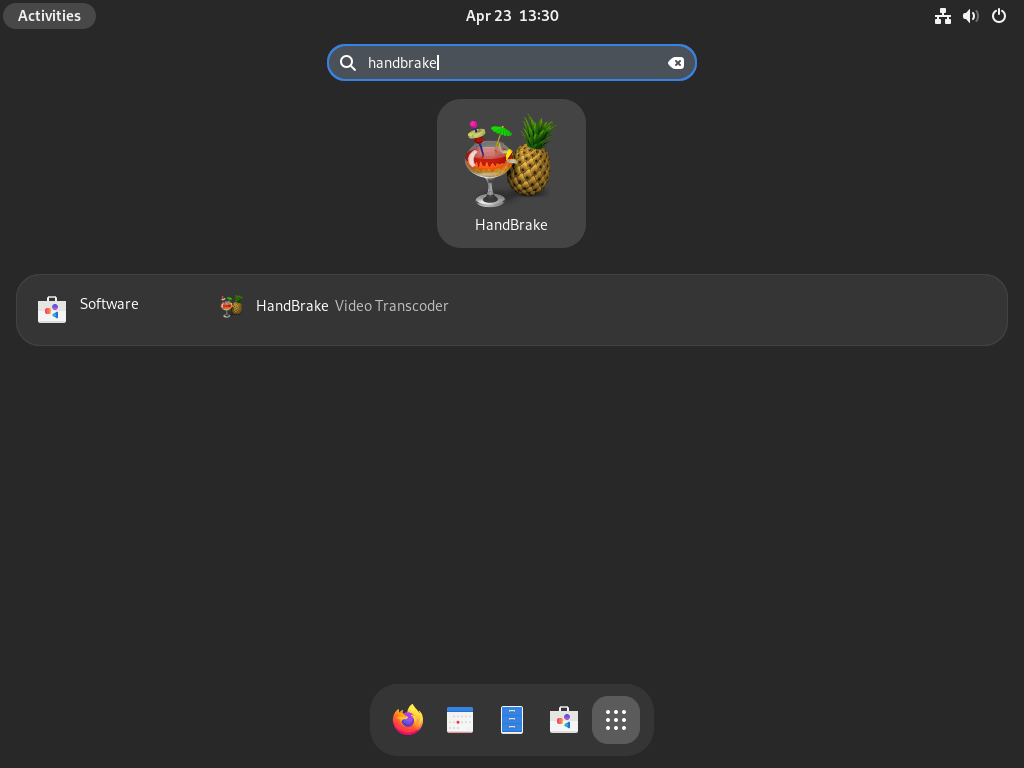
After installation, open Activities and search for HandBrake. Fedora may need you to sign out and back in before a newly installed Flatpak launcher appears in the applications grid.
For terminal launch, use the command that matches your install method:
ghbFlatpak installations use the Flatpak app ID instead:
flatpak run fr.handbrake.ghbUse HandBrakeCLI on Fedora
The RPM Fusion CLI package exposes HandBrakeCLI directly on your shell path:
HandBrakeCLI --helpThe Flatpak package also includes the CLI, but you run it through the Flatpak sandbox:
flatpak run --command=HandBrakeCLI fr.handbrake.ghb --helpBoth commands show HandBrakeCLI options. Add your input file, output file, preset, and encoder options after the command when you build a real batch job.
Update or Remove HandBrake on Fedora
Update HandBrake
For the Flathub method, update HandBrake with Flatpak:
sudo flatpak update fr.handbrake.ghbFor the RPM Fusion method, use Fedora’s normal DNF upgrade path. This keeps HandBrake and its codec libraries aligned with the enabled RPM Fusion repositories:
sudo dnf upgrade --refreshRemove the Flathub Package
Remove the system-wide HandBrake Flatpak with:
sudo flatpak uninstall fr.handbrake.ghbVerify that the application record is gone:
flatpak list --system --app --columns=application | grep -Fx fr.handbrake.ghb || echo "NOT_INSTALLED"NOT_INSTALLED
The next command permanently deletes HandBrake’s Flatpak settings, presets, queue data, and other local state for your Linux user account. Export any custom presets you want to keep before removing this directory.
rm -rf ~/.var/app/fr.handbrake.ghbOptionally review unused Flatpak runtimes after removal:
sudo flatpak uninstall --unusedRemove the RPM Fusion Packages
Remove the native RPM packages with DNF:
sudo dnf remove HandBrake-gui HandBrakeVerify the packages are no longer installed:
rpm -q HandBrake HandBrake-gui || truepackage HandBrake is not installed package HandBrake-gui is not installed
Leave RPM Fusion enabled if you use it for FFmpeg, VLC, drivers, codecs, or other packages. If you added RPM Fusion only for HandBrake, remove the release package after uninstalling HandBrake:
sudo dnf remove rpmfusion-free-releaseTroubleshoot HandBrake on Fedora
Flatpak Install Reports System Operation Not Allowed
If the Flathub remote was added at system scope, a bare install command can fail because the user account cannot deploy system apps without privilege.
Flatpak system operation Deploy not allowed for user
Check the remote scope:
flatpak remotes --columns=name,optionsIf Flathub shows system, rerun the install with sudo:
sudo flatpak install flathub fr.handbrake.ghbFlathub Remote Is Disabled
If Flatpak says the Flathub remote is disabled, re-enable the remote and retry the HandBrake install.
Can't fetch summary from disabled remote 'flathub'
sudo flatpak remote-modify --enable flathub
flatpak remotes --columns=name,options
HandBrakeCLI Prints Hardware Encoder Warnings
HandBrakeCLI can probe hardware encoders while printing help or version information. On systems without NVIDIA, Intel Quick Sync Video, or AMD VCN support, warnings like these do not mean the package failed to install:
Cannot load libnvidia-encode.so.1
qsv: not available on this system
Verify the package state for the method you installed, then open HandBrake from a graphical session or run a small encode job with a known-good input file. RPM Fusion users can check the RPM packages with:
rpm -q HandBrake HandBrake-guiFlatpak users can check the Flathub app record instead:
flatpak info fr.handbrake.ghbHardware Encoding Is Missing
Hardware encoding depends on the GPU, Mesa or vendor driver stack, and the encoder HandBrake exposes for that hardware. Install libva-utils first so you can inspect VA-API support:
sudo dnf install libva-utils
vainfo
For AMD and Intel systems, look for H.264 or HEVC encode entries such as VAEntrypointEncSlice. If RPM Fusion is enabled and Fedora’s default Mesa stack does not expose the codec entry points you need, install the RPM Fusion Freeworld VA-API drivers and retest:
sudo dnf install mesa-va-drivers-freeworld
vainfo
If the encoder still does not appear, use HandBrake’s software encoders or check the HandBrake video codec documentation for the current hardware encoder support matrix.
Source Video Still Will Not Open
When one file fails but other videos open normally, first confirm the source file plays in another media player. Install VLC Media Player on Fedora if you need a quick playback check.
For RPM Fusion systems, start with the GStreamer plug-ins that add FFmpeg/LibAV support and RPM Fusion’s Freeworld plug-ins without replacing Fedora’s FFmpeg package set:
sudo dnf install gstreamer1-plugin-libav gstreamer1-plugins-bad-freeworldRestart HandBrake after installing multimedia packages, then import the same source again. If you need the full RPM Fusion FFmpeg stack, follow the dedicated install FFmpeg on Fedora workflow because replacing Fedora’s ffmpeg-free packages may require a swap or --allowerasing transaction. If VLC also fails to play the file, the input may be damaged or encrypted rather than missing a Fedora package.
Conclusion
HandBrake is ready on Fedora through either the upstream Flathub package or RPM Fusion’s native RPMs, with both GUI and CLI workflows available. For broader media work, use VLC to test difficult source files, install FFmpeg for command-line automation, or install OBS Studio on Fedora before transcoding new recordings.

Formatting tips for your comment
You can use basic HTML to format your comment. Useful tags currently allowed in published comments:
<code>command</code>command<strong>bold</strong><em>italic</em><a href="https://example.com">link</a><blockquote>quote</blockquote>