This guide will demonstrate how to install GCC on Ubuntu 24.04, 22.04, or 20.04 LTS Linux releases using the command-line terminal with the APT and Ubuntu’s default repository version or by installing a specific or newer version from the Ubuntu Toolchain PPA.
The GNU Compiler Collection (GCC) stands as a cornerstone in the realm of software development, equipping programmers with a robust suite of tools to compile a wide array of programming languages. Its significance spans across various aspects of development, from enabling the creation of high-performance applications to supporting a multitude of programming paradigms.
Below are key highlights that underscore the utility and versatility of GCC:
- Comprehensive Language Support: Beyond C and C++, GCC extends its capabilities to include Objective-C, Fortran, Ada, Go, and more, facilitating a diverse development ecosystem.
- Advanced Optimization Techniques: GCC implements cutting-edge optimization strategies crucial for developing efficient and high-speed applications.
- Cross-Platform Compatibility: Its support for cross-compiling enables developers to build applications for different platforms and architectures seamlessly.
- Robust Debugging Tools: GCC comes equipped with extensive debugging features, allowing for detailed examination and troubleshooting of code.
- Open Source Advantage: As an open-source project, GCC benefits from continuous updates and improvements by a global community of developers.
- Extensible Architecture: Its modular design allows for the addition of new languages and features, ensuring GCC remains at the forefront of technology.
- Compliance with Standards: GCC strives to adhere closely to industry standards for C, C++, and other languages, promoting code portability and compatibility.
- Community and Documentation Support: A strong community and comprehensive documentation assist developers in navigating challenges and leveraging GCC’s full potential.
As we delve into the technical specifics of installing GCC on Ubuntu, it’s crucial to appreciate the blend of traditional and cutting-edge features that make GCC an indispensable tool for developers.
Let’s dive into the installation process.
Install GCC on Ubuntu via APT
Update Ubuntu before GCC Installation on Ubuntu
Before you begin, update your system to ensure all existing packages are up to date to avoid any conflicts during the installation.
sudo apt update
sudo apt upgrade
Select GCC Installation Method on Ubuntu
Method 1: Install GCC with the Ubuntu Repository
The first recommended option to install GCC is to install either the GCC package directly or the build-essential package containing GCC and many other essential development tools such as make, g++, and dpkg-dev.
To begin the installation, use the following command.
sudo apt install gccOr
sudo apt install build-essentialOnce installed, verify the installation and check the version using the following command.
gcc --versionMethod 2: Install GCC with Ubuntu via Toolchain PPA
The following method will install the latest GCC Compiler or alternative versions you may seek from the Ubuntu Toolchain PPA.
To import this PPA, run the following command:
sudo add-apt-repository ppa:ubuntu-toolchain-r/ppa -yAfter importing the PPA, update your Ubuntu sources list to reflect the changes made by running the following command in your terminal:
sudo apt updateTo install a specific version of the GCC compiler on your Ubuntu system using the Ubuntu ToolChain PPA, use the following commands in your terminal:
- GCC Compiler 13
sudo apt install g++-13 gcc-13- GCC Compiler 12
sudo apt install g++-12 gcc-12- GCC Compiler 11
sudo apt install g++-11 gcc-11- GCC Compiler 10
sudo apt install g++-10 gcc-10- GCC Compiler 9
sudo apt install g++-9 gcc-9After running the appropriate command for the version you want to install, the GCC compiler will be successfully installed on your Ubuntu system.
Configure Alternative Versions of GCC on Ubuntu
You may need to install multiple GCC compiler versions as a developer or specific user. Follow these steps to configure alternative versions of GCC on your Ubuntu system.
First, install the versions of GCC you need. You can install multiple versions of GCC along with G++ using the following command:
sudo apt install gcc-9 g++-9 gcc-10 g++-10 gcc-11 g++-11 g++-12 gcc-12 g++-13 gcc-13Once you have installed the necessary versions, use the update-alternatives command to configure the priority of each version. The following example command sets the priority split between GCC 9, GCC 10, GCC 11, and the latest GCC 12.
sudo update-alternatives --install /usr/bin/gcc gcc /usr/bin/gcc-13 90 --slave /usr/bin/g++ g++ /usr/bin/g++-13 --slave /usr/bin/gcov gcov /usr/bin/gcov-13

sudo update-alternatives --install /usr/bin/gcc gcc /usr/bin/gcc-12 100 --slave /usr/bin/g++ g++ /usr/bin/g++-12 --slave /usr/bin/gcov gcov /usr/bin/gcov-12

sudo update-alternatives --install /usr/bin/gcc gcc /usr/bin/gcc-11 80 --slave /usr/bin/g++ g++ /usr/bin/g++-11 --slave /usr/bin/gcov gcov /usr/bin/gcov-11

sudo update-alternatives --install /usr/bin/gcc gcc /usr/bin/gcc-10 60 --slave /usr/bin/g++ g++ /usr/bin/g++-10 --slave /usr/bin/gcov gcov /usr/bin/gcov-10

sudo update-alternatives --install /usr/bin/gcc gcc /usr/bin/gcc-9 40 --slave /usr/bin/g++ g++ /usr/bin/g++-9 --slave /usr/bin/gcov gcov /usr/bin/gcov-9
The above commands set GCC 12 as the highest priority with a value of 100. However, you can configure the priorities based on your preferences, such as if you need to work with the latest GCC 13.
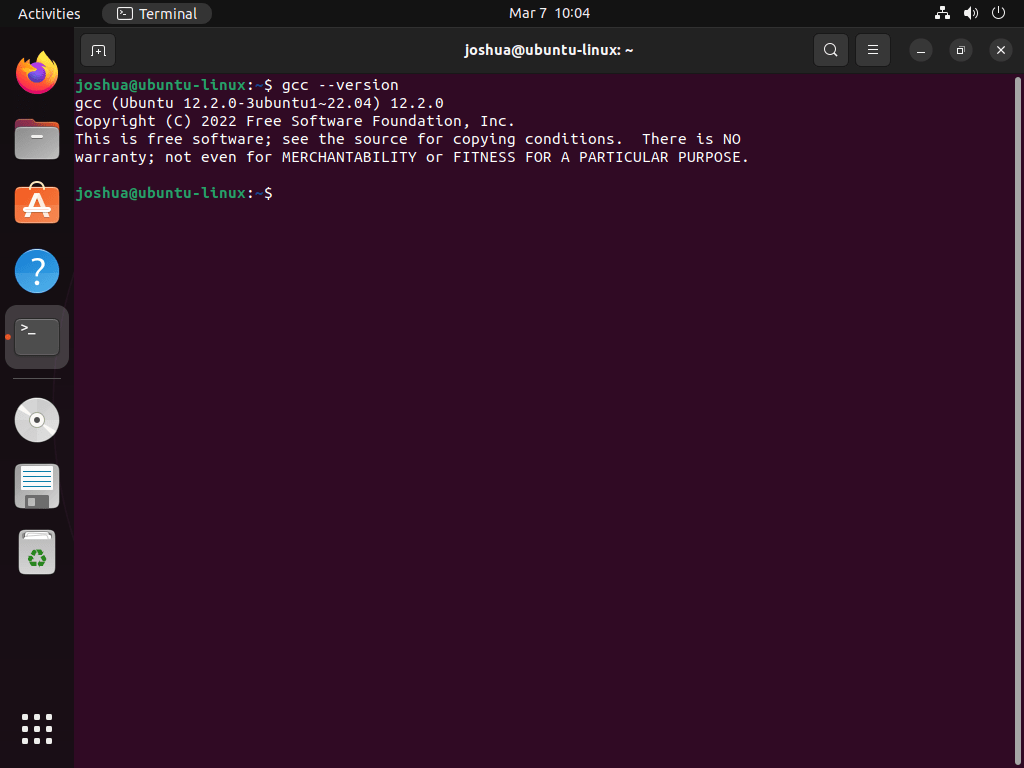
To confirm that GCC 12 is the default version on your system, run the following command:
gcc --versionExample output:
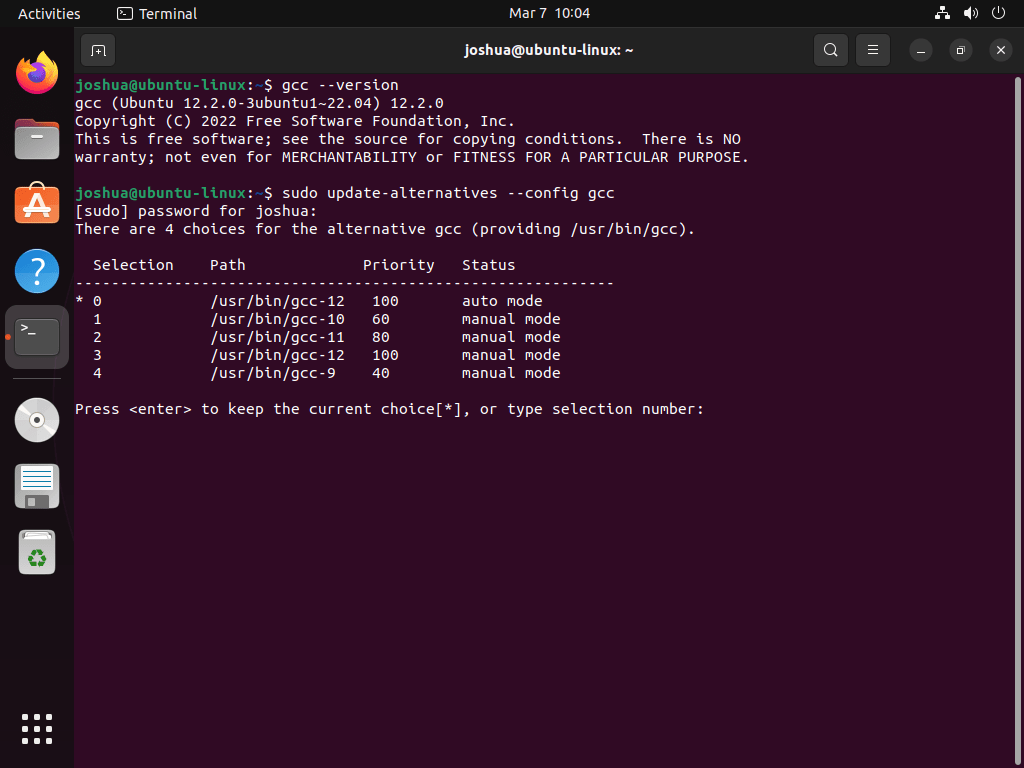
You can reconfigure the default GCC version on your system by using the update-alternatives command. First, use the following command to list the priorities you previously set:
sudo update-alternatives --config gccExample output:
This command will display a list of installed GCC versions and their priorities. You can then select the default version by entering the corresponding number.
That’s it! You have successfully configured alternative versions of GCC on your Ubuntu system.
Create a Test Application on Ubuntu (Optional)
To test compiling with GCC, create the famous “Hello World” program in C using any text editor. This tutorial will use nano.
Open the nano text editor and create a new file named hello.c:
nano hello.cAdd the following code to the file:
#include <stdio.h>
int main()
{
   printf("Hello, World from Linuxcapable.com!");
   return 0;
}
Save the file by pressing CTRL+O, then exit nano by pressing CTRL+X.
To compile the Hello World program, use the following command:
gcc hello.c -o helloThis command compiles the program and generates an executable file named hello.
Next, run the compiled program by entering the following command:
./helloYou should see the following output in your terminal:
Hello, World from Linuxcapable.com!Conclusion
Once installed, GCC can compile and run C and C++ programs on your Ubuntu system. With the addition of the manual pages package, you can also access comprehensive documentation on how to use GCC and its various features. Whether a novice or an experienced developer, having GCC installed on your Ubuntu system is essential for developing and running C and C++ programs.
For further reading and information, visit the GCC official documentation.


