Ubuntu’s repositories stop short of packaging Zoom, so the practical choice is which upstream or store channel you trust for the desktop client. To install Zoom on Ubuntu, use Zoom’s official .deb package for the vendor build, Snap for automatic background refreshes, or Flatpak when you prefer a sandboxed app.
The workflows below cover Ubuntu 26.04, 24.04, and 22.04 LTS on 64-bit x86 hardware. Zoom Workplace handles meetings, webinars, chat, and screen sharing on Linux, while the browser client remains the fallback for unsupported CPU architectures or systems where you cannot install desktop packages.
Install Zoom on Ubuntu
Three installation paths are available, but they do not provide the same source, update behavior, or architecture coverage.
| Method | Source | Current Scope | Updates | Best For |
|---|---|---|---|---|
| .deb Package | Zoom Download Center | Official vendor package, amd64 | Manual re-download and reinstall | Most users who want the Zoom-published Linux build |
| Snap | Snap Store | Unofficial repack by Oliver Grawert, amd64 | Automatic through snapd | Users who accept the community repack for hands-off updates |
| Flatpak | Flathub | Unverified Flathub wrapper, x86_64 | Automatic through Flatpak and Flathub metadata | Users who want Flatpak isolation and already use Flathub |
The official .deb package is the recommended path for most Ubuntu desktops. It comes directly from Zoom and exposes the normal zoom launcher. Snap and Flatpak are useful when their update model or sandboxing matters more than using the vendor package directly.
The methods in this article target amd64 or x86_64 Ubuntu systems. The current Zoom
.debpackage, Snap stable channel, and Flathub record do not provide ARM builds for these workflows. On ARM devices, use Zoom in a supported browser or confirm a current package from Zoom’s Download Center before proceeding.
Update Ubuntu Before Installing Zoom
Refresh your package lists and apply pending updates before installing a desktop client with several multimedia dependencies:
sudo apt update && sudo apt upgradeThese commands use
sudofor tasks that need root privileges. If your account cannot run administrative commands yet, follow the guide to add a new user to sudoers on Ubuntu.
Install Zoom Using the Official .deb Package
Zoom’s direct .deb package is not an APT repository package. Download the current installer first, then let APT resolve the local package dependencies.
Download the package with wget on Linux. The -O flag uses a capital letter O and saves the file with a predictable name:
wget -O zoom_amd64.deb https://zoom.us/client/latest/zoom_amd64.debCheck the package version and architecture before installing it:
dpkg-deb -f zoom_amd64.deb Version ArchitectureAt validation time, the current package reported this version and architecture. Your version can be newer after Zoom publishes a later Linux build, but the architecture should remain amd64 for this installer:
Version: 7.0.0.1666
Architecture: amd64
Install the downloaded package with APT:
sudo apt install ./zoom_amd64.debVerify that Ubuntu registered the Zoom launcher:
command -v zoomExpected output:
/usr/bin/zoom
Confirm the installed package version:
dpkg-query -W -f='${Version}\n' zoomThe command prints the installed Zoom package version. It should match the package version you checked before installation unless Zoom has already published a newer build and you downloaded the installer again.
On Ubuntu 26.04 and 24.04, the current Zoom
.debpackage installs its own AppArmor profile at/etc/apparmor.d/zoomwhen the system has the AppArmor 4.0 ABI file. Ubuntu 22.04 does not use that profile path. Do not create a custom Zoom AppArmor profile unless Zoom support or a verified package note specifically requires it.
Install Zoom Using Snap
The Zoom Snap uses the Snap Store’s update model, but it is an unofficial repack of Zoom’s Debian package rather than a build published by Zoom. Check the channel details first if package freshness matters to you.
The Linux grep command guide can help if you want to adjust the filtered package details shown below.
snap info zoom-client | grep -E '^(publisher:|store-url:| latest/stable:)'The output should identify Oliver Grawert (ogra) as the publisher, show the Snap Store URL, and include a latest/stable channel line. The version, revision, date, and size on that line can change as the repack updates.
Most standard Ubuntu installs already include snapd. If snap is missing on a minimal or customized system, install snapd first:
sudo apt install snapdInstall the Zoom Snap:
sudo snap install zoom-clientVerify the installed Snap package:
snap list zoom-clientThe installed package list should show zoom-client, the latest/stable tracking channel, and ogra as the publisher. The version and revision fields are expected to change over time.
Install Zoom Using Flatpak
The Flathub package is a wrapper that downloads Zoom’s Linux payload as extra data during installation. Flathub currently lists the app for x86_64 only, and its verification metadata is empty, so treat this as the sandboxed Flathub route rather than the official Zoom package.
Flatpak is not pre-installed on Ubuntu. If you want the full setup walkthrough, follow the guide to install Flatpak on Ubuntu before continuing.
For the quick setup, install Flatpak from Ubuntu’s repositories:
sudo apt install flatpakAdd Flathub at system scope:
sudo flatpak remote-add --if-not-exists flathub https://dl.flathub.org/repo/flathub.flatpakrepoVerify that the Flathub remote is available:
flatpak remotes | grep '^flathub'Expected output:
flathub system
Install Zoom from Flathub:
sudo flatpak install flathub us.zoom.Zoom -yVerify the installed Flatpak reference:
flatpak info --show-ref us.zoom.ZoomExpected output:
app/us.zoom.Zoom/x86_64/stable
Launch Zoom on Ubuntu
Launch Zoom from the desktop application menu, or use the command that matches your installation method:
| Method | Terminal Launch Command |
|---|---|
| .deb package | zoom |
| Snap | snap run zoom-client |
| Flatpak | flatpak run us.zoom.Zoom |
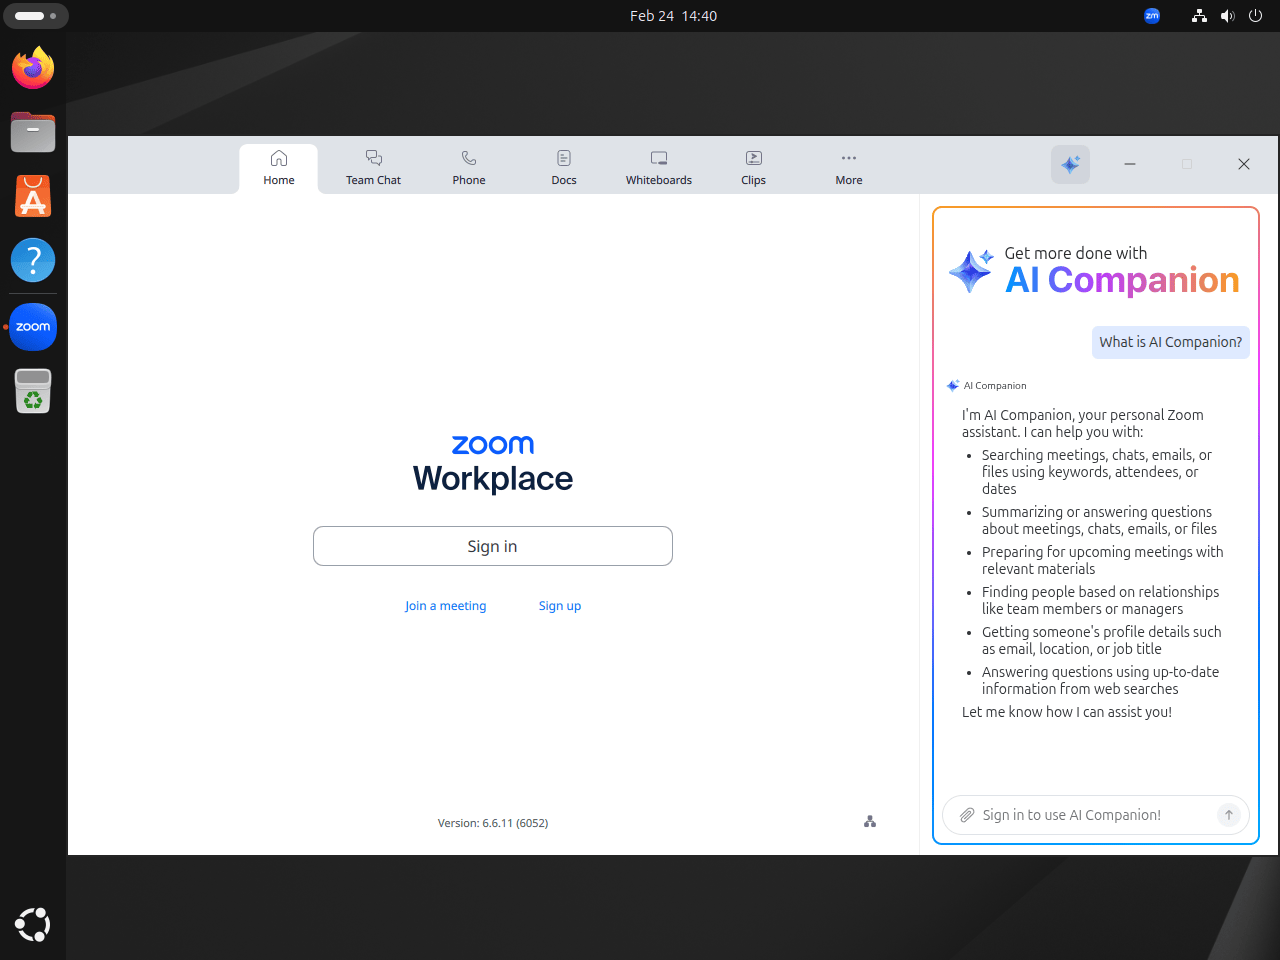
Zoom needs a graphical desktop session for normal meetings, camera selection, screen sharing, and sign-in prompts. The first launch opens the Zoom Workplace sign-in screen, where you can sign in or join a meeting directly.
Update Zoom on Ubuntu
Update the Zoom .deb Package
The .deb method updates by downloading the current package again and installing it over the existing package. APT treats the newer local package as an upgrade.
wget -O zoom_amd64.deb https://zoom.us/client/latest/zoom_amd64.deb
sudo apt install ./zoom_amd64.deb
You can use the same Ubuntu package update workflow for normal APT packages, but Zoom’s direct .deb package still requires a fresh download from Zoom.
Update the Zoom Snap Package
Snap refreshes installed apps automatically. Force an immediate Zoom refresh with:
sudo snap refresh zoom-clientUpdate the Zoom Flatpak Package
Flatpak refreshes the Zoom wrapper, runtime, and related metadata from Flathub:
sudo flatpak update us.zoom.Zoom -yRemove Zoom from Ubuntu
Remove the package that matches your install method. The commands below keep package removal separate from optional user-data cleanup.
Remove the Zoom .deb Package
Remove the official Zoom package with APT:
sudo apt remove zoomVerify that the package is no longer installed:
dpkg-query -W -f='${db:Status-Abbrev} ${binary:Package}\n' zoom | grep '^ii' || echo "zoom not installed"Expected output:
zoom not installed
If APT reports autoremovable packages afterward, preview them before removing anything else. Reused desktops can have unrelated old packages waiting in the autoremove list, so avoid pasting a blind cleanup command.
sudo apt autoremove --dry-runThe general guide to remove packages on Ubuntu explains how APT removal, purge, and autoremove differ.
Remove the Zoom Snap Package
Remove the Snap package and skip snapd’s automatic saved snapshot:
sudo snap remove --purge zoom-clientVerify removal:
snap list zoom-client || echo "zoom-client not installed"Remove the Zoom Flatpak Package
Remove the Flatpak app, then clean up unused runtimes only after Flatpak confirms no remaining app needs them:
sudo flatpak remove us.zoom.Zoom -y
sudo flatpak uninstall --unused -y
Verify that the app ID no longer appears in the installed app list:
sudo flatpak list --app --columns=application | grep -Fx us.zoom.Zoom || echo "us.zoom.Zoom not installed"Expected output:
us.zoom.Zoom not installed
Remove Zoom User Data
Package removal leaves user settings and cached meeting data in your home directory. Check which Zoom paths exist before deleting them:
for path in "$HOME/.zoom" "$HOME/.config/zoomus.conf" "$HOME/.cache/zoom" "$HOME/snap/zoom-client" "$HOME/.var/app/us.zoom.Zoom"; do
  [ -e "$path" ] && printf '%s\n' "$path"
done
The next command permanently deletes local Zoom settings, cached data, and any local files stored inside these Zoom-specific directories. Back up recordings or chat files you need before continuing. Cloud recordings stored in your Zoom account are not removed by these local commands.
rm -rf -- "$HOME/.zoom" "$HOME/.config/zoomus.conf" "$HOME/.cache/zoom" "$HOME/snap/zoom-client" "$HOME/.var/app/us.zoom.Zoom"Troubleshoot Zoom on Ubuntu
APT Cannot Locate the Zoom Package
A clean Ubuntu system does not provide a repository package named zoom, so a direct sudo apt install zoom command fails.
E: Unable to locate package zoom
Download zoom_amd64.deb first, then install the local file with sudo apt install ./zoom_amd64.deb. The leading ./ tells APT to install the package file in the current directory instead of searching Ubuntu’s repositories.
Zoom .deb Dependency Errors
If the local package install fails because package metadata is stale, update APT and retry the install:
sudo apt update
sudo apt install ./zoom_amd64.deb
If a previous install attempt was interrupted, let APT repair the broken dependency state, then retry:
sudo apt --fix-broken install
sudo apt install ./zoom_amd64.deb
Zoom Audio or Camera Access Fails
If Zoom cannot use your microphone, speakers, or camera, first confirm that the desktop audio server is visible from your session:
pactl info | grep "Server Name"The Server Name line should mention PulseAudio directly or PulseAudio compatibility through PipeWire. If the command fails, troubleshoot the desktop audio stack before changing Zoom-specific settings.
For the Flatpak method, verify that the app has the expected display, audio, and device permissions:
flatpak info --show-permissions us.zoom.Zoom | grep -E "pulseaudio|devices|wayland|x11"Relevant output includes:
sockets=x11;wayland;pulseaudio;
devices=all;
Zoom Screen Sharing on Wayland
Zoom supports Linux screen sharing, but Zoom’s own sharing documentation says Wayland sessions can share only the full desktop or a whiteboard. If you need to share a single application window, use an Xorg session instead.
Check your current session type:
echo $XDG_SESSION_TYPEExample output for a Wayland session:
wayland
To switch sessions, sign out, select the gear icon on the login screen, choose Ubuntu on Xorg, and sign back in. Update Zoom first if you are using an older package, because screen-sharing behavior has changed across Zoom releases.
Conclusion
Zoom Workplace is ready on Ubuntu through the official .deb, Snap, or Flatpak path that matches how you want updates handled. If you are building out the rest of your communication setup, install Slack on Ubuntu or install Discord on Ubuntu next.

I installed zoom from the Debian package, and it crashed.
I then installed the Snap package, and it said there was an update.
The link took me to the Zoom site, where I could download the Debian package.
I re-installed from the Debian package, and Zoom worked.
Yes, but the .deb file has basically permission to do anything on your system
I’ll try with the Flatpak instead
Thanks for sharing this, a. A vendor .deb runs with the same broad permissions as any package you install, so only use it when you trust the source. Flatpak keeps Zoom in a sandbox and lets you decide mic and camera access.
If you stick with Flatpak and run into audio or video issues, check its permissions for your webcam and microphone. Appreciate the feedback.
Thanks for reporting this, Patrick. A crash with the .deb followed by a stable Snap install usually means the Snap pulled a dependency or fix the .deb missed. The Snap linking to Zoom’s download page is expected because the maintainer repackages Zoom’s official .deb.
Reinstalling the latest .deb from Zoom put you on the stable build. If the .deb crashes again, clean up APT errors before retrying, and fall back to the Flatpak if needed.