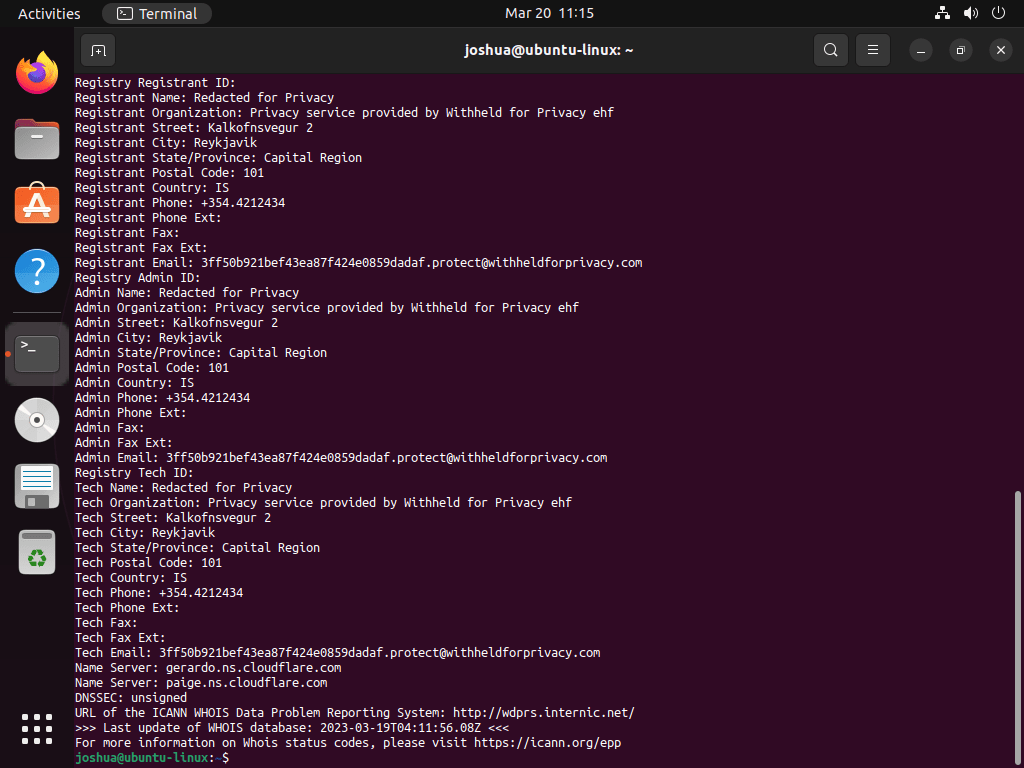
This guide will demonstrate how to install WHOIS on Ubuntu 24.04, 22.04, or 20.04 LTS Linux releases utilizing the command-line terminal and the APT Package Manager.
WHOIS is a crucial protocol used for querying databases that store the registered users or assignees of an Internet resource, such as a domain name or an IP address block. It provides essential information about the domain owner, registration date, expiration date, and more. WHOIS is widely used by network administrators, cybersecurity professionals, and researchers to gather information about domain names and IP addresses for various purposes, including troubleshooting, security analysis, and contact purposes.
Key features of WHOIS include:
- Domain Information: Access to details about domain registration, such as the registrar, registrant, and contact information.
- IP Address Lookup: Ability to query information about IP address allocations and assignments.
- Autonomous System Numbers (ASN): Information about ASNs is crucial for routing internet traffic.
- Historical Data: Some WHOIS services provide historical information about domain registrations and changes.
- Privacy Protection: WHOIS supports privacy options to hide certain registrant information from public view.
- Integration with Other Tools: WHOIS can be integrated with other network tools for enhanced data analysis and automation.
- Global Reach: WHOIS databases cover a wide range of top-level domains (TLDs) and country-code TLDs (ccTLDs).
- Standardization: WHOIS follows standardized protocols for querying and retrieving information, ensuring consistency across different services.
In the following sections, we will explore the installation process for WHOIS on Ubuntu Linux.
Install Whois on Ubuntu via APT
Update Ubuntu Before Whois Installation
Once the terminal is open, you must ensure that your system’s package index is up-to-date by running the following command:
sudo apt update
sudo apt upgrade
This command will synchronize your system with the package repositories, ensuring you have access to the latest software packages.
Install Whois on Ubuntu via APT Command
After updating the package index, you can install the whois package by executing the following command:
sudo apt install whoisThe system will now download and install the whois package. Once the installation is complete, you can verify that whois has been successfully installed by typing whois in the terminal. If the installation was successful, you should see usage information and available options displayed in the terminal window.
Whois Command Examples on Ubuntu
Once you have successfully installed whois on your system, you can start using it to query domain registration and network information. This section will explore several basic whois commands and explain their usage.
To query domain information, use the following command:
whois example.comReplace “example.com” with the domain name you want to query. This command will retrieve and display information about the specified domain, such as the registrar, contact details, and registration and expiration dates.
If you want to query information about a specific IP address, use the following command:
whois 192.168.1.1Replace “192.168.1.1” with the IP address you wish to query. This command will return information about the organization responsible for the IP address and details about the IP address block.
To query information from a specific top-level domain (TLD) server, use the following command:
whois -h whois.nic.co example.coIn this command, replace “whois.nic.co” with the TLD server you want to query and “example. co” with the domain name you’re interested in. This command is useful when gathering information directly from a TLD server instead of the default whois server.
You can also access more information on WHOIS by using the help command:
whois -hThis command will display a list of available commands and options you can use with WHOIS.
Additional Tips: Remove Whois From Ubuntu
If you no longer need whois, run the following command in your terminal:
sudo apt remove --purge whoisClean up any residual package files by executing the following:
sudo apt autoremoveConclusion
In this guide, we’ve walked through the steps to install WHOIS on Ubuntu 24.04, 22.04, or 20.04 LTS. Now that you’ve got WHOIS up and running, you can easily look up information about domain names and IP addresses right from your terminal. As a final tip, remember to keep your WHOIS tool updated to ensure you’re getting the most accurate and up-to-date information. Happy querying!


