This guide will demonstrate how to install SQLite 3 on Ubuntu 24.04, 22.04, or 20.04 LTS releases. We’ll explore two methods: using Ubuntu APT’s default packages or downloading, compiling, and installing the latest SQLite 3 version directly from the tarball archive.
SQLite 3, a renowned lightweight database management system, is an indispensable tool for developers, system administrators, and data enthusiasts using Ubuntu servers. Its appeal lies in its simplicity and efficiency, making it a preferred choice for applications where a full-scale SQL server might be unnecessary.
Below are key features that make SQLite 3 a standout choice:
- Lightweight & Self-contained: SQLite 3 requires minimal setup and configuration, streamlining database management.
- Serverless Architecture: Eliminates the need for a separate server process, simplifying deployment and maintenance.
- Cross-Platform Compatibility: Works seamlessly across various operating systems, including Linux distributions like Ubuntu.
- Transactional: SQLite 3 supports ACID-compliant transactions, ensuring data integrity and reliability.
- Versatility: Ideal for both development and production environments, SQLite 3 is adaptable to diverse use cases.
Diving into the technical aspects, this guide will provide a step-by-step approach to installing SQLite 3. Whether you are a developer seeking to integrate a database into your application, a sysadmin managing server resources, or an enthusiast exploring database solutions, SQLite 3 on Ubuntu offers a robust, efficient, and flexible database management system to meet your needs.
Let’s delve into the installation process to harness the full potential of SQLite 3 on your Ubuntu server.
Install SQLite 3 on Ubuntu via APT
Update Ubuntu Before SQLite 3 Installation
To ensure a smooth installation process and avoid potential conflicts, it is essential to update your Ubuntu system. This process updates all installed packages on your system to their latest available versions. To update your Ubuntu system, run the following command in your terminal:
sudo apt update && sudo apt upgradeBy running this command, you are using the apt package manager to update the package index and upgrade the installed packages to their latest versions.
Install SQLite 3 on Ubuntu via APT Command
The recommended approach for installing SQLite 3 on your Ubuntu system is to use the default APT repository. This method ensures that you install a stable, well-tested version of SQLite 3 that is compatible with your Ubuntu version. To start the installation process, run the following command in your terminal:
sudo apt install sqliteThis command uses the apt package manager to download and install the sqlite package on your system. The package manager handles any required dependencies and ensures that SQLite 3 integrates correctly with your Ubuntu system.
Verify the SQLite 3 Installation
After the installation, it’s essential to verify that SQLite 3 is installed correctly and functioning as expected. To do this, you can check the installed version of SQLite 3 by running the --version command:
sqlite3 --versionThis command will display the installed SQLite 3 version in your terminal, allowing you to confirm that the installation was successful and that you have the desired version of SQLite 3 on your Ubuntu system.
Install SQLite 3 on Ubuntu via Source
Download the Latest SQLite 3 Archive
If you prefer to compile SQLite 3 from the source, you can obtain the latest or a specific version by visiting the SQLite Download page. This method allows you to have more control over the version you install. First, identify the latest version of SQLite 3 on the download page. Then, use the wget command to download the appropriate archive:
wget https://www.sqlite.org/2023/sqlite-autoconf-{version}.tar.gzReplace {version} with the actual version number. Always check the SQLite Download page for the most recent version.
For example:
wget https://www.sqlite.org/2023/sqlite-autoconf-3410200.tar.gzExtract the SQLite 3 Archive
Once the archive is downloaded, extract the files using the following command:
tar xvfz sqlite-autoconf-*.tar.gzThis command uses the tar utility to extract the compressed archive into a new directory.
Navigate to the Extracted Directory and Configure Prefix
Change the directory to the extracted folder to begin the compilation process:
cd sqlite-autoconf-{replace with version}Replace {version} with the actual version number.
Now, configure the compilation with the desired installation prefix:
./configure --prefix=/usrCompile SQLite with make Command
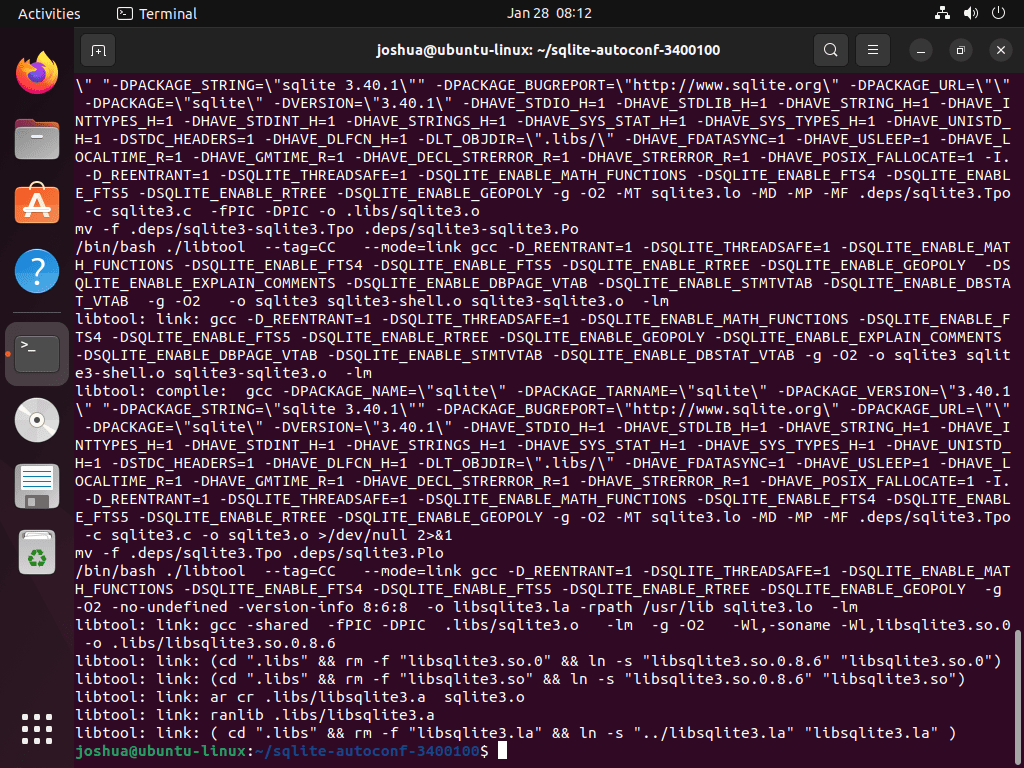
To start the build process, use the make command along with the -j flag to specify the number of cores you want to utilize for faster compilation:
make -j {number_of_cores}Replace {number_of_cores} with the desired number of cores for your system.
To determine the number of cores on your system, run the following:
nprocFor example, if your machine has two cores, use make -j 2. If you have 12 cores, you could use make -j 6 to dedicate half of your cores to the process.
Lastly, if the make command fails as the package is missing, run the following command:
sudo apt install build-essentialInstall SQLite 3 on Ubuntu via Compiled Binary
After the build process is complete, install SQLite using the following command:
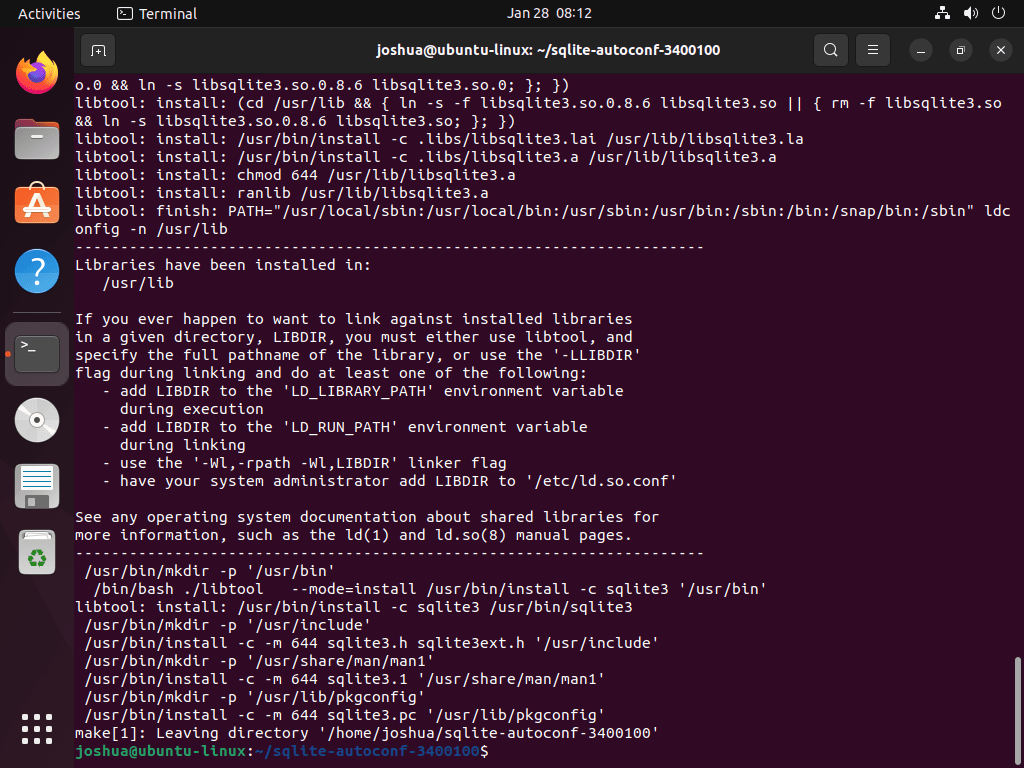
sudo make installThe installation process will display output indicating the progress. Once installed, verify the installation and the version number:
sqlite3 --versionConclusion
In this guide, we’ve walked through the steps to install SQLite 3 on Ubuntu, covering versions 24.04, 22.04, and 20.04. We’ve seen two methods: using Ubuntu’s APT and directly from the SQLite tarball archive. Remember, SQLite is a fantastic choice for lightweight database management, especially when you don’t need a full-fledged SQL server. It’s perfect for both beginners and seasoned users. As a final tip, always keep your SQLite version updated for the best performance and security. Thanks for following along, and I hope this guide helps you make the most out of SQLite on your Ubuntu system!


