

Signal Desktop provides end-to-end encrypted messaging, voice calls, video calls, and file sharing on your Linux desktop. In addition, the application synchronizes with the Signal mobile app, allowing you to maintain secure conversations across devices while protecting your privacy through features like disappearing messages and a strict no-logs policy.
This guide walks through four installation methods for Signal Desktop on Ubuntu: the official APT repository, Extrepo, Flatpak from Flathub, and Snap from Snapcraft. Ultimately, by the end, you will have a working Signal Desktop installation that receives automatic security updates and integrates seamlessly with your Ubuntu desktop environment.
Choose Your Signal Desktop Installation Method
Signal Desktop is available through multiple channels on Ubuntu. However, to help you decide, the following table compares your installation options, so you can select the best method for your needs.
| Method | Channel | Version | Updates | Best For |
|---|---|---|---|---|
| APT (Official Repo) | Signal Downloads | Latest stable | Automatic via apt upgrade | Most users who want native package management |
| Extrepo | Extrepo Database | Latest stable | Automatic via apt upgrade | Users who prefer simplified repository setup |
| Flatpak | Flathub | Latest stable | Automatic via flatpak update | Users who want sandboxed applications |
| Snap | Snapcraft | Latest stable | Automatic background updates | Users who prefer Ubuntu’s default package format |
Generally, for most users, the official APT repository is recommended because it provides the fastest updates directly from Signal and integrates seamlessly with Ubuntu’s package management. In contrast, Extrepo offers a simpler setup process, while Flatpak and Snap provide application sandboxing at the cost of slightly larger disk usage.
Notably, the Signal repository uses a universal package format that works on all current Ubuntu releases, including LTS versions and interim releases. As such, commands shown in this guide work identically regardless of your specific Ubuntu version.
Method 1: Install Signal Desktop via Official APT Repository
For this method, Signal’s official APT repository provides the latest releases directly from the project’s infrastructure. As a result, this approach gives you the fastest access to new versions and security updates.
Update Ubuntu System Packages
First, update your package lists and upgrade existing packages to ensure your system has the latest security patches and software improvements:
sudo apt update && sudo apt upgradeImport Signal GPG Key
Next, download and install Signal’s GPG signing key. This key verifies that packages you receive are authentic and unmodified:
curl -fsSL https://updates.signal.org/desktop/apt/keys.asc | sudo gpg --dearmor -o /usr/share/keyrings/signal-desktop-keyring.gpgAdd Signal APT Repository
Now add the Signal repository to your system using the modern DEB822 format. This configuration file tells APT where to find Signal packages:
cat <<EOF | sudo tee /etc/apt/sources.list.d/signal.sources
Types: deb
URIs: https://updates.signal.org/desktop/apt
Suites: xenial
Components: main
Architectures: amd64
Signed-By: /usr/share/keyrings/signal-desktop-keyring.gpg
EOF
Although the repository uses “xenial” as the suite name for compatibility, Signal provides current packages that work on all supported Ubuntu releases. Specifically, this naming convention is standard for cross-version compatibility.
Verify Repository Configuration
After adding the repository, subsequently refresh your package lists and verify that APT recognizes the new source:
sudo apt updateThen, confirm the Signal repository is configured correctly by checking the package policy:
apt-cache policy signal-desktopTypically, you should see output showing the Signal repository:
signal-desktop:
  Installed: (none)
  Candidate: 7.82.0
  Version table:
     7.82.0 500
        500 https://updates.signal.org/desktop/apt xenial/main amd64 Packages
Install Signal Desktop
Finally, install Signal Desktop using APT:
sudo apt install signal-desktopOnce the installation completes, verify it succeeded by checking the installed version:
apt-cache policy signal-desktop | grep InstalledConsequently, the output confirms the installation:
Installed: 7.82.0
Method 2: Install Signal Desktop via Extrepo
Extrepo simplifies the process of adding external repositories by handling GPG key imports and repository configuration automatically. Functionally, this method requires fewer manual steps than the standard APT approach.
Install Extrepo
To begin, install the extrepo package if it is not already present on your system:
sudo apt update
sudo apt install extrepo
Enable Non-Free Policy
Crucially, before proceeding, note that Signal is categorized as “non-free” in extrepo’s database because it is proprietary software. Therefore, you must enable the non-free policy before adding the Signal repository:
sudo sed -i 's/# - non-free/- non-free/' /etc/extrepo/config.yamlEnable Signal Repository
Next, enable the Signal repository using extrepo. This command automatically downloads the GPG key and creates the repository configuration:
sudo extrepo enable signalAfter enabling the repository, verify it was added successfully:
cat /etc/apt/sources.list.d/extrepo_signal.sourcesUpon verification, you will see output showing the DEB822 format repository configuration:
Architectures: amd64
Components: main
Suites: xenial
Types: deb
Uris: https://updates.signal.org/desktop/apt
Signed-By: /var/lib/extrepo/keys/signal.asc
Install Signal Desktop
With the repository ready, update your package lists and install Signal Desktop:
sudo apt update
sudo apt install signal-desktop
Method 3: Install Signal Desktop via Flatpak
For enhanced security, Flatpak provides a sandboxed environment for applications, isolating them from your system. As a result, this method installs Signal from the Flathub repository with additional protection layers.
Unlike Snap, Flatpak is not pre-installed on Ubuntu. If you have not set it up yet, install it with
sudo apt install flatpakand restart your session before continuing. For detailed setup including the Flathub repository, follow our Flatpak installation guide for Ubuntu.
Enable Flathub Repository
To begin, add the Flathub repository if you have not already configured it:
sudo flatpak remote-add --if-not-exists flathub https://flathub.org/repo/flathub.flatpakrepoInstall Signal Desktop from Flathub
Following this, install Signal Desktop using Flatpak. The -y flag automatically confirms the installation prompt, which is useful for scripted deployments but means you will not see the package list before installation proceeds:
sudo flatpak install flathub org.signal.Signal -yAfter the installation completes, verify it by checking the application information:
flatpak info org.signal.SignalSimilarly, the output confirms a successful installation:
Signal Desktop - Private messenger

          ID: org.signal.Signal
         Ref: app/org.signal.Signal/x86_64/stable
        Arch: x86_64
      Branch: stable
      Origin: flathub
     Version: 7.82.0
Method 4: Install Signal Desktop via Snap
By default, Snap is Ubuntu’s default universal package format and comes pre-installed on standard Ubuntu installations. Because of this, Snap packages receive automatic background updates, so Signal will stay current without manual intervention.
Verify Snap Availability
However, although Ubuntu includes Snap by default, minimal installations may lack it. To ensure Snap is available, run the following command:
sudo apt install snapd -yInstall Signal Desktop from Snapcraft
Thereafter, install Signal Desktop using the snap command:
sudo snap install signal-desktopThen, verify the installation by listing installed snaps:
snap list signal-desktopAccordingly, the output confirms Signal is installed:
Name             Version  Rev    Tracking       Publisher       Notes
signal-desktop   7.82.0   718    latest/stable  snapcrafters    -
Launch Signal Desktop
Following installation, you can launch Signal Desktop from your application menu or using terminal commands. Depending on how you installed the application, the launch method varies.
Launch from Applications Menu
For example, to launch graphically, open your Activities overview by pressing the Super key, then search for “Signal” and click on the Signal icon to start the application.
Launch from Terminal
Alternatively, use the appropriate command based on your installation method:
APT or Extrepo installation:
signal-desktopFlatpak installation:
flatpak run org.signal.SignalSnap installation:
snap run signal-desktop
Manage Signal Desktop
Below, the following section covers updating and removing Signal Desktop based on your installation method.
Update Signal Desktop
To keep Signal current, regular updates ensure you have the latest security patches and features. Therefore, use the appropriate command for your installation method:
APT or Extrepo installation:
sudo apt update && sudo apt upgradeFlatpak installation:
sudo flatpak updateSnap installation:
sudo snap refresh signal-desktopRemove Signal Desktop
However, if you decide to uninstall Signal Desktop, follow the instructions that match your installation method.
Remove APT Installation
First, remove the Signal Desktop package:
sudo apt remove signal-desktopNext, remove the repository configuration and GPG key:
sudo rm /etc/apt/sources.list.d/signal.sources
sudo rm /usr/share/keyrings/signal-desktop-keyring.gpg
Finally, refresh your package lists:
sudo apt updateRemove Extrepo Installation
Start by removing the Signal Desktop package:
sudo apt remove signal-desktopThen, disable the Signal repository using extrepo:
sudo extrepo disable signalFurthermore, if you want a complete cleanup, remove the repository file entirely:
sudo rm /etc/apt/sources.list.d/extrepo_signal.sourcesRemove Flatpak Installation
Specifically, to uninstall Signal Desktop from Flatpak:
sudo flatpak uninstall org.signal.SignalAdditionally, you can remove unused runtimes to free disk space:
sudo flatpak uninstall --unusedRemove Snap Installation
Similarly, to remove Signal Desktop from Snap:
sudo snap remove signal-desktopRemove Signal User Data
Warning: The following command permanently deletes all Signal user data, including message history, contacts, and settings. Export any important data before proceeding.
Importantly, Signal stores user data in different locations depending on the installation method. To completely remove all traces, use the appropriate command based on how you installed Signal:
APT or Extrepo installation:
rm -rf ~/.config/SignalSnap installation:
rm -rf ~/snap/signal-desktopFlatpak installation:
rm -rf ~/.var/app/org.signal.SignalTroubleshooting
Repository Update Errors
Sometimes, if you encounter GPG signature errors when running apt update, the signing key may have been updated. To fix this, re-import the key:
curl -fsSL https://updates.signal.org/desktop/apt/keys.asc | sudo gpg --dearmor -o /usr/share/keyrings/signal-desktop-keyring.gpgSignal Desktop Fails to Start
Typically, when Signal Desktop crashes or fails to start, try launching from the terminal to see error messages:
signal-desktop --no-sandboxConsequently, if this command resolves the issue, you may have a permissions problem with your user profile. In that case, check the Signal configuration directory permissions:
ls -la ~/.config/SignalConflicting Repository Configurations
Additionally, when you previously installed Signal using a different method, you may encounter repository conflicts. Check for duplicate configurations:
ls /etc/apt/sources.list.d/ | grep -i signalThen, remove any duplicate repository files, keeping only one configuration method:
sudo rm /etc/apt/sources.list.d/signal-messenger.list
sudo apt update
Conclusion
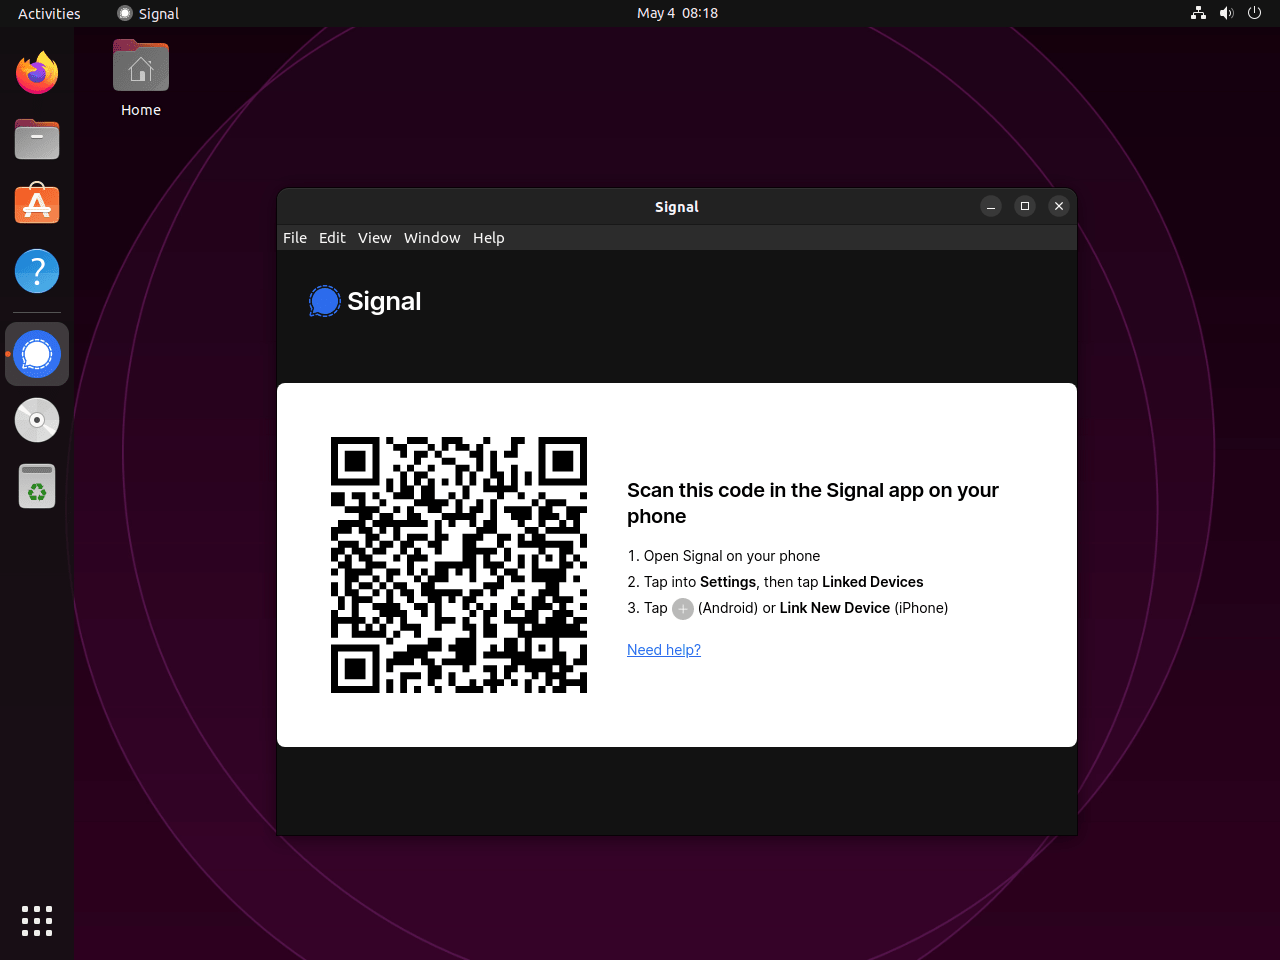
You now have Signal Desktop configured for secure, encrypted messaging across all your devices. Whether you chose the official APT repository for direct updates, Extrepo for simplified setup, Flatpak for sandboxing, or Snap for automatic updates, your installation will receive regular security patches and feature improvements. Finally, link your mobile device using the QR code on first launch, and your message history will sync automatically.

Formatting tips for your comment
You can use basic HTML to format your comment. Useful tags currently allowed in published comments:
<code>command</code>command<strong>bold</strong><em>italic</em><blockquote>quote</blockquote>