
PyCharm is JetBrains’ integrated development environment (IDE) designed specifically for Python programming. Whether you’re building web applications with Django or Flask, developing data science pipelines, or creating automation scripts, PyCharm provides intelligent code completion, integrated debugging, and version control tools to streamline your workflow. By the end of this guide, you will have PyCharm installed on Debian with repository-based automatic updates configured.
Choose Your Installation Method
Multiple installation channels exist for PyCharm on Debian, so you can choose the method that best fits your workflow. The following table compares your options:
| Method | Channel | Version | Updates | Best For |
|---|---|---|---|---|
| JetBrains Repository | Community Repository | Latest stable | Automatic via APT | Most users who want the latest version with automatic updates |
| Snap | Snapcraft | Latest stable | Automatic via Snap | Users who prefer sandboxed applications |
We recommend the JetBrains repository method for most users because it integrates with your system’s package manager and provides automatic updates alongside your regular system maintenance. This guide covers both methods in detail.
Update Debian Before Installation
Before installing PyCharm, refresh your package index to ensure you have access to the latest package versions. Open a terminal by searching for ‘Terminal’ in Activities, then run:
sudo apt update && sudo apt upgradeInstall PyCharm via JetBrains Repository (Recommended)
The community-maintained JetBrains repository provides the latest PyCharm releases with automatic updates through APT. Because it uses standard package management, this method works across all supported Debian versions.
Install Required Packages
First, install the packages required for adding external repositories:
sudo apt install ca-certificates curl gnupg -ySpecifically, these packages provide SSL certificate validation (ca-certificates), file downloading (curl), and GPG key handling (gnupg) needed to securely add external repositories.
Import the GPG Key
Next, download and import the repository’s GPG key to verify package authenticity:
curl -fsSL https://s3.eu-central-1.amazonaws.com/jetbrains-ppa/0xA6E8698A.pub.asc | sudo gpg --dearmor -o /usr/share/keyrings/jetbrains-ppa-archive-keyring.gpgAdd the JetBrains Repository
Now add the repository using the modern DEB822 .sources format:
cat <<EOF | sudo tee /etc/apt/sources.list.d/jetbrains-ppa.sources
Types: deb
URIs: http://jetbrains-ppa.s3-website.eu-central-1.amazonaws.com
Suites: any
Components: main
Architectures: amd64
Signed-By: /usr/share/keyrings/jetbrains-ppa-archive-keyring.gpg
EOF
This repository uses HTTP because AWS S3 static website hosting does not support HTTPS. The GPG signature still verifies package integrity.
Refresh Package Index
After adding the repository, update your package index to include the new packages:
sudo apt updateTo confirm the repository was added successfully, check the package availability:
apt-cache policy pycharm-communityYou should see output similar to the following, showing the package is available from the JetBrains repository:
pycharm-community:
  Installed: (none)
  Candidate: 2025.x.x
  Version table:
     2025.x.x 500
        500 http://jetbrains-ppa.s3-website.eu-central-1.amazonaws.com any/main amd64 Packages
Install PyCharm
With the repository configured, you can now install one of three PyCharm editions. Choose the one that matches your needs:
Community Edition (Free) – Recommended for most Python developers:
sudo apt install pycharm-communityProfessional Edition (Paid) – Adds web development frameworks, database tools, and scientific tools:
sudo apt install pycharm-professionalEducational Edition (Free for students) – Designed for learning Python programming:
sudo apt install pycharm-educationInstall PyCharm via Snap
As an alternative, you can install PyCharm using Snap packages, which JetBrains officially maintains and runs in a sandboxed environment.
Install Snapd
Unlike the APT method, Debian does not include Snap by default, so you need to install the Snap daemon first:
sudo apt install snapdAfter installation, log out and back in (or reboot) to ensure your system properly configures the Snap paths.
Install PyCharm Snap
Once you configure Snapd, install the PyCharm Community Edition snap:
sudo snap install pycharm-community --classicWhen the installation finishes, verify that PyCharm is available:
snap list pycharm-communityYour output should look similar to this, confirming the installation succeeded:
Name               Version   Rev    Tracking       Publisher   Notes
pycharm-community  2025.x.x  xxx    latest/stable  jetbrains✓  classic
Note that the --classic flag grants PyCharm access to your system files outside the sandbox, which PyCharm requires for accessing project files and Python interpreters.
If you need the Professional Edition instead, use this command:
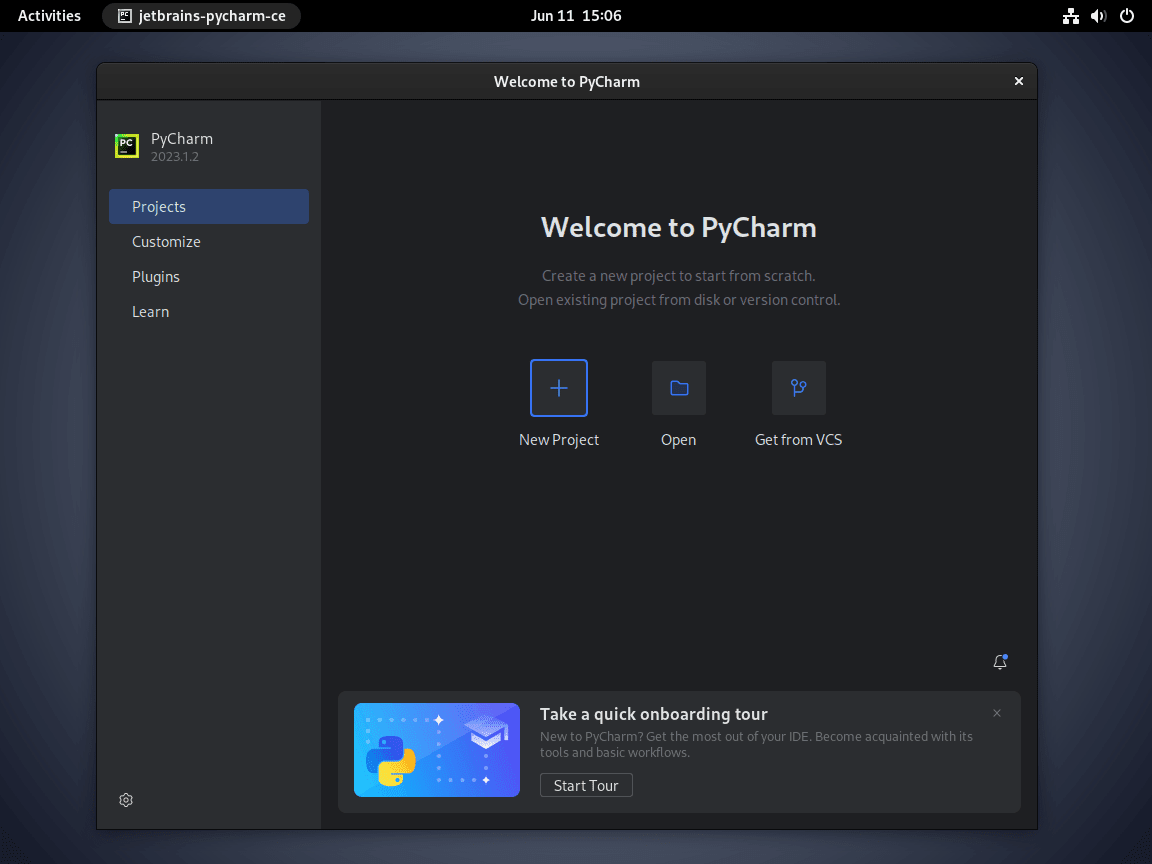
sudo snap install pycharm-professional --classicLaunch PyCharm
Launch from Terminal
With PyCharm installed, you can launch it from the terminal using the command that matches your edition:
# Community Edition
pycharm-community

# Professional Edition
pycharm-professional

# Educational Edition
pycharm-education
Launch from Applications Menu
Alternatively, you can launch PyCharm through your desktop environment’s application menu:
- Open the application launcher or menu on your desktop
- Navigate to the Programming category or search for “PyCharm”
- Select the edition that matches your installation
Update PyCharm
Your update process depends on which installation method you used.
Update via APT (JetBrains Repository)
If you installed PyCharm from the JetBrains repository, update it alongside your system packages:
sudo apt update
sudo apt install --only-upgrade pycharm-community
Replace pycharm-community with pycharm-professional or pycharm-education if you installed a different edition.
Update via Snap
In contrast, Snap packages update automatically in the background. However, to manually check for updates, run:
sudo snap refresh pycharm-communityRemove PyCharm
If you no longer need PyCharm, follow the removal steps that match your installation method.
Remove APT Installation
First, remove the PyCharm package (use the command for your installed edition):
# Remove Community Edition
sudo apt remove pycharm-community

# Remove Professional Edition
sudo apt remove pycharm-professional

# Remove Educational Edition
sudo apt remove pycharm-education
Then, remove any orphaned dependencies that came with PyCharm:
sudo apt autoremoveFinally, if you don’t plan to reinstall PyCharm or use other JetBrains products, remove the repository and GPG key:
sudo rm /etc/apt/sources.list.d/jetbrains-ppa.sources
sudo rm /usr/share/keyrings/jetbrains-ppa-archive-keyring.gpg
sudo apt update
Remove Snap Installation
For Snap installations, simply remove the PyCharm snap package:
sudo snap remove pycharm-communityRemove User Configuration Files
Warning: The following commands permanently delete your PyCharm settings, project configurations, plugins, and cached data. Back up any important configurations before proceeding.
To completely remove all traces, delete the user data stored in your home directory:
rm -rf ~/.config/JetBrains/PyCharm*
rm -rf ~/.cache/JetBrains/PyCharm*
rm -rf ~/.local/share/JetBrains/PyCharm*
However, for Snap installations, the system stores user data in a different location:
rm -rf ~/snap/pycharm-communityConclusion
You now have PyCharm installed and configured on Debian. For Python development, consider also installing Git on Debian for version control integration, which PyCharm supports natively. If you’re working on containerized applications, the Docker installation guide for Debian provides container support that integrates directly with PyCharm Professional. Additionally, the GitHub Desktop guide for Debian provides a visual Git workflow alongside PyCharm’s built-in tools.

it works.