This guide will demonstrate how to install Perl on Ubuntu 24.04, 22.04, or 20.04 LTS Linux releases. It will cover two approaches: using the APT package manager for the default version or compiling the latest build from the Perl source code through the command-line terminal.
Perl stands out in the realm of programming languages for its adaptability and extensive capabilities, especially in web development, system administration, and beyond. Its key features include:
- Integrated Regular Expressions: Simplifies complex pattern matching and text manipulation, a cornerstone for Perl’s text processing prowess.
- Advanced String Handling: Offers powerful tools for text data operations, making script writing more efficient.
- CPAN’s Rich Module Archive: Access to one of the world’s largest repositories of software components, enhancing Perl’s functionality.
- Cross-Platform Support: Ensures scripts are portable across different operating systems without modifications.
- Embedded Documentation Tools: Facilitates the creation and retrieval of in-line documentation, improving code maintainability.
- Versatile Programming Paradigms: Supports object-oriented, procedural, and functional programming, providing flexibility in problem-solving approaches.
- Automatic Data Typing and Memory Management: Reduces coding complexity and minimizes errors, making Perl user-friendly for developers.
- A Supportive Community: Offers extensive learning resources and troubleshooting support, contributing to Perl’s accessibility.
Perl’s comprehensive features underscore its utility for both quick scripting tasks and the development of complex applications. It remains a potent tool for developers and system administrators, adept at handling a wide range of tasks from file manipulation to web scraping and automated reporting.
Now, let’s proceed with the specifics of how to get Perl up and running on your Ubuntu system.
Install Perl on Ubuntu via APT
Checking if Perl is Installed on Ubuntu
Before installing Perl, checking if it is already installed on your Ubuntu system is essential. To do this, open a terminal window and type the following command:
perl -vIf Perl is installed on your system, the command will display its version number. If Perl is not installed, the terminal will display an error message.
Update Ubuntu Before Perl Installation
Before installing Perl, you must update your Ubuntu system’s package repository. This will ensure you download the latest version of Perl and any dependencies it may require. To do this, run the following command:
sudo apt updateThis command will update the package repository on your Ubuntu system.
Install Perl on Ubuntu via APT Command
Once you have updated the package repository on your Ubuntu system, you can install Perl using the following command:
sudo apt install perlThis command will download and install the latest version of Perl and any dependencies it requires.
Install Perl Additional Modules on Ubuntu
Alternatively, when installing Perl on Ubuntu, you can install additional packages that provide more development tools and debugging options or use libraries to improve your Perl experience. Here are some of the most popular packages you may want to consider:
- perl-doc: This package contains the official Perl documentation, which includes reference manuals, tutorials, and other helpful resources for learning and using Perl.
- libperl-dev: This package provides development files and libraries that can be used to compile and link Perl modules and extensions.
- libdbd-mysql-perl: This package provides a Perl interface to MySQL databases, making interacting with MySQL from your Perl scripts easy.
- libdatetime-perl: This package provides a collection of modules that can be used to manipulate dates and times in Perl. It includes support for time zones, daylight saving time, and other common date/time operations.
- libjson-perl: This package provides a Perl module for encoding and decoding JSON data, a popular data interchange format used in many web applications.
- libxml-simple-perl: This package provides a simple API for parsing and manipulating XML data in Perl. It is often used in web applications and other systems that need to work with XML data.
- libtest-simple-perl: This package provides a simple framework for writing and running Perl unit tests. It can be used to ensure that your Perl code is working correctly and to catch bugs before they become problems.
To install any of these packages, add their names to the apt-get install command when installing Perl. For instance, to install Perl along with the libdatetime-perl and libjson-perl packages, run the following command:
sudo apt install perl libdatetime-perl libjson-perlThis command will install Perl along with the optional packages that you specified. You can then use these packages in your Perl scripts to improve functionality and productivity.
Search For Perl Modules on Ubuntu
In addition to the optional Perl packages we have mentioned, there are many other Perl packages available on Ubuntu that you may find helpful. To search for additional Perl packages, you can use the apt-cache command, which is used to search the package repository on Ubuntu.
To search for Perl packages using apt-cache, open a terminal window and type the following command:
apt-cache search perlThis command will display a list of Perl packages available in the package repository on Ubuntu. You can scroll through the list to see the available packages or use the grep command to search for specific packages.
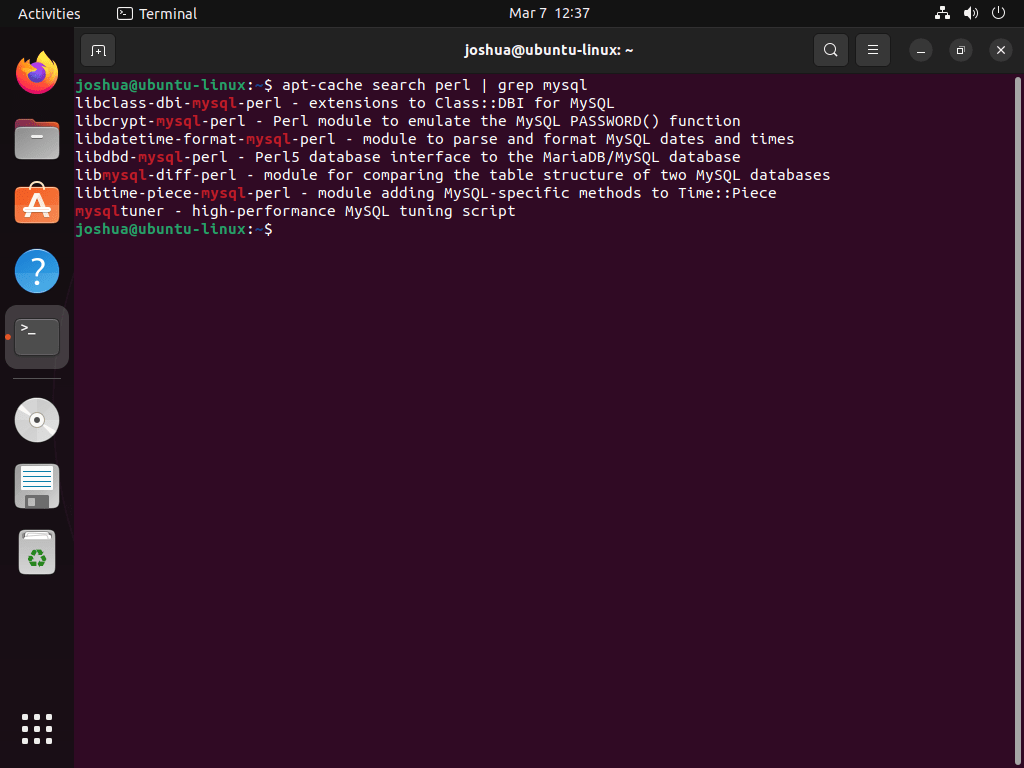
For example, if you want to search for packages related to MySQL, you can use the following command:
apt-cache search perl | grep mysqlThis command will display a list of Perl packages with the word “mysql” in their name or description. You can use similar commands to search for other keywords or specific packages that you may be interested in.
Once you have found a package you want to install, you can use the apt-get command to install it. For example, to install the libdbd-mysql-perl package that we mentioned earlier, you can run the following command:
sudo apt install libdbd-mysql-perlThis command will download and install the package and any dependencies it requires. You can then use the package in your Perl scripts as needed.
Install Perl on Ubuntu via Perl Source Archive
The secondary method the guide will demonstrate is installing Perl by downloading the source archive, compiling the binary, and installing it. This method can be best if you need a specific version of Perl or an updated version.
Install Prerequisite Packages to Build Perl
Before initiating the Perl installation process, preparing your Ubuntu system with the necessary development tools and libraries is crucial. These components are pivotal in facilitating the smooth compilation of Perl from the source.
To install these prerequisite packages, execute the command below:
sudo apt install build-essential make wgetDownload Perl Source Code Archive
With the dependencies in place, proceed to download Perl’s source code. The official Perl website is a reliable source for obtaining the most up-to-date code version. In this guide, we’ll use Perl version 5.38.0 for illustration purposes.
Run the following command to download the specified version:
wget https://www.cpan.org/src/5.0/perl-5.38.0.tar.gzNote: The version used here serves as an example. Always refer to the official website to download the latest version of Perl source code.
Extract Perl Source Code From Archive
Having successfully downloaded the source code, the subsequent step involves extracting the tarball. Execute the command below to unpack the source code:
tar -xzf perl-v5.38.0.tar.gzThen, navigate into the directory housing the extracted source code:
cd perl-5.38.0Setup Perl Build Configuration
Before delving into the compilation of the source code, it’s imperative to set up the build configuration. This preparatory step tailors the Perl compilation process to align with your Ubuntu system’s specific needs and characteristics.
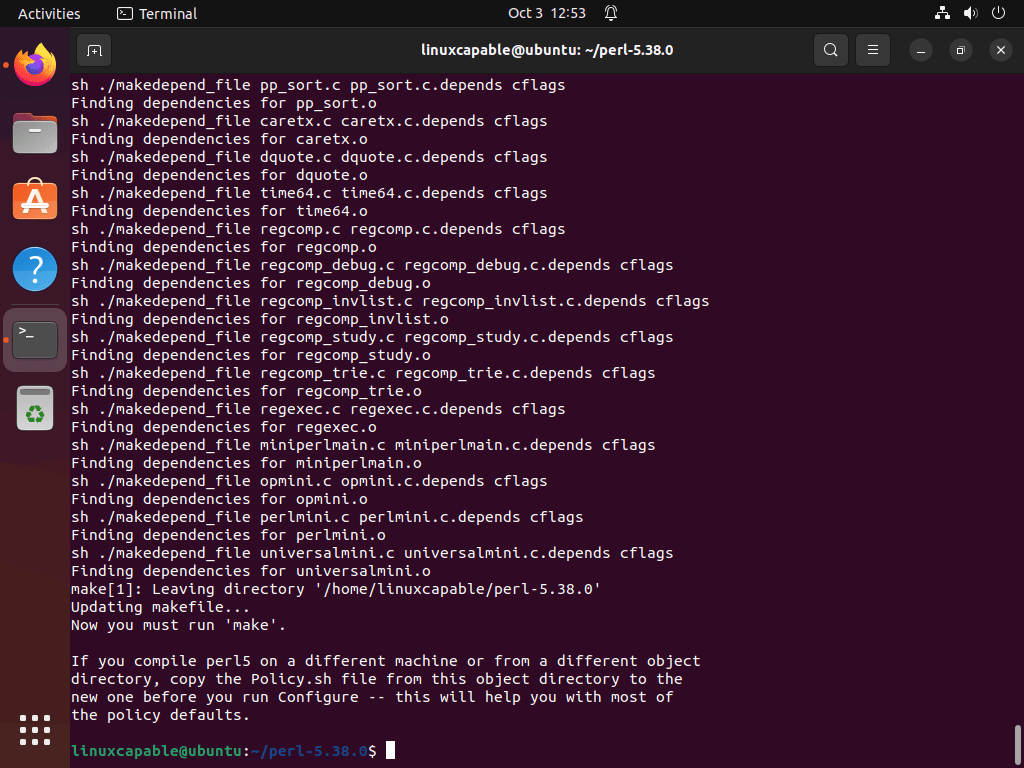
Run the command below to configure the build:
./Configure -des -Dprefix=/usr/localNote: Ensure to use ‘-Dprefix’ exactly as shown, not ‘-dprefix’. This command initializes the build with default settings and designates /usr/local as the installation directory for Perl.
Compile and Install Perl Binary on Ubuntu
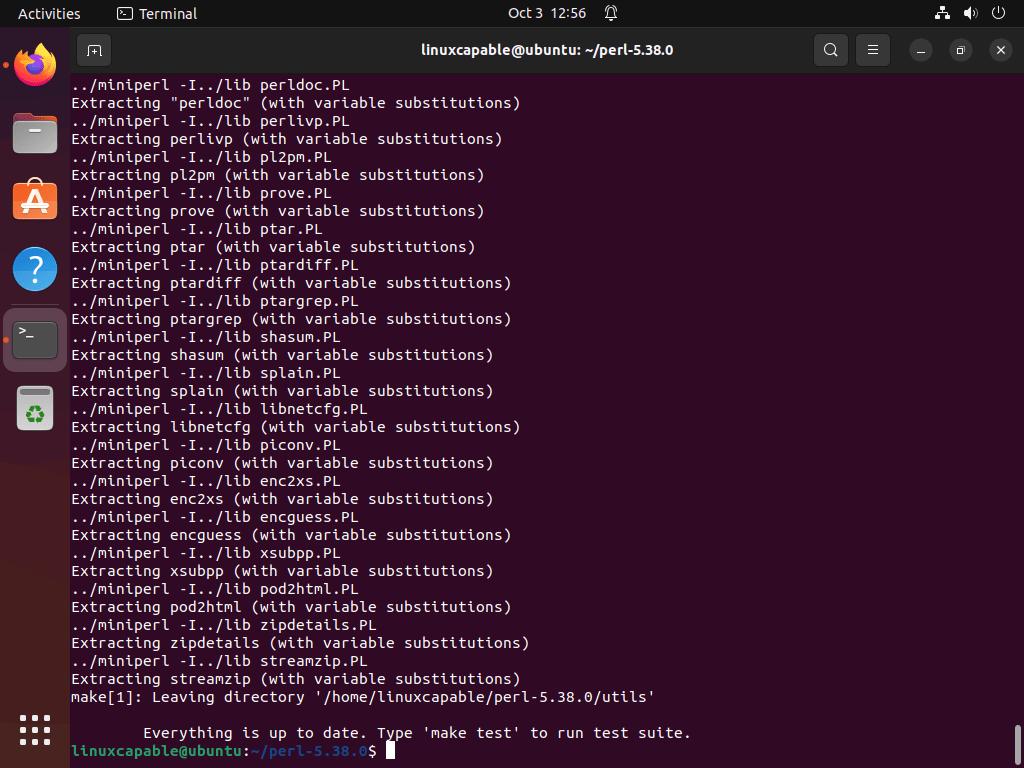
With the configuration in place, you are set to compile the Perl source code. The duration of this step is contingent on your system’s capabilities. Initiate the compilation process with the command below:
makeUpon successful compilation, proceed to install Perl using the following command:
sudo make installValidate Perl Installation
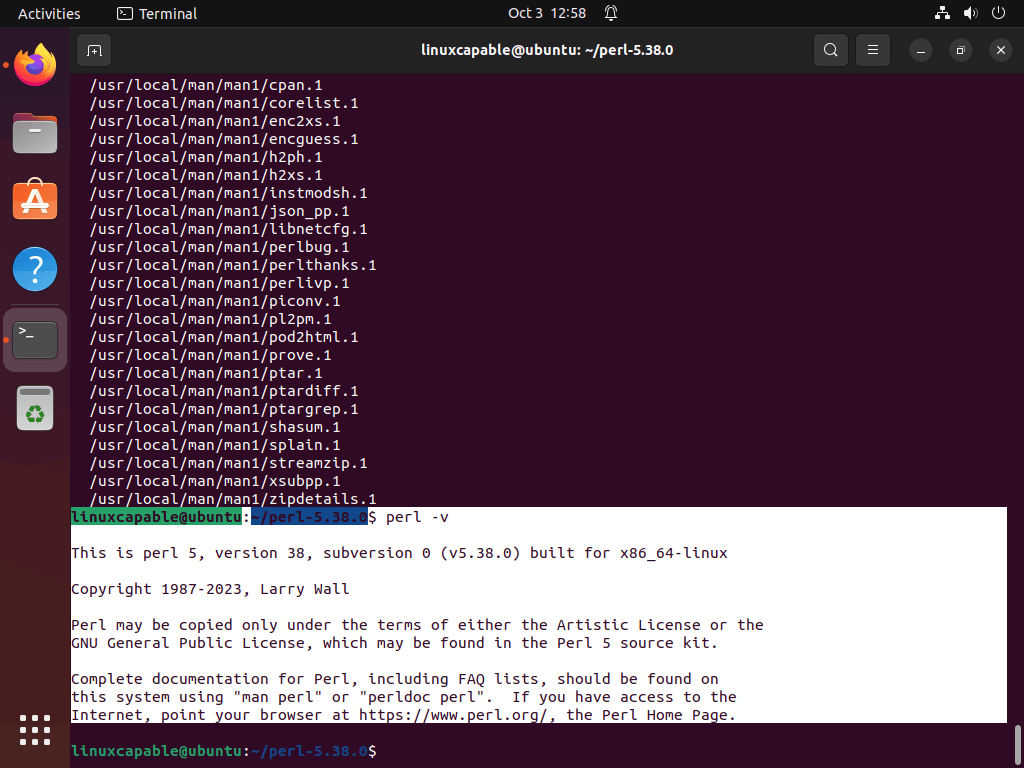
Verifying that Perl has been successfully installed from the source is prudent to wrap up the installation process. Run the command below to check the installed Perl version:
perl -vThis command will unveil the Perl version number, affirming the successful installation.
Installing Perl from the source accords unparalleled control over the configuration and compilation parameters. This approach is particularly advantageous if your project demands a specific Perl version or requires the activation (or deactivation) of specific features not in the pre-compiled packages available in the Ubuntu repositories.
Create a Perl Test Application on Ubuntu
You can create a simple “Hello World” script to test Perl on your Ubuntu system. Open a terminal window and type the following command:
nano hello.plThis command will open the Nano text editor, where you can enter the following code:
#!/usr/bin/perl
print "Hello, world!\n";
This code will print “Hello, world!” to the terminal.
Save the file by pressing Ctrl+O, then exit the editor by pressing Ctrl+X. Make the script executable by running the following command:
chmod +x hello.plThis command will make the script executable.
Now, run the script by typing the following command:
./hello.plThis command will execute the “Hello World” script and print the message “Hello, world!” to the terminal.
Conclusion
In this guide, we walked through setting up Perl on Ubuntu 24.04, 22.04, and 20.04 LTS releases, exploring both the APT package manager method and the compilation from source. We hope it’s been a straightforward journey for you. Remember, whether you’re dabbling in simple scripts or diving into complex projects, Perl’s versatility has got you covered. Don’t hesitate to reach out to the vibrant Perl community if you hit a snag or just want to share your creations. Happy coding, and here’s to many successful Perl projects on your Ubuntu system!


