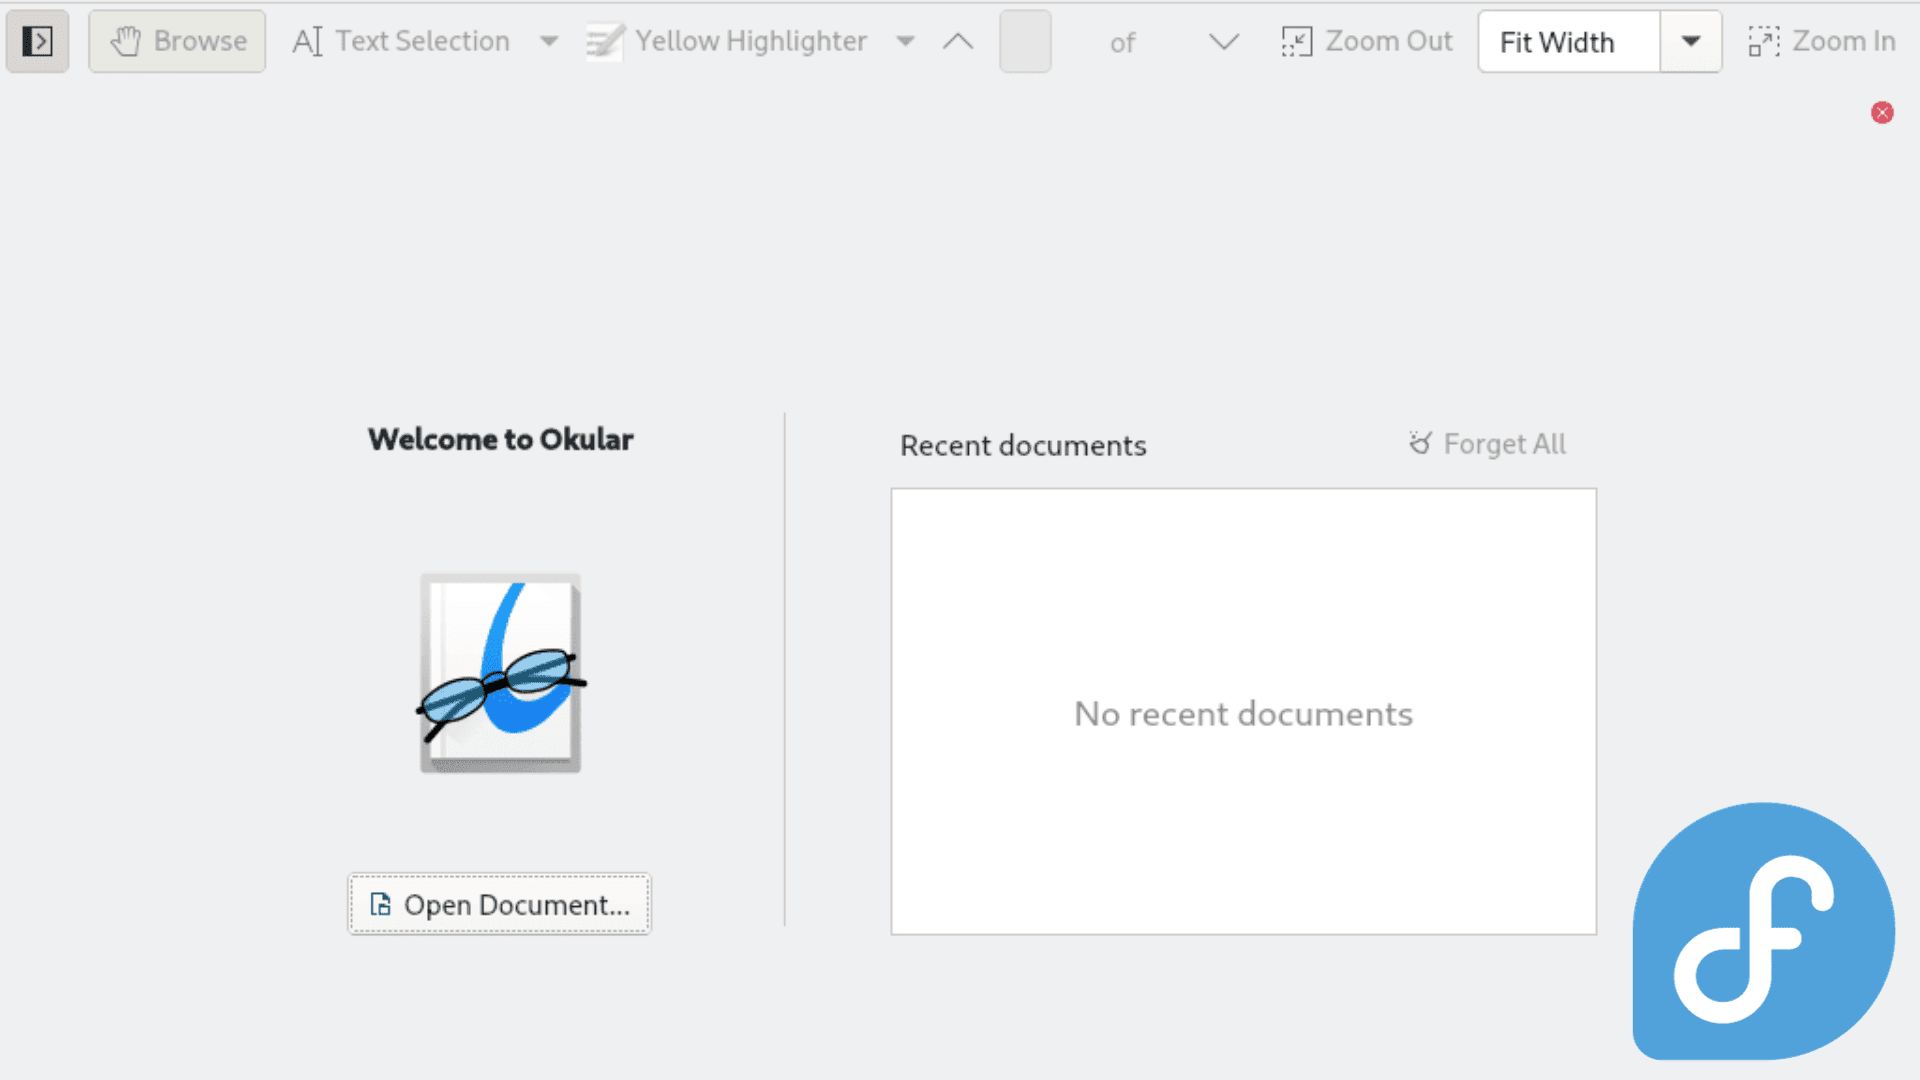
This guide will demonstrate how to install Okular, a versatile document viewer, on Fedora Linux. Okular stands out for its compatibility with different document formats and user-friendly interface, making it an ideal choice for casual and professional use. Its integration with the KDE desktop environment adds to its appeal, though it is equally functional on other environments.
Key Features of Okular:
- Multiple Document Format Support: Okular supports PDF, EPUB, DjVu, XPS, and many other formats, catering to various document viewing needs.
- Annotation Tools: It offers extensive annotation capabilities, allowing users to highlight, underline, and add notes to documents.
- Customizable Viewing Options: Users can tailor their viewing experience with features like text selection, bookmarking, and a thumbnail preview pane.
- Accessibility Features: Includes text-to-speech support and other accessibility options.
- Integrated Search Functionality: Easily find text within documents.
Following this guide, you can quickly and efficiently set up Okular on your Fedora Linux system, enhancing your document viewing and management capabilities.
Install Okular on Fedora Linux via DNF
Step 1: Refresh Fedora Packages Before Installation
To ensure your Fedora system is up-to-date before installing Okular, execute the following command in the terminal. This step is crucial as it updates all your system packages, ensuring compatibility and security.
sudo dnf upgrade --refreshStep 2: Install Okular via DNF Command
Okular can be installed on Fedora Linux using the DNF package manager, which accesses Fedora’s default repository. This method is highly recommended for those who value stability and security. It’s important to note that while this method provides a stable version of Okular, it may not always offer the most recent version.
Run this command in your terminal to install Okular:
sudo dnf install okularFollowing this, we will explore an alternative method to install Okular using Flatpak, providing access to potentially newer versions of the application.
Install Okular on Fedora Linux via Flatpak and Flathub
Use Flatpak, a popular package manager for Linux distributions, to install Okular on Fedora Linux as an alternative method. Generally, Fedora comes with Flatpak pre-installed. However, you might need to reinstall it if you’ve removed it earlier. This approach is great for getting the latest versions of software that the default repositories might not provide.
Step 1: Verify If Flatpak is Installed
Check if Flatpak is already installed on your system before moving forward. Use this command to install it if it’s not present:
sudo dnf install flatpak -yStep 2: Enable Flathub for Okular Installation
Flathub is a repository for Flatpak applications. To install Okular from Flathub, first enable it using the following command:
sudo flatpak remote-add --if-not-exists flathub https://flathub.org/repo/flathub.flatpakrepoStep 3: Install Okular via Flatpak Command
With Flathub enabled, you can install Okular by executing this command:
flatpak install flathub org.kde.okular -yFedora Flatpak Troubleshoot with Okular
If you encounter the error “error: Unable to load summary from remote flathub: Can’t fetch summary from disabled remote ‘flathub,'” the solution is simple.
"error: Unable to load summary from remote flathub: Can't fetch summary from disabled remote 'flathub,"This issue arises when the Flathub repository is not active. Reactivate it using the command below:
sudo flatpak remote-modify --enable flathubLaunch Okular on Fedora Linux
After successfully installing Okular on Fedora Linux, there are multiple methods to open the application, catering to command-line enthusiasts and those who prefer graphical user interfaces (GUI).
CLI Commands to Launch Okular
Users comfortable with the terminal can immediately launch Okular with a simple command. This method is direct and efficient for frequent command-line users.
Launch Okular using this command:
okularFor installations via Flatpak, use the following command to start Okular:
flatpak run org.kde.okularGUI Method to Launch Okular
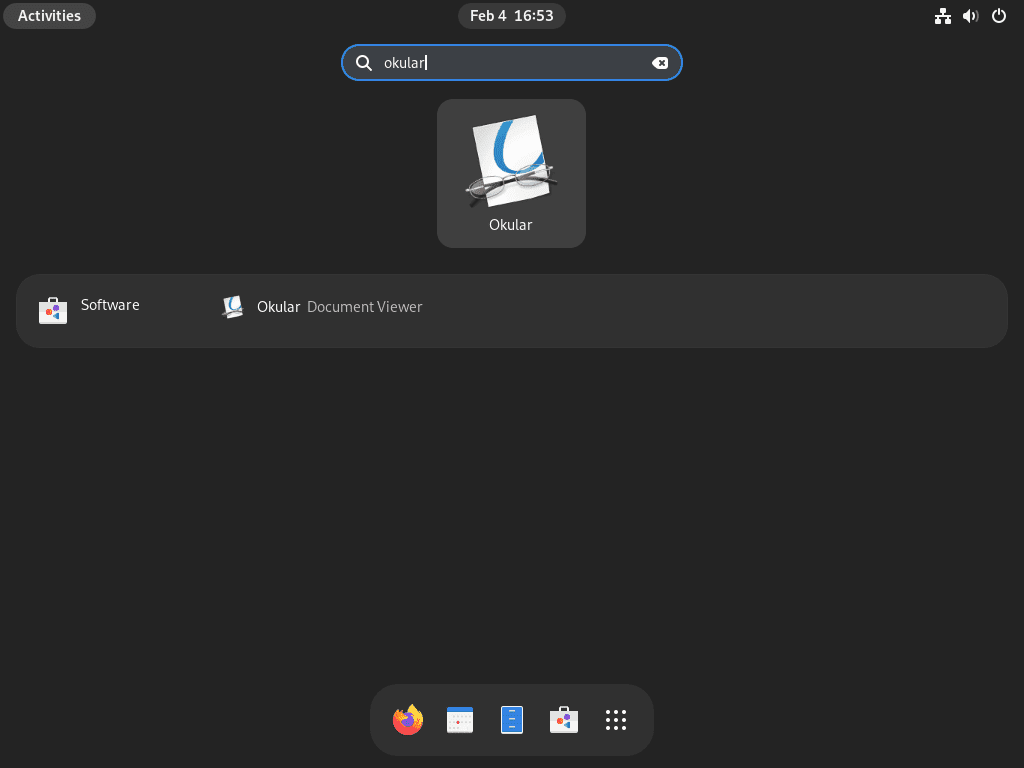
Users who prefer a graphical approach can easily access Okular through the desktop environment. This method is intuitive and aligns with the standard workflow of most desktop users.
To open Okular, navigate as follows:
Activities > Show Applications > Okular
First-Time Tips with Okular on Fedora Linux
Now that you have successfully installed Okular on Fedora Linux, consider these first-time tips for getting started with the software:
General Okular Tips for New Users on Fedora
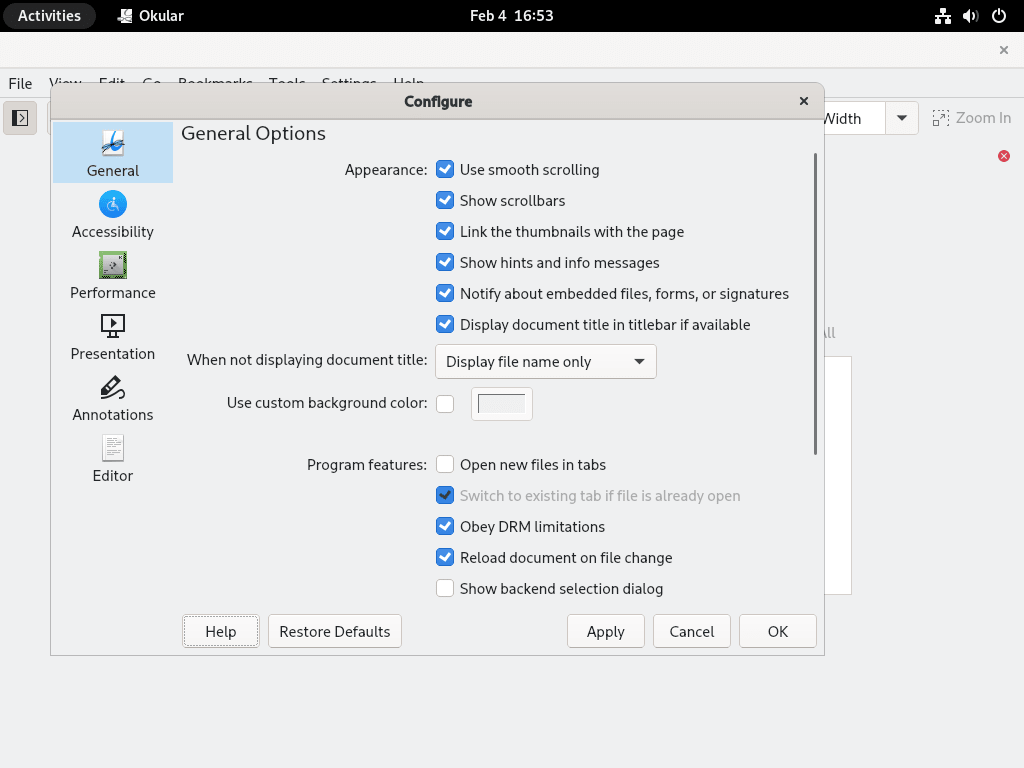
- Explore the User Interface: Familiarize yourself with Okular’s layout and controls. The toolbar, menu options, and status bar are designed for ease of use.
- Keyboard Shortcuts: Learn key shortcuts to enhance your efficiency. For instance,
Ctrl+Ffor search,Ctrl+Gfor go-to-page, andCtrl+Hfor highlighting text.
Okular Customization Tips on Fedora
- Adjust View Settings: Tailor your reading experience. For instance, you can switch between single and continuous page modes or adjust the zoom level to fit your preferences.
- Customize Annotations: Okular allows you to personalize annotation tools. Right-click on the annotation toolbar to customize colors and shapes.
Other Okular Helpful Tips on Fedora
- Document Bookmarking: Use bookmarks to easily navigate through lengthy documents. You can add bookmarks by clicking on the bookmark icon or pressing
Ctrl+B. - PDF Forms and Digital Signatures: Okular supports interactive PDF forms. You can fill out forms directly within the app and save your changes. It also supports adding digital signatures to PDFs.
Managing Okular on Fedora Linux
Update Okular on Fedora
Keeping Okular updated is crucial for accessing the latest features and security patches. While Fedora often notifies you of available updates, manual checks are an excellent practice to ensure your version of Okular is current.
DNF Update Command For Okular
To update Okular installed via DNF, use this command:
sudo dnf update --refreshIt refreshes the repository data and applies available updates.
Flatpak Update Command For Okular
For installations done via Flatpak, execute this command to check for and apply updates:
flatpak updateRemove (Uninstall) Okular From Fedora
Depending on how Okular was installed, use the corresponding command to remove it from your Fedora system.
DNF Remove Command For Okular
To uninstall Okular that was installed using DNF, this command will remove the software:
sudo dnf remove okularFlatpak Remove Command For Okular
For Okular installations via Flatpak, use this command:
flatpak remove --delete-data org.kde.okularIt also deletes associated data for a clean uninstall.
Conclusion
In this guide, we’ve navigated through the efficient installation of Okular on Fedora Linux, utilizing DNF and Flatpak methods. These approaches ensure a smooth and straightforward setup, allowing you to dive into the robust features of Okular for viewing and annotating documents. This comprehensive guide aims to make the installation process accessible for users of all levels, from beginners to seasoned Linux enthusiasts. As you begin to explore Okular, remember that its versatility and user-friendly design are here to enhance your document-handling experience on Fedora Linux.


