Nomacs gives Ubuntu users a more capable image viewer when the default app feels cramped for RAW files, metadata checks, batch processing, or side-by-side comparisons. This guide shows how to install Nomacs on Ubuntu 26.04 LTS, 24.04 LTS, and 22.04 LTS using either the Ubuntu universe package or the Flathub Flatpak build.
APT is the simplest choice for most systems because updates arrive with the rest of Ubuntu. Flatpak is useful when you already manage desktop apps through Flathub or prefer its application packaging.
Install Nomacs on Ubuntu
Choose the package source that matches how you normally maintain desktop applications:
| Method | Channel | Version | Updates | Best For |
|---|---|---|---|---|
| APT | Ubuntu universe repository | Ubuntu repository build, varies by release | apt upgrade | Most users who prefer repository packages |
| Flatpak | Flathub | Flathub stable app build | flatpak update | Users who want Flathub packaging and sandboxing |
This article focuses on normal Ubuntu desktop installs. Use the APT section when you want the distro package, or use the Flatpak section when Flathub is already part of your desktop workflow.
This article covers Ubuntu 26.04 LTS (resolute), 24.04 LTS (noble), and 22.04 LTS (jammy). APT package versions differ by release, while Flatpak uses the same Flathub app ID after Flathub is configured.
Install Nomacs with APT
Start with APT unless you specifically want the Flatpak build. Nomacs is available from Ubuntu’s universe repository; if a minimal installation does not show a package candidate, enable the repository first with the guide to enable Universe and Multiverse on Ubuntu, then return here.
Update your package index and install Nomacs:
sudo apt update
sudo apt install nomacs
If your account cannot run
sudo, configure administrator access before continuing. The guide to add a new user to sudoers on Ubuntu covers the standard setup.
Confirm the installed package and candidate version:
apt-cache policy nomacsOn Ubuntu 26.04 LTS, the relevant lines currently show:
nomacs:
  Installed: 3.21.1+dfsg-1
  Candidate: 3.21.1+dfsg-1
Launch the APT build from a terminal with:
nomacsInstall Nomacs with Flatpak
The Flatpak method installs the Flathub app ID org.nomacs.ImageLounge. Use this route when you prefer Flathub packaging, need a release-independent app source, or already update other desktop apps with Flatpak.
If Flatpak is not installed yet, set it up first with the Flatpak installation guide for Ubuntu. Keep the remote, install, update, and remove commands at the same scope; the commands below use system-wide Flatpak management with
sudo.
Add Flathub if it is not already configured:
sudo flatpak remote-add --if-not-exists flathub https://dl.flathub.org/repo/flathub.flatpakrepoCheck that the remote is available:
sudo flatpak remotes --columns=name,options | grep '^flathub'flathub system
Install Nomacs from Flathub:
sudo flatpak install flathub org.nomacs.ImageLounge -yConfirm the installed Flatpak metadata:
sudo flatpak info org.nomacs.ImageLounge | grep -E 'ID:|Ref:|Arch:|Branch:'Relevant lines include:
        ID: org.nomacs.ImageLounge
       Ref: app/org.nomacs.ImageLounge/x86_64/stable
      Arch: x86_64
    Branch: stable
Launch the Flatpak build from a terminal with:
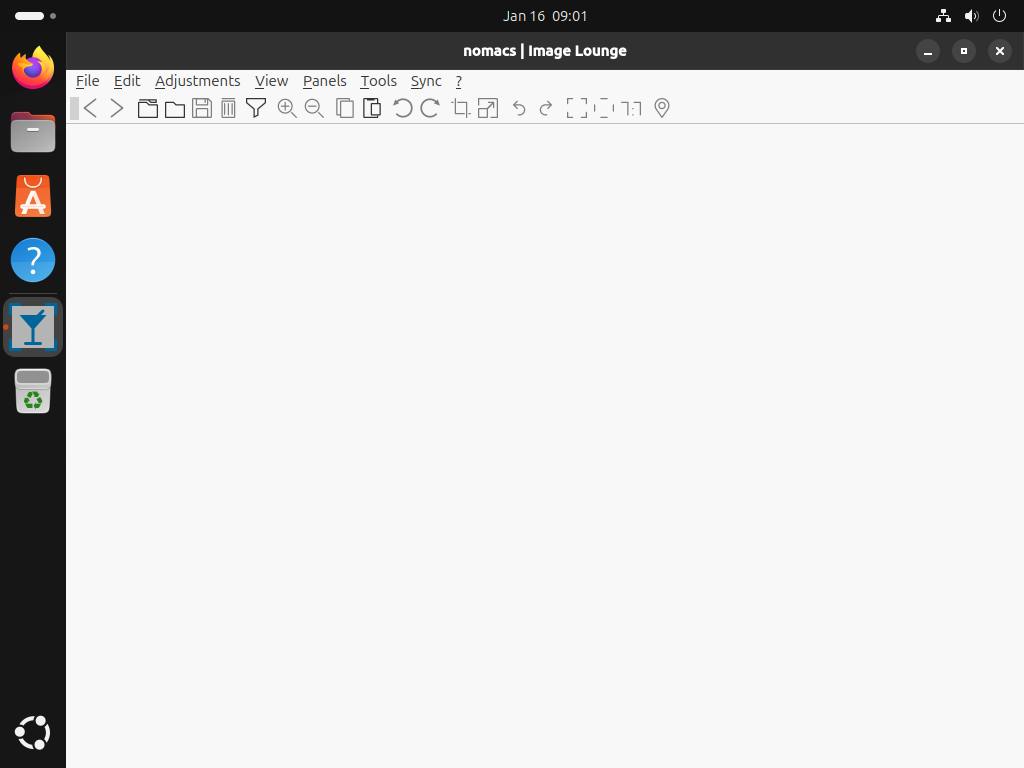
flatpak run org.nomacs.ImageLoungeLaunch Nomacs
Nomacs also appears in your desktop application menu. Open Activities or your desktop environment’s app launcher, search for “Nomacs,” and select the Nomacs icon.
Getting Started with Nomacs
After opening Nomacs, use its panels and menus to move beyond basic image previewing.
Navigation and Viewing
- Browse images: Use
Left ArrowandRight Arrowto move through images in the current folder. - Zoom: Press
Ctrl++to zoom in andCtrl+-to zoom out. - Full screen: Press
Fto toggle full-screen mode. - Thumbnail bar: Enable the thumbnail preview from
Panels>Thumbnailsto navigate large image folders faster.
Metadata and Editing
- View EXIF data: Open
Panels>Metadata Infoto see camera settings, dates, and GPS coordinates when the image includes them. - Basic edits: Access crop, resize, and rotation tools from the
Editmenu. - Batch processing: Select multiple images and use
Tools>Batch Processingfor bulk rename, resize, or format conversion tasks.
Image Comparison
Nomacs can synchronize multiple viewer windows for side-by-side comparisons. Open two images in separate Nomacs windows, then use Sync > Synchronize with to link zoom and pan actions between them. This helps when comparing edits or choosing the best shot from a series.
Update or Remove Nomacs
Update Nomacs
Update the APT package with:
sudo apt update
sudo apt install --only-upgrade nomacs nomacs-l10n
Update the Flatpak app with:
sudo flatpak update org.nomacs.ImageLoungeRemove Nomacs
Remove the APT package and its translations with:
sudo apt remove nomacs nomacs-l10nConfirm the packages are gone:
dpkg-query -W -f='${binary:Package} ${db:Status-Status}\n' nomacs nomacs-l10n 2>/dev/null | grep ' installed$' || echo "Nomacs packages are not installed"Nomacs packages are not installed
If you want to clean unused dependencies afterward, preview the changes first:
sudo apt autoremove --dry-runReview the dry-run list before running a real dependency cleanup. Reused desktop systems can have many autoremovable packages that are unrelated to Nomacs.
Remove the Flatpak app with:
sudo flatpak remove org.nomacs.ImageLounge -yConfirm the app ID no longer appears:
sudo flatpak list --app --columns=application | grep -Fx org.nomacs.ImageLounge || echo "Nomacs Flatpak is not installed"Nomacs Flatpak is not installed
Nomacs stores user preferences separately from the application package. Delete the relevant directory only if you want to remove saved settings as well:
rm -rf ~/.config/nomacs
rm -rf ~/.var/app/org.nomacs.ImageLounge
After removing the Flatpak app, remove unused runtimes only if no other Flatpak apps need them:
sudo flatpak uninstall --unusedTroubleshooting Nomacs
APT Cannot Locate Nomacs
If apt reports that it cannot locate Nomacs, check the package candidate first:
apt-cache policy nomacsIf the candidate is (none), the universe repository is probably disabled. Enable it, refresh the package index, then run the APT install command again.
Flatpak Cannot Find the App
If Flatpak cannot find org.nomacs.ImageLounge, confirm that Flathub is configured:
sudo flatpak remotesWhen Flathub is missing, rerun the flatpak remote-add command from the Flatpak installation section, then repeat the Nomacs install command.
Conclusion
You now have Nomacs installed on Ubuntu through either the repository package or Flathub, with matching update and removal commands for each method. APT keeps Nomacs tied to normal system updates, while Flatpak keeps it in your Flathub workflow. For other image viewer options, see how to install gThumb on Ubuntu or install PhotoQt on Ubuntu.

Formatting tips for your comment
You can use basic HTML to format your comment. Useful tags currently allowed in published comments:
<code>command</code>command<strong>bold</strong><em>italic</em><a href="https://example.com">link</a><blockquote>quote</blockquote>