This guide will demonstrate how to install Nmap on Fedora Linux using the command-line terminal, either through the DNF Package Manager or by downloading and compiling the Nmap source binary for the latest version.
Nmap, short for Network Mapper, is a powerful and versatile tool used by network administrators, security professionals, and enthusiasts to discover networks, perform security scans, and audit network security. Its ability to adapt to different network environments and tasks makes it an essential utility in the cybersecurity toolkit. Nmap’s robust feature set includes:
- Port Scanning: Identifies open ports on network devices, determining potential access points for security assessments.
- Network Inventory: Catalogs devices on a network, including operating systems, software, and services.
- Service Detection: Determines what services are running on open ports, providing insights into network functionality.
- OS Detection: Employs advanced techniques to deduce the operating systems of devices on a network.
- Scriptable Interactions: Utilizes the Nmap Scripting Engine (NSE) for more sophisticated network exploration and security auditing.
- Network Mapping: Visualizes network topologies, helping in understanding the structure and spread of networks.
- Vulnerability Detection: Integrates with vulnerability databases to identify potential security weaknesses in network devices.
- Flexibility and Extensibility: Supports a wide range of customization options for tailored network analysis.
With these capabilities, Nmap serves as a critical tool for maintaining network security and integrity.
Now, let’s dive into the technical steps to install Nmap on Fedora Linux, ensuring you have the necessary knowledge and tools to leverage this powerful network scanner effectively.
Install Nmap on Fedora via DNF
Update Fedora Before Nmap Installation
First, update your system to ensure all existing packages are up to date.
sudo dnf upgrade --refreshInstall Nmap via DNF Command
By default, NMAP is available on Fedora’s repository. Given Fedora is a 6-month release focusing on the latest upstream releases, this version is the most up-to-date, making the installation easy and without importing any third-party repositories.
Begin with the installation and execute the following command:
sudo dnf install nmapNext, verify the installation by checking the version and build:
nmap --versionInstall Nmap on Fedora via Source
There could be instances where the need for the latest version of Nmap arises, or the version provided in Fedora’s repositories may not cater to specific requirements. Compiling Nmap from source is a viable solution, ensuring you have access to the most recent features and updates. Although this method entails additional steps and necessitates a routine check for updates followed by re-compilation, it can be advantageous for advanced users or those with distinct needs.
Install Initial Required Packages for Nmap
Before diving into source code compilation, preparing our system with the appropriate tools is paramount. The essential tools for building Fedora packages include the gcc compiler and the ‘make’ utility.
To install these, open your terminal and execute the following command:
sudo dnf install make automake gcc gcc-c++Further, install the development tools and other requisite packages for building Nmap:
sudo dnf groupinstall "Development Tools"
sudo dnf install libssh2-devel openssl-devel python3-devel
Download Nmap Source Archive
After setting up the essential tools, obtain the Nmap source code. Fetch the source code from the official Nmap download page, targeting the latest stable release, using the wget command.
Note: It’s pivotal to check the download page for the latest version number and link, as these details may have changed after the creation of this guide.
To download the Nmap source code, use the following command:
wget https://nmap.org/dist/nmap-7.94.tar.bz2Extract the Nmap Source Code
Upon successfully downloading the Nmap source code, extracting the files from the archive takes time. Execute the commands below to achieve this:
bzip2 -cd nmap-7.94.tar.bz2 | tar xvf -
cd nmap-7.94
Configure Nmap Build
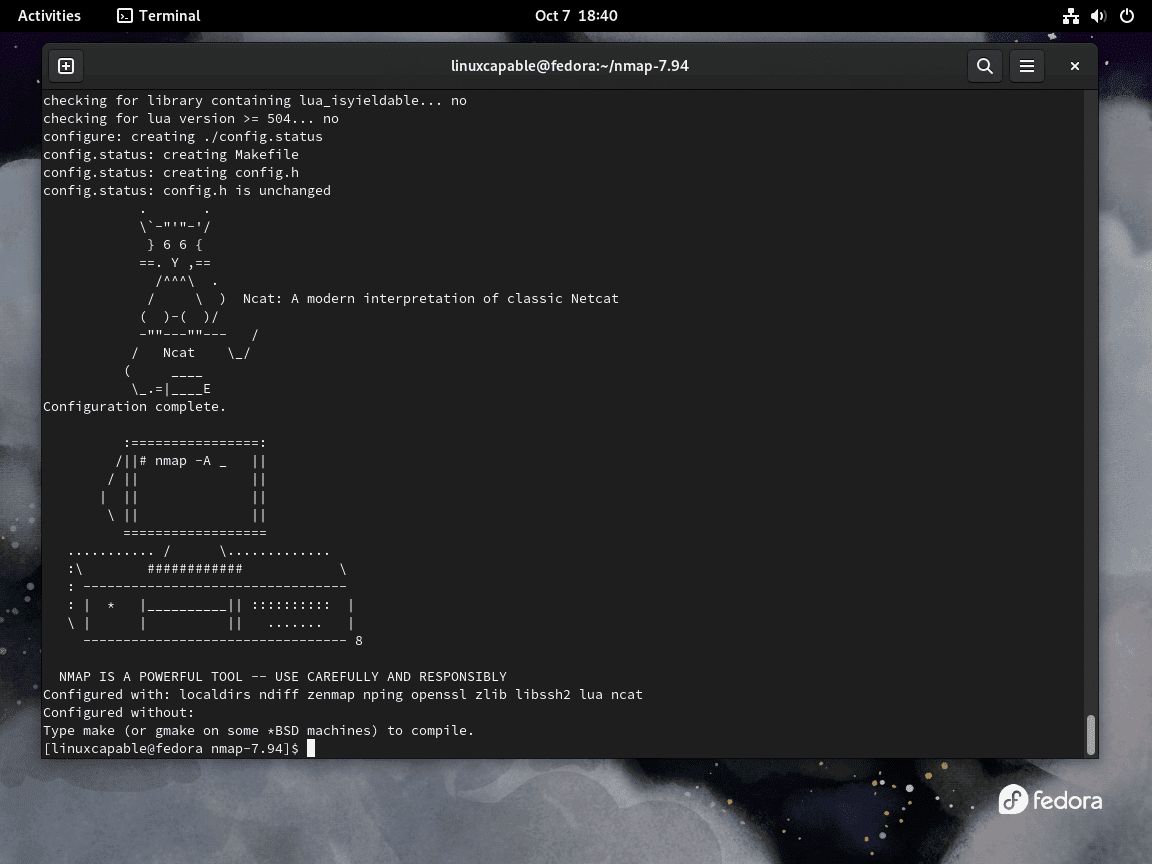
Now, it’s time to initiate the configuration process. This step readies the Nmap source code for compilation on your specific system, ensuring compatibility and optimized performance.
To orchestrate the build, run the command below:
./configureIf there’s a preference for installation with local directories, utilize the following command:
./configure --with-localdirsCompile Nmap
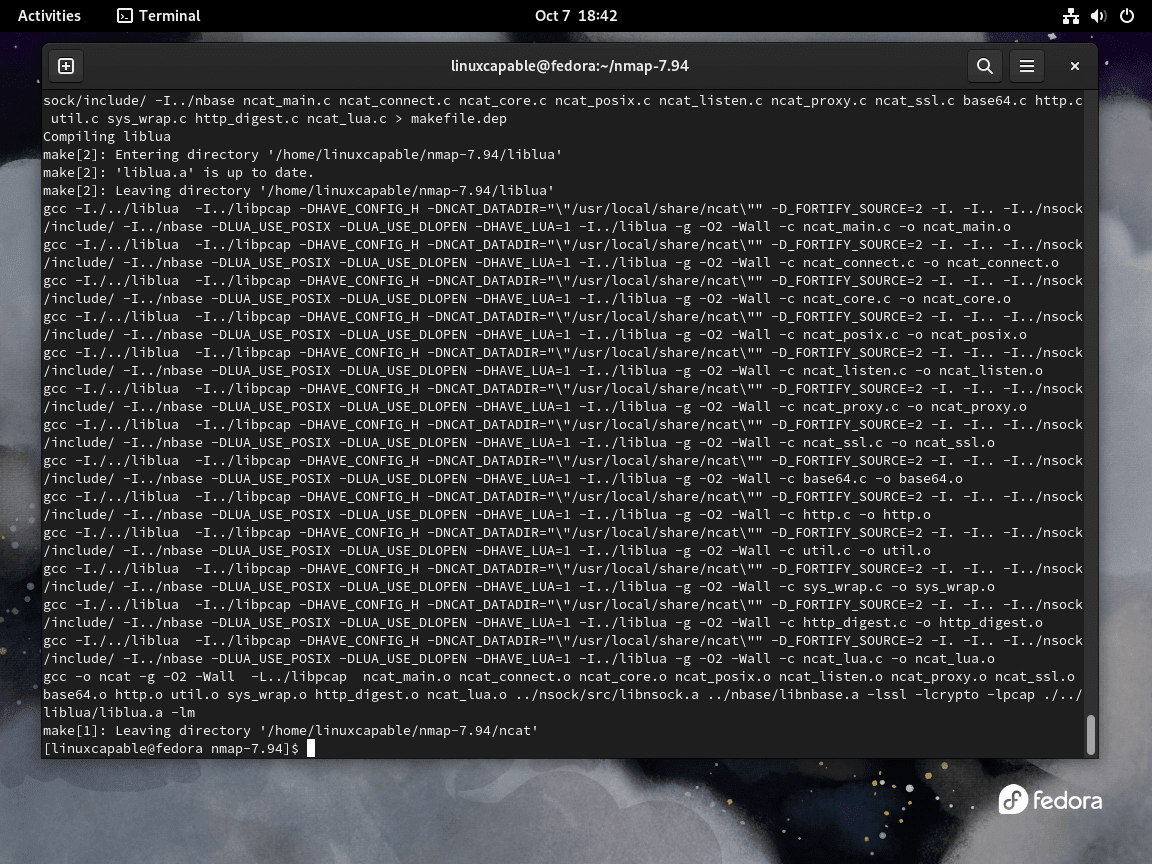
With the build duly configured, the subsequent step is compiling the source code. This process is orchestrated using the make command, which reads the Makefile in the Nmap source directory and compiles the source code accordingly:
makeInstall Nmap Binary
To install Nmap, execute the command below:
sudo make installVerifying Nmap Installation
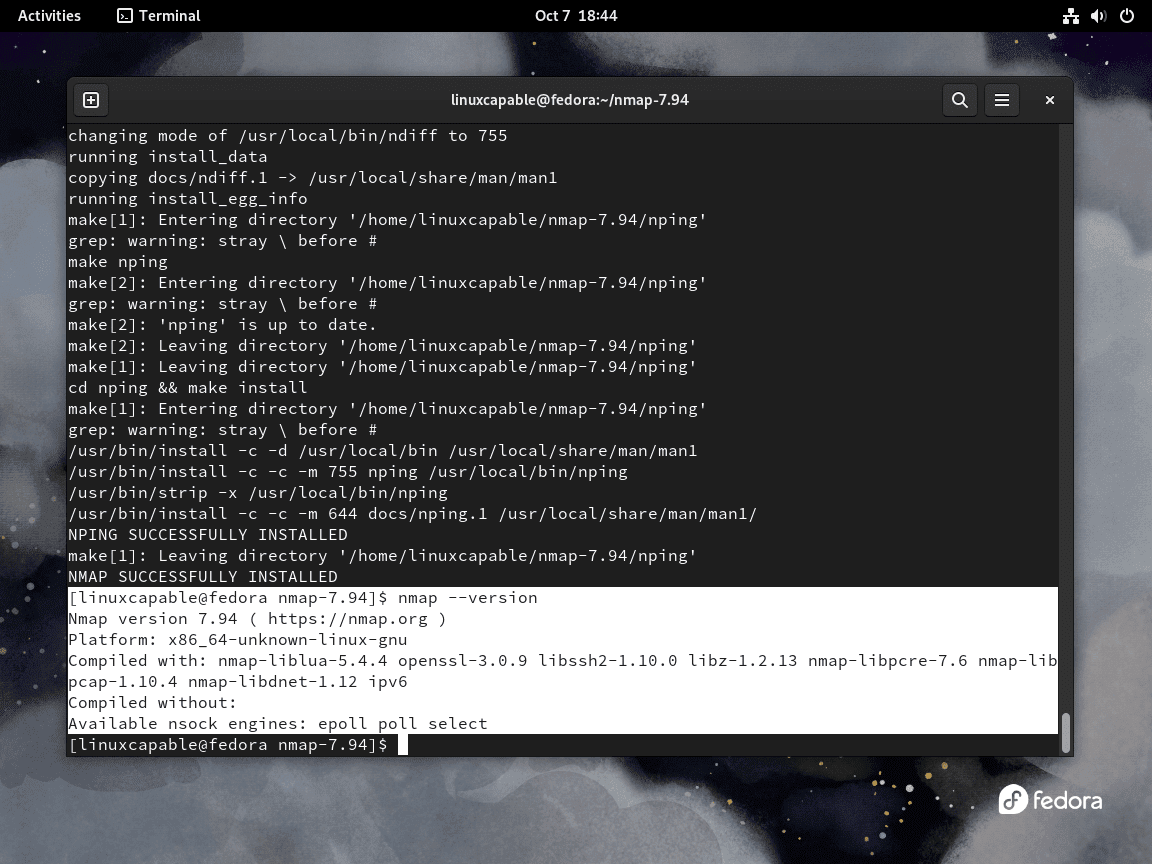
Post-installation, it’s imperative to verify the correct installation of Nmap from the source and ensure it’s the latest version. Employ the command below to ascertain this:
nmap --versionThis command shows the installed Nmap version, aligning with the version of the obtained source code. Thus, you have successfully compiled and installed the latest Nmap version from the source on your Fedora Linux system.
Basic Nmap Scanner Commands with Fedora
This next section will cover some basic Nmap commands to get you started.
Nmap Port States Definitions
First, before you begin, you should know what the port terminal states when using the Nmap port scanner.
- Closed – The port is closed and not accepting connections, which means there is no service listening on the port, or the service is not configured to accept incoming connections.
- Open – The port is open and accepting connections; the service runs on the port and can accept incoming connections.
- Filtered – The port is being filtered, and Nmap cannot determine whether it is open or closed. This can happen when a firewall or network device blocks Nmap’s probes.
- Unfiltered – The port is not being filtered, and Nmap can determine whether it is open or closed. The port is reachable, but Nmap cannot determine whether it is open or closed.
- Closed | Filtered – Nmap reaches the target, and Nmap cannot determine if the port is open or closed.
- Open | Filtered – Nmap cannot determine whether the port is closed or filtered.
Scan Host or IP Address with Nmap
Here are two examples of how you can use Nmap to scan a host or IP address from the command line in a Linux terminal:
Scan a single host
To scan a single host, use the following command:
nmap <hostname or IP address>For example, to scan the host with the IP address 192.168.1.1, use the following command:
nmap 192.168.1.1Scan a range of IP addresses
To scan a range of IP addresses, use the following command:
nmap <start IP address>-<end IP address>For example, to scan the IP addresses from 192.168.1.1 to 192.168.1.254, use the following command:
nmap 192.168.1.1-192.168.1.254Scan for Operating System with Nmap
Nmap can scan a host to determine the operating system (OS) in use. Here are two examples of how you can use Nmap to scan for the operating system from the command line in a Linux terminal:
Scan a single host
To scan a single host, use the following command:
nmap -O <hostname or IP address>For example, to scan the host with the IP address 192.168.1.1, use the following command:
nmap -O 192.168.1.1Scan a range of IP addresses
To scan a range of IP addresses, use the following command:
nmap -O <start IP address>-<end IP address>For example, to scan the IP addresses from 192.168.1.1 to 192.168.1.254, use the following command:
nmap -O 192.168.1.1-192.168.1.254Port Specification and Scan Order with Nmap
Nmap enables the specification of the ports for scanning and the order in which it performs the scans. Below are two examples illustrating how to use Nmap from a Linux terminal command line to designate ports for scanning and set the scan order:
Scan specific ports on a single host with Nmap
To scan specific ports on a single host, use the following command:
nmap -p <port1,port2,port3,...> <hostname or IP address>For example, to scan ports 80, 443, and 8080 on the host with the IP address 192.168.1.1, use the following command:
nmap -p 80,443,8080 192.168.1.1Scan ports in a specific order on a range of IP addresses with Nmap
To scan ports in a specific order on a range of IP addresses, use the following command:
nmap -p <port1,port2,port3,...> --top-ports <number> <start IP address>-<end IP address>For example, to scan the top 10 most common ports in the order of most to least common on the IP addresses from 192.168.1.1 to 192.168.1.254, use the following command:
nmap -p- --top-ports 10 192.168.1.1-192.168.1.254Services Scan with Nmap
A service scan is a network scan that can determine the services running on a host. Here are two examples of how you can use Nmap to perform a service scan from the command line in a Linux terminal:
Scan a single host with Nmap
To scan a single host, use the following command:
nmap -sV <hostname or IP address>For example, to scan the host with the IP address 192.168.1.1, use the following command:
nmap -sV 192.168.1.1Scan a range of IP addresses with Nmap
To scan a range of IP addresses, use the following command:
nmap -sV <start IP address>-<end IP address>For example, to scan the IP addresses from 192.168.1.1 to 192.168.1.254, use the following command:
nmap -sV 192.168.1.1-192.168.1.254TCP SYN Scan with Nmap
A TCP SYN scan identifies open ports on a host. Use Nmap to perform a TCP SYN scan from a Linux terminal command line with the following two examples:
Scan a single host with Nmap
To scan a single host, use the following command:
nmap -sS <hostname or IP address>For example, to scan the host with the IP address 192.168.1.1, use the following command:
nmap -sS 192.168.1.1Scan a range of IP addresses with Nmap on Fedora
To scan a range of IP addresses, use the following command:
nmap -sS <start IP address>-<end IP address>For example, to scan the IP addresses from 192.168.1.1 to 192.168.1.254, use the following command:
nmap -sS 192.168.1.1-192.168.1.254Conclusion
We’ve walked through the steps to install Nmap on Fedora Linux, either using the DNF Package Manager or by compiling the source binary. Remember, Nmap is more than just a tool; it’s your ally in understanding and securing your network. Dive in, experiment with its features, and make the most of its capabilities to keep your network in check. Whether you’re a seasoned pro or just starting, Nmap has something to offer. So go ahead, start scanning, and unlock the full potential of your network with Nmap!


