This guide will demonstrate how to install Inkscape on Ubuntu 24.04, 22.04, or 20.04 LTS utilizing the command-line terminal. It covers three different methods: APT with Ubuntu’s repository for stability and compatibility, the Inkscape Dev PPA for the latest stable versions, or alternative package managers like Snapcraft or Flatpak with the Flathub repository.
Inkscape is a powerful, open-source vector graphics editor that rivals premium software with its flexibility and feature set. It’s designed for illustrators, web designers, and anyone looking to create or edit vector graphics. Whether you’re crafting logos, web graphics, or project illustrations, Inkscape offers a comprehensive suite of tools to bring your vision to life. Its compatibility with various file formats, including SVG, PDF, EPS, and PNG, makes it versatile for different design needs.
Here are eight compelling reasons to use Inkscape:
- Free and Open-Source: Enjoy full access without any subscription fees.
- Cross-Platform: Works seamlessly on Linux, Windows, and macOS.
- Extensive Toolset: Offers a wide array of object creation, manipulation, and transformation tools.
- Rich Community: Benefit from a vast library of tutorials and community support.
- Scalable Vector Graphics: Create designs that are scalable without losing quality.
- Customizable Interface: Tailor the workspace to your preferences and workflow.
- Advanced Text Tools: Provides robust text manipulation and typography features.
- Extensibility: Enhance functionality with plugins and extensions.
Transitioning from the creative potential Inkscape offers to the practical steps of installation, it’s important to choose the method that best suits your system and needs. Let’s dive into the technical details.
Install Inkscape on Ubuntu via APT
Update Ubuntu System Packages Before Inkscape Installation
Before installing Inkscape, you must update your Ubuntu system to ensure you have the latest packages and security updates. To do this, execute the following command in your terminal:
sudo apt update && sudo apt upgradeInstall Inkscape on Ubuntu via APT Command
There are two methods for installing Inkscape using APT. You can install the version available in the Ubuntu repository or add the Inkscape PPA for the latest stable or nightly version.
Method 1: Install Inkscape from Ubuntu Repository
Inkscape is available in the default Ubuntu repository. This version is recommended for users who need a stable version for basic usage and do not require the latest features. Note that Ubuntu LTS releases may not have the most recent updates for Inkscape.
To install Inkscape from the Ubuntu repository, enter the following command in your terminal:
sudo apt install inkscapeMethod 2: Install Inkscape on Ubuntu via Inkscape PPA
For users who want the latest stable version of Inkscape without using Flatpak or Snap, you can import the Inkscape PPA. You can choose between the stable PPA or the nightly PPA.
First, ensure that the required dependencies are installed by executing the following command:
sudo apt install software-properties-common apt-transport-https -yTo import the stable Inkscape PPA, run the following command:
sudo add-apt-repository ppa:inkscape.dev/stable -yFor those who prefer the nightly version, use this command instead:
sudo add-apt-repository ppa:inkscape.dev/trunk -yNote: Import only one PPA. If you import both, the system will automatically select the higher version, the development version.
After adding the desired PPA, update your package list to reflect the new changes:
sudo apt updateFinally, install Inkscape using the following command:
sudo apt install inkscape -yAlternatively, to install the Inkscape Development version on Ubuntu, run the following command:
sudo apt install inkscape-trunk -yWhen installing the development version of Inkscape, it’s critical to use the inkscape-trunk install command. Using the standard inkscape command will not install it.
Install Inkscape on Ubuntu via Flatpak and Flathub
This section will explore an alternative method to install Inkscape using the Flatpak package manager. Flatpak is a popular option, similar to Snap, featured across many Linux distributions as a third-party installation package manager for obtaining the latest software packages.
Note: If your system does not have Flatpak installed, please refer to our own guide on How to Install Flatpak on Ubuntu for step-by-step instructions on installing the most recent supported version of Flatpak.
Enable Flathub For Inkscape Installation on Ubuntu
Before installing Inkscape through Flatpak, you must enable the Flathub repository, the primary source for Flatpak applications. To enable Flathub, execute the following command in your terminal:
sudo flatpak remote-add --if-not-exists flathub https://flathub.org/repo/flathub.flatpakrepoThis command adds the Flathub repository to your Flatpak configuration, ensuring you have access to various applications, including Inkscape.
Install Inkscape on Ubuntu via Flatpak Command
With Flathub enabled, you can now install Inkscape using the flatpak install command. Run the following command in your terminal:
flatpak install flathub org.inkscape.InkscapeThis command installs Inkscape from the Flathub repository, providing you with the latest version of the application.
Install Inkscape on Ubuntu via Snap
This last method will demonstrate installing Inkscape using the Snapcraft package manager. Snapcraft is widely used across various Linux distributions and comes pre-installed on Ubuntu systems unless removed previously.
Install Snap Core
First, let’s ensure the Snap Core is installed to avoid conflicts. The Snap Core is essential for managing Snap packages on your system. Run the following command in your terminal:
sudo snap install coreEnable Classic Snap Support
Some packages, including Inkscape, are available as classic snaps, requiring additional permissions to access system resources. To enable classic snap support on your system, you need to create a symlink with the following command:
sudo ln -s /var/lib/snapd/snap /snapThis command links the /var/lib/snapd/snap directory to /snap, enabling your system to recognize and manage classic snap packages.
Install Inkscape on via Snap Command
Now that your system is ready for classic snap packages, you can proceed with installing Inkscape using the snap install command. Execute the following command in your terminal:
sudo snap install inkscapeBy running this command, you will install the Inkscape snap package, providing you with the latest stable version of the application.
Launch Inkscape on Ubuntu via CLI or GUI
Congratulations! Now that you have successfully installed Inkscape on your system, it’s time to learn how to launch the application using various methods, depending on your installation type.
CLI Method to Launch Inkscape on Ubuntu
For users who have installed Inkscape using the APT or PPA methods, you can launch the application by typing the following command in your terminal:
inkscapeIf you have installed Inkscape using the Flatpak method, you must use a different command to launch the application. Enter the following command in your terminal:
flatpak run org.inkscape.InkscapeFor users who have installed Inkscape as a Snap package, you can launch the application using the command below:
snap run inkscapeGUI Method to Launch Inkscape on Ubuntu
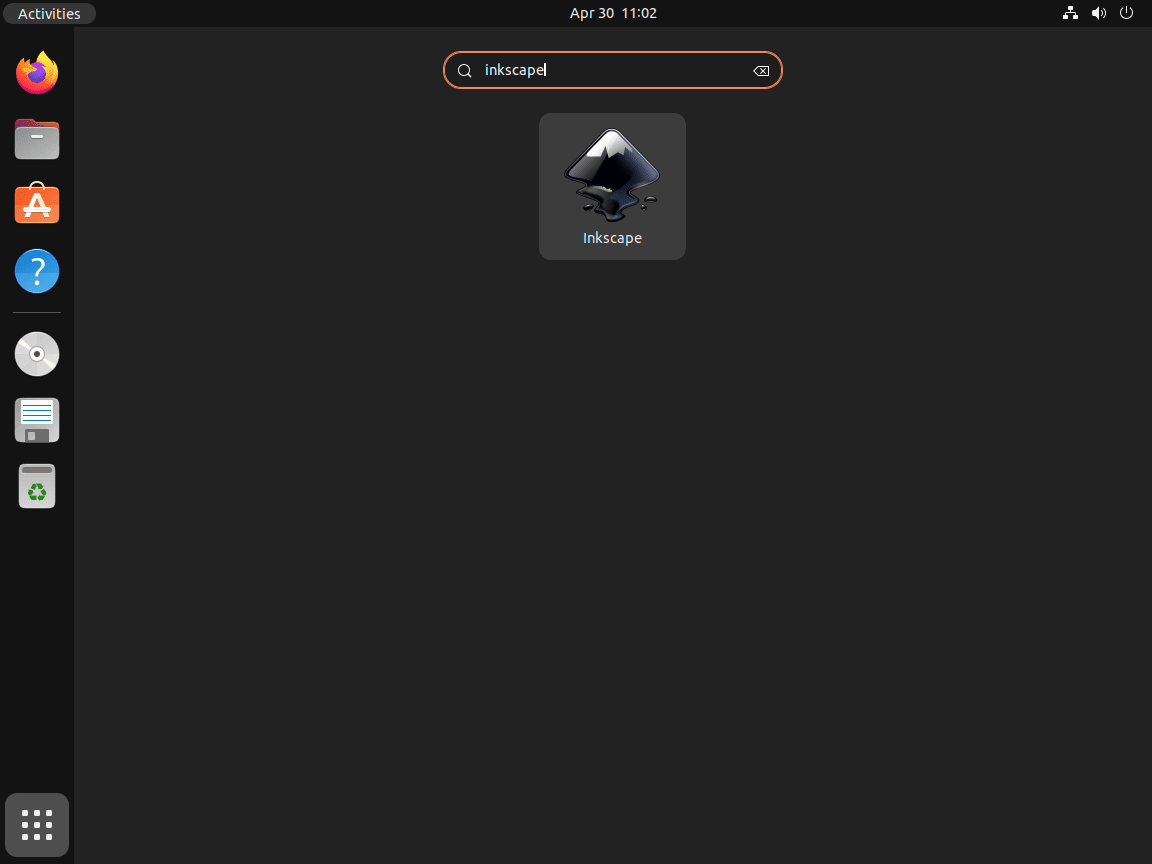
While launching Inkscape from the terminal is helpful in some cases, most desktop users will prefer to launch the application using their desktop environment. To do this, follow the path below:
Activities > Show Applications > InkscapeFirst-Time Tips with Inkscape on Ubuntu
Now that you have successfully installed Inkscape on Ubuntu, here are some first-time tips on getting started with the software. These tips are tailored to enhance your experience and efficiency with Inkscape on a Linux-based system, focusing on general usage, customization, and performance optimization.
General Tips for Inkscape on Ubuntu
- Explore Keyboard Shortcuts: Inkscape comes with a wide array of keyboard shortcuts that can significantly speed up your workflow. Familiarize yourself with these shortcuts to enhance productivity. For example, pressing
Ctrl + Shift + Topens the Text and Font dialog, andCtrl + Shift + Lbrings up the Layers panel. - Set Default Preferences: Tailor Inkscape to your workflow by setting up your preferences. Go to
Edit>Preferencesand explore the various settings you can adjust, such as default document properties, interface customization, and input devices settings. - Leverage the Power of Extensions: Inkscape supports numerous extensions that can extend its functionality. From adding new file formats to providing advanced design tools, these extensions can be a game-changer. Explore available extensions through
Edit>Preferences>System: here you can set the paths to scan for extensions. - Optimize SVG Files: For web design, optimizing SVG files is crucial. Use the built-in XML Editor (
Edit>XML Editor) to manually edit SVG elements and attributes for cleaner code and faster load times.
Customizations for Enhanced Workflow
- Personalize Your Interface: Customize the Inkscape interface to suit your needs. You can modify toolbars, commands, and even theme colors under
Edit>Preferences>Interface. This can help in creating a more comfortable and efficient working environment. - Use Document Templates: Speed up your project setup by creating and using custom document templates. Save a file with your preferred settings (size, background color, layers, etc.) in the templates directory (
~/.config/inkscape/templates), and it will appear underFile>New>Templates. - Configure Autosave Settings: To prevent loss of work, configure autosave settings in
Edit>Preferences>Input/Output>Autosave. You can set the autosave interval and location, ensuring that your work is periodically saved. - Explore Color Management: To achieve consistent colors across different devices and software, delve into color management settings (
Edit>Preferences>Color Management). This is particularly useful for print design or when color accuracy is paramount.
Performance Optimization Tips
- Manage Memory Usage: Inkscape’s performance can be affected by its memory usage. You can adjust memory settings under
Edit>Preferences>Systemto improve performance, especially on systems with limited resources. - Work with Bitmaps Efficiently: When working with bitmaps, use the
Linkoption instead ofEmbedwhen importing images (File>Import). This can significantly reduce the size of your Inkscape file and improve performance. - Utilize Layers: Organize your work into layers to not only keep your work organized but also to manage the visibility and editability of different parts of your design. This can help in managing complex documents more efficiently.
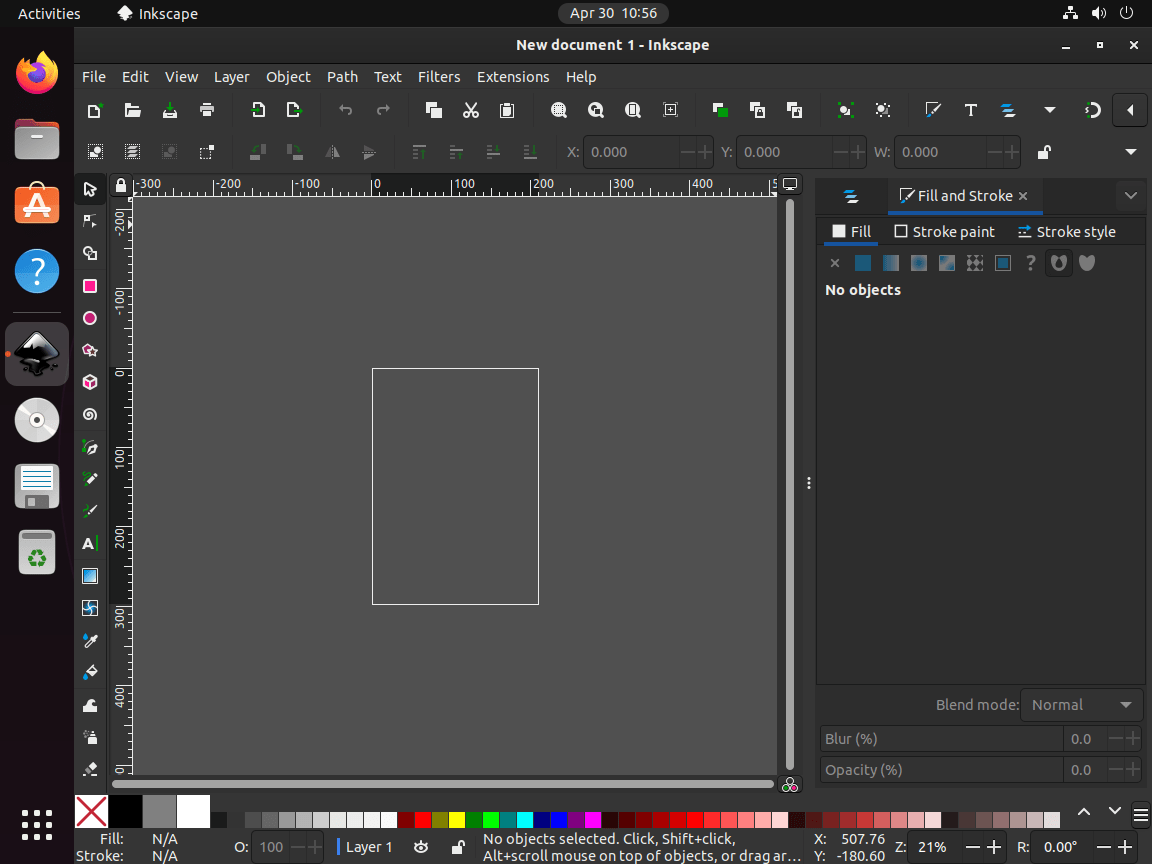
- Streamline Your Workflow with Panels: Customize which panels (dialogs) are open and their arrangement. Panels like Layers, Align and Distribute, and Stroke and Fill can be docked and arranged according to your workflow, which can be accessed through
ObjectandPathmenus.
Other Essential Tips
- Regularly Check for Inkscape Updates: While this guide does not cover updating Inkscape, staying updated with the latest version ensures you have access to new features, improvements, and bug fixes.
- Join the Community: The Inkscape community is a great resource for learning and troubleshooting. Participate in forums, attend webinars, and follow tutorials to expand your skill set.
- Backup Your Work: Ensure you regularly back up your Inkscape projects and custom settings. This can be as simple as copying files to an external drive or using cloud storage services.
- Practice Non-Destructive Editing: Where possible, use non-destructive editing techniques such as using clones (
Edit>Clone) and layers to make reversible changes, preserving the original design elements.
Following these tips will not only get you started with Inkscape on Ubuntu but also help in crafting a more efficient and productive design workflow.
Additional Inkscape Commands with Ubuntu
This section will cover how to update and uninstall Inkscape on Ubuntu Linux, depending on your installation method.
Update Inkscape
You should regularly update the software to keep Inkscape up-to-date and maintain its optimal performance. The update command varies based on the installation method you used initially.
APT Update Method for Inkscape
If you installed Inkscape using the APT package manager, run the following command to update:
sudo apt upgrade && sudo apt upgradeFlatpak Update Method for Inkscape
For those who installed Inkscape through Flatpak, use the following command to update:
flatpak updateSnap Update Method for Inkscape
If you installed Inkscape using Snap, execute this command to update:
sudo snap updateRemove Inkscape
If you no longer need Inkscape on your system, follow the instructions below to uninstall it based on your initial installation method.
APT Remove Method for Inkscape
To remove Inkscape installed via APT, run the following command:
sudo apt remove inkscapeIf you installed Inkscape using one of the PPAs, you should also remove the associated repository. For the stable PPA, use this command:
sudo add-apt-repository --remove ppa:inkscape.dev/stable -yFor the nightly PPA, execute this command:
sudo add-apt-repository --remove ppa:inkscape.dev/trunk -yFlatpak Remove Method for Inkscape
To uninstall Inkscape installed through Flatpak, run the following command:
flatpak uninstall --delete-data org.inkscape.InkscapeSnap Remove Method for Inkscape
If you installed Inkscape with Snap, use the following command to remove it:
sudo snap remove inkscapeConclusion
In wrapping up this guide, we walked through the steps to install Inkscape on Ubuntu, explored some essential first-time tips to kickstart your design journey, and dived into customization and performance optimization to make the most out of this powerful tool. My final piece of advice? Dive in and start experimenting with Inkscape’s vast features. Remember, the key to mastering Inkscape lies in practice and exploration. Whether you’re tweaking templates or harnessing the power of extensions, each step is an opportunity to unleash your creativity. So, fire up Inkscape, and let your design adventure begin!


