This guide will demonstrate how to install ImageMagick on Ubuntu 24.04, 22.04, or 20.04 LTS Linux releases utilizing the command-line terminal with the default APT package manager on your Ubuntu system or by downloading, compiling and then installing the latest ImageMagick binary for a most up-to-date version.
ImageMagick is a feature-rich, command-line tool designed for editing, converting, and managing images across many formats. Its versatility and power make it a go-to solution for developers, photographers, and graphic designers alike. With ImageMagick, users can effortlessly manipulate images with precision, whether it’s resizing, editing, or applying complex transformations. Its extensive format support ensures seamless integration with a wide range of applications and workflows. Below are key highlights that set ImageMagick apart:
- Versatile Image Processing: Batch process images with ease, automating tasks that would otherwise require extensive manual effort.
- Extensive Format Support: Handles over 200 image formats, offering unparalleled image conversion and manipulation flexibility.
- Robust Conversion Capabilities: Convert images between formats without losing quality, ensuring your images are ready for any platform or device.
- Powerful Image Editing: Perform complex editing tasks such as cropping, resizing, and color adjustments with simple command-line instructions.
- Advanced Features: Includes capabilities for creating composite images, adding text, or applying advanced filtering effects.
- Scriptable Automation: Automate repetitive tasks by scripting with ImageMagick, saving time and reducing human error.
- Resource Efficiency: Optimized for performance, it works well on servers and with batch processing, ensuring minimal resource usage.
- Open Source and Cross-Platform: Freely available for use and modification, it runs on Linux, Windows, and macOS, making it widely accessible.
Transitioning into a technical how-to article, let’s dive into the steps to install ImageMagick on your Ubuntu system, ensuring you can leverage its comprehensive suite of image manipulation tools.
Install ImageMagick on Ubuntu via APT
Update Ubuntu Before ImageMagick Installation
The first step in installing ImageMagick on Ubuntu is ensuring your system is up to date. This will ensure that you have the latest security updates and that your system is compatible with ImageMagick.
To update your system, open the terminal and run the following command:
sudo apt update && sudo apt upgradeInstall Support Libraries For ImageMagick
ImageMagick relies on several libraries to function correctly. To install these libraries, run the following command:
sudo apt install libpng-dev libjpeg-dev libtiff-devInstall ImageMagick on Ubuntu via APT Command
The easiest and most recommended way for the average user to install ImageMagick is by using the APT package manager. If this works correctly, stick with it and do not try to install the source method, as it will complicate things more than you need.
For the APT method, install ImageMagick using the following command:
sudo apt install imagemagickAnd that is it; for alternative installation methods, check out the next section on how to compile ImageMagick.
Install ImageMagick on Ubuntu via Source
The alternate installation method involves cloning the ImageMagick GIT repository and compiling the application. This option is not suitable for the average user. However, follow these steps to utilize the source version to access the latest or a specific older release.
Ensure Git is Installed on Ubuntu
Before proceeding with this installation method, you must ensure that you have GIT installed on your system. You can check this by running the following command in the terminal:
git --versionThe command shows the GIT version installed on your system. If you don’t have GIT, run the following command to install it:
sudo apt install gitClone ImageMagick Git Repository
Open the terminal, navigate to the desired location to store the cloned repository, and then run the following command to clone the repository:
git clone https://github.com/ImageMagick/ImageMagick.gitIf you prefer, you can specify the location of the cloned repository to “/usr/local/src/ImageMagick” by using the following command:
git clone https://github.com/ImageMagick/ImageMagick.git /usr/local/src/ImageMagickIt’s important to note that depending on your GIT/user privilege configuration, you may use the sudo command while cloning the repository:
sudo git clone https://github.com/ImageMagick/ImageMagick.git /usr/local/src/ImageMagickNavigate to ImageMagick Source Directory
Clone the ImageMagick repository, then navigate to the directory where you cloned it. The location might differ based on your specific setup, but here are the general steps:
cd ImageMagickOr if you cloned it to “/usr/local/src/ImageMagick.”
cd /usr/local/src/ImageMagickInstall Required Packages to Compile ImageMagick
To continue the installation process, you must install the dependencies required to compile ImageMagick. The dependencies include various libraries and tools necessary for the compilation process. You can install the dependencies by running the following command in the terminal:
sudo apt install build-essential libltdl-dev libjpeg-dev libpng-dev libtiff-dev libgif-dev libfreetype6-dev liblcms2-dev libxml2-devPrepare the ImageMagick Source
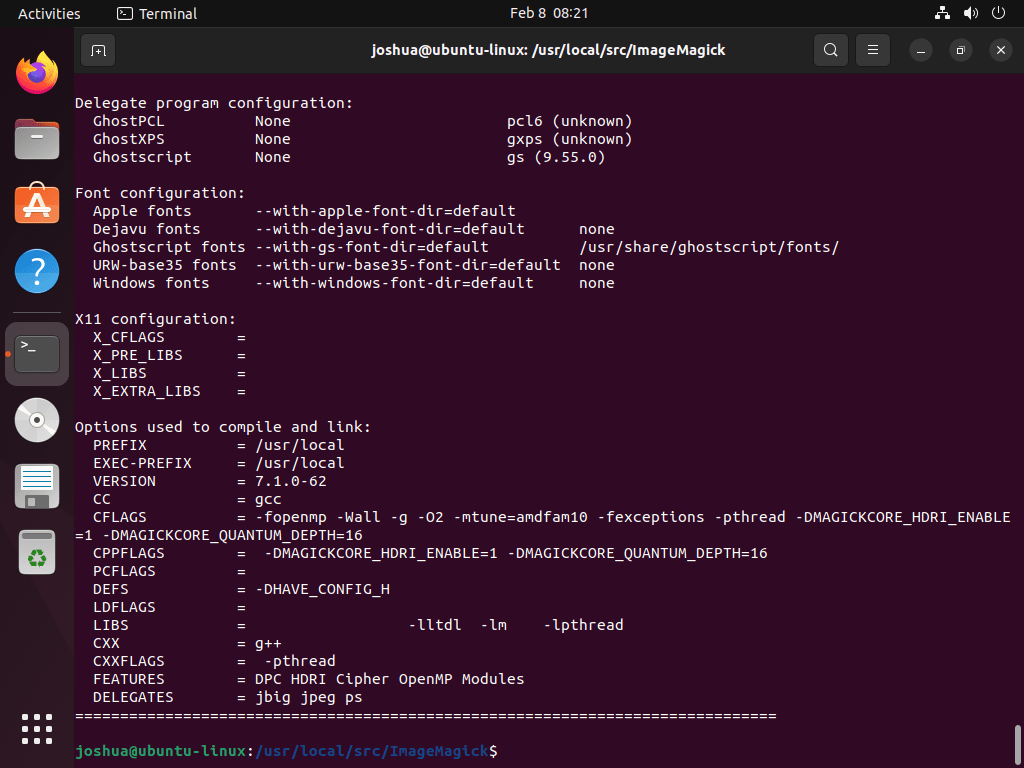
With the dependencies installed, the next step is to run the ./configure command to prepare the ImageMagick source for compilation:
./configureThis command will check for any dependencies or configurations required to compile ImageMagick. The ./configure command will display an error message if any dependencies or configurations are missing. In this case, you must install the missing dependencies or resolve the configuration issues before proceeding with the next step.
Optional: Configure ImageMagick with Modules
Advanced users who want more functionality from ImageMagick should build the application using the –with-modules option. This option allows the installation of extra optional features and modules, enhancing the ImageMagick experience.
To use this option, include it in the ./configure command:
./configure --with-modulesNote: Including “./configure –with-modules”, you can ensure access to the full range of features and functionality ImageMagick offers.
Build ImageMagick Environment
After building and configuring the environment, compile ImageMagick using the make command:
makeThis command will compile the ImageMagick source code into a usable application. The compilation process may take several minutes, depending on your system specifications. After the compilation is complete, you can proceed with the next step.
Install ImageMagick on Ubuntu via Compiled Binary
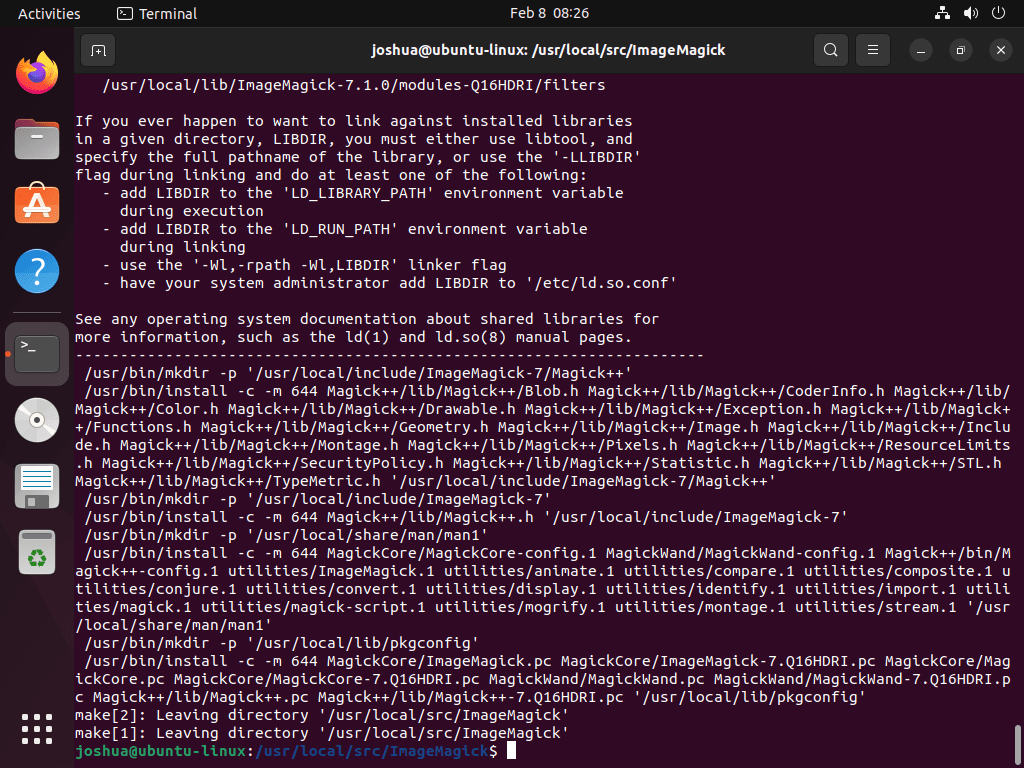
With the source code compiled, the next step is to run the installation command. This will install ImageMagick on your Ubuntu system:
sudo make installConfigure Dynamic Linker Run-Time for ImageMagick
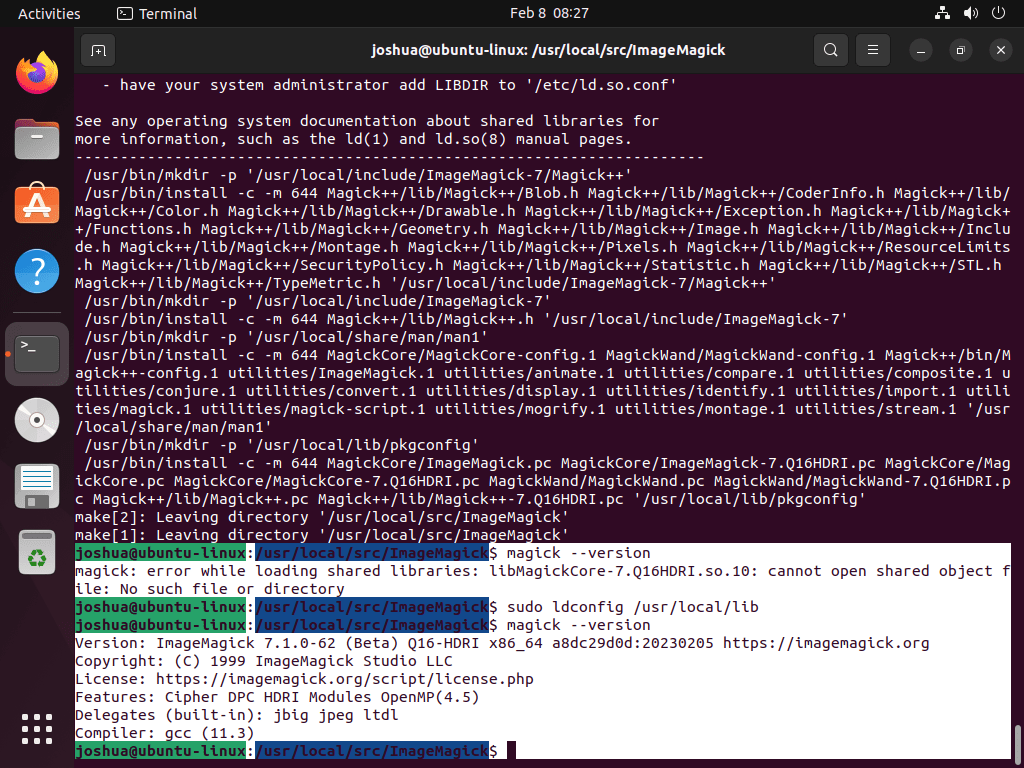
After installing ImageMagick, configure the dynamic linker run-time bindings as the final step. This action ensures your system can find and use the ImageMagick libraries during run-time:
sudo ldconfig /usr/local/libThis command will configure the dynamic linker run-time bindings, making ImageMagick accessible and usable on your system.
After running this command, you should be able to use ImageMagick without any issues; failure may result in the following error in your terminal:
magick: error while loading shared libraries: libMagickCore-7.Q16HDRI.so.10: cannot open shared object file: No such file or directoryRemember that if you upgrade or reinstall ImageMagick in the future, you might need to reconfigure the dynamic linker run-time bindings. If that happens, follow the steps above to reconfigure them.
Verify ImageMagick Installation
Once you have installed ImageMagick, you can verify the installation by running the following command.
magick --versionExample output:
Version: ImageMagick x.x.xExamples of ImageMagick Commands on Ubuntu
Convert an Image Format with ImageMagick on Ubuntu
ImageMagick can also convert an image from one format to another. For example, you can use the following command to convert a JPG image to PNG.
convert input.jpg output.pngCreate a Thumbnail with ImageMagick on Ubuntu
Use ImageMagick to create a thumbnail from an image. The command is:
convert input.png -thumbnail 200x200 output.pngThis command will create a 200×200 thumbnail from the image “input.png” and save the result as “output.png.”
Resize an Image with ImageMagick on Ubuntu
You can use ImageMagick to resize an image to a specific dimension. The command for this is.
convert input.png -resize 200x200 output.pngThis will resize the image “input.png” to a 200×200 image and save the result as “output.png.”
Add Text to an Image with ImageMagick on Ubuntu
You can add text to an image using ImageMagick. The command for this is.
convert input.png -font Arial -pointsize 36 -fill black -draw "text 20,50 'Hello World'" output.pngThis command adds the text “Hello World” to the image “input.png” using the Arial font and a 36-point font size. The text has a black fill and sits at the position (20,50). The system saves the result as “output.png.”
Conclusion
Throughout this guide, we walked through the steps to install ImageMagick on Ubuntu versions 24.04, 22.04, and 20.04 LTS, showcasing the simplicity and versatility of managing images directly from your command line. Whether you’re converting formats, editing, or automating tasks, ImageMagick proves to be an indispensable tool for anyone dealing with digital images. As a final recommendation, take the time to explore ImageMagick’s vast array of features; it’s a powerful ally for your projects. Remember, practice makes perfect, so don’t hesitate to experiment with different commands and see how ImageMagick can elevate your image manipulation game.


