ImageMagick is a robust open-source image creation, editing, and manipulation software. Catering to graphic designers, photographers, and web developers, it offers features that enhance image processing tasks. This article provides a comprehensive guide on how to install ImageMagick on Debian 12 Bookworm, Debian 11 Bullseye, or Debian 10 Buster.
Key Features of ImageMagick:
- Comprehensive Editing Tools: From resizing and cropping to applying intricate effects, ImageMagick is equipped with tools that cater to diverse editing needs.
- Versatile Format Support: With compatibility for formats like JPEG, PNG, GIF, and TIFF, ImageMagick ensures seamless handling of various image types.
- Command-Line Efficiency: ImageMagick’s command-line interface streamlines automation, especially for recurring image-processing tasks.
- Batch Processing Capability: Handle multiple images concurrently, optimizing time and effort for extensive projects.
- Scripting Flexibility: Leverage ImageMagick’s scripting prowess to automate intricate tasks through custom scripts.
- Open-Source Advantage: ImageMagick’s open-source nature ensures it’s freely accessible, modifiable, and distributable.
Dive into the subsequent sections to explore the installation process for ImageMagick on Debian, using either the default APT repository or compiling from the source code.
Install ImageMagick on Debian 12, 11, or 10 via APT
Step 1: Update Debian Before ImageMagick Installation
Before installing ImageMagick on Debian, ensuring your system is current is essential. Updating your system guarantees that your system is compatible with ImageMagick and ensures that you have installed the latest security updates. To update your system, open the terminal and run the following command.
sudo apt update && sudo apt upgradeStep 2: Install Required Libraries for ImageMagick on Debian
For ImageMagick to work properly, you need to install certain libraries. Use this command to install them:
sudo apt install libpng-dev libjpeg-dev libtiff-devStep 3: Install ImageMagick via APT Command on Debian
To install ImageMagick using the APT method, use the following command.
sudo apt install imagemagickAnd that’s it! The following section will cover compiling ImageMagick if you are looking for alternative installation methods.
Install ImageMagick on Debian 12, 11, or 10 via source
If you prefer an alternative installation method, you can opt for cloning the ImageMagick GIT repository and compiling the application. However, this method is more advanced and may not be suitable for the average user. If you want to utilize the source version and access the latest or a specific older release, follow the steps below.
Step 1: Install Git on Debian
Before using the alternative installation method, ensure you have Git installed on your system. Check by entering this command in the terminal:
git --versionRun this command to see the installed GIT version on your system. If you don’t have GIT, install it with the command below:
sudo apt install gitStep 2: Clone ImageMagick Git Repository on Debian
To clone the repository, navigate where you want to store the cloned repository in the terminal, and then run the following command.
git clone https://github.com/ImageMagick/ImageMagick.gitIf you want, you can specify the location of the cloned repository to “/usr/local/src/ImageMagick” by using the following command.
git clone https://github.com/ImageMagick/ImageMagick.git /usr/local/src/ImageMagickIt is important to note that depending on your GIT or user privilege configuration, you may need to use the sudo command while cloning the repository. For instance, you may encounter permission errors if your current user does not have the required permissions to access the desired location for cloning the repository. In such cases, using the sudo command can help you overcome these issues:
sudo git clone https://github.com/ImageMagick/ImageMagick.git /usr/local/src/ImageMagickStep 3: Navigate to Cloned ImageMagick Directory
After cloning the ImageMagick repository, navigate to its directory using the following command:
cd ImageMagickAlternatively, if you cloned the repository to “/usr/local/src/ImageMagick,” you can navigate to the directory by running the following command:
cd /usr/local/src/ImageMagickStep 4: Install Initial ImageMagick Installation Packages
Before continuing the installation process, you must install the dependencies necessary to compile ImageMagick. These dependencies include various libraries and tools required for the compilation process. You can install them by running the following command in the terminal:
sudo apt install build-essential libltdl-dev libjpeg-dev libpng-dev libtiff-dev libgif-dev libfreetype6-dev liblcms2-dev libxml2-devStep 5: Configure Build Script For ImageMagick on Debian
After installing the dependencies, run the ./configure command to get ImageMagick ready for compilation:
./configureThis command identifies any missing dependencies or configurations needed to compile ImageMagick. If there’s a missing piece, it will show an error message. If you see an error, install the missing parts or fix the configuration problems before moving on.
Advanced users can enhance ImageMagick by adding the –with-modules option. This option adds more features to ImageMagick:
./configure --with-modulesStep 6: Compile ImageMagick on Debian
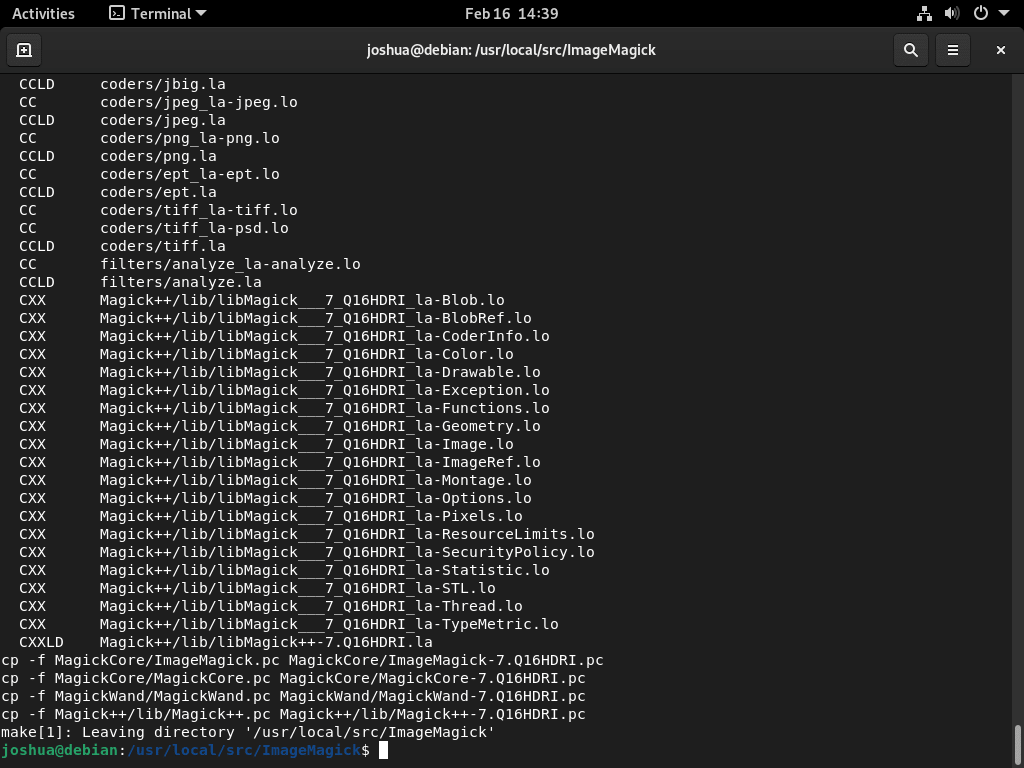
Now that you’ve set up the environment compile ImageMagick with the following command:
makeThe make command will compile the ImageMagick source code, creating a usable application. Depending on your system specifications, the compilation process may take several minutes. After the compilation is complete, you can proceed with the next step.
Step 7: Install Compiled ImageMagick Binary on Debian
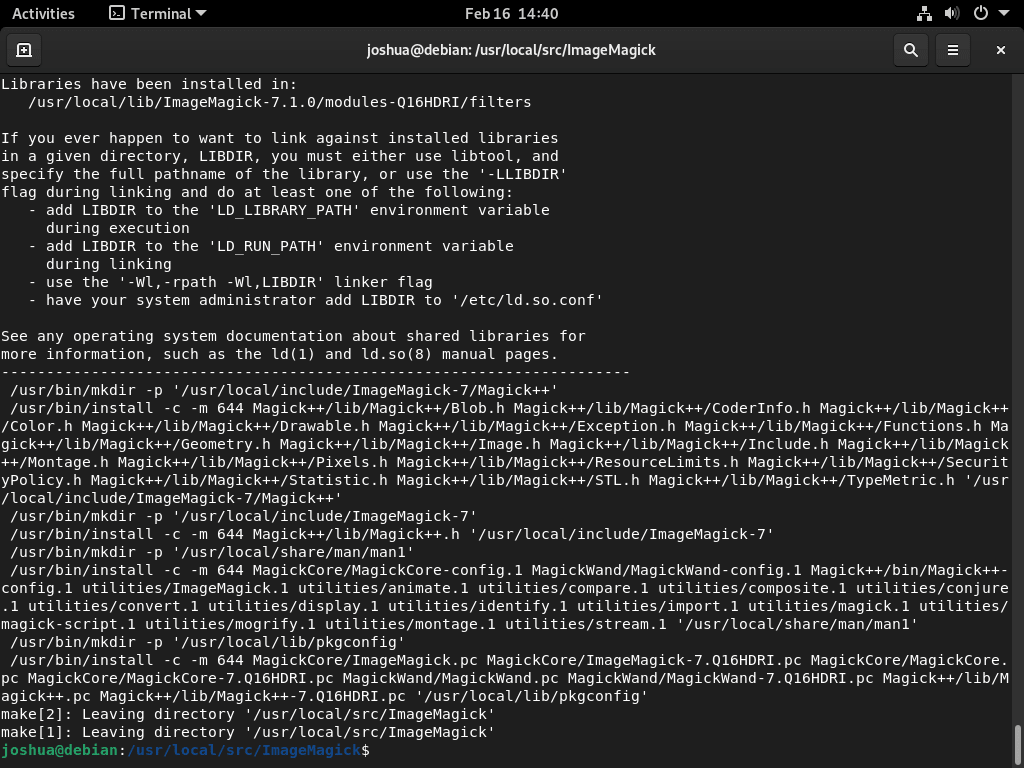
After compiling the source code, install ImageMagick on your Debian system using the following command:
sudo make installThe installation command will install ImageMagick on your system. After the installation is complete, you can start using ImageMagick.
Step 8: Run Dynamic Linker Run-Time Command For ImageMagick
After installing ImageMagick, the final step is configuring the dynamic linker run-time bindings. This step is crucial since it ensures your system can locate and use the ImageMagick libraries at run-time.
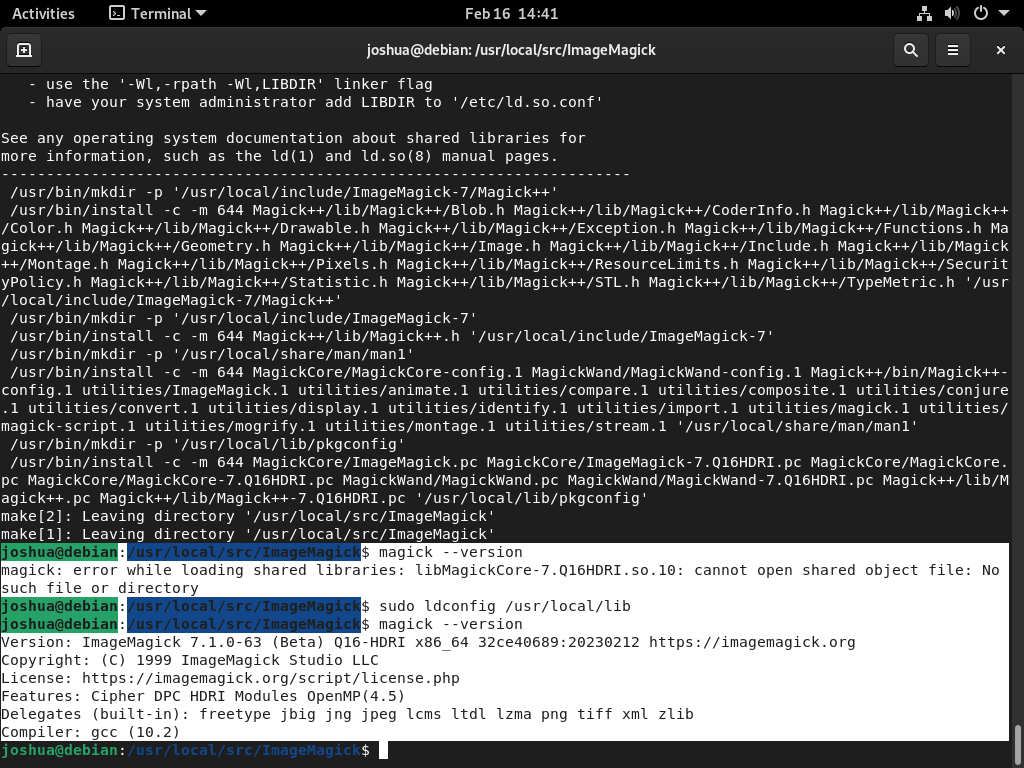
sudo ldconfig /usr/local/libThe ldconfig command will configure the dynamic linker run-time bindings, making ImageMagick accessible and usable on your system. Once you run this command, you can use ImageMagick without any issues. Failure to perform this step may result in the following error in your terminal:
magick: error while loading shared libraries: libMagickCore-7.Q16HDRI.so.10: cannot open shared object file: No such file or directoryIf you upgrade or reinstall ImageMagick in the future, you might need to reconfigure the dynamic linker run-time bindings. In these cases, follow the above steps again.
Step 9: Verify ImageMagick Installation via source
After successfully installing ImageMagick, you can verify the installation by running the following command:
magick --versionExample output:
Version: ImageMagick 7.1.0-62 (Beta) Q16-HDRI x86_64
Examples of ImageMagick Commands on Debian 12, 11 or 10
Converting an Image Format with ImageMagick on Debian
ImageMagick can convert images from one format to another. For instance, to convert a JPG image to a PNG format, use the following command:
convert input.jpg output.pngCreating a Thumbnail with ImageMagick on Debian
To create a thumbnail from an image, use the following command:
convert input.png -thumbnail 200x200 output.pngThis command creates a 200×200 thumbnail from the “input.png” image and saves the result as “output.png.”
Resizing an Image with ImageMagick on Debian
To resize an image to a specific dimension, use the following command:
convert input.png -resize 200x200 output.pngThis command resizes the “input.png” image to 200×200 and saves the result as “output.png.”
Adding Text to an Image with ImageMagick on Debian
To add text to an image using ImageMagick, use the following command:
convert input.png -font Arial -pointsize 36 -fill black -draw "text 20,50 'Hello World'" output.pngThis command adds the “Hello World” text to the “input.png” image using Arial font and 36-point font size. The text is black and located at the coordinates (20, 50). The result is saved as “output.png.”
Applying Special Effects with ImageMagick on Debian
ImageMagick can apply special effects to images. For instance, to apply a sepia tone effect, use the following command:
convert input.png -sepia-tone 80% output.pngThis command applies a sepia tone effect to the “input.png” image at a level of 80% and saves the result as “output.png.”
Blurring an Image with ImageMagick on Debian
To blur an image using ImageMagick, use the following command:
convert input.png -blur 0x8 output.pngThis command blurs the “input.png” image with a radius of 0 and a sigma of 8, producing a Gaussian blur effect. The result is saved as “output.png.”
Cropping an Image with ImageMagick on Debian
To crop an image, use the following command:
convert input.png -crop 200x200+50+50 output.pngThis command crops the “input.png” image to a 200×200 size, starting from the coordinates (50, 50), and saves the result as “output.png.”
Conclusion
In conclusion, setting up ImageMagick on Debian is straightforward. You can either use the terminal for a hassle-free installation or clone the ImageMagick GIT repository for more advanced options, including accessing the latest or specific older releases. For most users, the APT terminal method is the recommended approach.


