Fedora’s print stack handles basic queues well, but HP multifunction devices usually need HPLIP for scanning, maintenance, firmware prompts, and HP’s setup tools. To install HPLIP on Fedora, start with the hplip package for the core drivers and add hplip-gui when you want HP Device Manager and the graphical scanner tools.
Fedora Workstation often already has CUPS active through cups.socket, while Server or minimal installs may pull more of the print stack in during the install. Before you start, check your model in the OpenPrinting printer database or HP’s HPLIP supported devices list so you know whether the device needs scan support, a proprietary plugin, or only a basic print queue.
Install HPLIP on Fedora
Refresh Fedora first, then install the HPLIP packages that fit how you want to manage the printer.
Refresh Fedora Packages Before Installing HPLIP
Update Fedora’s package metadata and installed packages before adding the printer tools:
sudo dnf upgrade --refreshThese commands use
sudofor package-management tasks. If your account does not have sudo access yet, follow how to add a user to sudoers on Fedora before continuing.
The --refresh flag forces DNF to pull current repository metadata before it upgrades anything.
Install the HPLIP Driver Package on Fedora
Install HPLIP on Fedora with the base driver package first:
sudo dnf install hplipThe Fedora hplip package requires cups, and the CUPS package requires cups-client, so DNF pulls in the print stack when those packages are missing. You do not need a separate CUPS install command just to start the HPLIP setup flow.
Add HP Device Manager and GUI Tools on Fedora
Install the optional GUI package if you want HP Device Manager, the setup wizard launcher, and the graphical scan interface:
sudo dnf install hplip-guiThe package name is hplip-gui, but the launcher it adds in Fedora is HPLIP Graphical Tools. It also pulls in Qt and PyQt desktop dependencies, so skip this package on terminal-only systems unless you specifically need HP Device Manager or hp-uiscan.
Verify the HPLIP Packages on Fedora
Confirm the core HPLIP package and its CUPS stack are installed:
rpm -q hplip cups cups-clientA successful check returns an installed package version for each name. If rpm reports that cups is not installed, rerun the HPLIP install command and review the DNF transaction before returning to printer setup.
If you installed the GUI package too, verify the package and its two main commands separately:
rpm -q hplip-gui
command -v hp-toolbox hp-uiscan
The rpm command should return the installed hplip-gui version, and command -v should return /usr/bin/hp-toolbox and /usr/bin/hp-uiscan.
Set Up HP Printers and Scanners with HPLIP on Fedora
The base package gives you terminal tools such as hp-setup, hp-scan, hp-testpage, and hp-plugin. The optional GUI package adds hp-toolbox and hp-uiscan, both of which need an active graphical session.
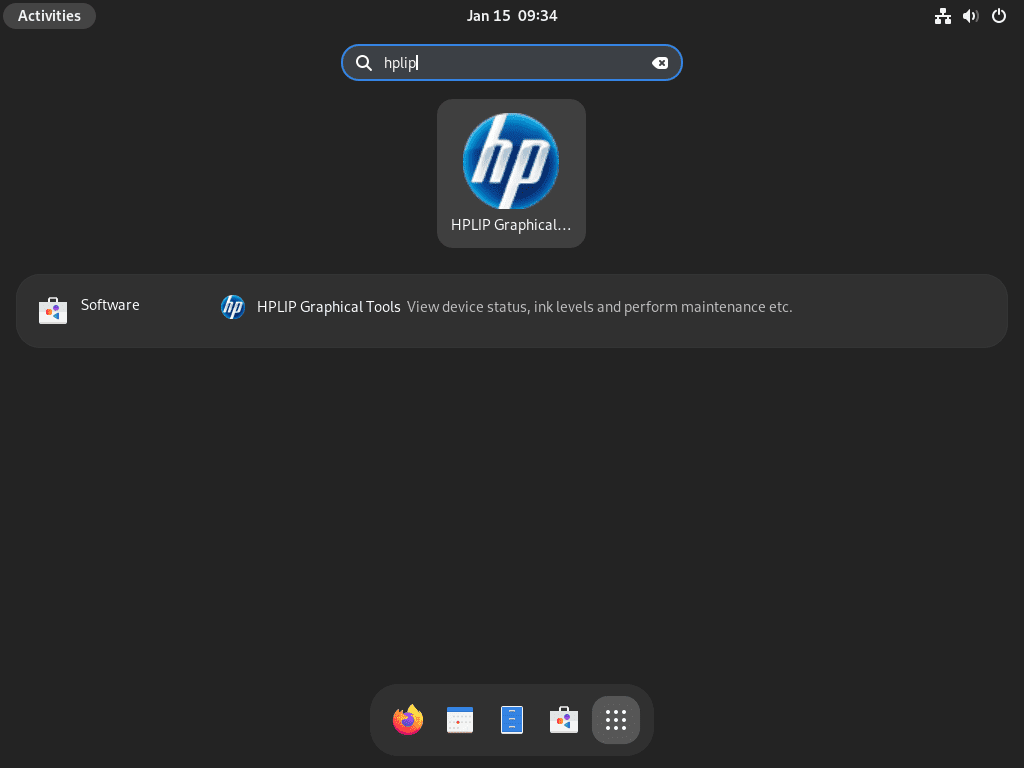
Open HPLIP Graphical Tools from Fedora Activities
Search for HPLIP Graphical Tools in Activities, or launch HP Device Manager directly from a graphical terminal:
hp-toolboxHP Device Manager gives you queue status, supply levels, cleaning tools, plugin prompts, and shortcuts to scan or print utilities.
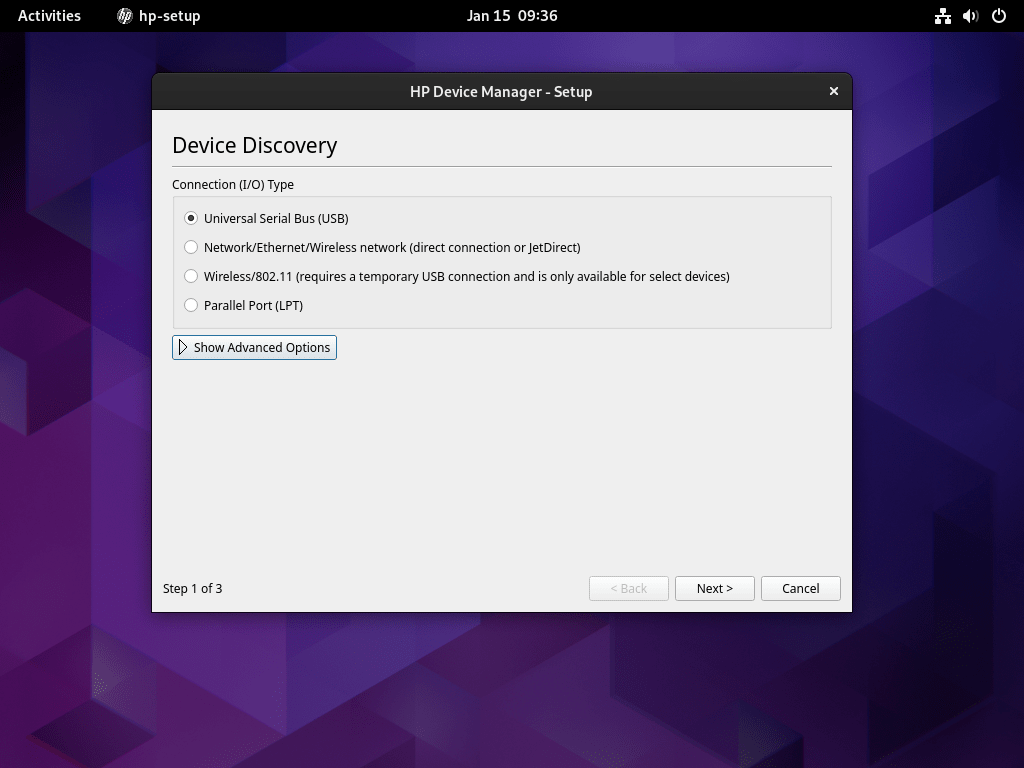
Run the HPLIP Terminal Setup Wizard on Fedora
Use the terminal wizard when you want a text-based setup flow for USB, network, or parallel devices:
hp-setup -iRelevant output includes:
--------------------------------
| SELECT CONNECTION (I/O) TYPE |
--------------------------------

  Num       Connection  Description
  --------  ----------  ----------------------------------------------------------
  0*        usb         Universal Serial Bus (USB)
  1         net         Network/Ethernet/Wireless (direct connection or JetDirect)
  2         par         Parallel Port (LPT:)

Enter number 0...2 for connection type (q=quit, enter=usb*) ?
This is the simplest CLI path when the package is installed but you do not want to rely on the GUI launcher.
Once you know how the printer is connected, these shortcuts save time:
hp-setup -i -b usb
hp-setup -i 192.168.1.100
hp-setup -i -b usb limits terminal discovery to attached USB devices, while passing an IP address or hostname sends the setup straight to the network printer you want to add.
Fedora’s packaged HPLIP can print
/usr/share/hplip/prnt/cups.py:705: SyntaxWarningbefore the setup menu. Continue if the connection menu still opens; the warning by itself is not a failed printer setup.
Install the HPLIP Plugin Only When Required
Some HP models need HP’s proprietary plugin before every print or scan feature works. HPLIP normally prompts for it during setup when a supported device requires the plugin; if that prompt appears, run the interactive plugin installer:
hp-plugin -iSkip the plugin when your model works without the prompt. HP’s supported devices list shows whether a model has a plugin requirement, which prevents an unnecessary proprietary download on devices that do not need it.
Print a Test Page with HPLIP on Fedora
List the current CUPS queues first so you know the exact printer name HPLIP should use:
lpstat -pAfter the queue exists, print HPLIP’s built-in test page with that queue name:
hp-testpage --printer=printer-nameThis sends a diagnostic page through the same print path you will use for regular jobs, so it is a quick check before you start printing real documents.
Scan with HPLIP on Fedora
Launch the graphical scanner from a desktop session if you installed hplip-gui:
hp-uiscanFor a terminal workflow, save the scan directly to a file with the queue name reported by lpstat -p:
hp-scan --printer=printer-name --dest=file --output=scan.pngThe base hplip package provides hp-scan, so terminal scanning works even when you skip the GUI package.
Troubleshoot HPLIP on Fedora
Most HPLIP problems on Fedora come down to CUPS not accepting jobs, the printer not showing up on USB, or network discovery never seeing the device.
Check the CUPS Scheduler on Fedora
Fedora keeps CUPS available through socket activation, so check the socket and the scheduler together:
systemctl status cups.socket
lpstat -r
Relevant output includes:
cups.socket - CUPS Scheduler
     Loaded: loaded (/usr/lib/systemd/system/cups.socket; enabled; preset: enabled)
     Active: active (running)
     Listen: /run/cups/cups.sock (Stream)

scheduler is running
If the socket is inactive, start it with sudo systemctl enable --now cups.socket and re-run the check before you go back to hp-setup.
Confirm Fedora Sees a USB HP Printer
When a USB printer is attached directly, look for the device on the USB bus first:
lsusb | grep -i hpIf that command returns no lines, Fedora is not seeing the printer yet. Check the cable, try another port, and re-run the command. The grep command guide is useful if you want broader filters than a simple hp match.
Probe Network Printers Before Running HPLIP Setup
Ask HPLIP to scan the local network before you fall back to a manual IP address:
hp-probe --bus=netIf discovery finds nothing, the relevant no-device lines look like this:
--------------------
| DEVICE DISCOVERY |
--------------------

Probing network for printers. Please wait, this will take approx. 10 seconds...

warning: No devices found on the 'net' bus. If this isn't the result you are expecting,
warning: check your network connections and make sure your internet
warning: firewall software is disabled.

Done.
At that point, use the printer’s IP address directly with hp-setup -i 192.168.1.100. Most Fedora Workstation systems do not need firewall changes for printer discovery, but custom LAN rules can block it, so review Install firewalld on Fedora if your workstation no longer allows local printer traffic.
Manage HPLIP on Fedora
Once the printer is working, keep HPLIP current with normal Fedora updates and remove it cleanly when you no longer need it.
Update HPLIP on Fedora
HPLIP updates ship through Fedora’s normal repositories, so the standard system upgrade is enough:
sudo dnf upgrade --refreshIf you want that handled automatically, Install DNF Automatic on Fedora and let Fedora pull future HPLIP updates in with the rest of your packages.
Remove HPLIP from Fedora
Remove both the driver package and the optional GUI tools with one command:
sudo dnf remove hplip hplip-guiDNF5 includes unused HPLIP dependencies in the removal transaction when they are no longer needed, so review the transaction before confirming it. You normally do not need a separate dnf autoremove step afterward.
If you skipped hplip-gui, DNF may report that no package was found for that argument and then continue with the installed hplip package.
Confirm the packages are gone:
rpm -q hplip hplip-guiExpected output after removal:
package hplip is not installed
package hplip-gui is not installed
If you want a full reset of HPLIP’s user-side preferences, remove
~/.hplipafter uninstalling the packages. That directory stores local HPLIP configuration and toolbox state for your account.
rm -rf ~/.hplipConclusion
HPLIP is installed on Fedora with the core print stack, terminal setup tools, optional GUI utilities, and plugin handling aligned to the HP models that HPLIP supports. Keep model support checked through HP’s device list, and use Fedora’s normal update path so driver fixes arrive with the rest of the system.

Formatting tips for your comment
You can use basic HTML to format your comment. Useful tags currently allowed in published comments:
<code>command</code>command<strong>bold</strong><em>italic</em><a href="https://example.com">link</a><blockquote>quote</blockquote>