Ubuntu’s default image viewer is fine for quick previews, but it gets cramped once you start sorting larger photo folders, checking metadata, or making small edits before sharing. You can install gThumb on Ubuntu from Ubuntu’s Universe repository or from Flathub, depending on whether you want the distro package or the newer Flatpak build.
gThumb handles thumbnail browsing, simple corrections, catalogs, EXIF/IPTC/XMP metadata, and RAW image viewing without forcing every photo task into a heavier editor. Ubuntu 26.04 currently packages gThumb 3.12.10, while Ubuntu 24.04 and 22.04 use older repository builds and can use Flathub for the same 3.12.10 release.
Install gThumb on Ubuntu
Choose the gThumb Installation Method on Ubuntu
Both methods work on Ubuntu 26.04, 24.04, and 22.04, but they do not land on the same version line on every release.
| Method | Source | Current Build | Updates | Best Fit |
|---|---|---|---|---|
| APT | Ubuntu Universe package | 26.04: 3.12.10 24.04: 3.12.6 22.04: 3.12.0 | Ubuntu package updates | Best desktop integration and simplest package management |
| Flatpak | Flathub stable | 3.12.10 | flatpak update | Newer gThumb release on Ubuntu 24.04 and 22.04, with Flatpak’s app packaging and sandboxed data path |
APT is the simplest choice on Ubuntu 26.04 because the repository package already matches Flathub at 3.12.10. On Ubuntu 24.04 and 22.04, the Ubuntu package is older, so Flathub is the cleaner way to move to the newer release without waiting for the distro package to catch up.
The commands below are Ubuntu-specific. On another Linux distribution, use that distribution’s package manager or the same Flathub app ID instead of copying Ubuntu APT commands.
For download-style searches, the upstream gThumb project on GNOME GitLab and GNOME source downloads publish source tarballs for developers, not a normal Ubuntu AppImage or direct DEB installer for everyday installs. Snapcraft also lists a gthumb snap, but its stable, candidate, and beta channels are currently empty, so the edge-only snap is not a recommended stable install path.
Install gThumb with APT
Ubuntu carries gThumb in the universe component on all three supported LTS releases, so the APT path is the cleanest fit when you want regular Ubuntu package management and menu integration.
sudo apt updateThese commands use
sudobecause the install changes system packages. If your account does not have sudo access yet, sign in as root or follow the guide to add a new user to sudoers on Ubuntu.
If apt says it cannot locate gthumb, only the Universe component is required for this method. The guide to enable Universe and Multiverse in Ubuntu covers the repository toggle when Universe has been disabled on your system.
sudo apt install gthumb -yVerify the installed package with apt-cache policy instead of gthumb --version. The desktop binary expects a graphical session, so it is a poor installed-state check from a non-graphical shell.
apt-cache policy gthumbgthumb:
Installed: 3:3.12.10-1
Candidate: 3:3.12.10-1
Version table:
*** 3:3.12.10-1 500
500 http://au.archive.ubuntu.com/ubuntu resolute/universe amd64 Packages
100 /var/lib/dpkg/status
Ubuntu 24.04 currently installs 3:3.12.6-1, and Ubuntu 22.04 currently installs 3:3.12.0-2 from the same Universe component.
Install gThumb from Flathub
Flathub keeps gThumb at 3.12.10 across Ubuntu 26.04, 24.04, and 22.04, so it is the better pick when you want the newer build on Ubuntu 24.04 or 22.04 or you already manage desktop apps with Flatpak.
Flatpak is not pre-installed on Ubuntu. If
flatpakis missing, first install Flatpak on Ubuntu, then sign back into your desktop session before you try to launch sandboxed apps.
sudo flatpak remote-add --if-not-exists flathub https://dl.flathub.org/repo/flathub.flatpakrepoThe --if-not-exists flag makes the command safe to rerun if Flathub is already configured.
Check that Flathub is present at system scope before you install the app.
flatpak remotesflathub system
Use the app ID org.gnome.gThumb for install, launch, updates, and removal.
sudo flatpak install flathub org.gnome.gThumb -yRelevant output includes these stable package fields. Ubuntu 22.04 uses an older Flatpak release, so the descriptive first line differs from Ubuntu 24.04 and 26.04, but the ID, ref, branch, version, and install scope stay the same.
flatpak info org.gnome.gThumbID: org.gnome.gThumb Ref: app/org.gnome.gThumb/x86_64/stable Arch: x86_64 Branch: stable Version: 3.12.10 Origin: flathub Installation: system
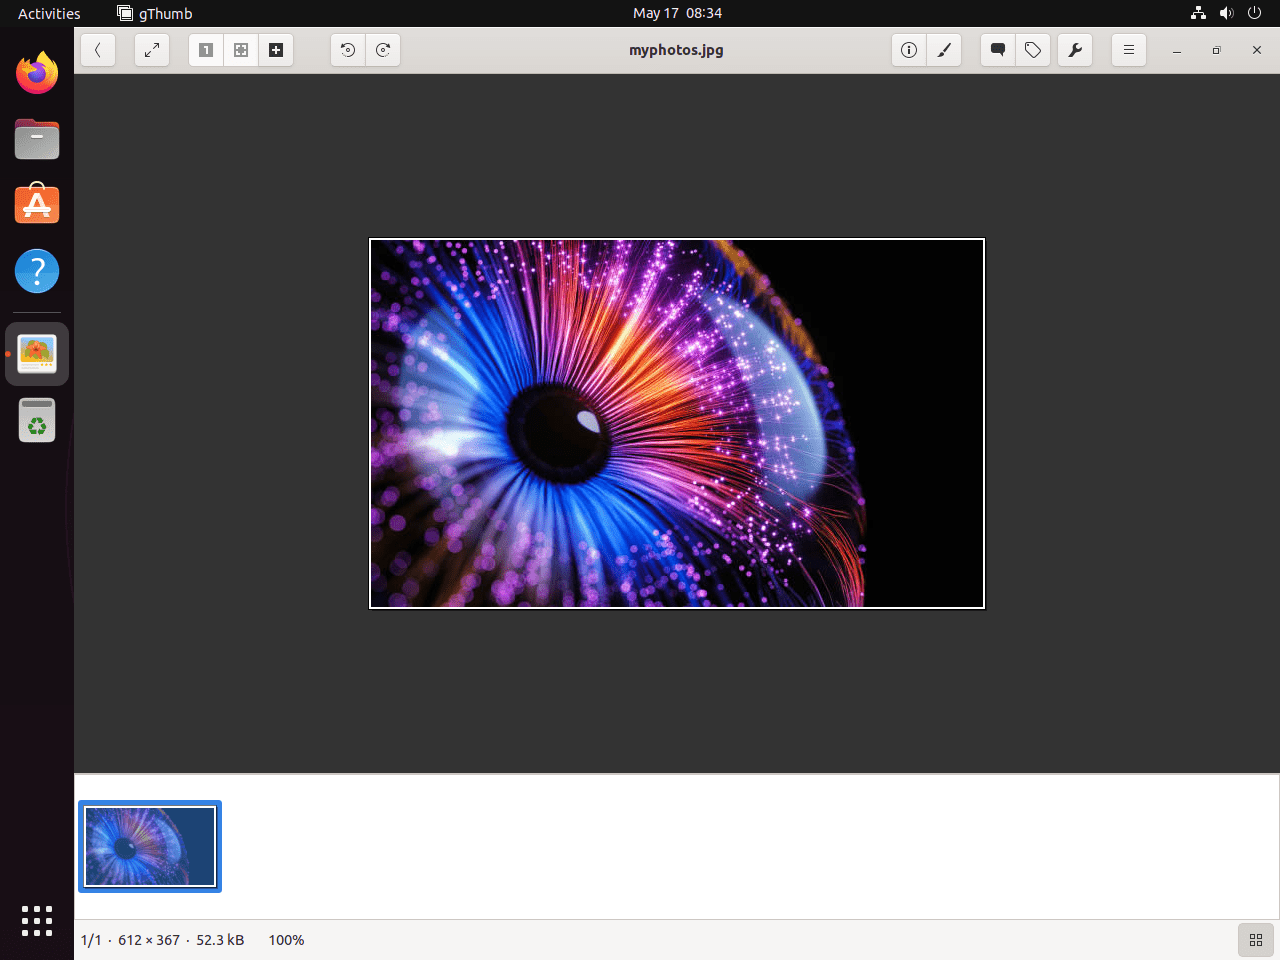
Launch gThumb on Ubuntu
gThumb is a desktop application, so installing it from a terminal does not make it useful on a headless shell by itself. Launch it from a local graphical session, remote desktop session, or another Ubuntu desktop login with a display available.
Launch gThumb from the Terminal on Ubuntu
The Ubuntu package installs the regular gthumb launcher command.
gthumbThe Flatpak build uses the app ID with flatpak run.
flatpak run org.gnome.gThumbLaunch gThumb from the App Grid on Ubuntu
GNOME adds the launcher to the Activities app grid after either install method finishes.
- Open the Activities overview or Show Apps.
- Type
gThumbin the search box. - Select the gThumb launcher to open the image browser.
Update or Remove gThumb on Ubuntu
APT and Flatpak handle updates and removals differently, so keep the command aligned with the method you installed.
Update the APT gThumb Package
Use Ubuntu’s package manager when you want to refresh only the repo build instead of running a full upgrade.
sudo apt update && sudo apt install --only-upgrade gthumb -yUpdate the Flatpak gThumb Package
Update only the gThumb Flatpak if you do not want to refresh every installed Flatpak app at the same time.
sudo flatpak update org.gnome.gThumb -yRemove the APT gThumb Package
Remove the Ubuntu package first. Keep orphan cleanup separate so apt autoremove does not remove unrelated packages that were already eligible for cleanup on your system.
sudo apt remove gthumb gthumb-data -yThen confirm that the gThumb packages are no longer installed.
dpkg -l gthumb gthumb-data 2>/dev/null | grep '^ii' || echo "gthumb packages are not installed"gthumb packages are not installed
Review optional orphan cleanup separately. Run the real cleanup only when the dry run lists packages you recognize and want to remove.
sudo apt autoremove --dry-runIf the preview is clean, run the interactive cleanup command and review APT’s final prompt before continuing.
sudo apt autoremoveRemove the Flatpak gThumb Package
Remove the system-scope Flatpak app first. User-specific sandbox data is handled in the next section because it lives under each account’s home directory.
sudo flatpak remove org.gnome.gThumb -yConfirm that the system-scope Flatpak app is gone with the installed-app list.
flatpak list --system --app --columns=application | grep -Fx org.gnome.gThumb || echo "NOT_INSTALLED"NOT_INSTALLED
Find and Remove gThumb Config and Cache Directories
gThumb can create separate config, cache, catalog, and Flatpak sandbox directories after you launch it and start browsing folders. Check which paths exist before deleting anything.
Delete only the paths that the check prints. If the result is
NO_EXTRA_GTHUMB_PATHS, there is nothing else to remove for that account yet. Back up catalogs or settings first if you may need them later.
paths=(
  "$HOME/.config/gthumb"
  "$HOME/.cache/gthumb"
  "$HOME/.local/share/gthumb"
  "$HOME/.var/app/org.gnome.gThumb"
)

found=0
for path in "${paths[@]}"; do
  if [[ -e "$path" ]]; then
    printf '%s\n' "$path"
    found=1
  fi
done

if [[ "$found" -eq 0 ]]; then
  echo NO_EXTRA_GTHUMB_PATHS
fi
NO_EXTRA_GTHUMB_PATHS
If the output lists the regular Ubuntu package paths, remove only the directories that exist.
rm -rf "$HOME/.config/gthumb" "$HOME/.cache/gthumb" "$HOME/.local/share/gthumb"If the output lists the Flatpak sandbox path, remove that directory separately.
rm -rf "$HOME/.var/app/org.gnome.gThumb"Troubleshoot gThumb on Ubuntu
Fix Missing or Stale gThumb Thumbnails
If gThumb opens but folder thumbnails stay blank or stale, close the app and clear only its cache directory first. This leaves saved settings and catalogs alone while forcing gThumb to rebuild cached preview data.
rm -rf "$HOME/.cache/gthumb"For the Flatpak build, also check where the images are stored. The current Flathub manifest grants direct access to standard Pictures, Public, and GVfs-mounted locations, so folders on unusual mounts may be easier to open through the file chooser or through the APT package when you need regular host-file browsing.
Conclusion
gThumb is ready on Ubuntu for browsing photo folders, checking metadata, and making quick edits from a normal desktop session. If you outgrow its lighter editing tools, install GIMP on Ubuntu for heavier retouching, or compare other viewers by installing PhotoQt on Ubuntu or Nomacs on Ubuntu.

Formatting tips for your comment
You can use basic HTML to format your comment. Useful tags currently allowed in published comments:
<code>command</code>command<strong>bold</strong><em>italic</em><a href="https://example.com">link</a><blockquote>quote</blockquote>