This guide will demonstrate how to install Google Chrome on Rocky Linux 9 or 8 utilizing the command-line terminal and Google Chrome’s official RPM mirror for the latest version and future upgrades. The RPM package includes three builds: stable, beta, and unstable (dev).
Google Chrome stands out as a leading internet browser, renowned for its speed, efficiency, and user-friendly design. Its integration with Google’s services enhances productivity and browsing experience, making it a top choice for users worldwide. Chrome’s robust security features, such as safe browsing and automatic updates, provide a secure environment for navigating the web. The browser’s customization options, including themes and extensions, allow users to tailor their browsing experience. With support for the latest web standards and technologies, Chrome ensures compatibility and performance across websites and applications.
- Speed and Performance: Chrome is designed for efficiency, loading pages quickly and running complex web applications smoothly.
- Security Features: It offers advanced security features, including phishing and malware protection, to keep users safe online.
- Syncing Capabilities: Users can synchronize bookmarks, history, and settings across devices, enhancing accessibility and convenience.
- Extensive Library of Extensions: A vast collection of extensions and themes allows for personalized browser functionality and appearance.
- User-Friendly Interface: Chrome’s intuitive interface makes navigation and management straightforward.
- Automatic Updates: The browser updates itself in the background, ensuring users always have the latest features and security patches.
- Privacy Controls: Chrome provides various privacy options, including Incognito Mode, to help manage and protect user data.
- Compatibility and Standards Support: It supports the latest web standards, ensuring a seamless browsing experience on all sites.
With its emphasis on speed, security, and user-centric features, Google Chrome offers a superior browsing experience. Let’s move on to how you can install this browser on your Rocky Linux system.
Install Google Chrome on Rocky Linux via DNF
Update Rocky Linux System Before Google Chrome Installation
Before we initiate the process of installing Google Chrome, we must make sure that our system packages are updated. The rationale for this action is to avoid potential conflicts during the installation process and maintain the optimal performance of your system. For this, we will use the following command:
sudo dnf upgrade --refreshThis command ensures that all the packages in your Rocky Linux system are updated, paving the way for a smooth installation process.
Import Google Chrome RPM
As a Google Chrome user, you can choose from three distinct variants of the browser: Stable, Beta, and Unstable. The Stable version is recommended for most users, while the Beta and Unstable versions are more suited for advanced users willing to experiment and explore new features.
Before initiating the installation process, we must import the GPG key, which helps validate the software packages’ authenticity. You can achieve this using the following command:
sudo rpm --import https://dl.google.com/linux/linux_signing_key.pubNote: You might encounter an error during this process if you’re a Rocky Linux 9 user. The error manifests itself as follows:
[joshua@rocky-linux ~]$ sudo rpm --import https://dl.google.com/linux/linux_signing_key.pub
warning: Signature not supported. Hash algorithm SHA1 not available.
error: https://dl.google.com/linux/linux_signing_key.pub: key 2 import failed.
Rocky Linux 8 users need not perform the aforementioned command unless they encounter the error. This error is predominantly encountered in Rocky Linux 9 and onward.
To rectify this error, we need to adjust the cryptographic policies on your system. Specifically, we will set the policy to ‘LEGACY’ with the following command:
sudo update-crypto-policies --set LEGACYUpon executing this command, it’s advisable to reboot your system to ensure the changes take effect. While this isn’t mandatory, it’s highly recommended, especially if you face any issues. You can reboot your system using:
rebootInstall Google Chrome on Rocky Linux via DNF Command
We can now install the Google Chrome browser after ensuring your system is up-to-date and the Google Chrome DNF repository has been incorporated. Here, you can choose between the browser’s stable, beta, or unstable versions. Each version can be installed using the respective commands:
sudo dnf install https://dl.google.com/linux/direct/google-chrome-stable_current_x86_64.rpm -ysudo dnf install https://dl.google.com/linux/direct/google-chrome-beta_current_x86_64.rpm -ysudo dnf install https://dl.google.com/linux/direct/google-chrome-unstable_current_x86_64.rpm -yPlease note that the beta and unstable versions are not recommended for everyday use. For an alternative installation method, see below.
Install Google Chrome on Rocky Linux via Flatpak and Flathub
For a secondary installation method, we will focus on using Flatpak and Flathub to install Google Chrome on Rocky Linux 9 or 8 in this section.
Flatpak is a universal package management system that aims to offer applications that work on any Linux distribution. It encapsulates applications in isolated environments, minimizing potential conflicts with system libraries.
Complementing Flatpak is Flathub, which is a centralized repository for Flatpak applications. It functions as a one-stop shop, hosting many applications readily available for installation.
Enable Flathub for Google Chrome
Before diving into the installation process, we must ensure the Flathub repository is enabled. This action allows us to access and install applications hosted on Flathub, including Google Chrome.
To enable Flathub, you need to execute the following command in your terminal:
sudo flatpak remote-add --if-not-exists flathub https://flathub.org/repo/flathub.flatpakrepoThis command enables the Flathub repository in your Flatpak configuration, granting you access to an extensive range of applications.
Install Google Chrome on Rocky Linux via Flatpak Commands
With Flathub enabled, we can forge ahead with installing Google Chrome on Rocky Linux 9 or 8. The flatpak install command comes in handy for this operation.
Install Google Chrome stable or unstable
The stable version of Google Chrome is the most recommended for regular use. It provides a seamless browsing experience with tested and proven features. To install the stable version, you need to run the following command in your terminal:
flatpak install flathub com.google.Chrome -yTo install the unstable version, execute this command in your terminal:
flatpak install flathub com.google.ChromeDevPlease note that the Flatpak and Flathub systems do not support beta versions of Google Chrome. Therefore, only the stable and unstable versions are available for installation through this method.
Initiating Google Chrome on Rocky Linux via CLI or GUI
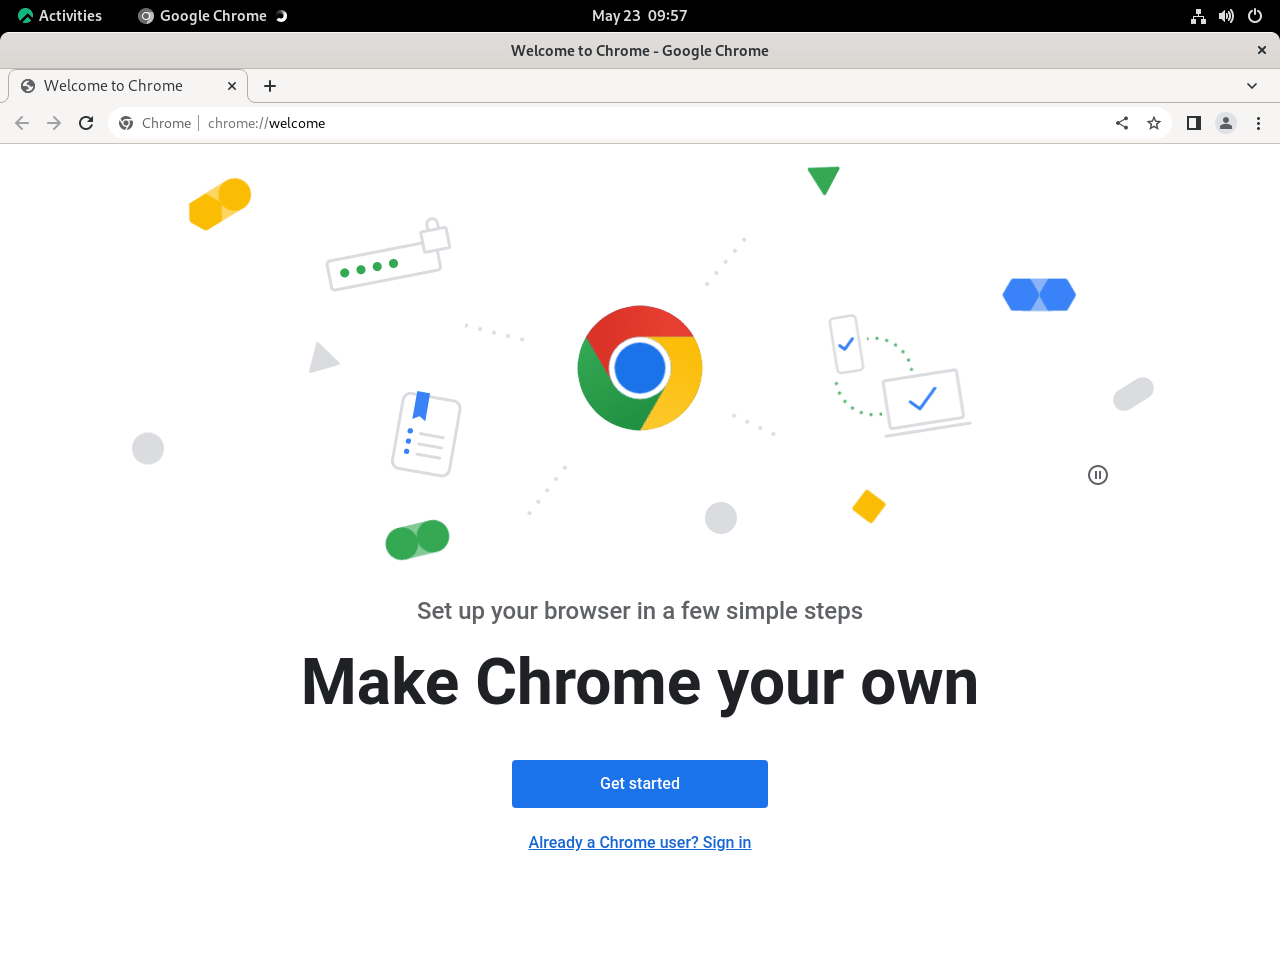
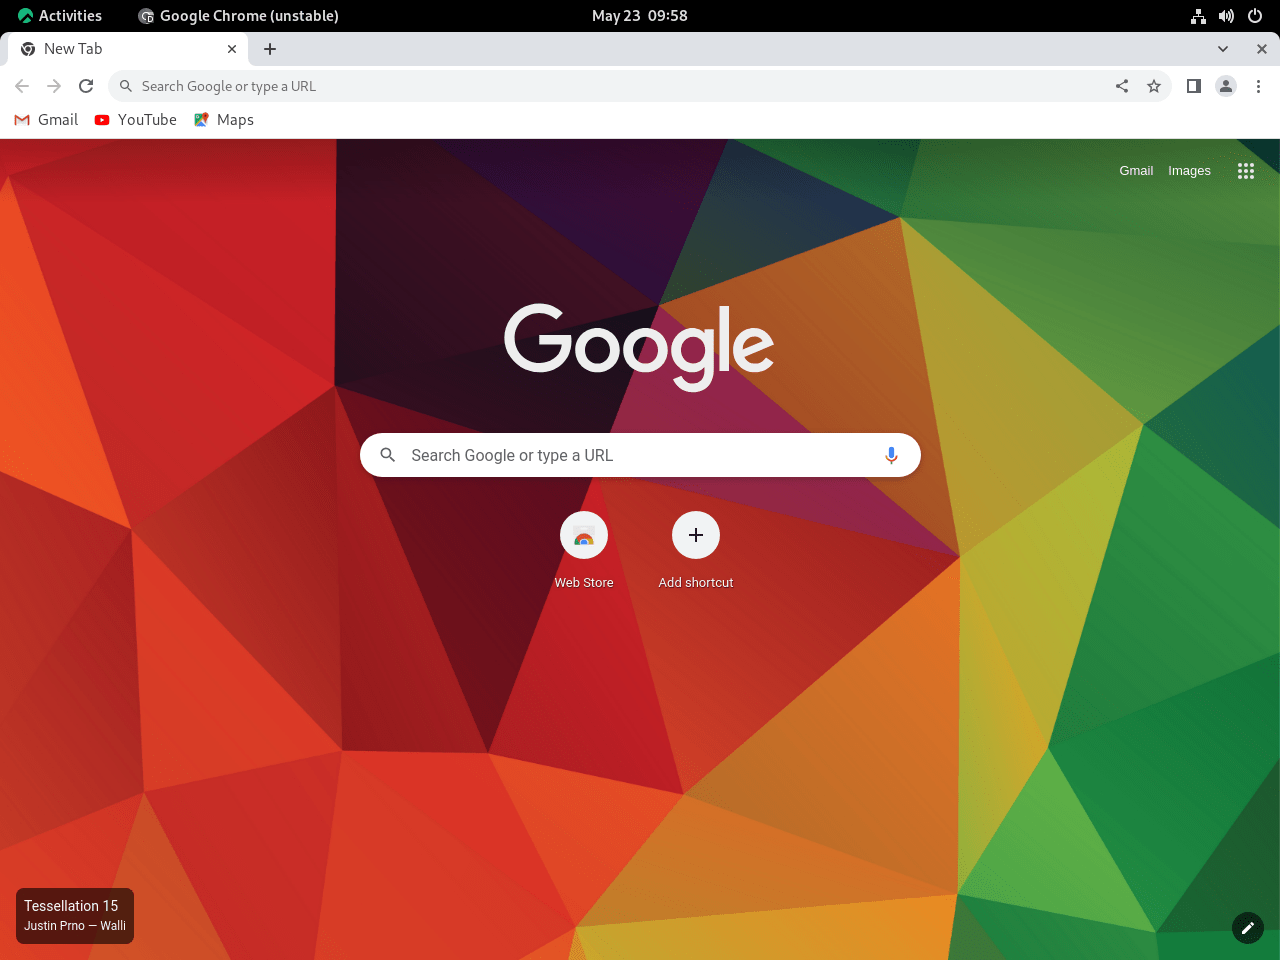
Having successfully installed Google Chrome on your Rocky Linux system, the next important step is to launch it. Several methods are available to initiate Google Chrome, depending on your preference and familiarity with the command line or graphical user interface.
CLI Commands to Launch Google Chrome Browser
For users comfortable with the terminal or running a headless server, the command-line interface (CLI) method would be most appropriate. Here, each version of Google Chrome installed has a unique command.
Stable Version
To open the stable version of Google Chrome installed via DNF, the command you would use is:
google-chromeThe command to launch the stable version of Google Chrome installed via Flatpak is:
flatpak run com.google.ChromeBeta Version
The command to launch Google Chrome Beta installed via DNF only is:
google-chrome-betaUnstable Version
For those who installed the unstable build of Google Chrome, the command is:
google-chrome-unstableTo launch the unstable version of Google Chrome installed via Flatpak, the command you would use is:
flatpak run com.google.ChromeDevGUI Method to Launch Google Chrome Browser
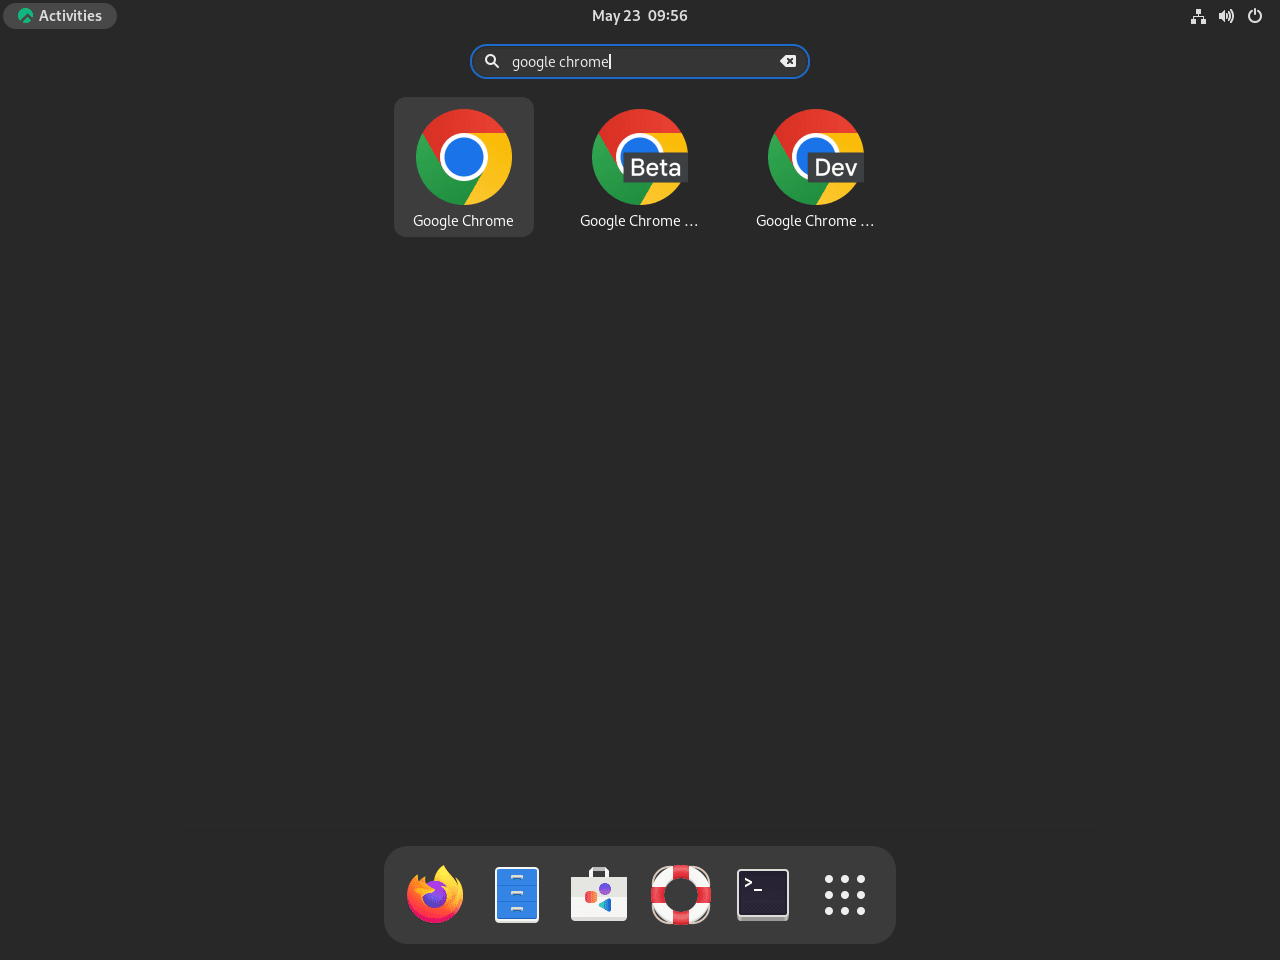
The steps to launch Google Chrome through the GUI are as follows:
- Initiate Activities: Depending on your Linux distribution, this could be as simple as hitting the
Super (Windows)key or clicking theActivitiesoption, usually found at the top-left corner of your screen. - Access Applications: Once you’ve initiated the activities overview, proceed to view all your installed applications by clicking on the grid icon labeled
Show Applicationsat the bottom of the screen. - Launch Google Chrome: You should now see an overview of all your applications. Look for the Google Chrome icon and click it to launch the browser. If you’ve installed multiple versions (stable, beta, or unstable), each one will be separately listed, e.g.,
Google Chrome (Stable),Google Chrome (Beta), orGoogle Chrome (Unstable). Click on the desired version to launch it.
First-Time Tips with Google Chrome with Rocky Linux
Now that you have successfully installed Google Chrome on Rocky Linux, here are some first-time tips on getting started with the software. This guide aims to enhance your browsing experience, focusing on customization, efficiency, and leveraging the full potential of Chrome on a Linux platform.
Customizing Google Chrome
To make Google Chrome truly yours, explore its customization options. These adjustments can significantly improve your workflow and browsing experience.
- Change Themes: Customize the look of your browser by selecting a new theme. Go to
Chrome Web Store > Themesto find one that suits your style. - Manage Extensions: Enhance functionality with extensions by navigating to
Chrome Menu > More Tools > Extensions. Linux users can access a wide range of tools for productivity, security, and more. - Adjust Privacy Settings: Protect your privacy by reviewing the settings under
Chrome Menu > Settings > Privacy and security. Consider enabling or disabling features likeSafe BrowsingandDo Not Trackrequests according to your preferences. - Customize the New Tab Page: Use extensions from the Chrome Web Store to personalize the new tab page with shortcuts, backgrounds, and more, making it more useful and visually appealing.
Enhancing Productivity with Keyboard Shortcuts
Leverage keyboard shortcuts to navigate quickly and efficiently in Google Chrome. These shortcuts can significantly speed up your browsing and work processes.
- Open a New Tab: Press
Ctrl + Tto open a new tab instantly. - Close the Current Tab: Use
Ctrl + Wto close the tab you’re currently viewing. - Reopen the Last Closed Tab: Accidentally closed a tab? Press
Ctrl + Shift + Tto reopen it. - Jump to the Address Bar: Press
Ctrl + Lto move the cursor directly to the address bar, ready for your next search or website address.
Optimizing Performance
Keep Chrome running smoothly on your Linux system by managing its resources effectively.
- Monitor Chrome’s Task Manager: Keep an eye on which tabs or extensions are consuming too many resources. Open Chrome’s Task Manager with
Shift + Escto find and close unnecessary tabs or extensions. - Disable Unnecessary Extensions: Regularly review and disable extensions you no longer use to free up resources.
- Clear Browsing Data Regularly: To improve performance, periodically clear your browsing history, cookies, and cache from
Chrome Menu > More Tools > Clear Browsing Data. - Use Chrome’s Built-in Features: Take advantage of built-in tools like
Chrome’s Lite Modefor faster loading times on slower connections, although this feature is more beneficial to mobile users.
Securing Your Browsing Experience
Security is paramount, especially when browsing the internet. Here are tips to keep your Chrome browsing safe on Linux.
- Regularly Check for Updates: While this guide doesn’t cover updating, ensuring Chrome is up-to-date is crucial for security. Updates include patches for vulnerabilities and enhancements.
- Browse in Incognito Mode: For private browsing sessions where your history and cookies are not saved, use
Ctrl + Shift + Nto open an incognito window. - Manage Site Permissions: Control what sites can do and what information they can access by going to
Chrome Menu > Settings > Privacy and security > Site Settings. - Use Secure Passwords: Take advantage of Chrome’s password manager to create and store strong, unique passwords for your online accounts.
Utilizing Chrome’s Advanced Features
Explore some of Chrome’s less-known but incredibly useful features for an even more powerful browsing experience.
- Enable Chrome Flags: Experiment with experimental features by navigating to
chrome://flags. Be cautious, as these can affect your browser’s stability. - Use the Chrome Web Store: Access a plethora of apps and extensions designed to enhance productivity, social media browsing, and much more.
- Custom Search Engines: Streamline your workflow by setting up custom search engines in Chrome’s settings. Access
Chrome Menu > Settings > Search engine > Manage search enginesto add, edit, or remove search engines. - Developer Tools: Access developer tools by pressing
Ctrl + Shift + Ior right-clicking a webpage and selectingInspectto troubleshoot issues, examine code, or see how a site is built.
Following these tips, you’ll be able to customize Google Chrome to fit your needs, enhance your productivity, secure your online activities, and explore advanced features that enrich your browsing experience on Rocky Linux.
Additional Google Chrome Commands with Rocky Linux
Understanding how to manage Google Chrome on Rocky Linux properly involves a few essential tasks – keeping the browser updated, removing it if necessary, and learning how to disable or enable the repository for future installations. Let’s break down these tasks step-by-step, ensuring your experience with Google Chrome remains smooth, secure, and efficient.
Update Google Chrome
While Google Chrome typically notifies users of available updates if installed through the DNF package manager, manually checking for updates is still a good practice. Regularly doing this ensures your system and applications stay up-to-date, minimizing potential security vulnerabilities.
In your terminal, run the following command:
sudo dnf upgrade --refreshExecuting the command above, you’re prompting your system to check for and apply any available updates.
For those who have installed Google Chrome using Flatpak, the following command will refresh all packages installed by Flatpak, including Google Chrome:
sudo flatpak updateRemove Google Chrome
For users who decide they no longer require Google Chrome, it can be uninstalled easily. The command you’ll need to use will depend on the version of Google Chrome you have installed (stable, beta, or unstable).
DNF Google Chrome Remove Commands
Here’s how you can remove Google Chrome Stable:
sudo dnf remove google-chrome-stableIf you’ve installed either the beta or unstable versions of Google Chrome, use the corresponding commands:
sudo dnf remove google-chrome-betasudo dnf remove google-chrome-unstableDisabling and Enabling Google Chrome Repositories
If you’re not actively using Google Chrome, it might be beneficial to disable the repositories temporarily. This prevents your system from checking for Google Chrome updates during system updates, thus saving resources.
You can disable all Google Chrome repositories with the following command:
sudo dnf config-manager --set-disabled google-chrome*This command will disable all Google Chrome repositories collectively. However, to disable a specific one, you must first identify its full name. You can do this by listing your imported repositories:
dnf repolist | grep chromeOnce you’ve identified the full name of the repository you want to disable, you can replace google-chrome* with it in the command. For instance, to disable the beta repository only, use:
sudo dnf config-manager --set-disabled google-chrome-betaIf you decide later on that you’d like to install Google Chrome again, you can easily re-enable the repositories. Here’s the command to enable all Google Chrome repositories:
sudo dnf config-manager --set-enabled google-chrome*Again, to enable a specific repository, replace google-chrome* with the full name of the repository you wish to enable.
Flatpak Google Chrome Remove Commands
For those who installed Google Chrome using Flatpak, the removal process is a bit different:
flatpak uninstall com.google.ChromeFor those who installed the unstable version:
flatpak uninstall com.google.ChromeDevFinal Thoughts
In this guide, we’ve taken you through the installation of Google Chrome on Rocky Linux 9 or 8 and offered some essential tips for first-time users to kickstart their journey. We touched on customization, productivity hacks, security practices, and even some advanced features, all aimed at enhancing your Chrome experience on this distro. Remember, the journey doesn’t stop here; keep exploring, keep your browser updated, and make the most out of Chrome’s vast capabilities. Whether you’re navigating through the basics or diving into deeper waters with advanced settings, Chrome on Rocky Linux is a powerful ally in your internet endeavors. Happy browsing!


